Introduction
Welcome to this comprehensive guide on how to pair your Bose Noise Cancelling headphones with your device. Bose is renowned for producing high-quality audio equipment, and their noise cancelling headphones are no exception. Whether you have the Bose QuietComfort series or the Bose 700, the process of pairing the headphones with your device is relatively straightforward.
By connecting your Bose headphones to a smartphone, tablet, or any other Bluetooth-enabled device, you can enjoy immersive, crystal-clear audio without any wires getting in the way. This allows you to listen to your favorite music, podcasts, or watch movies with exceptional sound quality, all while experiencing the benefits of noise cancellation technology.
Bluetooth is a wireless communication technology that allows devices to connect and exchange data. By pairing your Bose headphones with a Bluetooth-enabled device, you can stream audio wirelessly and control playback from a distance. Whether you’re traveling, working, or simply relaxing at home, the convenience and freedom that wireless headphones provide is truly unbeatable.
In this step-by-step guide, we will walk you through the process of pairing your Bose Noise Cancelling headphones with your device. You’ll learn how to activate pairing mode, enable Bluetooth on your device, complete the pairing process, and test the connection to ensure everything is working smoothly. Whether you’re a tech-savvy individual or someone new to wireless headphones, don’t worry – we’ve got you covered.
So, without further ado, let’s dive into the first step of the pairing process: turning on your headphones.
Step 1: Turn on your headphones
The first step in pairing your Bose Noise Cancelling headphones is to turn on the device. Depending on the model you have, there are different methods to power on your headphones.
For the Bose QuietComfort series, locate the power button on the headphones. It is usually located on one of the ear cups. Press and hold the power button until you see the LED light indicator turn on. This indicates that the headphones are now powered on and ready to be paired.
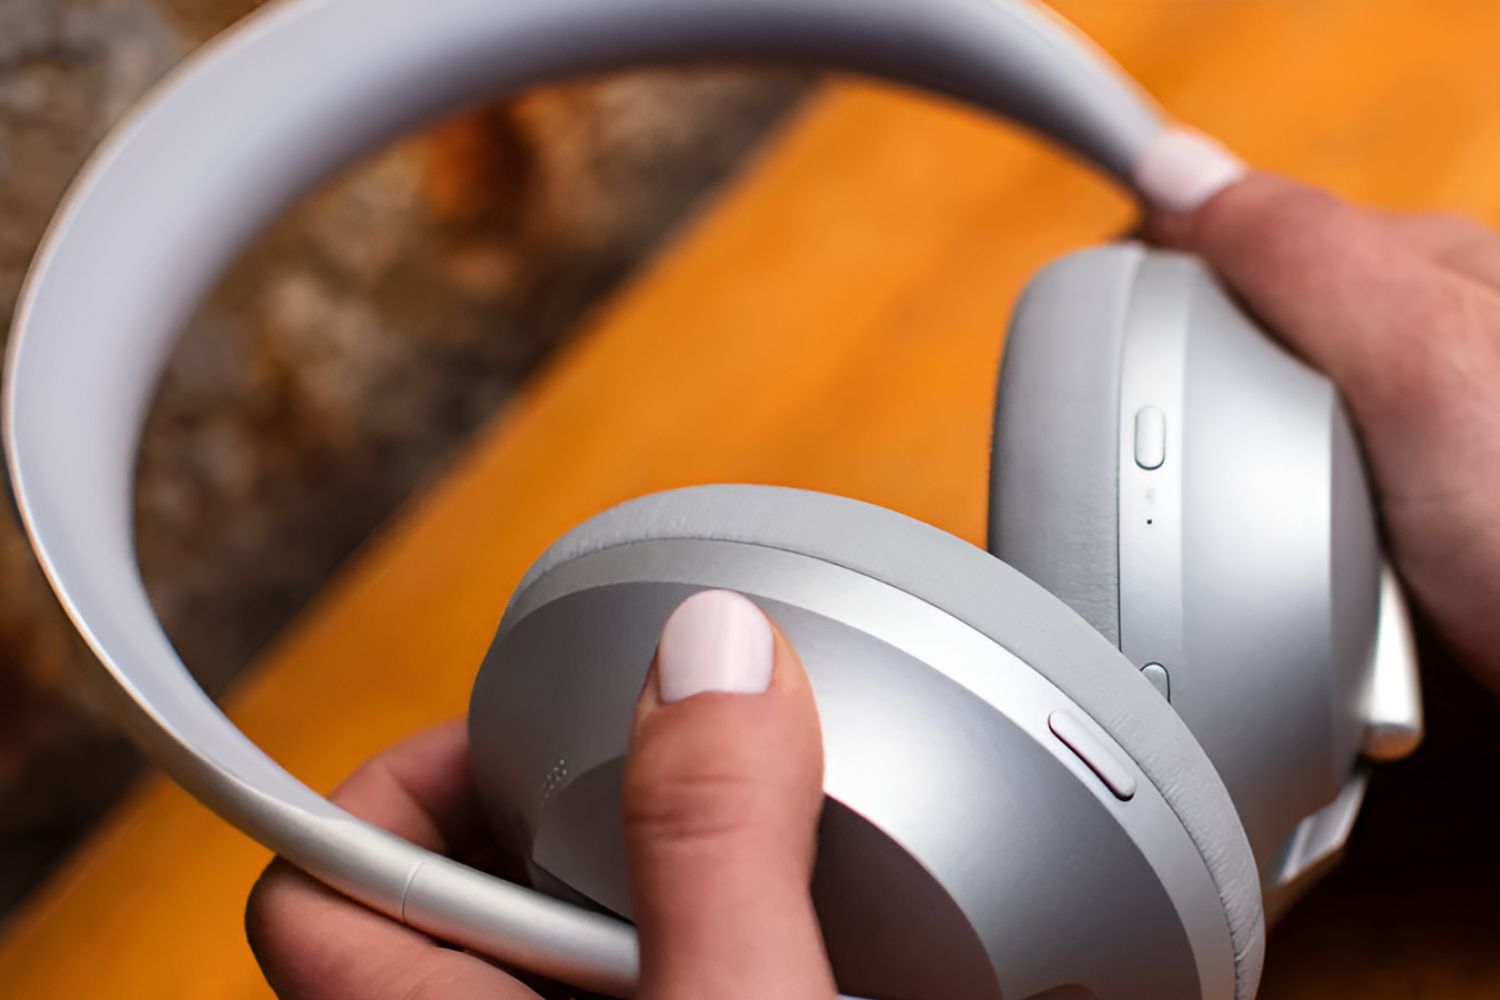
If you own the Bose 700 headphones, the power button is located on the right ear cup. Press and hold the power button until you hear the power-up tone and see the LED light indicator illuminate. This signifies that the headphones are now turned on and ready for pairing.
Make sure to check the battery level of your headphones before turning them on. If the battery is low, it is recommended to charge them before attempting to pair them with your device. This ensures a stable connection and uninterrupted listening experience.
Ensure that the headphones are in a close proximity to your device for seamless pairing. The Bluetooth range typically extends up to 30 feet, but it is better to keep the devices closer during the pairing process to avoid any connectivity issues.
Once your Bose Noise Cancelling headphones are turned on, you are now ready to move on to the next step: activating pairing mode.
Step 2: Activate pairing mode
After turning on your Bose Noise Cancelling headphones, the next step is to activate the pairing mode. Pairing mode allows your headphones to be discovered and connected to your device via Bluetooth.
The process of activating pairing mode may differ slightly depending on the model of your Bose headphones. Let’s explore how to enable pairing mode for the two popular Bose headphone series.
For the Bose QuietComfort headphones, press and hold the Bluetooth button located on one of the ear cups. The Bluetooth button is usually marked with the Bluetooth symbol and may also be labeled as “Pair” or “Sync”. Hold the button until the LED indicator starts flashing blue or blue and red. This signifies that the headphones are now in pairing mode.
If you have the Bose 700 headphones, slide the power switch to the Bluetooth icon and hold it for a few seconds. The LED light on the right ear cup will flash white, indicating that the headphones are in pairing mode.
Keep in mind that the pairing mode remains active for a certain period of time, typically a few minutes. If you are unable to pair your headphones within that duration, you may need to repeat this step to re-enter pairing mode.
It’s important to note that entering pairing mode erases any existing Bluetooth connections and allows your headphones to connect to a new device. If your Bose headphones were previously connected to another device, be sure to disconnect them and clear any previous pairings before activating pairing mode.
Now that your headphones are in pairing mode, it’s time to move on to the next step: enabling Bluetooth on your device.
Step 3: Enable Bluetooth on your device
Once your Bose Noise Cancelling headphones are in pairing mode, the next step is to enable Bluetooth on the device you wish to connect them to. Bluetooth settings can usually be found in the system settings menu of your device, whether it’s a smartphone, tablet, or computer.
To enable Bluetooth on your device, follow these general steps:
- Open the settings menu on your device. This can usually be done by tapping on the settings icon or by swiping down from the top of the screen and selecting the settings gear icon.
- Look for the “Bluetooth” option in the settings menu. On most devices, it is usually listed under a “Connections” or “Wireless & Networks” section.
- Select “Bluetooth” to access the Bluetooth settings.
- Toggle the Bluetooth switch to turn it on. The switch is typically located at the top of the Bluetooth settings page.
Once Bluetooth is enabled on your device, it will start scanning for nearby devices that are in pairing mode. Your Bose Noise Cancelling headphones should appear in the list of available devices.
Take note that the appearance of your headphones in the Bluetooth device list may vary depending on the device you are using. They could be listed as “Bose QC35” or “Bose 700”, or by a similar name depending on the model. Look for the name that corresponds to your headphones.
If you are unable to see your headphones in the device list, try refreshing the Bluetooth settings on your device or repeating the previous steps to ensure that your headphones are still in pairing mode.
Now that Bluetooth is enabled on your device and your headphones have been found, it’s time to move on to the next step: selecting your Bose headphones from the Bluetooth menu.
Step 4: Select your Bose headphones from the Bluetooth menu
Now that Bluetooth is enabled on your device and your Bose Noise Cancelling headphones are in pairing mode, it’s time to connect them. To do this, you need to select your headphones from the Bluetooth menu on your device.
Follow these steps to select your Bose headphones from the Bluetooth menu:
- Open the Bluetooth settings on your device. This can usually be done by going to the settings menu and selecting “Bluetooth” or by swiping down from the top of the screen and selecting the Bluetooth icon.
- In the Bluetooth settings, you should see a list of available devices. Look for your Bose headphones in the list.
- Tap on the name of your Bose headphones to select them. This will initiate the pairing process between your device and your headphones.
After selecting your headphones, your device will attempt to establish a connection with them. During this process, you may see a pairing request or a prompt to enter a PIN code. Follow any on-screen instructions and enter the required information, if prompted.
Once the pairing process is complete, you will receive a notification or see an indication that your Bose headphones are now connected and ready to use with your device.
It’s worth mentioning that some devices automatically connect to previously paired Bluetooth devices. If your device is setup for automatic pairing, it will automatically recognize and connect to your Bose headphones when they are turned on and in range.
Now that your Bose headphones are successfully paired and connected to your device, let’s move on to the next step: completing the pairing process.
Step 5: Complete the pairing process
Once you have selected your Bose Noise Cancelling headphones from the Bluetooth menu on your device, you are now ready to complete the pairing process. This step ensures that your device and headphones are fully connected and can communicate with each other seamlessly.
Typically, completing the pairing process involves a few final steps:
- Wait for the device and headphones to establish a connection. This may take a few moments, so be patient.
- Once the connection is established, you may see a confirmation message on your device indicating that the pairing is successful.
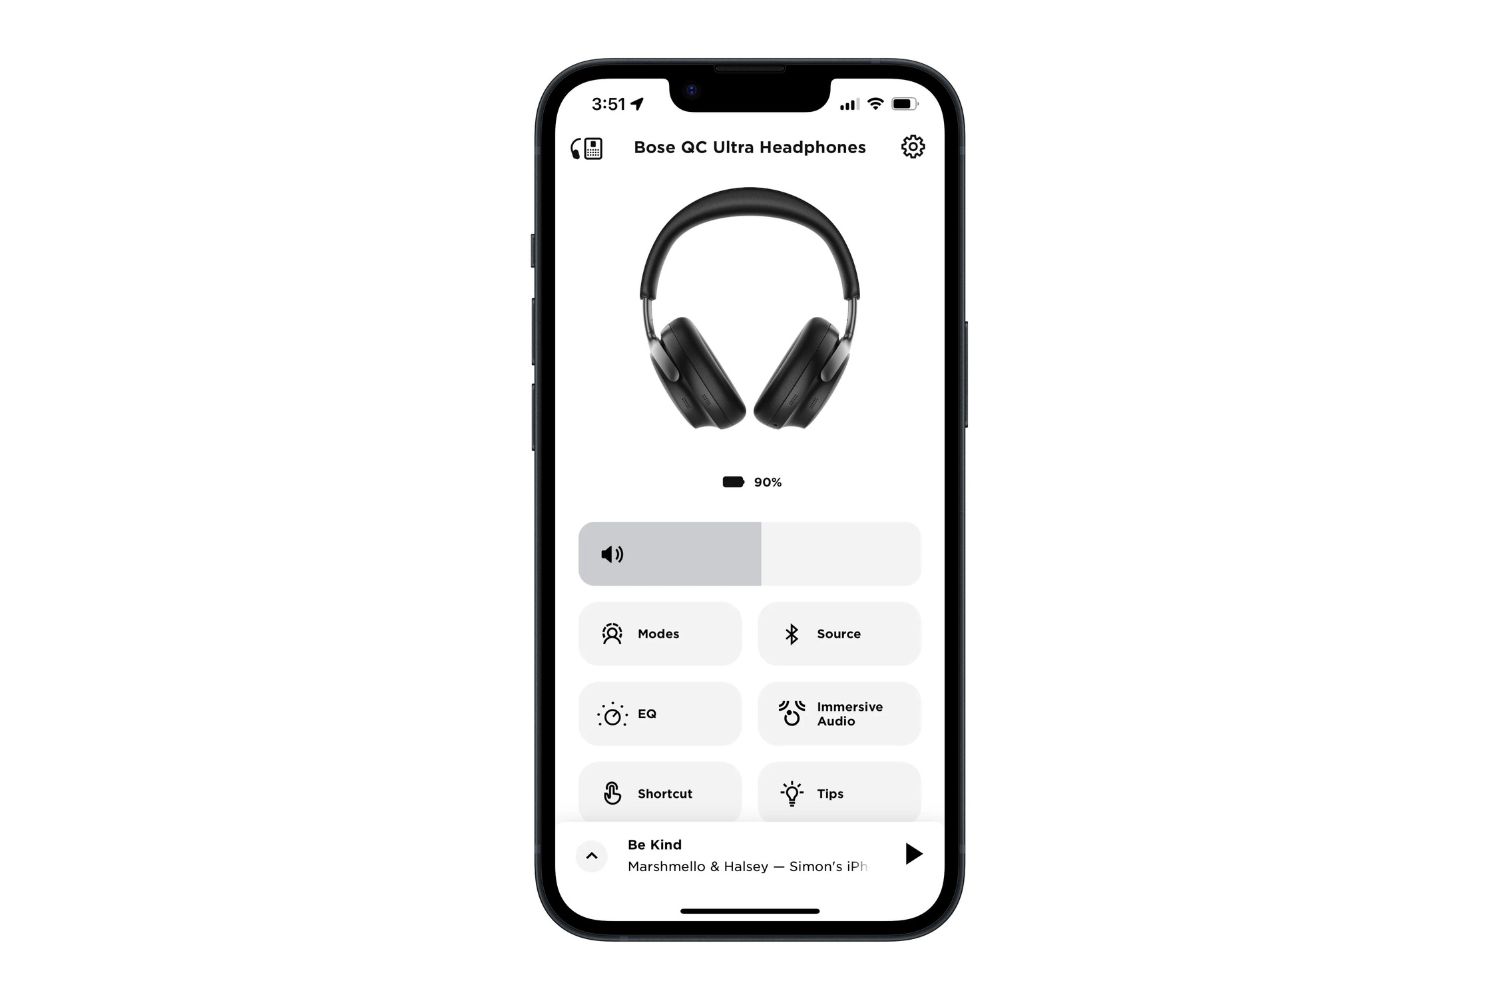
- Some devices may also display the battery level of your headphones. This information can be useful to monitor the battery usage and plan for recharging when needed.
At this point, your Bose headphones should be fully paired and ready to use with your device. You can now enjoy your favorite audio content wirelessly and experience the exceptional sound quality and noise cancellation features of your Bose headphones.
If you experience any issues during the pairing process or notice that the connection is unstable, you can troubleshoot the problem by following these general steps:
- Make sure your headphones are charged properly. A low battery level can affect the stability of the Bluetooth connection.
- Ensure that your Bose headphones are in close proximity to your device. Keeping them within the recommended Bluetooth range can help maintain a strong connection.
- If the connection is still unstable, try turning off both your device and your headphones, and then turning them back on to initiate a fresh connection.
- Lastly, if you continue to experience difficulties, consult the user manual for your specific Bose headphone model or contact Bose customer support for further assistance.
Now that your pairing process is complete and any troubleshooting has been done, you are now ready to move on to the final step: testing the connection.
Step 6: Test the connection
After completing the pairing process between your device and Bose Noise Cancelling headphones, it’s important to test the connection to ensure that everything is working correctly. Testing the connection allows you to verify that audio is being transmitted properly and that the headphones are functioning as expected.
Here are a few steps to test the connection:
- Play some audio on your device, such as a music track or a video with sound.
- Adjust the volume on both your device and the headphones to a comfortable level. You can control the volume either through your device or directly on the headphones, depending on the model you have.
- Listen carefully to ensure that the sound is coming through the headphones and not any other audio output source. If you can hear the audio clearly through the headphones, then the connection is successful.
- Walk around your environment to test the Bluetooth range. Ideally, you should be able to move around within the recommended Bluetooth range without any significant loss in audio quality or connection stability.
If you experience any issues during the testing phase, such as audio dropouts, static, or poor sound quality, you can try the following troubleshooting steps:
- Ensure that there are no obstacles (like walls or other devices) that could interfere with the Bluetooth signal between your device and the headphones.
- Move your device closer to the headphones to see if the connectivity improves.
- Check if there are any software updates available for your Bose headphones. Updating the firmware can often resolve connectivity issues and improve performance.
- If your headphones have multiple connected devices, try disconnecting them from other devices and only have them connected to the device you are currently testing.
By properly testing the connection, you can determine if the pairing process was successful and enjoy your audio without any disruptions or connectivity problems.
Congratulations! You have completed all the necessary steps to pair your Bose Noise Cancelling headphones with your device. You can now fully enjoy the exceptional sound quality and noise cancellation features that Bose headphones offer.
Conclusion
Pairing your Bose Noise Cancelling headphones with your device is a quick and straightforward process that enhances your audio experience by eliminating the need for wires. By following the step-by-step guide outlined in this article, you can easily connect your Bose headphones to a smartphone, tablet, or any other Bluetooth-enabled device.
Throughout the pairing process, we discussed the essential steps of turning on your headphones, activating pairing mode, enabling Bluetooth on your device, selecting your Bose headphones from the Bluetooth menu, completing the pairing process, and testing the connection. By carefully following these steps, you can establish a reliable and stable connection, ensuring optimal performance and audio playback.
It’s important to note that different Bose headphone models may have slight variations in the exact steps required for pairing. Consult your specific model’s user manual for detailed instructions if needed.
Remember, if you encounter any issues, such as connection dropouts or poor sound quality, refer to the troubleshooting tips provided in this guide. Additionally, contacting Bose customer support can provide further assistance in resolving any technical difficulties.
Now that you have successfully paired your Bose Noise Cancelling headphones with your device, you can enjoy a wireless audio experience without compromising on sound quality. Whether you’re immersing yourself in your favorite music or enjoying a movie, the freedom and convenience of wireless headphones enhance your overall listening pleasure.
So, put on your Bose headphones and lose yourself in the music, while enjoying the benefits of noise cancellation technology and the wireless capabilities that make Bose headphones renowned in the audio industry.