Introduction
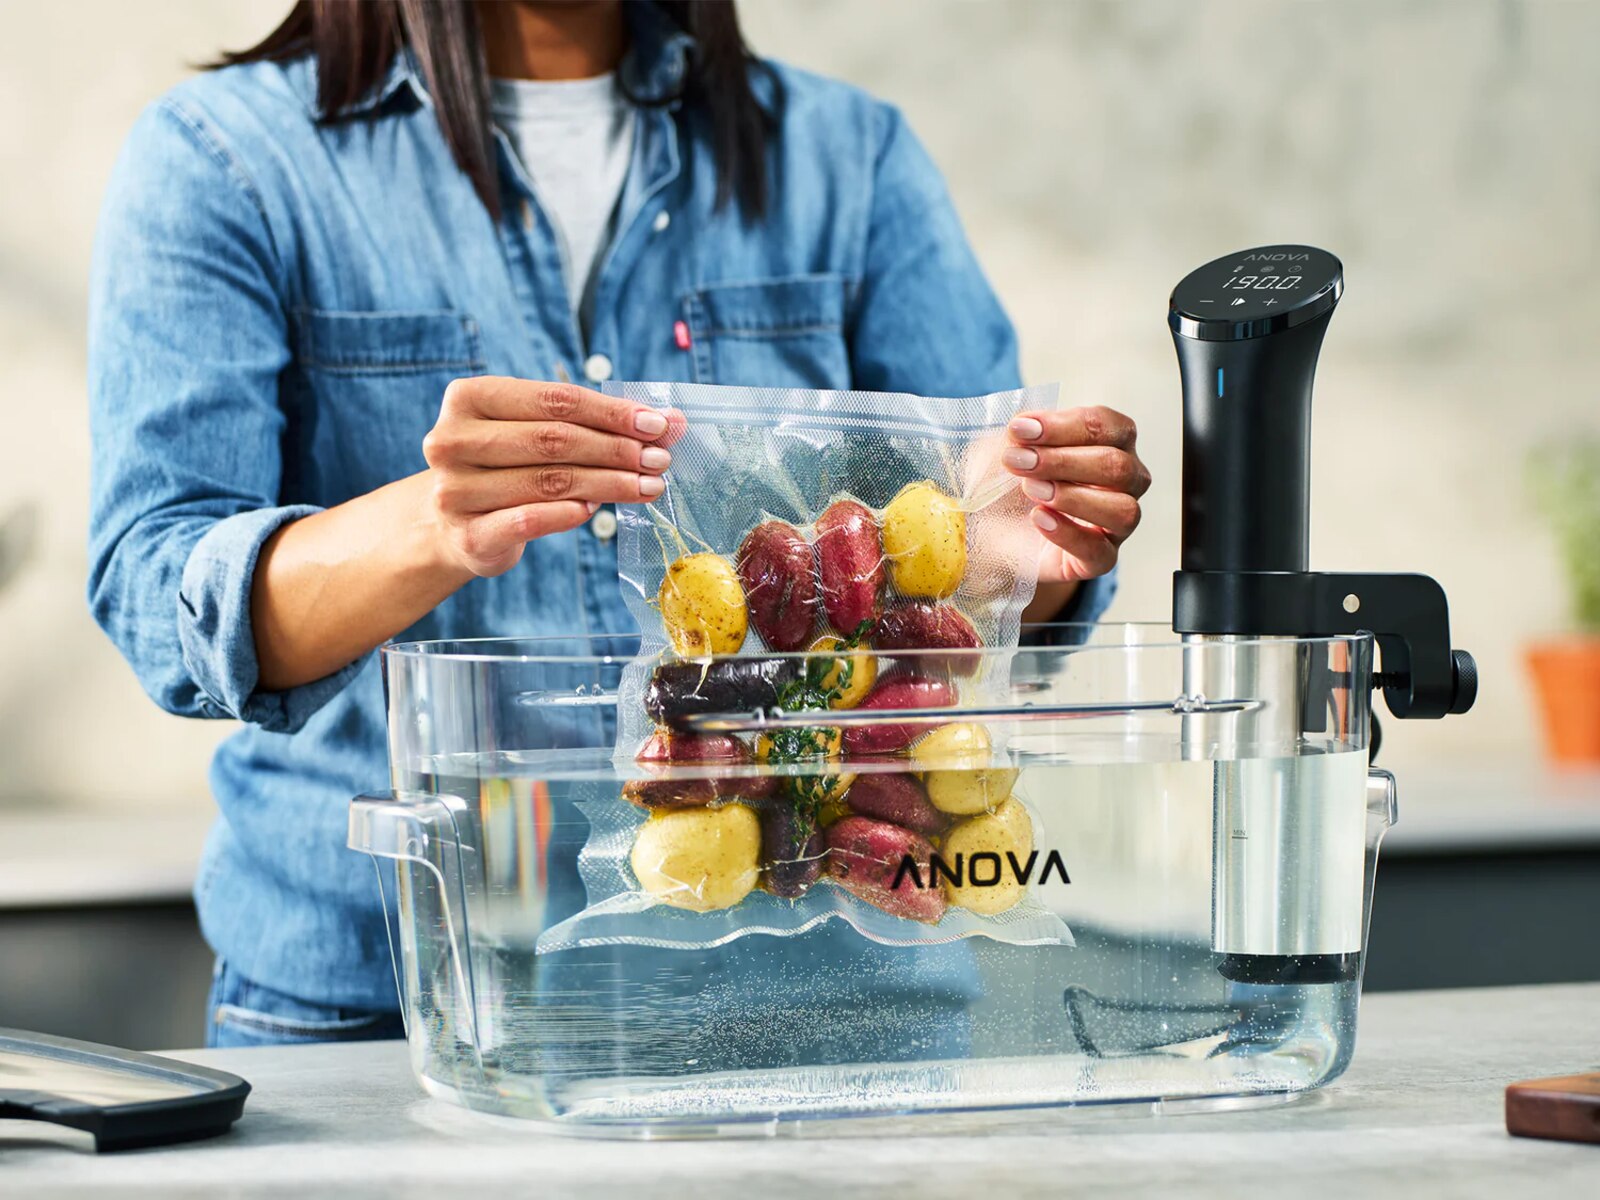
Welcome to the world of sous vide cooking, where precision and taste unite to create perfectly cooked dishes. Sous vide, which means “under vacuum” in French, is a cooking technique that involves sealing food in a vacuum-sealed bag and cooking it in a water bath at a precise temperature. This method is favored by professional chefs and home cooks alike for its ability to cook food evenly and retain its natural flavors and moisture.
Building your own sous vide machine is not only a fun project, but it also allows you to explore the world of sous vide cooking without breaking the bank. In this guide, you will learn how to make your very own sous vide machine using common household items and a few key components.
In this step-by-step tutorial, we will guide you through the process of building a sous vide machine from scratch. You will need a few basic equipment, including a container, a heating element, a temperature controller, and a water pump. With these components in place, you will have the foundation to create a sous vide machine that will produce consistent and delicious results.
By the end of this guide, you will have the knowledge and skills to create your own sous vide machine, allowing you to unlock the full potential of sous vide cooking in your kitchen. Whether you are a seasoned chef or a novice in the culinary world, this DIY project will add a new dimension to your cooking repertoire and elevate your meals to a whole new level.
So, let’s dive in and embark on this exciting sous vide adventure together!
Equipment Needed
Before you start assembling your homemade sous vide machine, make sure you have all the necessary equipment. Here are the key components you will need:
- A Container: You will need a deep and wide container to hold the water bath. It should be large enough to accommodate the size of the food you plan to cook. A food-grade plastic container or a stainless steel stockpot would work well.
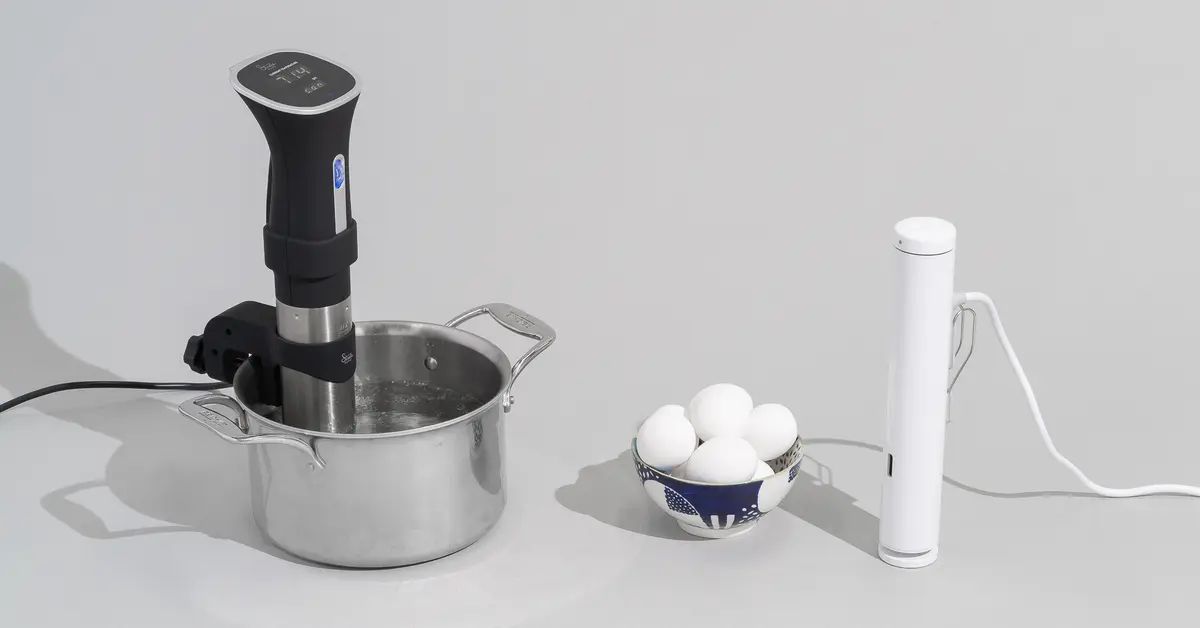
- A Heating Element: The heating element is responsible for heating the water to the desired temperature. You can use a variety of options, such as an immersion heater, a heating coil, or even a rice cooker element. Ensure that the heating element is safe for submerging in water and can maintain a precise and consistent temperature.
- A Temperature Controller: The temperature controller is essential for maintaining the water bath at a specific temperature. You can opt for a PID (Proportional Integral Derivative) controller or a digital thermostat. It should have the capability to regulate the temperature with precision.
- A Water Pump: A water pump is necessary to circulate the water in the container, ensuring even distribution of heat and maintaining a constant temperature throughout the bath. You can use an aquarium pump or a submersible pump specifically designed for sous vide cooking.
- Vacuum-Sealed Bags: To cook food sous vide, you will need vacuum-sealed bags or sous vide pouches. These bags are specifically designed to withstand high temperatures and are ideal for sealing in the flavors and juices of the food while cooking.
- Sealing Device: You will need a vacuum sealer or airtight ziplock bags for sealing the food before cooking. A vacuum sealer is the preferred option as it ensures airtight sealing, but if you don’t have one, you can use ziplock bags and the water displacement method to remove the air.
- Optional Accessories: While not essential, there are a few accessories that can enhance your sous vide cooking experience. These include a sous vide rack to hold the food in place, a sous vide weight to prevent floatation, and sous vide containers or lids to minimize heat loss.
Ensure that you have all the necessary equipment before proceeding with the assembly of your homemade sous vide machine. Having the right tools and components will set you up for success and enable you to fully enjoy the benefits of sous vide cooking.
Step 1: Prepare the Container
The first step in building your own sous vide machine is to prepare the container that will hold the water bath. Here’s how to do it:
- Select the Right Container: Choose a container that is deep enough to fully submerge your food and wide enough to allow for proper water circulation. A food-grade plastic container or a stainless steel stockpot works well for this purpose. Make sure it is clean and free from any contaminants before use.
- Insulate the Container: Insulating your container will help maintain a consistent water temperature throughout the cooking process. You can insulate your container by placing it inside a polystyrene box or wrapping it with insulating material such as towels or bubble wrap.
- Add a Lid (Optional): If your container does not come with a lid, consider using a cover to minimize heat loss. This will help maintain a steady temperature and reduce the amount of evaporation during cooking. You can use aluminum foil or a custom-fit lid specifically designed for sous vide cooking.
- Check Water Capacity: Before proceeding, ensure that your container can hold enough water to fully submerge your food and accommodate the heating element without overflowing. Leave enough space at the top to prevent water from splashing out during the cooking process.
- Position the Container: Place your container in a location that is convenient for cooking and safe from any potential hazards. Keep in mind that the water bath will need to be circulating for an extended period, so choose a sturdy surface that can support the weight and vibrations of the sous vide machine.
By following these steps, you will have a well-prepared container that is ready for the next stage of assembling your homemade sous vide machine. Preparing the container correctly will ensure optimal cooking conditions and help you achieve the best results with your sous vide cooking adventures.
Step 2: Assemble the Heating Element
Once you have prepared the container, it’s time to assemble the heating element. The heating element is responsible for raising the water bath to the desired temperature. Here’s how you can do it:
- Select the Heating Element: There are several options for a heating element, such as an immersion heater, a heating coil, or a rice cooker element. Choose an option that is safe for submerging in water and can maintain a precise and consistent temperature.
- Position the Heating Element: Place the heating element in the container, ensuring that it is fully submerged in water and securely positioned. The location of the heating element will depend on the design and size of your container. Ideally, it should be positioned in a way that allows for even heat distribution throughout the water bath.
- Connect the Heating Element: Depending on the type of heating element you have chosen, you may need to connect it to a power source or a temperature controller. Follow the manufacturer’s instructions for proper installation and wiring. If you are unsure, consult an electrician or someone with knowledge in electrical wiring.
- Ensure Proper Insulation: Insulate the heating element to minimize heat loss and improve energy efficiency. You can use insulating material such as foam or heat-resistant tape to wrap around the heating element. This will help maintain a stable water temperature throughout the cooking process.
- Test the Heating Element: Before moving on to the next step, test the heating element to ensure it is functioning properly. Fill the container with water, set the desired temperature on the temperature controller (if applicable), and monitor the water temperature as the heating element operates. Verify that the temperature rises and stabilizes as expected.
With the heating element properly assembled and in place, your homemade sous vide machine is one step closer to being fully functional. Take your time to ensure the heating element is secure and functioning correctly, as it is a crucial component in achieving precise and consistent temperature control for your sous vide cooking.
Step 3: Install the Temperature Controller
Installing the temperature controller is an essential step in building your homemade sous vide machine. The temperature controller allows you to set and maintain the desired temperature for the water bath. Here’s how you can install it:
- Select the Temperature Controller: Choose a temperature controller that is suitable for sous vide cooking and compatible with your heating element. A PID (Proportional Integral Derivative) controller or a digital thermostat are commonly used for this purpose. Ensure that it has the necessary features to regulate temperature accurately.
- Find a Suitable Location: Decide on the location where you want to place the temperature controller. This can be inside or outside the container, depending on the design and wiring preferences. Ensure that the location is easily accessible and that the controller is protected from water splashes and other potential hazards.
- Install the Temperature Sensor: Connect the temperature sensor to the temperature controller according to the manufacturer’s instructions. The sensor is responsible for measuring the water temperature and relaying the information to the controller. Place the sensor in a central location in the water bath for accurate temperature readings.
- Connect the Heating Element: If your temperature controller is not integrated with the heating element, you’ll need to connect them. Follow the manufacturer’s instructions to wire the temperature controller to the heating element. Ensure proper electrical connections to avoid any safety risks.
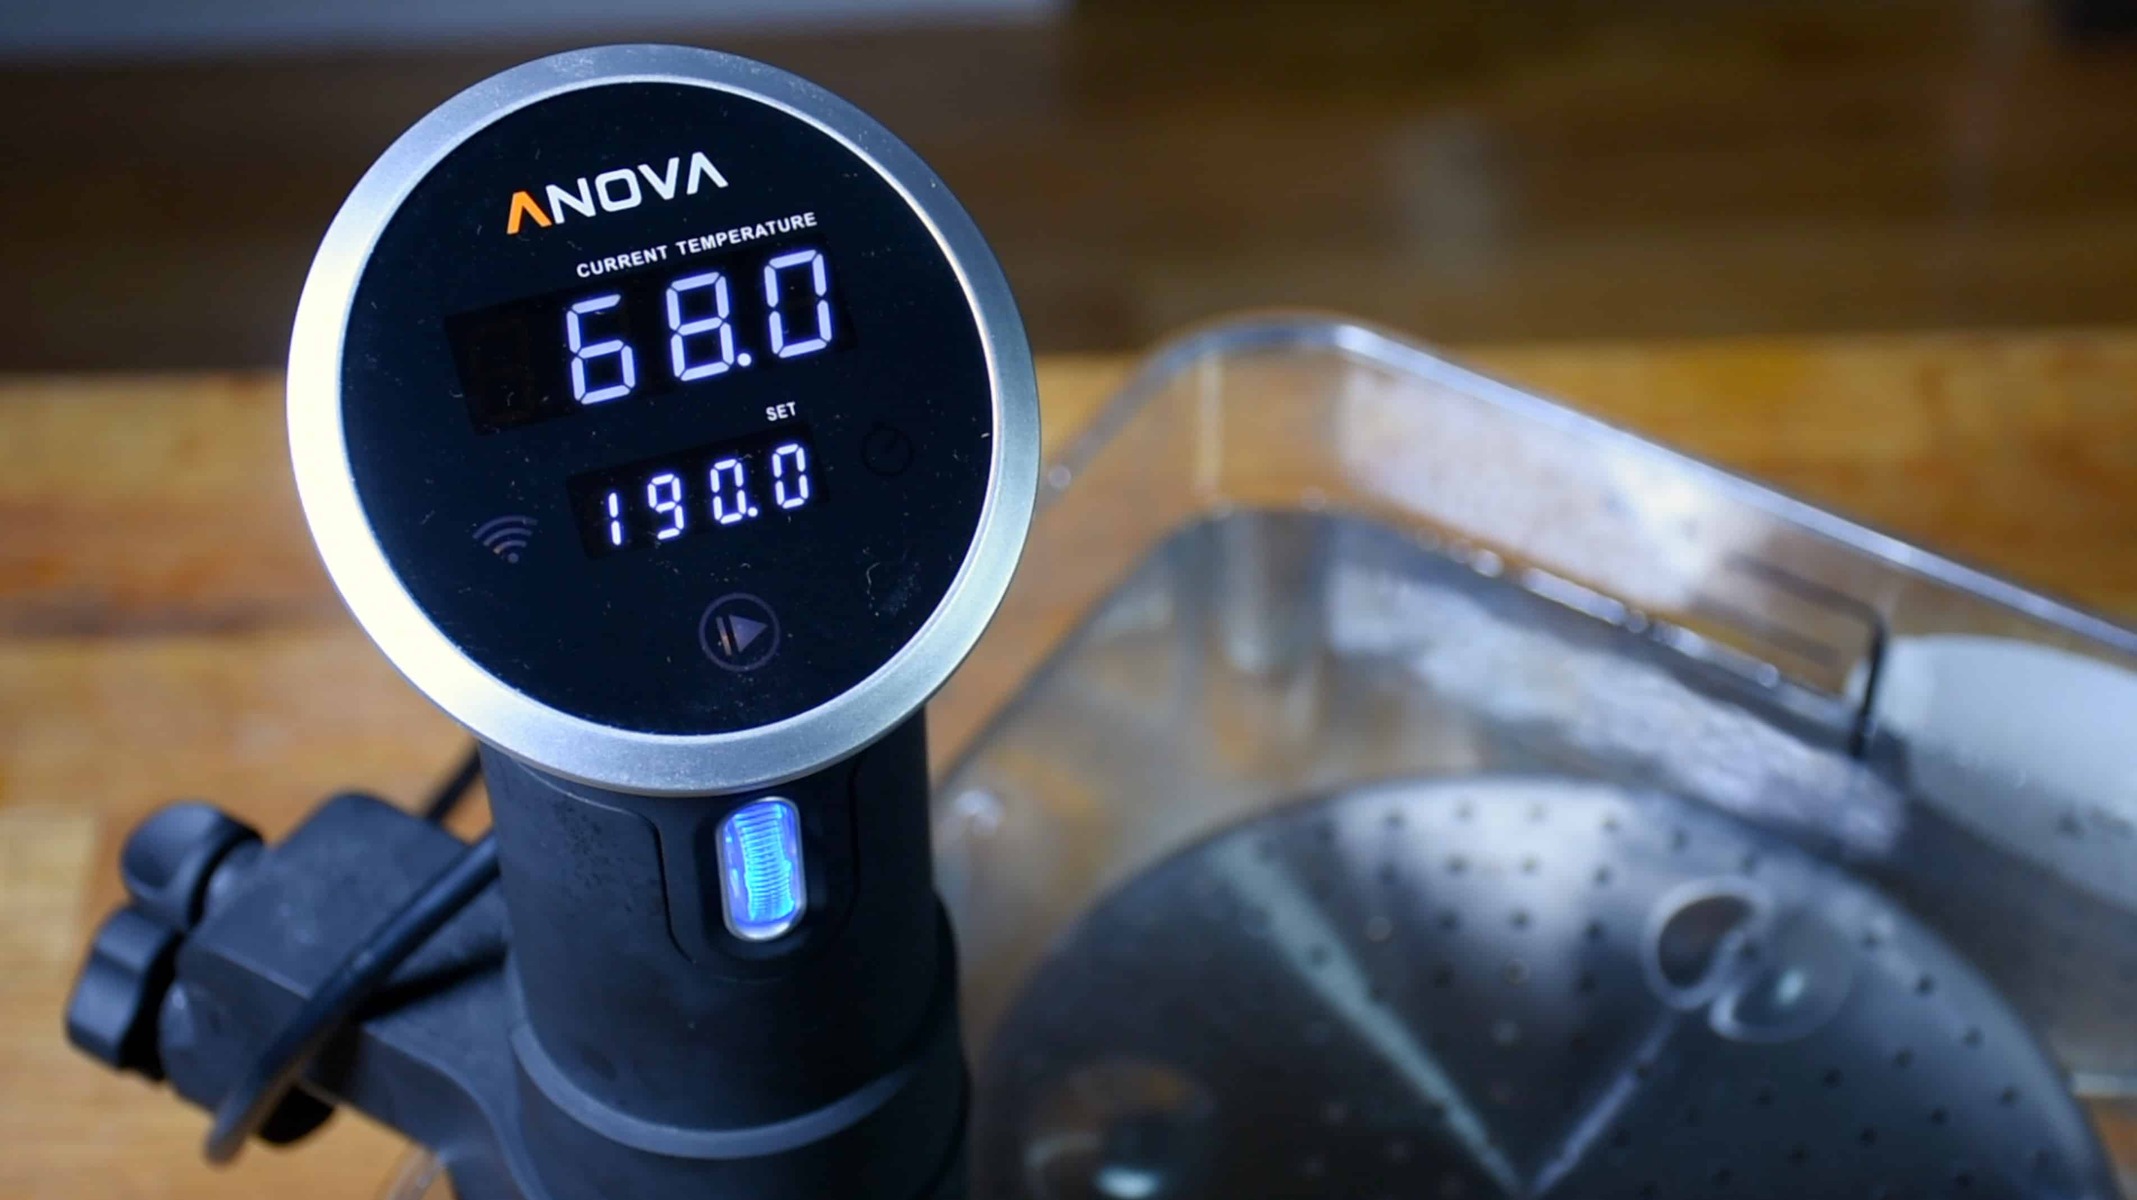
- Set the Desired Temperature: Once the temperature controller is connected and powered on, set the desired temperature for your sous vide cooking. The controller should have an interface that allows you to input and adjust the temperature accurately. Consult the user manual of your specific temperature controller for detailed instructions.
- Test the Temperature Control: Test the functionality of the temperature controller by monitoring the water temperature as the heating element operates. Ensure that the temperature remains stable and accurate within a close range of the set temperature. Make any necessary adjustments to ensure precise temperature control.
Installing the temperature controller is a critical step in achieving precise and consistent temperature control for your sous vide cooking. Take the time to carefully connect and configure the temperature controller, ensuring that it is functioning properly before moving on to the next steps of assembling your homemade sous vide machine.
Step 4: Attach the Water Pump
The water pump plays a crucial role in circulating the water in the container, ensuring even heat distribution and maintaining a constant temperature throughout the water bath. Here’s how you can attach the water pump to your homemade sous vide machine:
- Select a Suitable Water Pump: Choose a water pump that is appropriate for your container size and the volume of water it can circulate. An aquarium pump or a submersible pump specifically designed for sous vide cooking are commonly used options. Make sure the pump has sufficient power and flow rate for effective water circulation.
- Position the Water Pump: Place the water pump in a position that allows for optimal water circulation. Ideally, it should be positioned near the heating element so that the heated water is effectively circulated throughout the water bath. Ensure that the pump is fully submerged in water and securely placed to avoid any movement or displacement during operation.
- Connect the Water Pump: Connect the water pump to the power source using the appropriate cables or connectors. Some pumps may require additional accessories like tubing or hoses to connect them to the container. Follow the manufacturer’s instructions to ensure proper connections and prevent any potential water leaks or electrical hazards.
- Test the Water Pump: Before proceeding, test the water pump to ensure that it is functioning correctly. Power on the pump and observe if there’s a steady flow of water circulating in the container. Verify that the pump creates sufficient movement to distribute heat evenly and maintain a consistent water temperature. Make any necessary adjustments or repairs if the pump is not operating as expected.
- Check for Water Leaks: Once the water pump is running smoothly, check for any water leaks around the pump and its connections. Ensure that all seals and fittings are properly secured to prevent water from escaping or entering areas where it should not be. Address any leaks promptly to maintain the integrity of your sous vide machine.
By attaching the water pump to your homemade sous vide machine, you ensure efficient water circulation and temperature control during the cooking process. Take your time to position and connect the water pump properly, and thoroughly test it to ensure that it is operating effectively and maintaining the desired water temperature.
Step 5: Add Water and Set the Temperature
With the essential components of your homemade sous vide machine in place, it’s time to add water to the container and set the desired temperature for your sous vide cooking. Here’s how you can complete this step:
- Add Water to the Container: Fill the container with clean, potable water, ensuring that the water level is sufficient to fully submerge the food you plan to cook. Leave enough space at the top to prevent overflow when the food and vacuum-sealed bags are added. It’s essential to use enough water to cover the heating element while maintaining a safe water level.
- Preheat the Water: Depending on your heating element and temperature controller, you may need to preheat the water to the desired cooking temperature. Follow the instructions provided with your specific equipment to achieve the appropriate preheating process. Heating the water beforehand can help reduce the time needed to reach the target temperature and ensure proper temperature control during cooking.
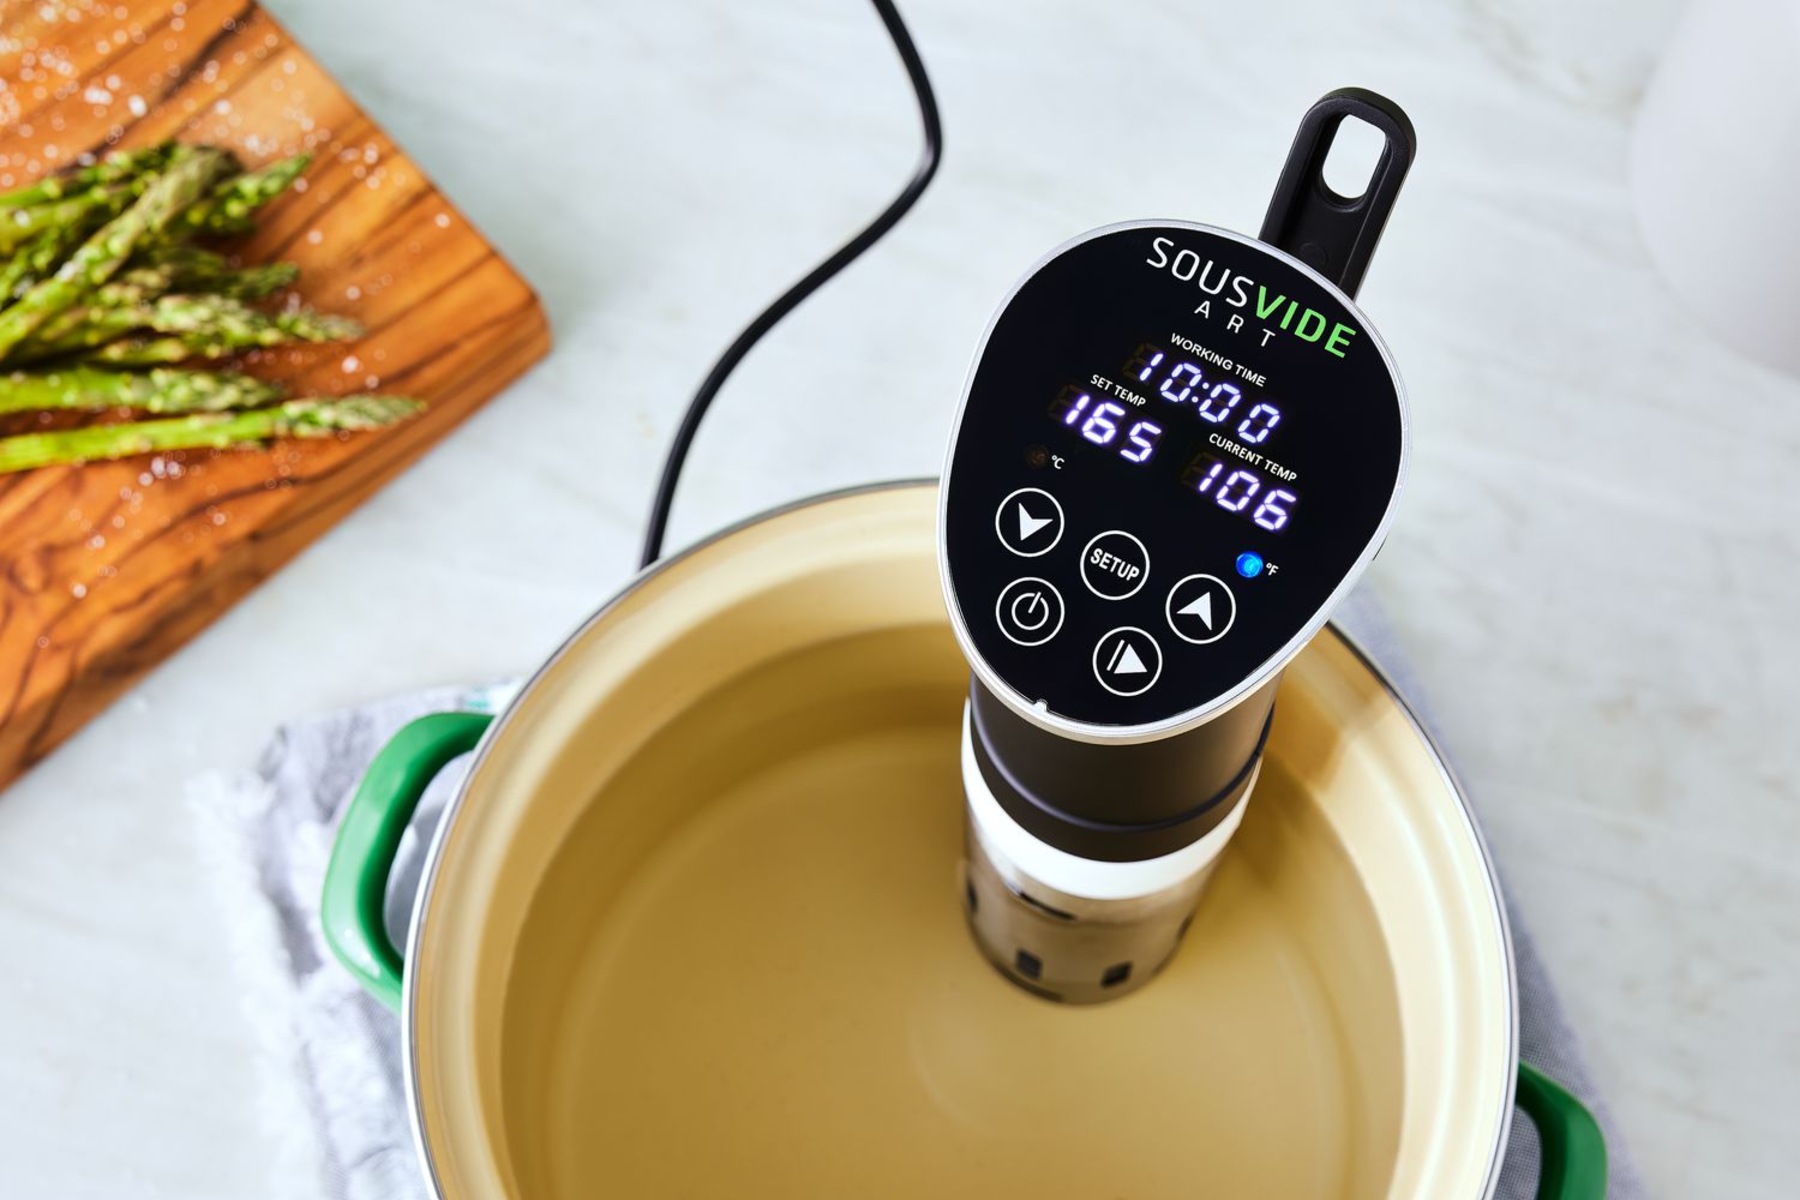
- Set the Desired Temperature: Using the temperature controller, set the cooking temperature for your sous vide dish. Ensure that the temperature is accurately set to the desired level, as this is crucial for achieving your desired cooking results. Take into account the recommended cooking temperature for the specific food you are cooking to ensure optimum taste and texture.
- Monitor Water Temperature: Keep a close eye on the water temperature as it stabilizes and throughout the cooking process. The temperature controller should automatically regulate and maintain the set temperature. However, occasional monitoring is important to ensure consistent temperature control. Make adjustments to the temperature controller if necessary to maintain the desired cooking temperature.
- Do Not Overfill the Container: Be cautious not to exceed the maximum water capacity of the container, as the displacement caused by adding food and vacuum-sealed bags may cause spills or overflow. Maintaining the water level within the appropriate range is essential for proper functioning and safety of your sous vide machine.
- Wait for the Water to Reach the Set Temperature: Allow enough time for the water in the container to reach the desired cooking temperature before adding the food. Different machines and heating elements may vary in terms of speed and effectiveness, so exercise patience and wait until the water reaches the set temperature consistently.
By following these steps, you can add water to your homemade sous vide machine and set the desired temperature for your cooking. Ensuring accurate temperature control is vital for achieving perfectly cooked sous vide dishes, so pay attention to the water level, temperature settings, and monitoring throughout the cooking process.
Step 6: Test the Sous Vide Machine
After assembling your homemade sous vide machine and setting the desired cooking temperature, it’s crucial to test the machine before proceeding with elaborate cooking recipes. Testing allows you to verify the functionality, accuracy, and stability of your setup. Here’s how to perform a thorough test:
- Select a Test Recipe: Choose a simple recipe or test food to gauge your sous vide machine’s performance. Opt for something that requires a specific temperature and cooking time, allowing you to validate the precision of your setup.
- Prepare the Test Food: Follow the recipe instructions to prepare the test food, ensuring it is seasoned and securely placed in a vacuum-sealed bag. Make sure the bag is properly sealed to prevent any leaks during the cooking process.
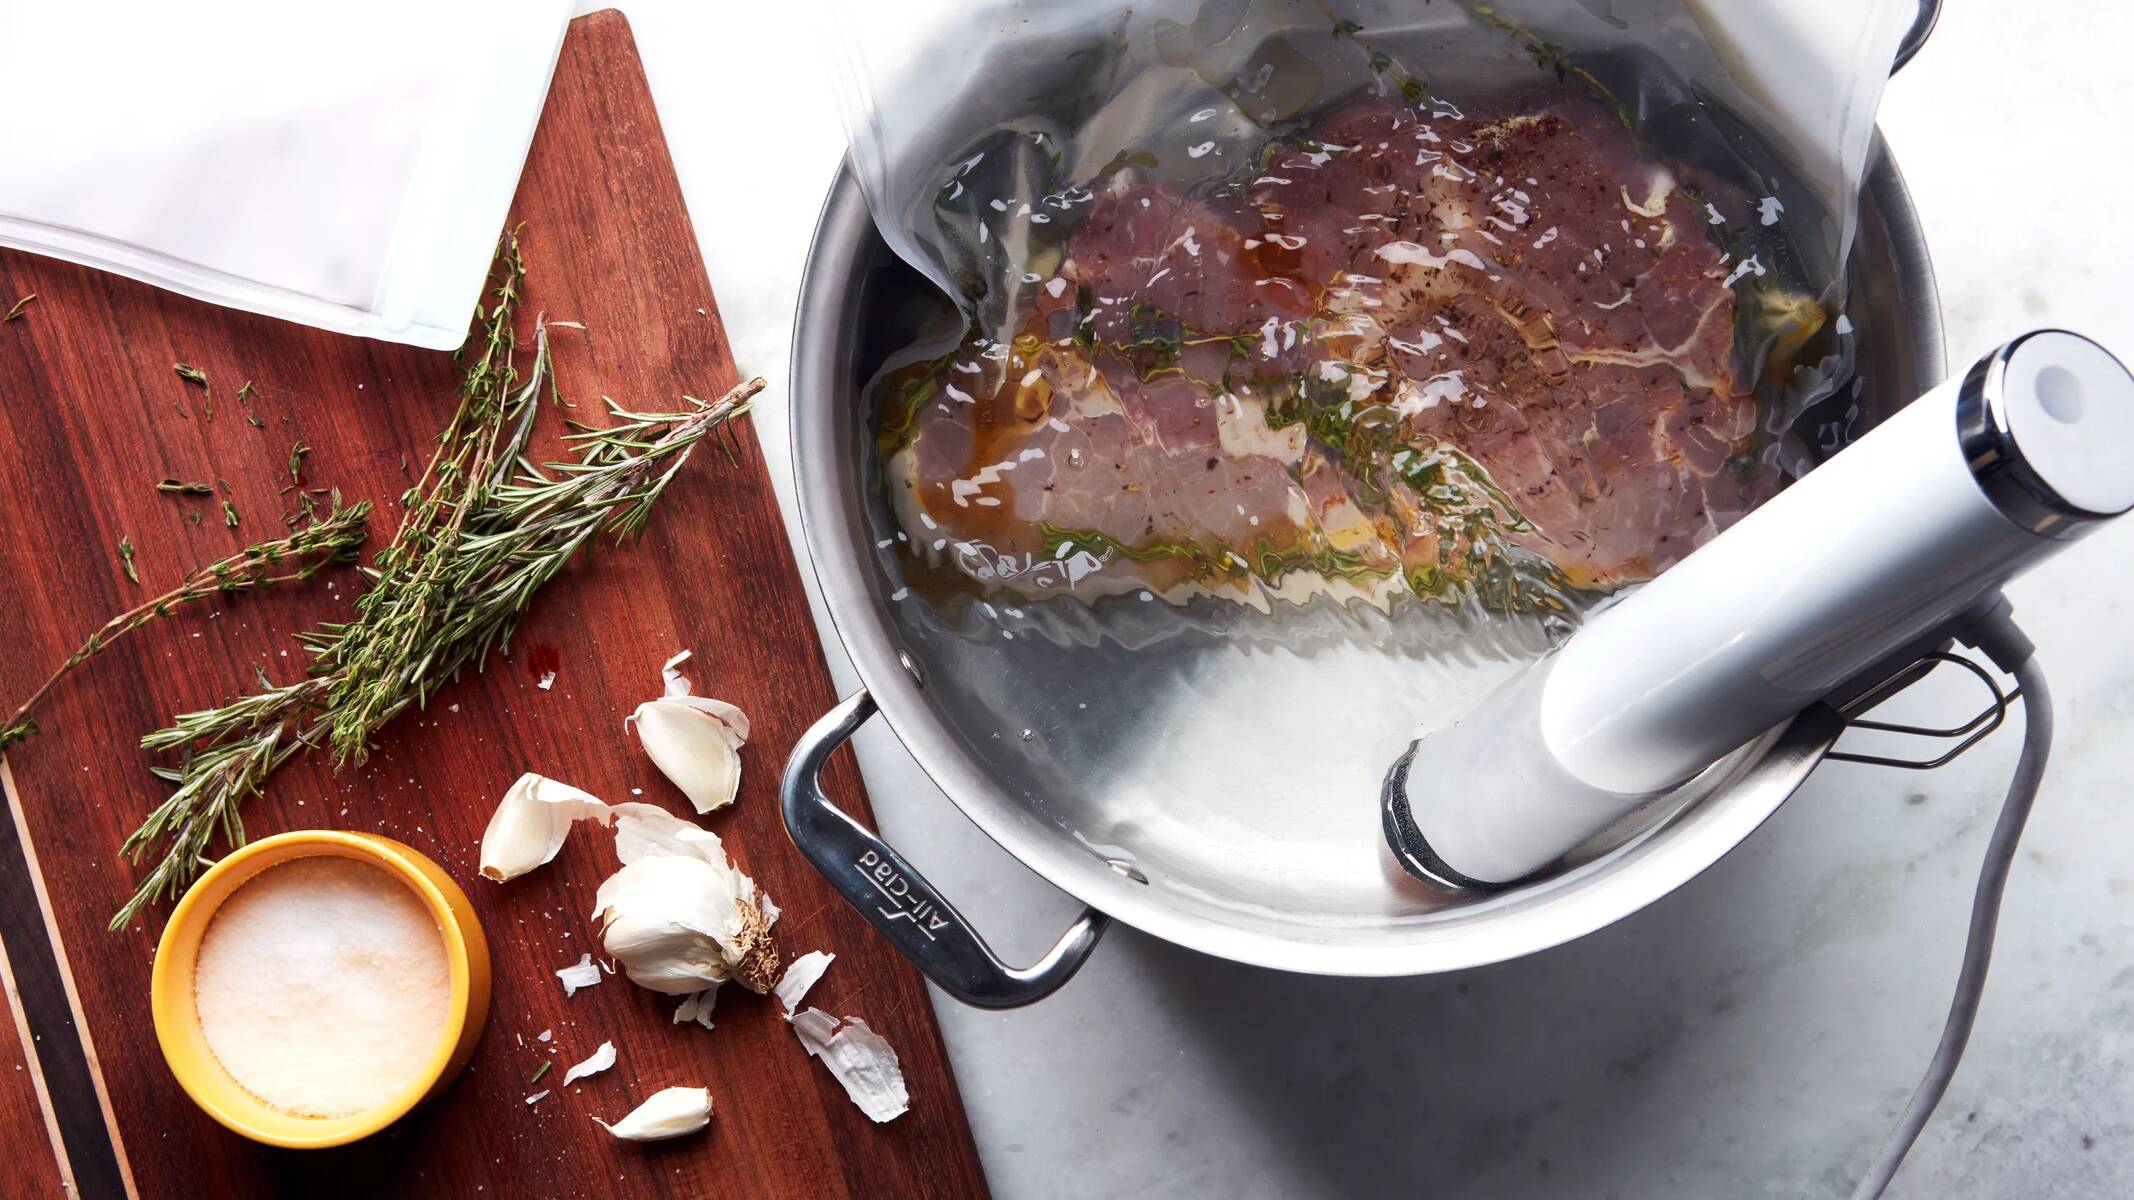
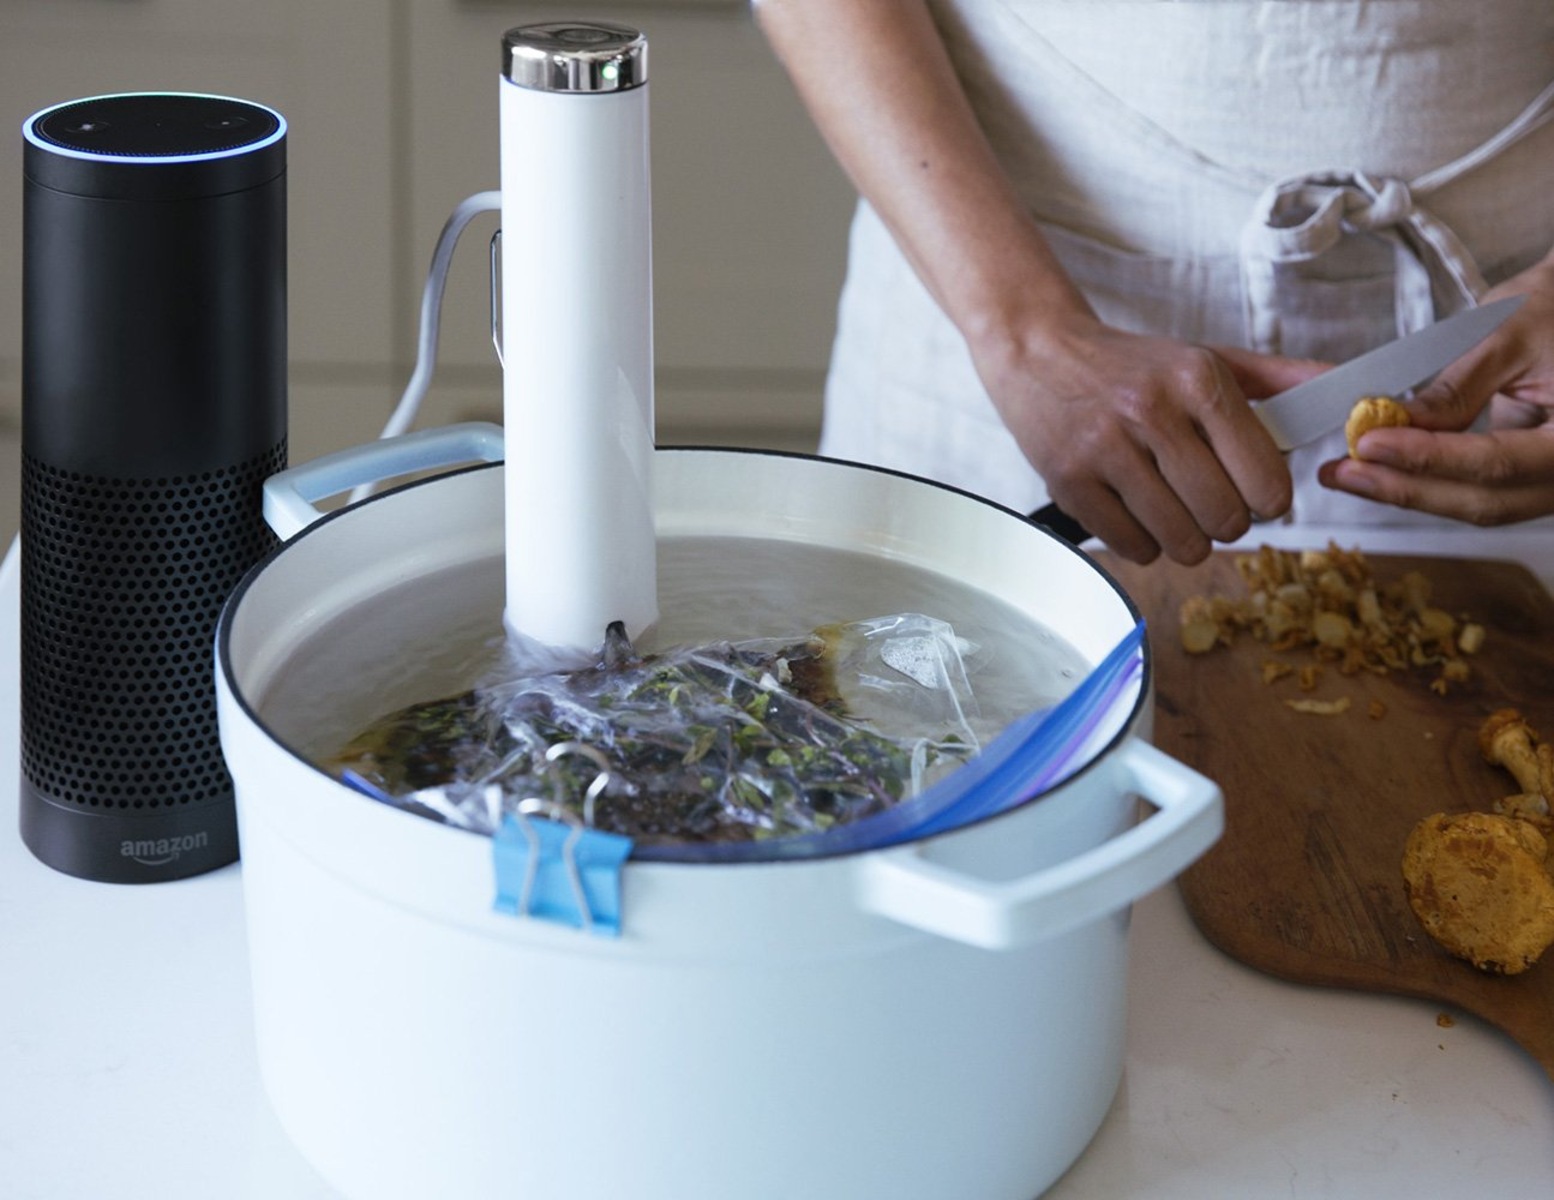
- Submerge the Bag in the Water Bath: Gently place the bagged test food into the water bath, ensuring it is fully submerged. Take caution not to obstruct the water circulation or interfere with the heating element or temperature sensor.
- Monitor the Cooking Process: Keep a close eye on the cooking process, verifying that the water temperature remains stable and consistent. Use a reliable thermometer to cross-reference the temperature displayed on the temperature controller to ensure accuracy.
- Assess the Cooking Results: Once the test food has cooked for the recommended time, remove it from the water bath and examine the results. Check if the food is cooked evenly, retains moisture, and has the desired texture and doneness level.
- Adjustments and Fine-tuning: Based on the test results, make any necessary adjustments to your sous vide machine. This may include calibrating the temperature controller, fine-tuning the water circulation, or modifying the setup to improve performance.
- Conduct Additional Tests if Needed: If the initial test produced satisfactory results, you can proceed with more complex recipes and different types of foods to further evaluate the performance of your homemade sous vide machine.
Through rigorous testing, you can gain confidence in the reliability and effectiveness of your sous vide machine. Any necessary adjustments or fine-tuning can be done during this step to ensure optimal results in future cooking endeavors.
Conclusion
Congratulations! You have successfully built your own homemade sous vide machine. By following this step-by-step guide, you now have the knowledge and skills to unlock the full potential of sous vide cooking in your own kitchen. Crafting your sous vide machine allows for precision and control over the cooking process, resulting in perfectly cooked dishes with enhanced flavors and textures.
Through the process of assembling your sous vide machine, you have learned the importance of selecting the right equipment, preparing the container, assembling the heating element, installing the temperature controller, attaching the water pump, and setting the desired temperature. Each step plays a crucial role in creating the optimal cooking environment for sous vide cuisine.
Remember, the key to successful sous vide cooking lies in precision and accuracy. Regularly monitor and test your machine to ensure it functions reliably and maintains a stable temperature throughout the entire cooking process. Make any necessary adjustments or fine-tuning based on your test results to continue improving the performance of your sous vide machine.
Now that you have your very own sous vide machine, it’s time to explore the endless possibilities of sous vide cooking. From succulent steaks and tender chicken breasts to perfectly cooked vegetables and delectable desserts, the world of sous vide is at your fingertips. Experiment with different recipes, flavors, and cooking times to create culinary masterpieces that will impress family and friends.
Enjoy the journey of sous vide cooking and savor the incredible dishes you will create. With your homemade sous vide machine, you have unlocked a new realm of culinary creativity and elevated the quality of your meals. So, dive in and embrace the precision, taste, and convenience that sous vide cooking has to offer.