Introduction
Welcome to our guide on how to fix a rattling fan on your CPU cooler. If you’re experiencing an annoying rattling noise coming from your computer, it’s likely that the fan on your CPU cooler is the culprit. This can not only be irritating but can also affect the cooling efficiency of your system and potentially lead to overheating.
When your CPU fan starts making rattling noises, it could indicate several issues ranging from dirt and debris buildup to loose screws or worn-out bearings. Fortunately, in most cases, you can resolve these problems with a few simple methods. However, it’s important to address this issue promptly to prevent any further damage to your equipment.
In this article, we will walk you through various troubleshooting steps to fix the rattling fan on your CPU cooler. We will cover methods such as cleaning the fan and heatsink, tightening loose screws, replacing worn-out bearings, using rubber grommets or isolation pads, and adjusting fan speed or fan curves.
Before we dive into the solutions, it’s important to note that if you are not comfortable working with computer hardware or lack experience, it is always advisable to consult a professional or seek assistance from a knowledgeable individual. This will ensure that you don’t unintentionally cause any damage to your system.
Now, let’s get started and learn how to fix that annoying rattling fan on your CPU cooler!
Why is the fan on your CPU cooler rattling?
There are several reasons why the fan on your CPU cooler may start to rattle. Understanding the causes can help you troubleshoot and fix the issue effectively. Here are some common reasons why your CPU cooler fan might be rattling:
- Dirt and debris: Over time, dust, dirt, and debris can accumulate on the fan blades and the heatsink of your CPU cooler. This buildup can cause imbalance and lead to the fan rattling.
- Loose screws: The screws that hold the CPU cooler fan in place may become loose due to vibrations or improper installation. This can result in the fan rattling as it spins.
- Worn-out bearings: The fan on your CPU cooler has small bearings that allow it to rotate smoothly. Over time, these bearings can wear out, causing the fan to wobble and produce rattling noises.
- Contact with other components: Sometimes, the CPU cooler fan may come into contact with other components inside the computer case, such as cables or the graphics card. This contact can cause vibrations and result in rattling.
- Fan speed or fan curves: If the fan speed is set too high or the fan curves are not optimized, it can cause unnecessary vibrations and consequently result in a rattling noise.
It’s important to identify the specific reason why your CPU cooler fan is rattling, as this will help you choose the most appropriate troubleshooting method. By addressing the root cause of the problem, you can effectively eliminate the rattling noise and ensure the optimal performance and longevity of your CPU cooler.
How to troubleshoot the issue
When dealing with a rattling fan on your CPU cooler, it’s essential to follow a systematic approach to troubleshoot and resolve the issue. Here are the steps you can take to troubleshoot the problem effectively:
- Step 1: Identify the source: Start by locating the source of the rattling noise. It may be coming from the CPU cooler fan itself or from another component within the case. Identifying the source will help you narrow down the troubleshooting process.
- Step 2: Power off your computer: Before working on your CPU cooler, make sure to power off your computer and unplug it from the power source. This will prevent any accidental damage or electrical shock.
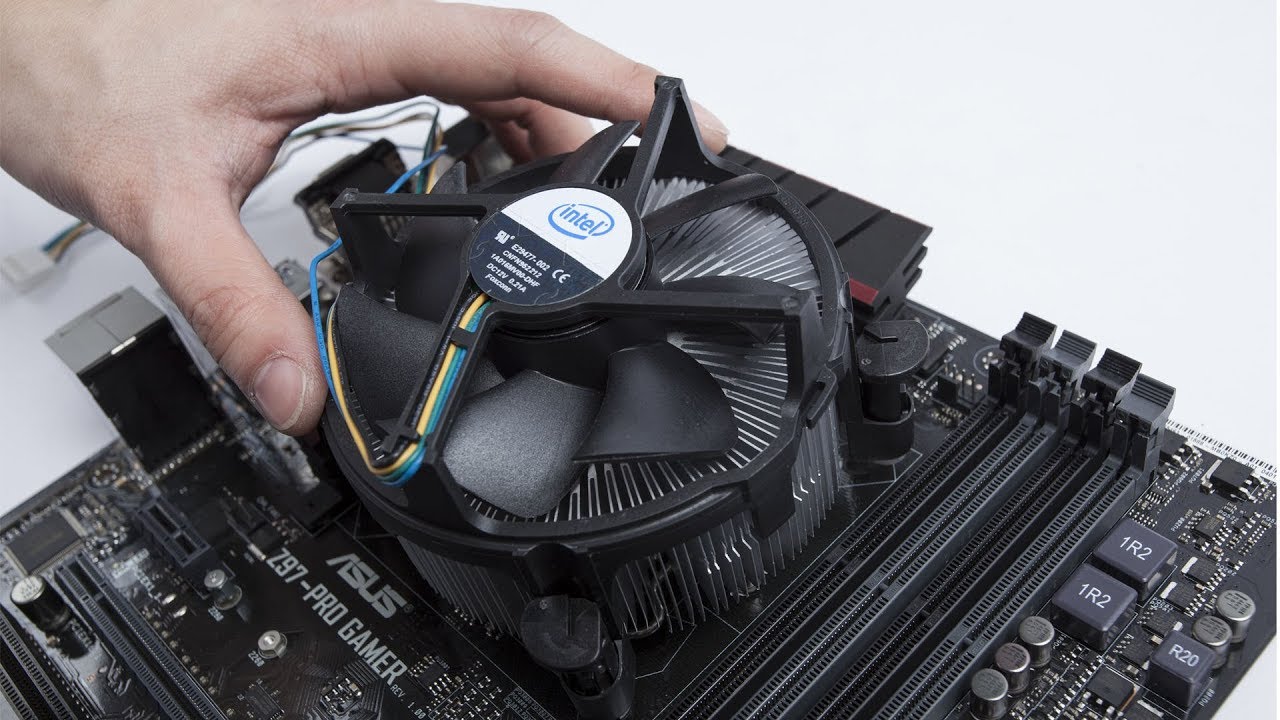
- Step 3: Open the computer case: Remove the side panel of your computer case to gain access to the internal components. This will allow you to inspect the CPU cooler fan and related components more effectively.
- Step 4: Inspect for dirt and debris: Carefully examine the CPU cooler fan and the heatsink for any visible dirt, dust, or debris. Use compressed air or a soft brush to clean off any buildup that may be causing an imbalance in the fan.
- Step 5: Check for loose screws: Ensure that all screws holding the CPU cooler fan and heatsink in place are tight. Gently tighten any loose screws using a screwdriver, but be careful not to overtighten them.
- Step 6: Examine the fan bearings: If the rattling persists, it may indicate worn-out fan bearings. Gently spin the fan and listen for any unusual noises or resistance. If necessary, consider replacing the fan to resolve the issue.
- Step 7: Check for component interference: Make sure that the CPU cooler fan is not coming into contact with any other components inside the case. Adjust its positioning if needed and ensure proper clearance.
- Step 8: Adjust fan speed or fan curves: If all else fails and the rattling noise persists, try adjusting the fan speed or fan curves in the BIOS or through fan control software. Sometimes, reducing the fan speed or optimizing the fan curves can help eliminate vibrations and reduce the rattling.
Remember, it’s crucial to proceed with caution and follow the manufacturer’s guidelines when working with computer hardware. If you are unsure or uncomfortable with any of the troubleshooting steps, consider seeking assistance from a professional to avoid causing further damage to your system.
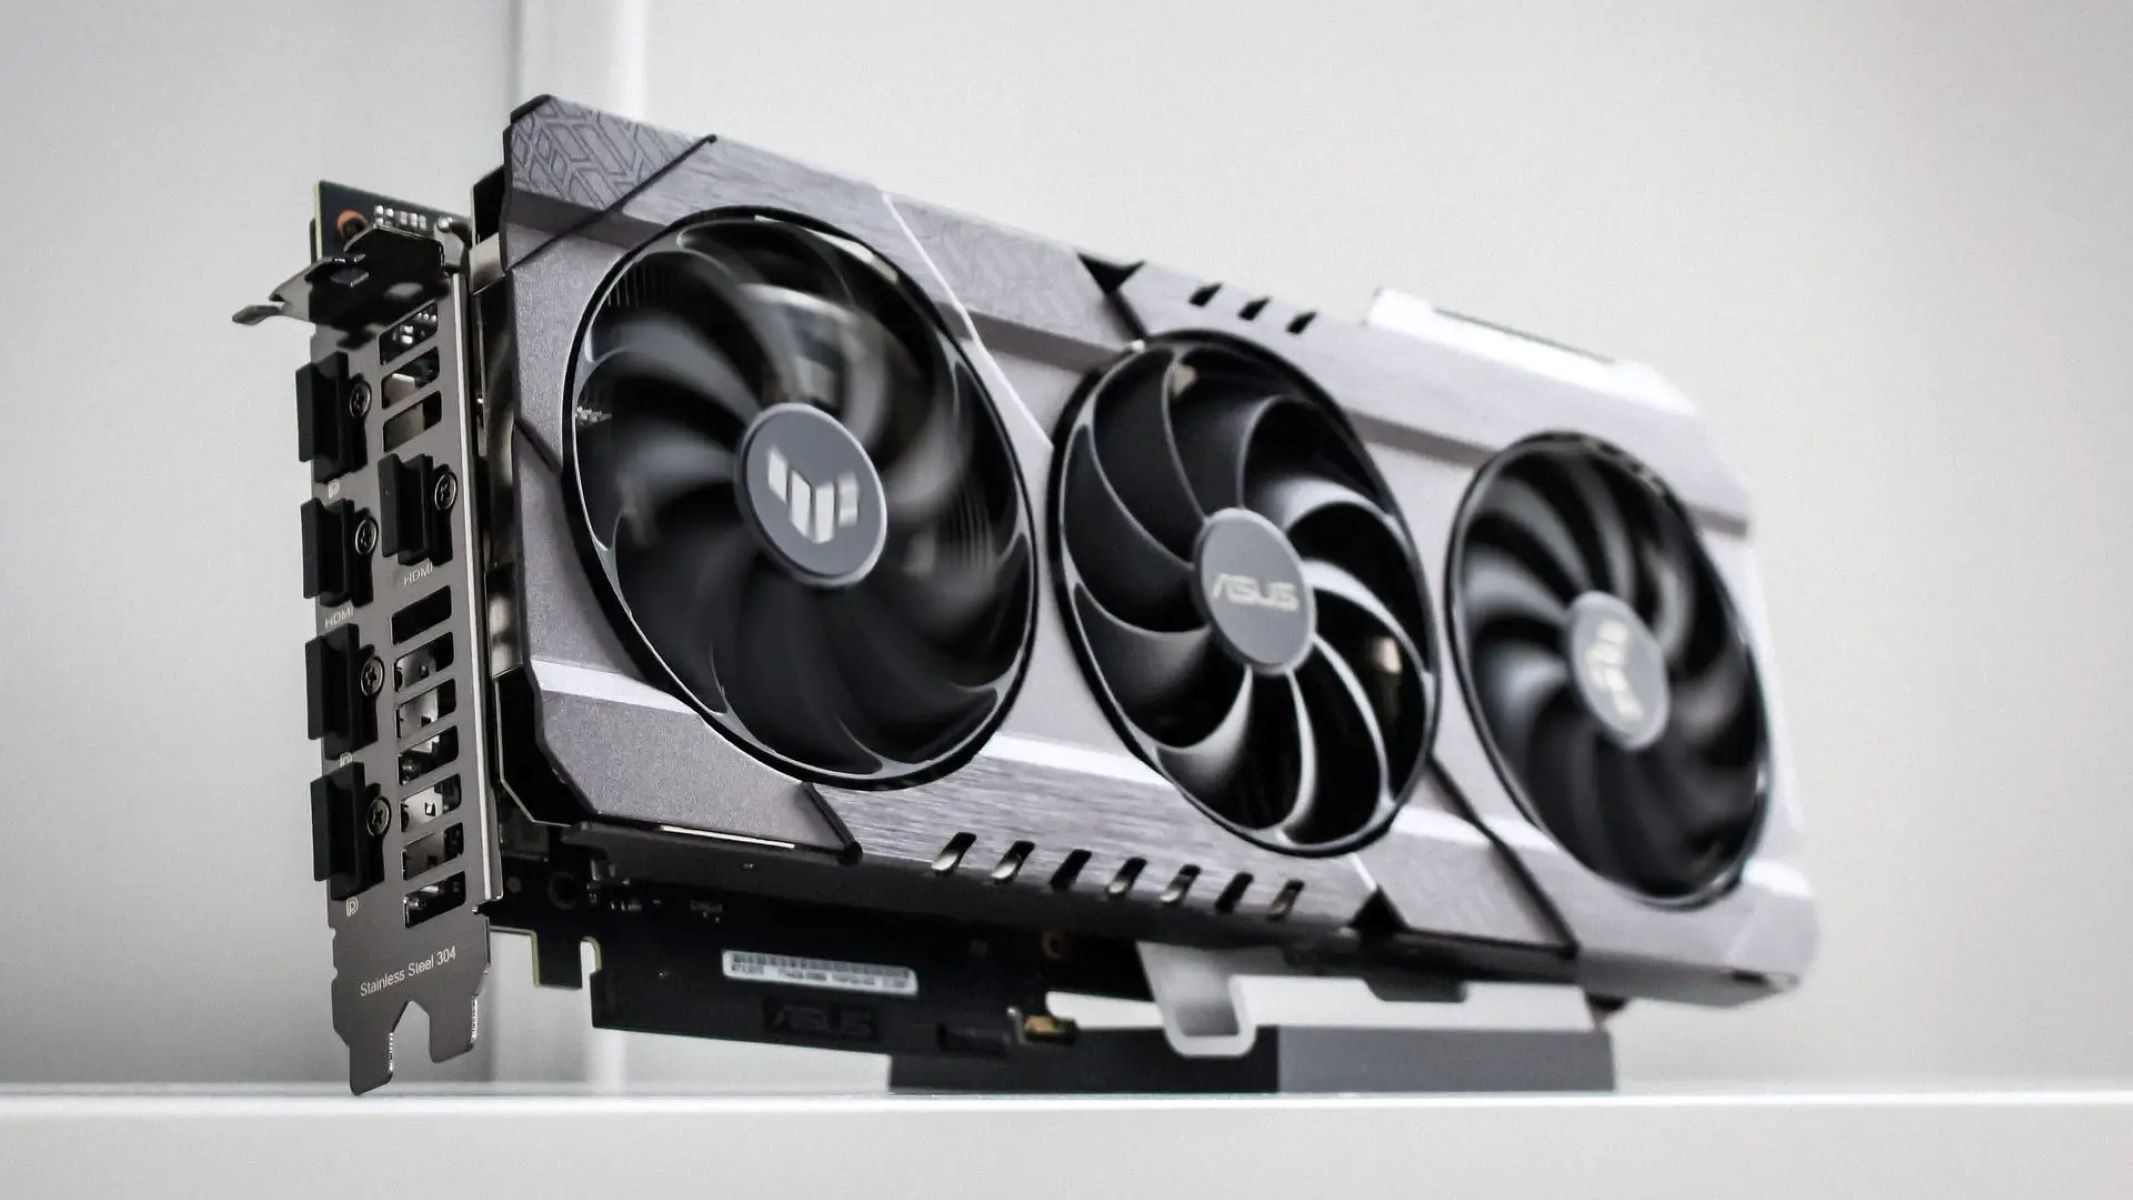
Method 1: Cleaning the fan and heatsink
One of the most common causes of a rattling fan on a CPU cooler is the accumulation of dirt, dust, and debris. Over time, these particles can build up on the fan blades and the heatsink, causing an imbalance and resulting in a rattling noise. Cleaning the fan and heatsink can often resolve this issue. Here’s how to do it:
- Step 1: Power off your computer and unplug it from the power source.
- Step 2: Open the computer case by removing the side panel to access the internal components.
- Step 3: Locate the CPU cooler fan and heatsink. Take note of how the fan is attached to the heatsink.
- Step 4: Use compressed air to blow away any loose dirt or debris from the fan blades and the heatsink. Hold the can of compressed air upright and use short bursts to avoid moisture buildup.
- Step 5: If stubborn dirt remains, use a soft brush (such as a clean paintbrush or a toothbrush) to gently remove it. Be careful not to apply too much pressure, as this can damage the fan blades or the heatsink fins.
- Step 6: Once you’ve cleaned the fan and heatsink, inspect them for any remaining dirt or debris. If necessary, repeat the process until they are clean.
- Step 7: After cleaning, reattach the fan to the heatsink following the manufacturer’s instructions. Make sure that all screws or clips are securely fastened.
- Step 8: Close the computer case and plug your computer back into the power source.
Cleaning the fan and heatsink regularly can not only resolve the rattling issue but also improve the overall airflow and cooling efficiency of your CPU cooler. Aim to clean them at least once every few months, or more frequently if your computer is located in a dusty environment.
If cleaning the fan and heatsink does not eliminate the rattling noise, proceed to the next method to troubleshoot the issue further.
Method 2: Tightening loose screws
If the fan on your CPU cooler is rattling, it’s worth checking if any of the screws holding it in place have become loose. Vibrations and normal usage can cause screws to gradually loosen over time, leading to a rattling noise. This method focuses on tightening those loose screws to resolve the issue. Follow these steps:
- Step 1: Power off your computer and unplug it from the power source.
- Step 2: Open the computer case by removing the side panel to access the internal components.
- Step 3: Locate the CPU cooler fan and the screws or clips holding it in place. Take note of their positions, as you’ll need to tighten the appropriate screws.
- Step 4: Using a screwdriver, gently tighten any loose screws by turning them clockwise. Be careful not to overtighten them, as this can damage the fan or the CPU cooler.
- Step 5: Once you’ve tightened all the loose screws, check the fan’s stability. Gently nudge it to ensure it is securely attached to the heatsink.
- Step 6: Close the computer case and plug your computer back into the power source.
After tightening the loose screws, restart your computer and listen for any rattling noise. If the rattling persists, proceed to the next troubleshooting method.
Tightening loose screws is a simple and effective way to eliminate a rattling noise coming from your CPU cooler fan. Repeat this step periodically, as vibrations and movement can cause screws to loosen over time.
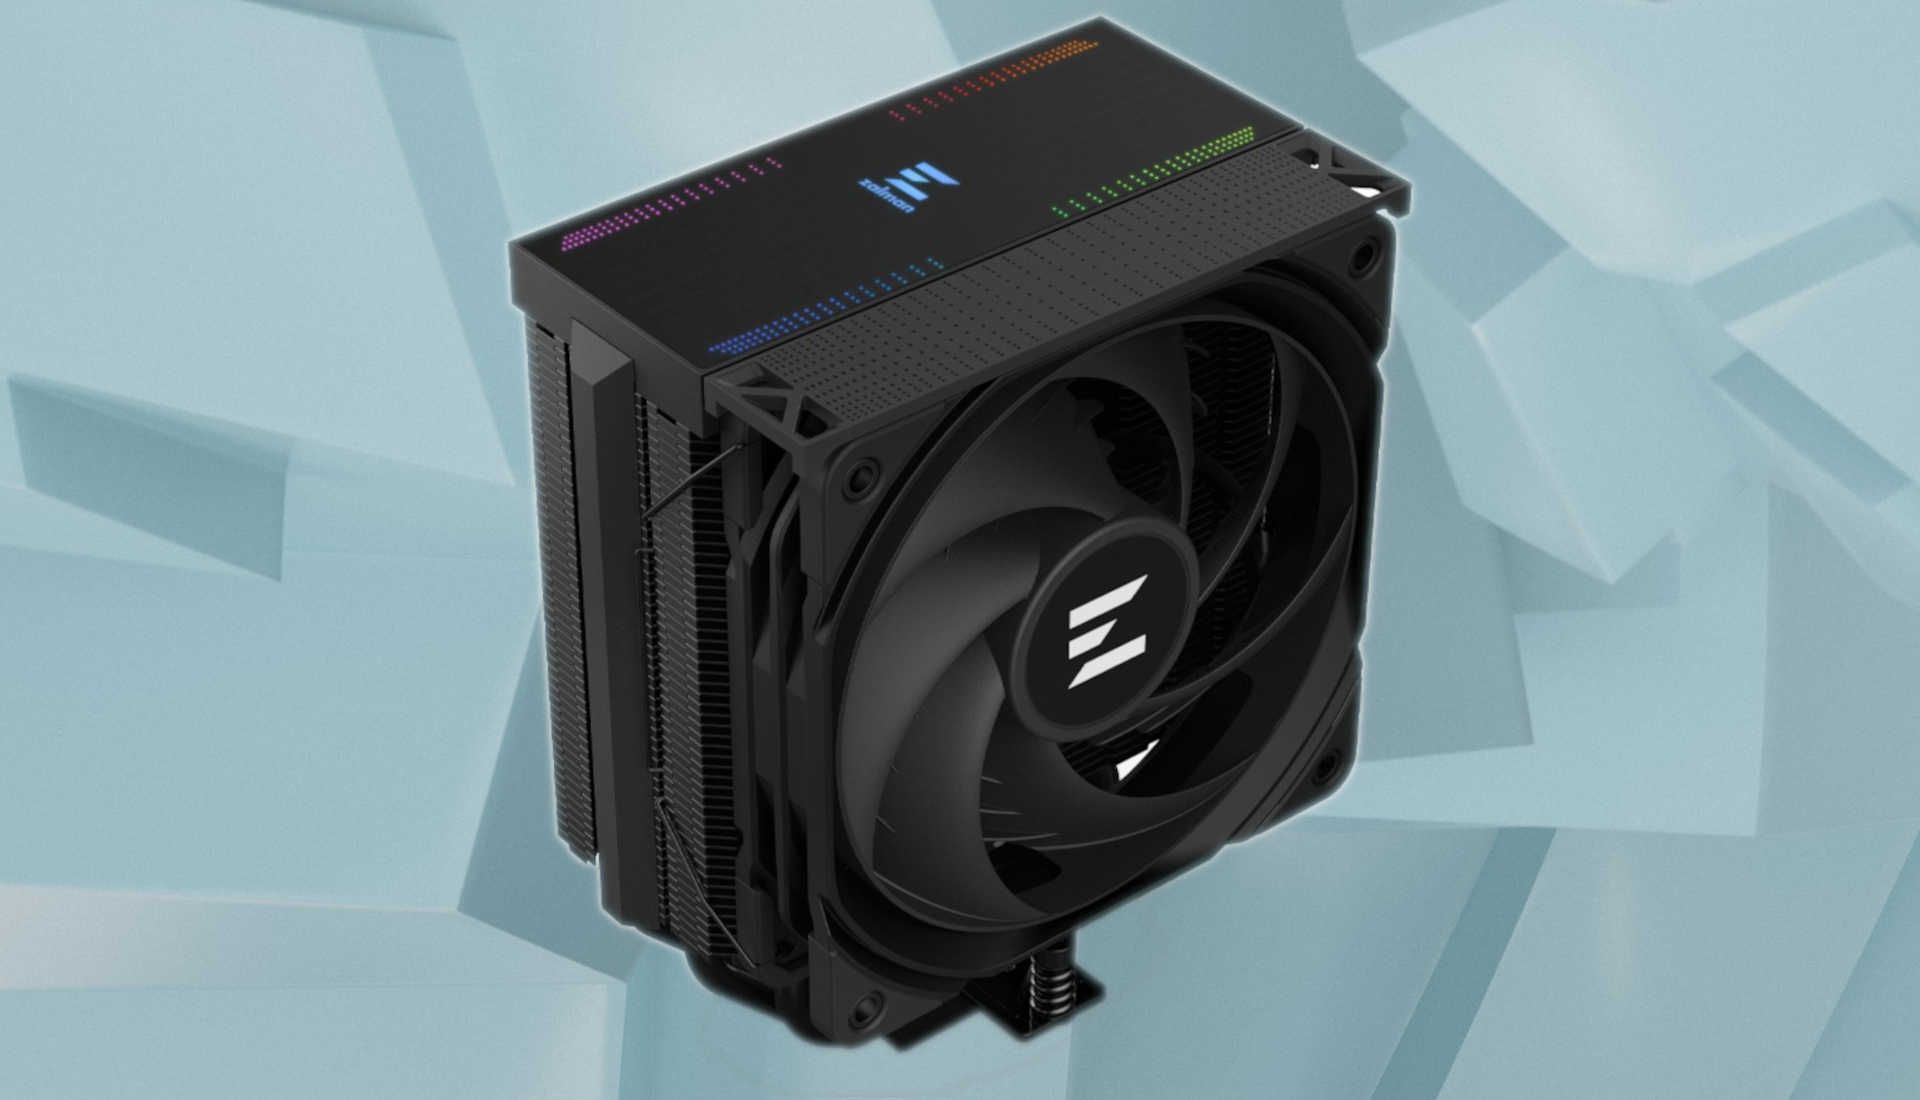
Method 3: Replacing worn-out bearings
If you’ve tried cleaning the fan and tightening loose screws but the rattling noise persists, it’s possible that the fan’s bearings are worn out. The bearings allow the fan to spin smoothly, and when they become worn, it can cause the fan to wobble and produce rattling noises. Replacing the worn-out bearings can help resolve this issue. Here’s how:
- Step 1: Power off your computer and unplug it from the power source.
- Step 2: Open the computer case by removing the side panel to access the internal components.
- Step 3: Locate the CPU cooler fan and carefully disconnect it from the heatsink by detaching the power cable or removing the screws/clips that secure it.
- Step 4: Consult your CPU cooler fan’s user manual or search online for the exact replacement fan model with compatible bearings.
- Step 5: Once you have the replacement fan, remove the old fan by gently pulling it away from the heatsink. Take care not to damage any other components.
- Step 6: Install the new fan by aligning it with the mounting holes on the heatsink and gently pressing it into place. Make sure it is securely attached.
- Step 7: Reconnect the power cable to the new fan or reattach the screws/clips to secure it in place.
- Step 8: Close the computer case and plug your computer back into the power source.
Replacing worn-out bearings in your CPU cooler fan can effectively eliminate the rattling noise and restore smooth operation. This method may require some technical expertise, so if you are unsure or uncomfortable performing this task, consider seeking assistance from a professional.
Once you’ve replaced the worn-out bearings, start your computer and listen for any remaining rattling noise. If the problem persists, move on to the next method to troubleshoot further.
Method 4: Using rubber grommets or isolation pads
If your CPU cooler fan continues to rattle despite trying the previous methods, using rubber grommets or isolation pads can help reduce vibrations and eliminate the noise. These accessories act as shock absorbers, preventing the fan from coming into direct contact with other components or the case. Here’s how to use rubber grommets or isolation pads:
- Step 1: Power off your computer and unplug it from the power source.
- Step 2: Open the computer case by removing the side panel to access the internal components.
- Step 3: Locate the CPU cooler fan and carefully disconnect it from the heatsink by detaching the power cable or removing the screws/clips that secure it.
- Step 4: Purchase rubber grommets or isolation pads that are compatible with your CPU cooler fan and the mounting holes on the heatsink.
- Step 5: Attach rubber grommets to the mounting holes on the heatsink. Make sure to slide them fully onto the holes.
- Step 6: Align the fan with the grommets and gently press it into place. The grommets will help absorb vibrations and prevent direct contact between the fan and the heatsink.
- Step 7: If using isolation pads, carefully peel off the adhesive backing and place the pads on the areas where the fan might come into contact with other components or the case.
- Step 8: Reconnect the power cable to the fan or reattach the screws/clips to secure it in place.
- Step 9: Close the computer case and plug your computer back into the power source.
Using rubber grommets or isolation pads is an effective solution to reduce vibrations and eliminate rattling noises from your CPU cooler fan. These accessories provide a cushioning effect, ensuring smooth and quiet operation. However, if the rattling noise persists, the issue may require further troubleshooting.
Method 5: Adjusting fan speed or fan curves
If you have tried the previous methods and the rattling noise from your CPU cooler fan still persists, you can try adjusting the fan speed or fan curves to mitigate the issue. Sometimes, running the fan at excessively high speeds can induce vibrations and result in rattling. By adjusting the fan speed or fan curves, you can reduce vibrations and potentially eliminate the noise. Follow these steps to make the necessary adjustments:
- Step 1: Power on your computer.
- Step 2: Access the BIOS or the fan control software specific to your motherboard or CPU cooler. The method to access these settings may vary, so consult the user manual or refer to the manufacturer’s website for guidance.
- Step 3: Locate the fan speed control settings or fan curves. Different motherboards and software may have different terminologies for these settings.
- Step 4: Reduce the fan speed by selecting a lower percentage or RPM value. You can start by reducing it by a small increment (e.g., 10%) and monitor the noise levels and system temperatures.
- Step 5: Alternatively, adjust the fan curve to be less aggressive. A fan curve determines the fan speed based on system temperatures. By making the fan curve less steep, the fan will ramp up gradually, reducing sudden spikes in speed that could induce vibrations.
- Step 6: Save the changes and exit the BIOS or the fan control software.
- Step 7: Monitor your system’s temperatures and listen for any improvements in noise levels. Keep an eye on the fan speeds to ensure they remain within safe operating ranges.
By adjusting the fan speed or fan curves, you can find a balance between cooling performance and noise levels. Experiment with different settings until you find a configuration that adequately cools your system without causing excessive vibrations and rattling noise.
If the rattling noise continues despite adjusting the fan speed or fan curves, it may be necessary to consider other troubleshooting methods or consult a professional for further assistance.
Conclusion
Dealing with a rattling fan on your CPU cooler can be frustrating, but with the right troubleshooting methods, you can eliminate the noise and restore smooth and quiet operation. In this guide, we discussed several methods to help you troubleshoot and fix a rattling fan on your CPU cooler.
We started by explaining the common reasons behind a rattling fan, such as dirt and debris buildup, loose screws, worn-out bearings, contact with other components, and fan speed or fan curve settings. Understanding these causes can help you pinpoint the source of the issue and choose the appropriate troubleshooting method.
We then outlined various methods you can try, including cleaning the fan and heatsink, tightening loose screws, replacing worn-out bearings, using rubber grommets or isolation pads, and adjusting fan speed or fan curves. These methods address different possible causes of the rattling noise and offer effective solutions to resolve the issue.
It’s important to note that working with computer hardware requires care and caution. If you feel uncomfortable or unsure about any of the troubleshooting steps, it’s recommended to seek assistance from a professional to avoid potential damage to your system.
By following the steps outlined in this guide and being diligent in your troubleshooting efforts, you should be able to fix the rattling fan on your CPU cooler and enjoy a quieter and more efficient computing experience.