Introduction
Welcome to the fascinating world of RFID technology! The ability to encode RFID tags has revolutionized the way businesses handle inventory management, track assets, and improve overall operational efficiency. If you’re new to this technology or looking to brush up on your encoding skills, you’ve come to the right place.
RFID, short for Radio Frequency Identification, is a wireless communication technology that allows for the automatic collection of data from tags attached to objects. These tags contain an integrated circuit and an antenna, which transmit information to an RFID reader via radio waves. Encoding refers to the process of programming data onto these tags, such as unique identifiers, product details, or other relevant information.
By encoding RFID tags, businesses gain the ability to securely track and manage their assets throughout the supply chain. Whether you’re in retail, logistics, healthcare, or any other industry, understanding the encoding process is key to maximizing the benefits of RFID technology.
In this article, we will guide you through the essential steps required to successfully encode RFID tags. From selecting the right tag to troubleshooting potential issues, we’ll cover everything you need to know. So, let’s jump right in and explore the world of RFID tag encoding!
What is RFID Technology?
RFID technology is a powerful tool used for identification and tracking purposes across various industries. It utilizes radio waves to automatically capture and transmit data between RFID tags and readers. These tags consist of a microchip and an antenna, which can be attached to objects, products, or even individuals.
When an RFID tag comes within range of an RFID reader, the reader emits a radio frequency signal that activates the tag. The tag then responds by transmitting its stored data back to the reader. This data can include unique identification numbers, sensor data, or any other relevant information that has been programmed onto the tag during the encoding process.
One of the main advantages of RFID technology is its ability to enable contactless and non-line-of-sight communication. Unlike barcodes or QR codes that require a direct line of sight, RFID tags can be read from a distance and even through various materials such as plastic, fabric, or cardboard. This makes RFID technology highly versatile and applicable in a wide range of scenarios.
RFID technology has found extensive use in industries like retail, transportation, healthcare, and manufacturing. In retail, RFID tags can be used to track inventory levels, improve stock management, and enable faster and more accurate transactions. In healthcare, RFID tags can be applied to patient wristbands to ensure accurate identification, reduce medical errors, and enhance patient safety.
As the technology continues to evolve, RFID systems are becoming more
The Encoding Process
The encoding process is a crucial step in utilizing RFID technology effectively. It involves programming data onto RFID tags to enable them to carry and transmit specific information. Let’s explore the key steps involved in the encoding process:
- Selecting the RFID Tag: The first step is to choose the appropriate RFID tag for your application. Consider factors such as tag form factor, read range, memory capacity, and durability.
- Choosing an Encoding Method: Depending on your requirements and the available resources, you can opt for different encoding methods such as direct encoding, encoding via middleware, or encoding through an application programming interface (API).
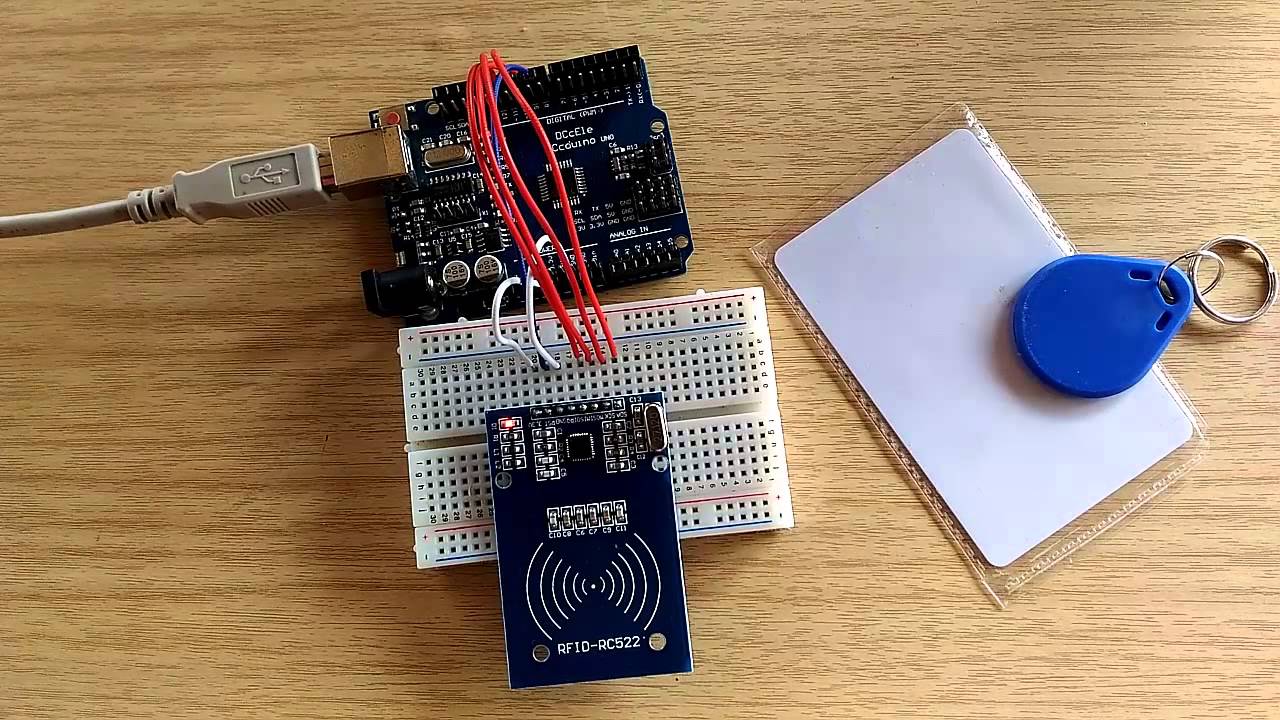
- Gathering the Required Materials: To successfully encode RFID tags, you will need an RFID reader/writer, RFID tags, software for encoding, and a computer or device to run the software.
- Preparing the Software: Install and configure the encoding software on your computer. Ensure compatibility with your RFID reader and follow any setup instructions provided by the software manufacturer.
- Connecting the RFID Reader/Writer: Connect your RFID reader/writer to your computer using the appropriate interface (e.g., USB, Bluetooth, Ethernet). Ensure the reader is powered on and recognized by the software.
- Setting Up the Encoding Software: Configure the encoding software with the desired encoding parameters, such as tag type, data format, and encryption settings. This step may vary depending on the software you are using.
- Configuring the Encoding Parameters: Determine the data you want to encode onto the RFID tags. This may include unique identifiers, product details, or any other relevant information specific to your application.
- Initiating the Encoding Process: Place an RFID tag within range of the reader and initiate the encoding process through the software. The reader will send signals to the tag, programming it with the desired data.
- Verifying the Encoding: After encoding, verify the data on the tag to ensure it matches the intended information. Use the RFID reader and the software to read and display the encoded data.
- Troubleshooting Common Issues: If you encounter any difficulties during the encoding process, refer to the troubleshooting guides provided by the RFID reader/writer and software manufacturers. Common issues include tag read failures or inconsistent encoding results.
By following these steps and understanding the process involved in encoding RFID tags, you will be able to harness the full potential of RFID technology for your business needs.
Step 1: Selecting the RFID Tag
Choosing the right RFID tag is crucial for the success of your encoding process. The selection depends on several factors such as the application, environment, read range requirements, and tag durability. Let’s explore the key considerations when selecting an RFID tag:
Tag Form Factor: RFID tags come in various form factors, including labels, cards, key fobs, and even embedded tags. Consider the physical dimensions and shape that best suit your application. For example, if you are tracking assets or inventory items, a small adhesive label may be more suitable, while a rugged key fob could be ideal for access control purposes.
Frequency Range: RFID tags operate at different frequency ranges, such as low frequency (LF), high frequency (HF), and ultra-high frequency (UHF). Each frequency range has its advantages and limitations. LF tags are best for short-range applications and can withstand harsh environments, while UHF tags offer longer read ranges and are more suitable for inventory and supply chain management.
Read Range: Consider the required read range for your application. Some RFID tags have shorter read ranges of a few centimeters, while others can provide read distances of several meters. Understanding your specific read range requirements will help you select the appropriate tag for your needs.
Memory Capacity: RFID tags have varying memory capacities, which determine the amount of data that can be stored on the tag. If you need to encode large amounts of data onto the tag, such as product details or manufacturing information, opt for a tag with higher memory capacity.
Durability: Assess the durability requirements of your application. If the tag will be exposed to harsh outdoor conditions or potential physical damage, choose a tag with a high level of durability, such as rugged labels or encapsulated tags.
Compatibility: Ensure that the RFID tag you select is compatible with your RFID reader/writer. Different tag frequencies and protocols may require specific hardware to read and encode the tags effectively.
Taking into consideration these factors will help you select the most suitable RFID tag for your specific application. By choosing the right tag, you can ensure seamless encoding and optimal performance in your RFID system.
Step 2: Choosing an Encoding Method
The encoding method you choose plays a significant role in how you program data onto RFID tags. There are several methods available, each with its own advantages and considerations. Let’s explore the key factors to consider when choosing an encoding method:
Direct Encoding: Direct encoding involves using the software provided by the RFID reader/writer manufacturer to program data directly onto the RFID tags. This method is simple and straightforward, as it eliminates the need for any additional software or middleware. Direct encoding is suitable for basic encoding requirements and applications with simple data formats.
Middleware Encoding: Middleware refers to software that acts as a bridge between the RFID reader/writer and your existing enterprise software or database. This method allows for more advanced and customized data formatting and encoding. Middleware provides additional functionality, such as data transformation, filtering, and integration with other systems. It is suitable for applications that require data manipulation or integration with existing enterprise systems.
Application Programming Interfaces (API): Some RFID reader/writer manufacturers provide application programming interfaces (APIs) that allow developers to interface with the reader/writer directly. This method provides the most flexibility and customization options, as you have full control over the encoding process. APIs are suitable for applications that require complete control over the encoding process and integration into custom software solutions.
When choosing an encoding method, consider the complexity of your encoding requirements, the flexibility needed, and the integration capabilities with existing systems. If you have simple encoding needs and prefer a straightforward process, direct encoding may be the most suitable method. For more advanced requirements and integration with enterprise systems, middleware or API-based encoding methods offer greater flexibility and customization options.
It’s important to select the encoding method that aligns with your specific needs and ensures the successful programming of data onto your RFID tags.
Step 3: Gathering the Required Materials
Before you can start encoding RFID tags, it’s essential to gather all the necessary materials to ensure a smooth and successful process. Here are the key materials you will need:
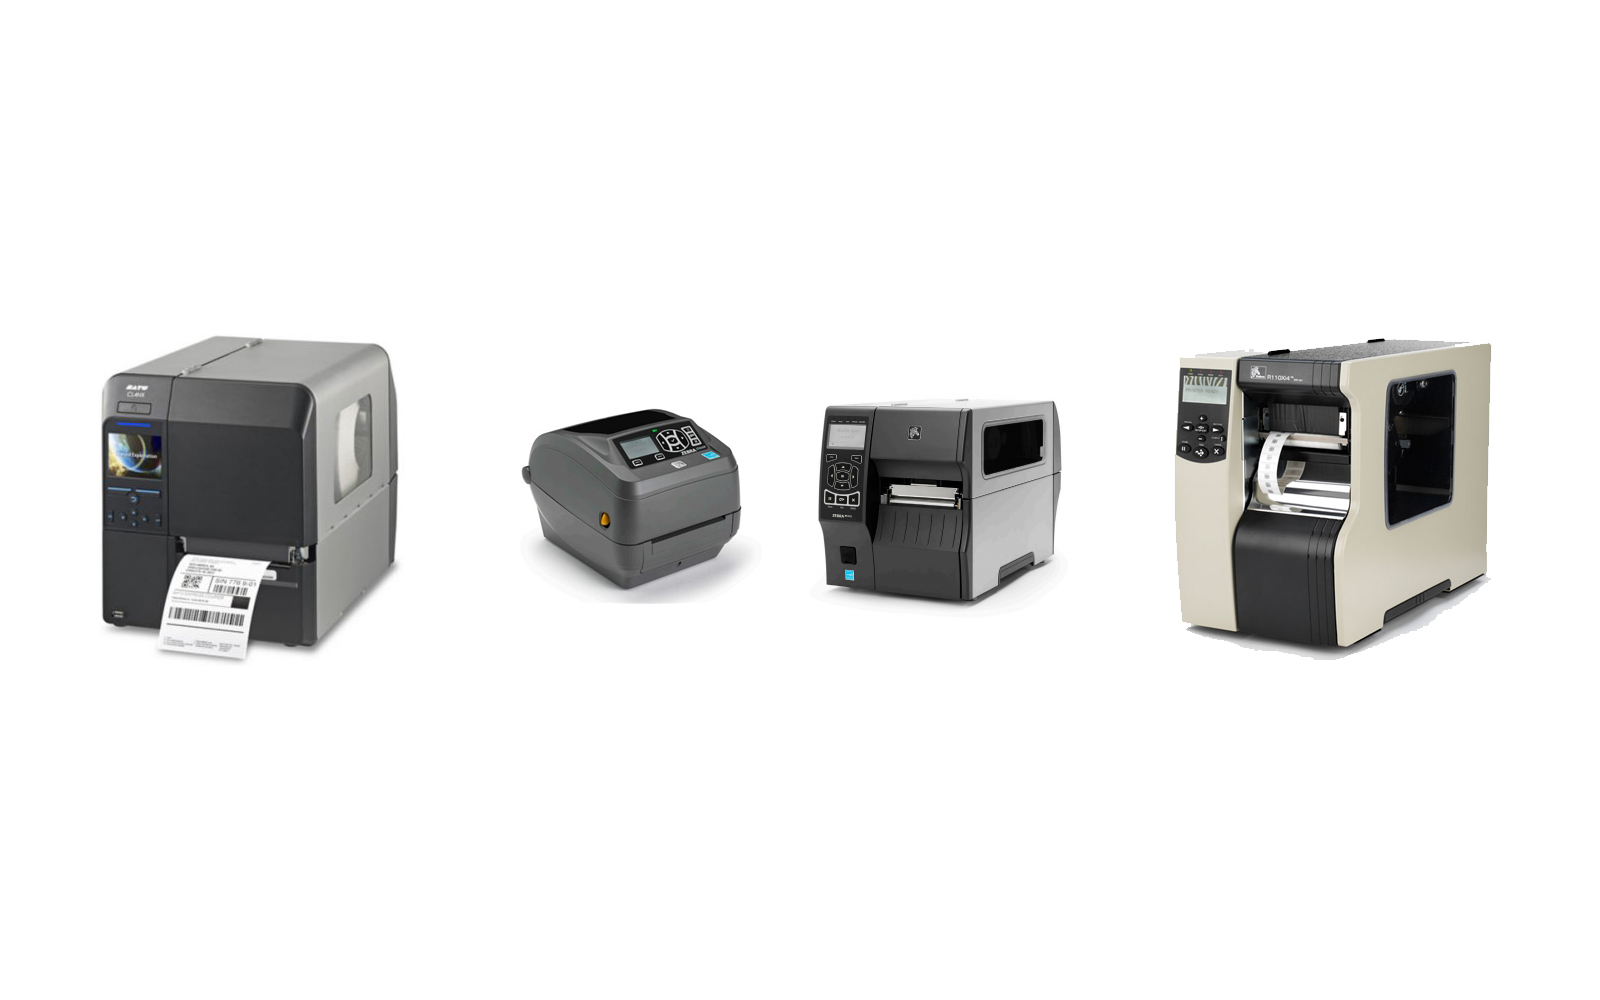
RFID Reader/Writer: Start by acquiring a reliable RFID reader/writer. This device reads and writes data to the RFID tags. Ensure compatibility with the chosen encoding method and the RFID tag frequency range you intend to use.
RFID Tags: Purchase RFID tags that match your specific requirements, such as tag form factor, frequency range, and memory capacity. Consider the application and environment to select tags with appropriate durability and read range characteristics.
Software for Encoding: Look for encoding software that is compatible with your RFID reader/writer. The software provides the interface to program data onto the RFID tags. It may come bundled with the reader/writer or need to be purchased separately.
Computer or Device: You will need a computer or device to run the encoding software and connect it to the RFID reader/writer. Ensure the computer or device meets the software’s system requirements for optimal performance.
Interface Cables or Adapters: Depending on the RFID reader/writer’s connectivity options, you may need interface cables or adapters to connect it to your computer or device. Check the reader/writer specifications and ensure you have the necessary cables or adapters on hand.
Power Supply: Ensure you have a suitable power supply for the RFID reader/writer. Some devices may require an external power source, such as a power adapter or battery pack. Verify the power requirements and have the appropriate power supply ready.
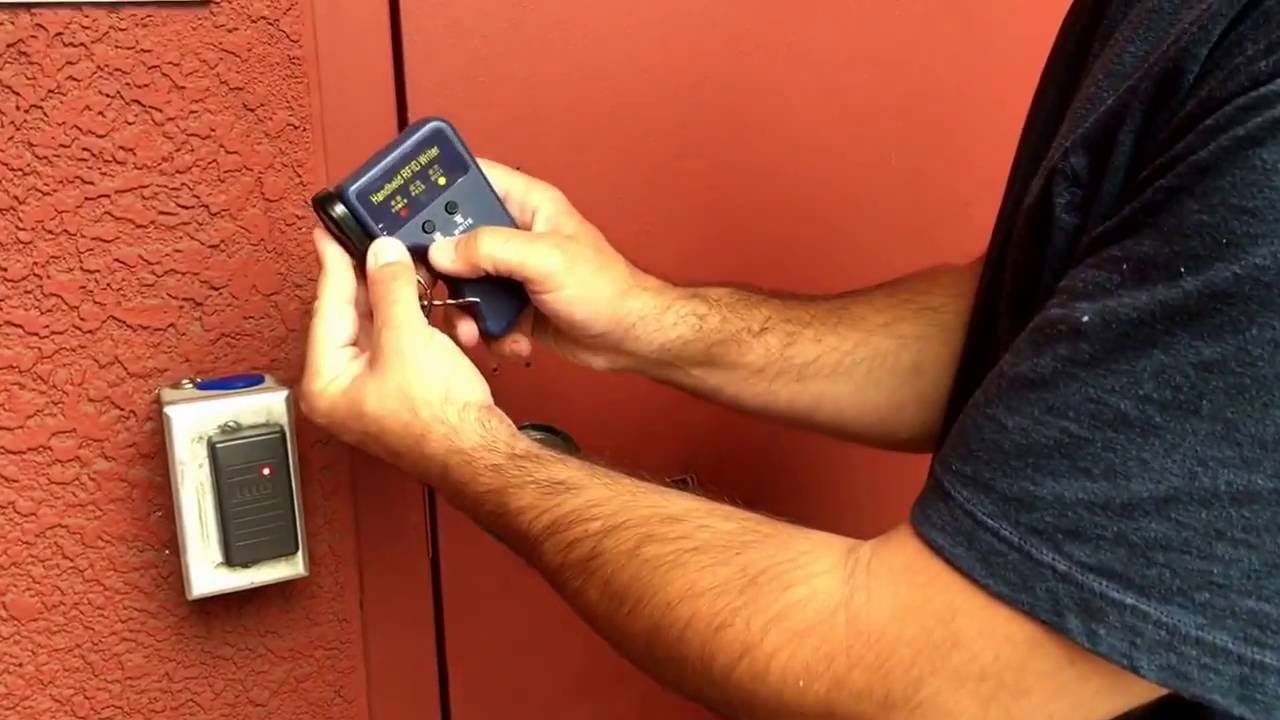
Testing Equipment: It’s beneficial to have testing equipment, such as additional RFID tags and a handheld RFID reader, to verify the encoding results and troubleshoot any potential issues that may arise during the process.
User Manuals and Documentation: Collect user manuals and documentation for the RFID reader/writer, encoding software, and any other relevant materials. These resources will aid in the setup, configuration, and troubleshooting processes.
Gathering these materials beforehand ensures you have everything you need to proceed with the RFID tag encoding. It minimizes delays and allows for a streamlined and efficient encoding process.
Step 4: Preparing the Software
Before you can begin encoding RFID tags, it’s important to prepare the software that will facilitate the programming process. Follow these steps to ensure the software is properly installed and configured:
1. Install the Software: Begin by installing the encoding software on your computer or device. Follow the software manufacturer’s instructions for a successful installation. Ensure that you have the correct version of the software that is compatible with your RFID reader/writer.
2. Update the Software: Check for any available updates or patches for the software. These updates often include bug fixes, performance improvements, and new features. Keeping your software up to date ensures a more reliable and efficient encoding process.
3. Verify System Requirements: Review the system requirements for the software and confirm that your computer or device meets them. This ensures compatibility and prevents potential issues during the encoding process. If necessary, make any required hardware or software upgrades.
4. Configure the Software: Launch the software and navigate to the settings or configuration section. Here, you may need to specify the RFID reader/writer model, communication interface (such as USB, Bluetooth, or Ethernet), and other relevant parameters. Consult the software user manual or help documentation for guidance on the configuration process specific to your software.
5. Test the Software-Reader Connection: Connect your RFID reader/writer to your computer or device as per the manufacturer’s instructions. Ensure that the reader is recognized by the software. A successful connection allows the software to communicate with the reader and facilitates the encoding process.
6. Familiarize Yourself with the Software Interface: Take some time to familiarize yourself with the software interface. Understand the different buttons, menus, and options available. Explore features such as tag memory settings, encoding parameters, and data formatting options. This familiarity will make the encoding process smoother and more efficient.
7. Practice Using the Software: Consider performing some practice runs using sample data and test tags. This allows you to become more comfortable using the software, understand the workflow, and identify any potential challenges or limitations. Practice runs will also help you familiarize yourself with any additional features or customization options the software offers.
By properly preparing the software, you set the foundation for successful RFID tag encoding. Taking the time to install, configure, and understand the software ensures a smoother encoding process and maximizes the effectiveness of your RFID system.
Step 5: Connecting the RFID Reader/Writer
Once you have prepared the software, the next step in the RFID tag encoding process is to connect your RFID reader/writer to your computer or device. Follow these steps to establish a proper connection:
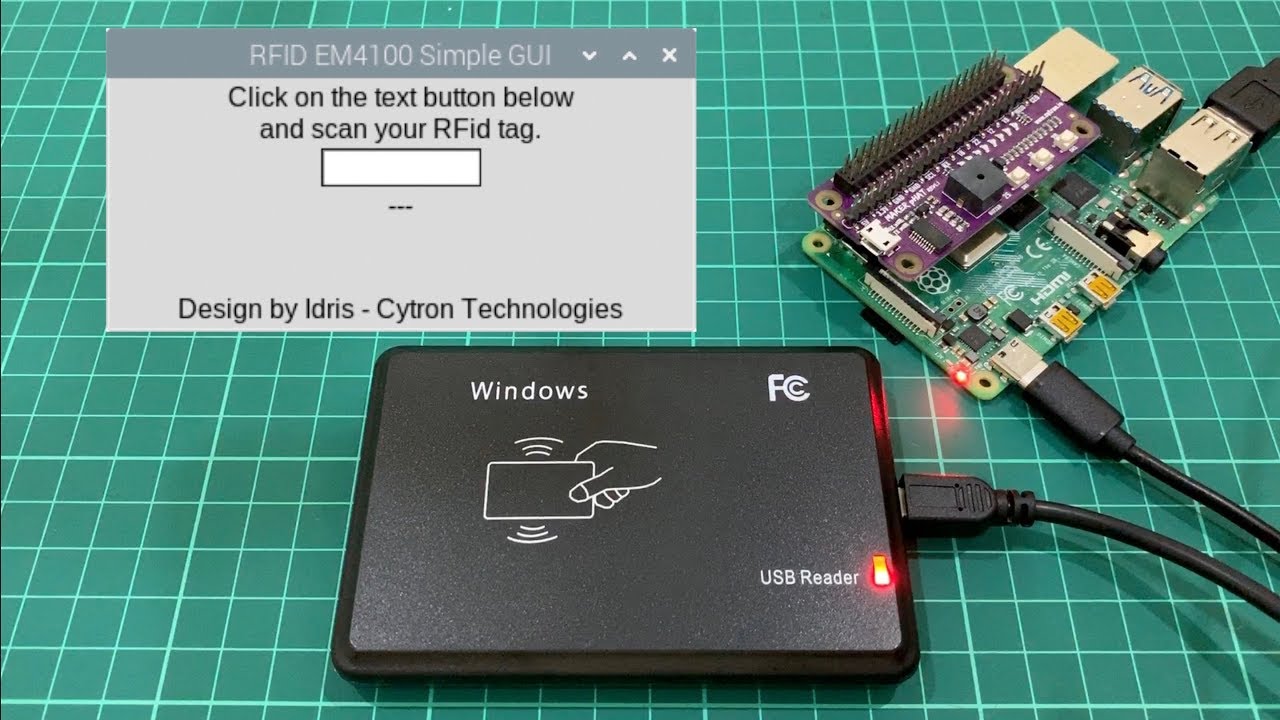
1. Identify the Communication Interface: Determine the communication interface supported by your RFID reader/writer. Common interfaces include USB, Bluetooth, and Ethernet. Check the reader/writer’s specifications or user manual to confirm the supported interface.
2. Gather the Necessary Cables or Adapters: Ensure that you have the appropriate cables or adapters required to connect your RFID reader/writer to your computer or device. This may include USB cables, Ethernet cables, or Bluetooth adapters. Verify the connection requirements specified by the reader/writer manufacturer.
3. Power On the RFID Reader/Writer: Before connecting, ensure that your RFID reader/writer is powered on and ready to establish a connection. If your reader/writer requires an external power source, ensure it is properly connected and powered up.
4. Connect the RFID Reader/Writer to the Computer: Use the appropriate cable or adapter to connect the RFID reader/writer to your computer or device. For USB connections, insert one end of the USB cable into the reader/writer and the other end into an available USB port on your computer. For Ethernet connections, connect one end of the Ethernet cable to the reader/writer and the other end to an available Ethernet port on your computer or network.
5. Establish Communication: Your computer or device should automatically detect the connected RFID reader/writer. If necessary, install any drivers or software provided by the reader/writer manufacturer to facilitate the connection. Follow any on-screen prompts or instructions for the installation process.
6. Verify the Connection: Open the encoding software and ensure that it recognizes the connected RFID reader/writer. The software should display the reader/writer’s information or status to indicate a successful connection. This verification step ensures that the reader/writer and software can communicate effectively for the encoding process.
7. Test the Communication: Conduct some initial tests to ensure proper communication between the software and the RFID reader/writer. Verify that the software can read and display information from the reader/writer, such as tag identification numbers or signal strength. Troubleshoot any connectivity issues that may arise, such as incorrect settings or faulty cables.
By correctly connecting your RFID reader/writer to your computer or device, you establish the foundation for successful communication during the RFID tag encoding process. A reliable connection enables seamless data transfer and ensures accurate programming of the tags.
Step 6: Setting Up the Encoding Software
Setting up the encoding software is a crucial step in preparing for the RFID tag encoding process. It involves configuring the software to work efficiently with your RFID reader/writer and defining various encoding parameters. Follow these steps to set up the encoding software:
1. Launch the Software: Open the encoding software on your computer or device. Ensure that the software is compatible with the RFID reader/writer you are using and that it is the correct version for your system.
2. Connect the RFID Reader/Writer: Ensure that your RFID reader/writer is properly connected to your computer or device. Confirm that the reader/writer is recognized by the software and can communicate effectively.
3. Navigate to the Settings or Configuration Section: Locate the settings or configuration section within the encoding software. This may be under a specific menu or tab, depending on the software interface.
4. Specify the RFID Reader/Writer Model: In the software settings, select the appropriate RFID reader/writer model from the provided options. This enhances compatibility and ensures the software’s functionality aligns with the reader/writer’s capabilities.
5. Configure the Communication Interface: Specify the communication interface used to connect the RFID reader/writer to your computer or device. This is typically done by selecting the corresponding option in the software settings or configuration section.
6. Define Tag Type and Memory Settings: Set the tag type and memory settings based on the RFID tags you are using. Specify characteristics such as tag frequency range, memory capacity, and any specific formatting requirements for data storage.
7. Customize Data Encoding Parameters: Set up the encoding parameters as per your requirements. This includes defining data formats, encryption settings, data field lengths, and any other encoding specifications. Consider the specific information you want to encode onto the tags, such as unique identifiers, product details, or other relevant data.
8. Configure Additional Features: Explore and configure any additional features or options provided by the encoding software. This may include data validation rules, data transformation functions, or integration with other systems.
9. Save and Apply the Settings: Once you have completed the software setup and configuration, save the settings and apply them. This ensures that the software is ready to use with the specific RFID reader/writer and encoding parameters you have defined.
By properly setting up the encoding software, you optimize the process of programming data onto RFID tags. This step allows for efficient communication, accurate encoding, and successful utilization of RFID technology in your desired application.
Step 7: Configuring the Encoding Parameters
Configuring the encoding parameters is a critical step in the RFID tag encoding process. It involves defining various settings related to data encoding, formatting, and security. Follow these steps to configure the encoding parameters:
1. Data Formatting: Determine the format in which you want the data to be encoded onto the RFID tags. This includes choosing the appropriate data field lengths, specifying character encoding (ASCII, UTF-8, etc.), and deciding on the data structure (fixed length, variable length, etc.).
2. Data Encryption (Optional): If necessary, configure any data encryption settings to ensure the security of the encoded information. Encryption provides an additional layer of protection to safeguard sensitive data stored on the RFID tags.
3. Encoding Method: Choose the encoding method that best suits your application. Common encoding methods include sequential encoding, random encoding, or encoding based on specific data patterns. Select the method that aligns with your encoding requirements and the capabilities of your RFID reader/writer.
4. Encoding Data Fields: Determine the specific data fields that you want to encode onto the tags. This may include unique identifiers, product details, timestamps, or any other relevant information for your application. Define the data format, field length, and positioning of each encoded data field.
5. Checksum Calculation: Decide if you want to include a checksum or error-checking algorithm in the encoded data. This ensures data integrity and enables verification of the encoded information during read operations.
6. Pre- and Post-Data Encoding Actions: Define any pre- or post-data encoding actions you need to perform. This may include executing specific commands or scripts, performing data transformations or calculations, or integrating with other systems or databases.
7. Test Encoding Parameters: Before proceeding with the actual encoding process, perform some test runs using sample data and tags. Verify that the encoding parameters produce the desired results and meet your expectations. Adjust any parameters as necessary to ensure optimal encoding outcomes.
8. Save and Store the Parameters: Once you have configured the encoding parameters, save them in the software or as a configuration file for future use. This allows for consistency and ease of use in subsequent encoding tasks.
Configuring the encoding parameters is crucial to ensure accurate and successful encoding of data onto RFID tags. By defining the appropriate settings, you can customize the encoding process to match your specific application requirements and achieve the desired results.
Step 8: Initiating the Encoding Process
Once you have configured the encoding parameters, you are now ready to initiate the actual RFID tag encoding process. Follow these steps to begin encoding the data onto the RFID tags:
1. Prepare the RFID Tags: Ensure that the RFID tags you are using are in proper condition and ready for encoding. Verify that they are compatible with the encoding software and the RFID reader/writer being used.
2. Position the RFID Tags: Place the RFID tags within the designated encoding range of the RFID reader/writer. Make sure that the tags are positioned correctly and aligned with the reader/writer for optimal performance.
3. Start the Encoding Software: Launch the encoding software on your computer or device. Make sure that the software is running and ready to communicate with the RFID reader/writer.
4. Select the Encoding Function: In the encoding software, locate the encoding function or button to initiate the encoding process. This may be labeled as “Start Encoding,” “Encode Tags,” or something similar.
5. Confirm the Encoding Parameters: Verify that the encoding parameters set in the software are correct and aligned with your encoding requirements. Double-check data fields, formatting, encryption, and any other specified parameters to ensure accurate encoding.
6. Monitor the Encoding Process: Keep an eye on the encoding software interface or status display as the encoding process commences. Observe any progress bars, status messages, or indicators that show the encoding activity.
7. Wait for Completion: Allow the encoding process to complete without interruption. This may take some time depending on the number of tags being encoded and the complexity of the data being programmed onto the tags.
8. Verify the Encoded Data: Once the encoding process has finished, use the RFID reader/writer and the encoding software to read and verify the data that has been written onto the RFID tags. Cross-check the encoded information with the original data source to ensure accuracy.
9. Troubleshoot if Needed: If any encoding errors or issues are discovered, refer to the troubleshooting guides provided by the RFID reader/writer and the encoding software. Troubleshoot any problems systematically, ensuring that the tags, the reader/writer, and the software are working together correctly.
10. Repeat for Remaining Tags: If you have multiple RFID tags to encode, repeat the encoding process for each tag, following the same steps. Ensure that the encoding parameters are consistent across all tags to maintain data integrity.
By following these steps, you can initiate the encoding process and program the desired data onto the RFID tags. The successful completion of this step sets the stage for the final steps of verifying the encoding and ensuring the tags are ready for use in your specific application.
Step 9: Verifying the Encoding
After completing the encoding process, it is crucial to verify that the RFID tags have been successfully encoded with the intended data. Follow these steps to ensure the accuracy and completeness of the encoding:
1. Perform a Read Operation: Use the RFID reader/writer and the encoding software to perform a read operation on the encoded tags. This will retrieve the data stored on the tags and display it on the software interface.
2. Cross-Check the Data: Compare the read data with the original data source to ensure that all the encoded information has been captured accurately. Check for any discrepancies or missing data between the original dataset and the read data from the tags.
3. Validate Data Formats: Examine the read data to confirm that it adheres to the specified data formats set during the encoding process. Verify that the data field lengths, character encoding, and structure align with the intended format.
4. Check for Errors: Monitor the read operation for any errors, such as read failures or corrupted data. If errors are encountered, troubleshoot by adjusting the encoding parameters, refining the tag positioning, or examining the integrity of the RFID tags.
5. Test Multiple Tags: If you have encoded multiple RFID tags, perform read operations on each tag individually. Ensure that all tags display the correct data and that there are no inconsistencies among them.
6. Assess Read Range: Evaluate the read range of the RFID reader/writer to ensure that it can accurately retrieve data from the tags within the desired range. Confirm that the read range meets the requirements of your application.
7. Conduct Field Tests: Depending on your specific application, conduct field tests to validate the effectiveness of the encoded RFID tags. This may involve scanning the tags in real-world scenarios or subjecting them to environmental conditions experienced in your application environment.
8. Document the Results: Keep detailed records of the verification process, including any discrepancies, errors, or observed performance issues. Documentation will aid in troubleshooting, quality assurance, and future reference.
9. Address any Issues: If any problems or inconsistencies are identified during the verification process, take the necessary steps to address them. This may involve correcting data errors, adjusting encoding parameters, or replacing malfunctioning RFID tags.
10. Retest if Needed: If significant changes or adjustments are made in response to issues, it may be necessary to repeat the verification process to ensure that the corrective actions have been effective.
By thoroughly verifying the encoding of RFID tags, you can ensure the accuracy and reliability of the data stored on the tags. This step is essential in ensuring that the encoded tags will function as intended in your specific application.
Step 10: Troubleshooting Common Issues
During the RFID tag encoding process, you might encounter common issues that can hinder the successful programming of data onto the tags. Understanding and effectively troubleshooting these issues is crucial to ensuring a smooth and error-free encoding process. Here are some common problems you may encounter and steps to resolve them:
1. Tag Read Failure: If the RFID reader/writer fails to read the tag during the encoding process, check the tag placement and ensure it is within the read range of the reader. Verify that the tags are compatible with the reader/writer’s frequency range and adjust the tag positioning if necessary.
2. Inconsistent Encoding Results: If the encoded data is inconsistent across different tags or encoding attempts, check for any interference or obstructions that may affect the communication between the reader/writer and the tags. Ensure that the tags are properly positioned and aligned with the reader/writer for consistent results.
3. Encoding Errors: If the encoded data contains errors or unintended characters, review the encoding parameters and data formats. Ensure that the data fields are correctly defined and that the data source being used for encoding is accurate and complete. Make any necessary adjustments to the encoding settings and re-encode the tags.
4. Connectivity Issues: If the RFID reader/writer fails to connect to the software or is not recognized, check the connection cables and ensure they are securely plugged in. Verify that the reader/writer and the software are compatible, and check for any required driver or software updates.
5. Power Supply Problems: If the reader/writer does not receive adequate power, it may lead to inconsistent read performance or encoding errors. Verify the power supply and connections, ensuring that the reader/writer is powered on and receiving sufficient power for operation.
6. Data Integrity Issues: If the encoded data becomes corrupted or unreadable after the encoding process, investigate potential sources of data corruption, such as electromagnetic interference or physical damage to the tags. Ensure that the tags are stored and handled properly to maintain their integrity.
7. Software Compatibility: If the encoding software does not function as expected or encounters compatibility issues with the reader/writer, check for software updates or patches provided by the manufacturer. Ensure that the software version is compatible with the reader/writer and that the necessary software dependencies are met.
8. Reader/Writer Firmware Update: Check if there are any firmware updates available for the RFID reader/writer. Upgrading the firmware can improve performance, compatibility, and fix any known issues with the device.
9. Consult Manufacturer Support: If you encounter persistent issues or challenges during the encoding process, reach out to the manufacturer’s technical support team for assistance. They can provide specific troubleshooting guidance or offer solutions to resolve the problem.
10. Document and Learn: Throughout the troubleshooting process, maintain detailed documentation of the encountered issues, troubleshooting steps taken, and their resolutions. This documentation will be valuable for future reference and learning from previous experiences.
By effectively troubleshooting common issues, you can overcome challenges and ensure a successful RFID tag encoding process. Persistence, attention to detail, and utilizing available resources will contribute to resolving issues and achieving optimal results.
Conclusion
Mastering the RFID tag encoding process is crucial to harnessing the full potential of RFID technology for your business needs. By following the ten steps outlined in this guide, you can effectively encode RFID tags and ensure accurate data programming. Let’s recap the key steps:
- Select the appropriate RFID tag for your application.
- Choose the encoding method that aligns with your requirements.
- Gather the necessary materials, including an RFID reader/writer.
- Prepare and configure the encoding software.
- Establish a proper connection between the RFID reader/writer and your computer or device.
- Set up the encoding software with the desired parameters.
- Configure the encoding parameters, such as data formatting and encryption.
- Initiate the encoding process and monitor its progress.
- Verify the encoded data to ensure accuracy and completeness.
- Troubleshoot common issues that may arise during the encoding process.
Each step plays a vital role in ensuring successful RFID tag encoding. It is important to approach each step with attention to detail, patience, and a proactive attitude towards troubleshooting any potential issues that may arise.
Remember, RFID technology continues to evolve, and staying abreast of current trends, advancements, and best practices will contribute to your overall success. Stay connected with industry resources, attend conferences, and engage in networking opportunities to enhance your knowledge and skills in RFID technology and encoding.
By mastering the RFID tag encoding process, you can streamline operations, improve inventory management, and enhance overall efficiency in various industries such as retail, logistics, healthcare, and manufacturing. Embrace the power of RFID technology and leverage it to unlock new possibilities for your business.