Introduction
Welcome to the world of Xfinity Home Security! This comprehensive security system not only helps protect your home and loved ones, but it also provides you with the ability to monitor and access video recordings. However, there may come a time when you need to delete certain videos from your Xfinity Home Security system. Whether it’s to free up storage space or remove footage that is no longer relevant, knowing how to delete videos on Xfinity Home Security is a valuable skill.
By following a few simple steps, you will be able to easily delete videos from your Xfinity Home Security system, giving you peace of mind and control over your video recordings. In this guide, we will walk you through the process of deleting videos on Xfinity Home Security, ensuring that you can effectively manage your footage.
Before we dive into the step-by-step instructions, it’s important to note that deleting videos should be done with caution. Once a video is deleted, it cannot be recovered. Therefore, it’s essential to double-check and confirm that you no longer need the footage before proceeding with the deletion process.
Now, let’s explore the reasons why you might want to delete videos on Xfinity Home Security and how you can go about doing it.
Reasons to Delete Video on Xfinity Home Security
There are several reasons why you may need to delete videos on your Xfinity Home Security system. Let’s take a look at some of the common scenarios where deleting videos becomes necessary:
- Privacy Concerns: Sometimes, you may capture video footage that includes sensitive or personal information. Deleting such videos ensures that your privacy and the privacy of others are protected. It’s important to regularly review your video recordings and delete any footage that may compromise privacy.
- No Longer Relevant: Over time, your video library can become cluttered with old recordings that are no longer relevant. Whether it’s videos of events that have already passed or footage from routine activities, deleting these videos frees up storage space and makes it easier to find and manage important recordings.
- Error Recordings: There might be instances where the Xfinity Home Security system captures video recordings due to false alarms or technical glitches. Deleting these erroneous recordings helps maintain the accuracy and reliability of your video library.
- Data Management: Each Xfinity Home Security system has a limit for video storage capacity. When the storage is nearly full, deleting unnecessary videos allows you to continue capturing important footage without interruptions.
- Legal Compliance: In some cases, you may need to comply with legal requirements regarding the retention of video recordings. However, it’s also crucial to ensure that you delete videos once their stated retention period has ended to avoid retaining unnecessary and potentially sensitive footage.
Now that you understand the reasons behind deleting videos on Xfinity Home Security, let’s proceed to the step-by-step guide on how to delete videos within the Xfinity Home Security app or website.
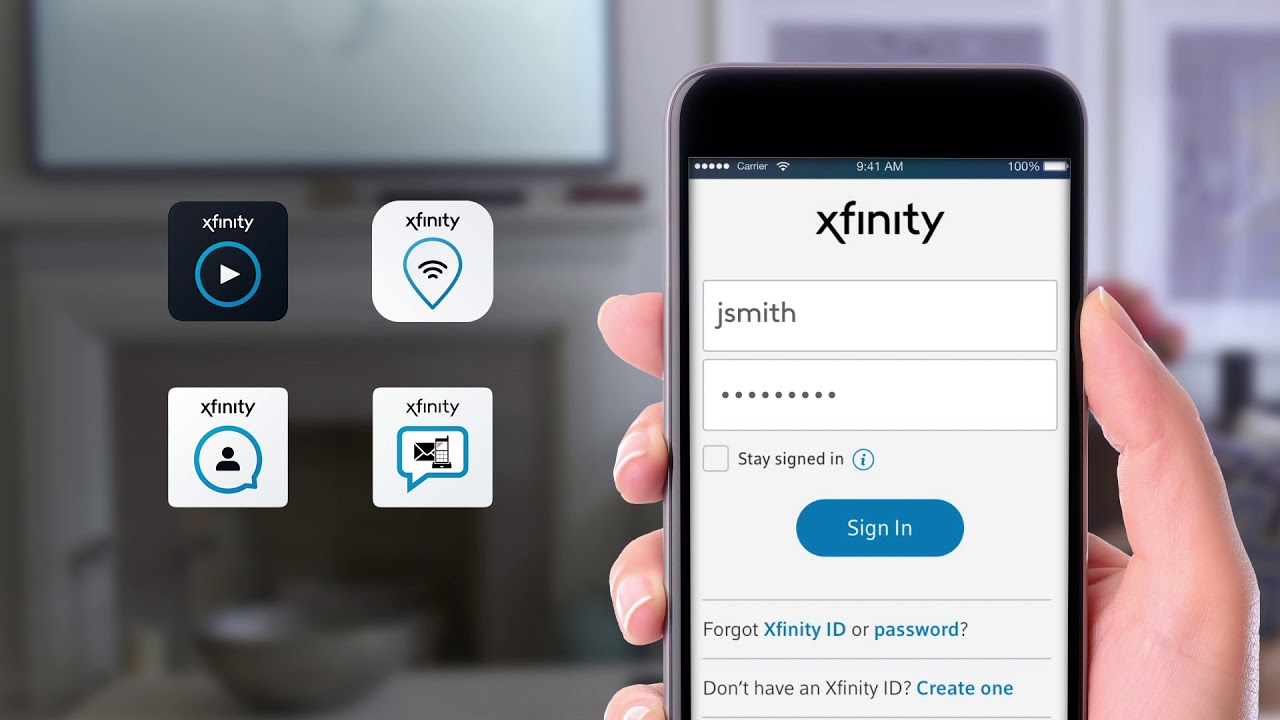
Step 1: Access the Xfinity Home Security App or Website
The first step in deleting videos from your Xfinity Home Security system is to access the Xfinity Home Security app or website. Follow these instructions to log in:
- Launch the Xfinity Home Security app on your mobile device or open the Xfinity Home Security website on your computer.
- Enter your Xfinity username and password to log in to your account.
- If you have enabled two-factor authentication, follow the prompts to verify your identity.
Once you have successfully logged in, you will have access to the features and settings of your Xfinity Home Security system.
It’s important to note that the steps may vary slightly depending on the version of the app or website you are using. However, the general process of accessing your account should remain the same.
Now that you have logged in successfully, let’s move on to the next step: navigating to the video recording page.
Step 2: Navigate to the Video Recording Page
Once you have logged in to your Xfinity Home Security account, it’s time to navigate to the video recording page. Follow these steps:
- On the Xfinity Home Security app or website, locate and select the “Video” or “Recordings” tab. The exact wording may vary, but it should be easily identifiable.
- If there are multiple cameras or devices connected to your Xfinity Home Security system, choose the specific camera or device for which you want to delete videos.
- The video recording page will display a list of recorded videos, usually in chronological order. You may have the option to filter or sort the videos based on different criteria, such as date, time, or camera.
By accessing the video recording page, you can now view and manage the recorded videos from your Xfinity Home Security system.
Please note that the specific layout and options on the video recording page may vary depending on the version of the app or website you are using. However, the general process of navigating to this page should be similar across platforms.
Now that you have reached the video recording page, let’s move on to the next step: selecting the videos you want to delete.
Step 3: Select the Videos to Delete
Now that you have accessed the video recording page, it’s time to select the videos you want to delete. Follow these steps:
- Browse through the list of recorded videos and identify the ones you wish to delete.
- Most Xfinity Home Security apps or websites provide checkboxes or selection options next to each video. Use these checkboxes to select the videos you want to delete.
- If there is a bulk selection option available, consider using it if you want to delete multiple videos at once.
Take your time to review the selected videos and ensure that you have chosen the correct ones for deletion. Once a video is deleted, it cannot be recovered, so it’s crucial to double-check your selection.
Additionally, some Xfinity Home Security systems may allow you to preview the videos before deletion. If available, take advantage of this feature to confirm the content of the selected videos.
Now that you have selected the videos you want to delete, let’s move on to the final step: deleting the selected videos from your Xfinity Home Security system.
Step 4: Delete the Selected Videos
After selecting the videos you wish to delete from your Xfinity Home Security system, it’s time to proceed with the deletion process. Follow these simple steps:
- Look for the “Delete” or “Remove” option that is typically located near the selected videos or at the top/bottom of the video recording page.
- Click or tap on the “Delete” or “Remove” option.
- You may be prompted to confirm the deletion. Read the confirmation message carefully to ensure that you are deleting the correct videos.
- If a confirmation message appears, click or tap on “Confirm” or “Delete” to proceed with the deletion.
- Depending on the number of selected videos and the speed of your internet connection, the deletion process may take a few moments. Be patient and avoid navigating away from the page until the process is complete.
Once the selected videos are successfully deleted, they will be permanently removed from your Xfinity Home Security system, freeing up storage space and ensuring that only relevant footage remains in your recording library.
It’s important to note that the exact steps and options for deleting videos may vary slightly depending on the version of the Xfinity Home Security app or website you are using. However, the general process of deleting selected videos should be similar across platforms.
Now that you have successfully deleted the selected videos, let’s move on to some additional tips for effectively managing video recordings on your Xfinity Home Security system.
Additional Tips for Managing Video Recordings on Xfinity Home Security
Managing your video recordings on Xfinity Home Security goes beyond just deleting unwanted videos. Here are some additional tips to help you effectively manage your video library:
- Set up video retention settings: Xfinity Home Security systems often allow you to configure the retention period for your video recordings. Take advantage of this feature to automatically delete older videos after a specific time frame, reducing clutter and preserving storage space.
- Organize your recordings: Consider organizing your video recordings into folders or categories based on date, location, or event. This can make it easier to find and manage specific videos when needed.
- Regularly review and delete: Make it a habit to regularly review your video recordings and delete any footage that is no longer necessary. This practice will help you maintain an organized and relevant video library.
- Download important footage: If you come across any videos that capture important events or incidents, consider downloading them to your local device for safekeeping, as well as to ensure they are not automatically deleted according to your retention settings.
- Consider cloud storage options: If you find that the storage capacity of your Xfinity Home Security system is limited, consider exploring cloud storage options. Some Xfinity plans offer additional cloud storage for your video recordings, providing you with more flexibility and peace of mind.
- Read the documentation: Familiarize yourself with the user manual or documentation provided by Xfinity for their Home Security system. It may contain additional information, tips, and best practices for managing your video recordings effectively.
By implementing these tips, you will be able to efficiently manage and organize your video recordings on Xfinity Home Security, ensuring quick access to important footage when needed and optimizing storage space.
Now that you have gathered valuable insights on managing video recordings on Xfinity Home Security, you are fully equipped to confidently navigate and control your video library.
Conclusion
Managing video recordings on your Xfinity Home Security system is an important aspect of maintaining the security and privacy of your home. By following the step-by-step guide outlined in this article, you can easily delete videos that are no longer needed, freeing up storage space and ensuring that your video library remains relevant and organized.
We explored the reasons why deleting videos on Xfinity Home Security may be necessary, such as privacy concerns, outdated footage, error recordings, data management, and legal compliance. It’s crucial to carefully consider these factors before proceeding with the deletion process, as once a video is deleted, it cannot be recovered.
We then walked you through the four essential steps in deleting videos on Xfinity Home Security: accessing the Xfinity Home Security app or website, navigating to the video recording page, selecting the videos to delete, and deleting the selected videos. Following these steps will allow you to efficiently manage your video recordings and maintain control over your security system.
We also provided additional tips for effectively managing your video library, including setting up retention settings, organizing recordings, regularly reviewing and deleting footage, downloading important videos, exploring cloud storage options, and familiarizing yourself with the user manual or documentation provided by Xfinity.
By implementing these tips and best practices, you can optimize your video storage space, ensure the privacy of your recordings, and easily access critical footage when needed.
Now that you have gained a comprehensive understanding of how to delete videos on Xfinity Home Security and effectively manage your video library, you are empowered to navigate your security system confidently and maintain a secure and organized home environment.