Introduction
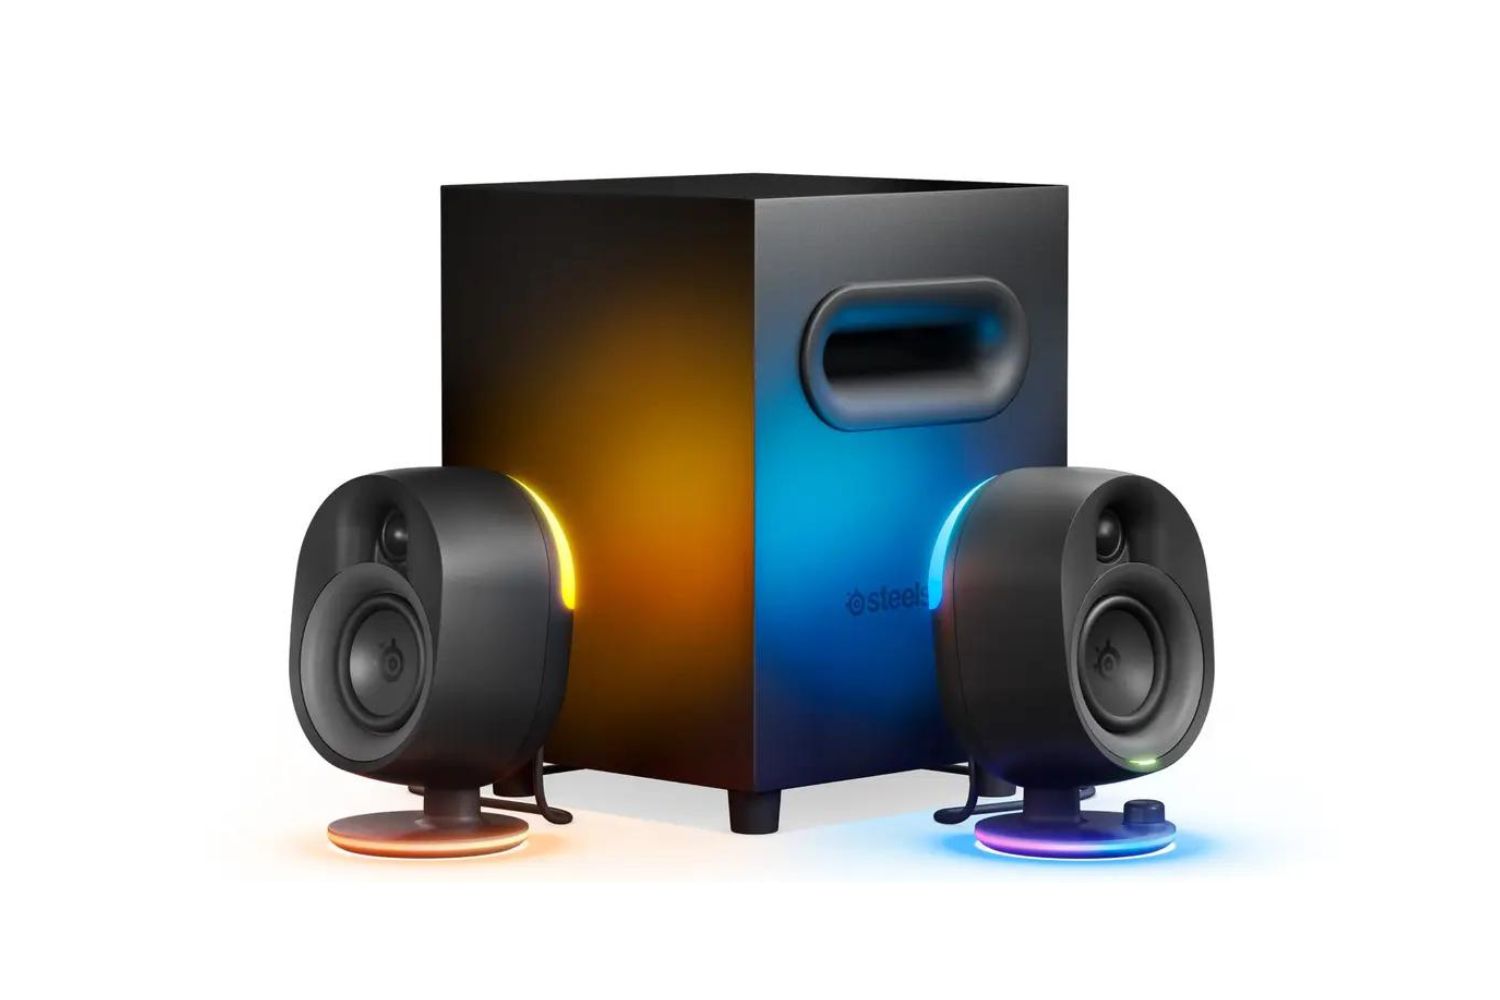
Welcome to this guide on how to connect speakers to a gaming monitor. Whether you’re a passionate gamer or someone who enjoys watching movies or listening to music on your gaming monitor, having proper audio is essential for an immersive experience. While many gaming monitors come equipped with built-in speakers, they may not always provide the audio quality you desire. Fortunately, you can easily connect external speakers to your gaming monitor to enhance the sound quality and take your gaming or entertainment experience to the next level.
By connecting external speakers to your gaming monitor, you can enjoy richer and more dynamic audio, with improved clarity and depth. Whether you prefer the rumbling bass of explosions in an action-packed game or the crisp dialogue in a movie, external speakers can deliver the sound experience you crave. Additionally, using external speakers can also free up valuable desk space and allow for more flexible placement options.
In this guide, we will walk you through the step-by-step process of connecting speakers to your gaming monitor. You’ll learn how to identify your monitor’s audio capabilities, determine the available connection options, and make the necessary connections using HDMI, 3.5mm audio jack, or USB. We will also discuss how to adjust the speaker settings on your monitor to optimize the audio output. Furthermore, we’ll provide troubleshooting tips to address common speaker connection issues that you may encounter along the way.
Whether you are a seasoned gamer or a casual user, this guide will equip you with the knowledge and skills to enhance your audio experience with external speakers connected to your gaming monitor. So let’s get started and unlock the full potential of your gaming setup!
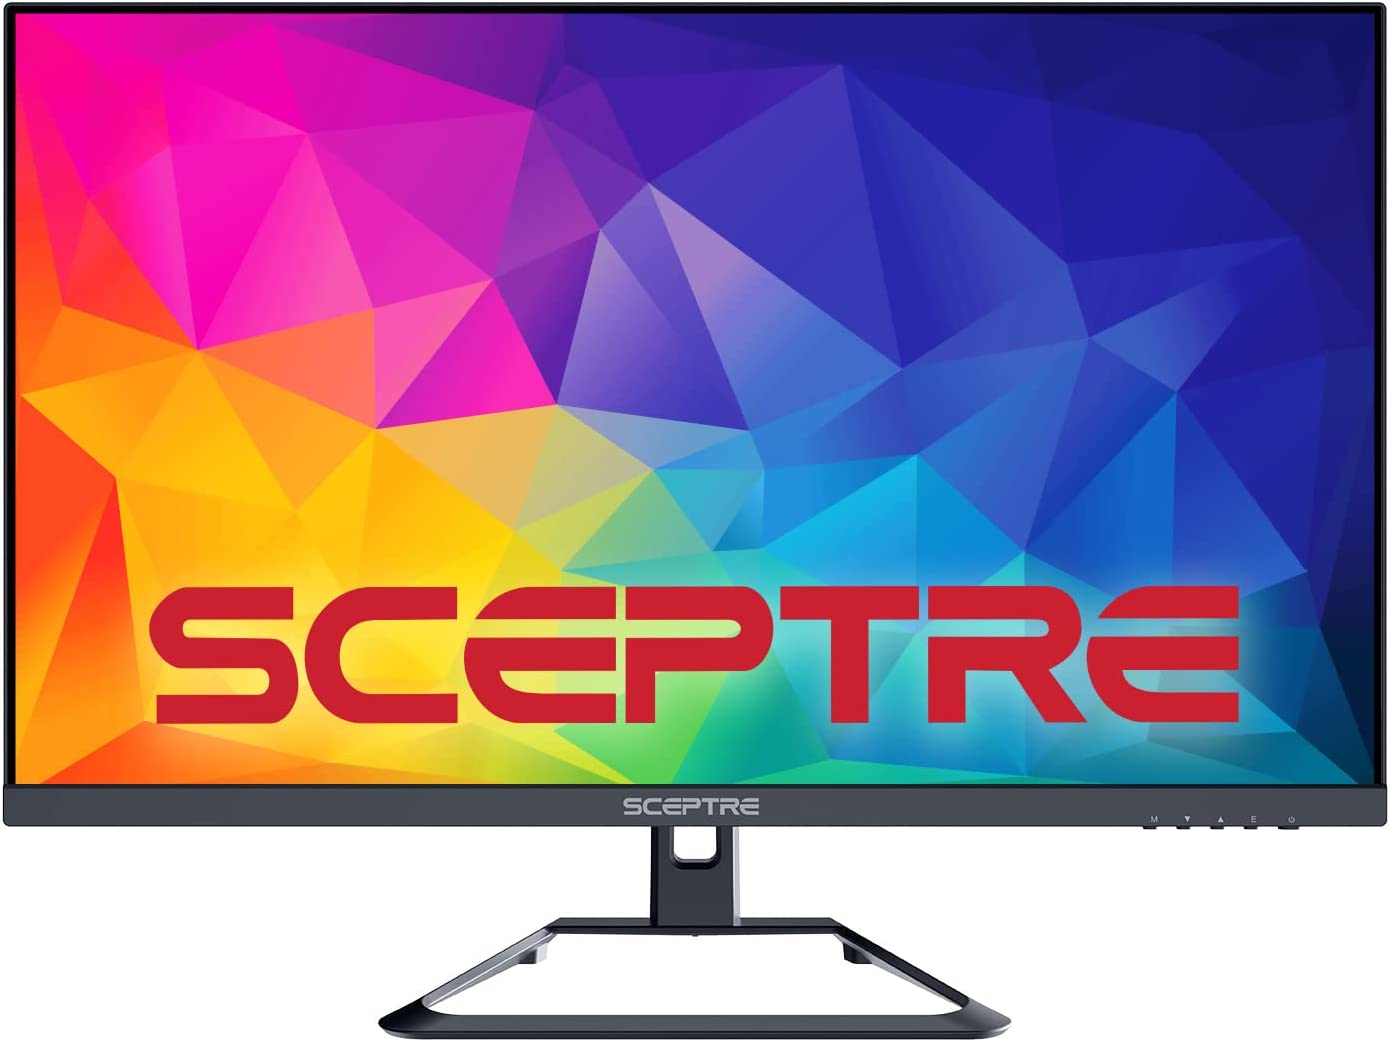
Step 1: Check Your Monitor’s Audio Capabilities
Before you connect external speakers to your gaming monitor, it’s important to determine the audio capabilities of your monitor. This will help you identify the available audio ports and choose the appropriate connection method.
Most modern gaming monitors come with built-in speakers, but not all of them offer the same audio quality or features. Some monitors may have basic speakers that provide adequate sound for everyday use, while others may have more advanced speaker systems that deliver immersive and high-quality audio.
To check your monitor’s audio capabilities, start by consulting the user manual or specifications sheet that came with your monitor. These documents often provide information about the type and power of built-in speakers, as well as any additional audio features that may be present. Look for details such as speaker size, wattage, and frequency response, which can give you an indication of the overall audio performance.
If you cannot find the necessary information in the manual, you can also check the manufacturer’s website for your monitor model. They may provide detailed specifications online that can help you understand the audio capabilities of your monitor.
In addition to built-in speakers, some gaming monitors also offer audio output ports, which allow you to connect external speakers or headphones. These ports are typically located on the back or side of the monitor and may include options like HDMI, 3.5mm audio jack, or USB.
Once you have determined the audio capabilities of your gaming monitor and identified the available audio ports, you’ll be ready to move on to the next step: determining your speaker connection options.
Step 2: Determine Your Speaker Connection Options
After checking your gaming monitor’s audio capabilities, it’s time to determine the available speaker connection options. This step is crucial as it will help you identify the best method for connecting your external speakers to the monitor.
The most common speaker connection options for gaming monitors include HDMI, 3.5mm audio jack, and USB. Let’s take a closer look at each option:
1. HDMI: Many gaming monitors come equipped with HDMI ports. HDMI cables not only transmit high-definition video signals but also carry audio signals. This means that if your monitor has an HDMI port, you can connect your external speakers directly to it using an HDMI cable. The advantage of this method is that it simplifies cable management since both the audio and video signals are transmitted through a single cable.
2. 3.5mm Audio Jack: Another common connection option is the 3.5mm audio jack. This is a standard audio connection that you can find on most devices, including gaming monitors. To use this method, you’ll need an appropriate cable that has a 3.5mm audio jack on one end and the corresponding audio connection on the other end, depending on your speakers. This method is straightforward and widely compatible with various external speakers.
3. USB: Some gaming monitors may have USB ports that support audio output. If your monitor has a USB port with audio capabilities, you can connect your external speakers using a USB cable. This method offers the advantage of powering the speakers directly from the monitor, eliminating the need for separate power adapters.
To determine which speaker connection option is available on your gaming monitor, refer to the user manual, specifications sheet, or the manufacturer’s website. Make note of the available audio ports and their corresponding connection types.
Once you have identified the connection options, you can proceed to the next step, which involves connecting your speakers to the gaming monitor using the appropriate cables and ports.
Step 3: Connecting Speakers through HDMI
Connecting external speakers to your gaming monitor through HDMI is a convenient and straightforward method. If your monitor has an HDMI port, you can make use of this option to transmit both audio and video signals to your speakers.
To connect your speakers through HDMI, follow these steps:
1. First, ensure that your gaming monitor and speakers are turned off.
2. Locate the HDMI port on your monitor. It is usually located on the back or side of the monitor and is labeled “HDMI” or “HDMI Out”. Take note of the port number if there are multiple HDMI ports available.
3. Connect one end of the HDMI cable to the HDMI port on your gaming monitor.
4. Now, locate the HDMI input port on your speakers. Depending on your speaker system, it may have an HDMI input or an HDMI ARC (Audio Return Channel) input. Connect the other end of the HDMI cable to this port.
5. Once the HDMI connection is established, power on both your gaming monitor and speakers.
6. You may need to switch the audio output settings on your gaming monitor to prioritize the HDMI audio output. Refer to your monitor’s user manual or on-screen menu options to make the necessary adjustments.
7. Test the audio by playing a sound or video on your gaming monitor. The audio should now be transmitted through your external speakers connected via HDMI.
It’s important to note that some gaming monitors may have dedicated HDMI ports for audio output, while others may have a combined HDMI port that supports both audio and video. Make sure to connect your HDMI cable to the correct port on your monitor and speakers.
If you encounter any issues with the HDMI connection, ensure that your monitor and speakers are compatible with HDMI audio transmission and that the HDMI cable is functioning properly. You may need to consult the user manuals or reach out to the manufacturer’s support for further assistance.
Once you have successfully connected your speakers through HDMI, you can proceed to the next step, which involves connecting speakers through the 3.5mm audio jack.
Step 4: Connecting Speakers through 3.5mm Audio Jack
If your gaming monitor has a 3.5mm audio jack, you can easily connect external speakers using this standard audio connection. The 3.5mm audio jack, also known as a headphone jack, is a common feature on most gaming monitors and speakers, making it a versatile and widely supported method of connecting audio devices.
Follow these steps to connect your speakers through the 3.5mm audio jack:
1. Before you begin, ensure that both your gaming monitor and speakers are powered off.
2. Locate the 3.5mm audio output jack on your gaming monitor. It is typically labeled with a headphone icon or an audio out symbol. Take note of the port’s location for easy access.
3. Connect one end of the 3.5mm audio cable to the audio output jack on your gaming monitor.
4. Next, locate the 3.5mm audio input jack on your external speakers. This is usually labeled as an audio in or line-in port. Connect the other end of the cable to this input jack.
5. After securely connecting both ends of the cable, power on your gaming monitor and speakers.
6. Adjust the volume settings on your gaming monitor and speakers to an appropriate level. You may need to refer to the user manual or on-screen menu options for your specific models.
7. Test the audio by playing a sound or video on your gaming monitor. The audio should now be transmitted through your connected external speakers.
It’s important to note that some gaming monitors may require you to configure the audio output settings in the on-screen menu. Check your monitor’s user manual for instructions on how to select the 3.5mm audio jack as the default audio output.
If you experience any issues with the 3.5mm audio jack connection, ensure that the cable is fully inserted into both the monitor and speaker jacks. Check for any loose connections or kinks in the cable that may affect the audio transmission. You may also try using a different 3.5mm audio cable to troubleshoot.
Once you have successfully connected your speakers through the 3.5mm audio jack, you can proceed to the next step, which involves connecting speakers through USB if your monitor supports it.
Step 5: Connecting Speakers through USB
If your gaming monitor features USB ports with audio capabilities, you have the option to connect your external speakers through USB. This method offers the advantage of powering the speakers directly from the monitor, eliminating the need for separate power adapters.
Here’s how you can connect your speakers through USB:
1. Ensure that both your gaming monitor and speakers are powered off before starting the connection process.
2. Locate the USB port on your gaming monitor that supports audio output. It may be labeled as “USB Audio” or have a headphone icon beside it. Make note of the port’s location.
3. Connect one end of the USB cable into the USB port on your gaming monitor.
4. For speakers with a USB input, connect the other end of the USB cable directly into the speakers’ USB port. If your speakers do not have a USB input, you may need an adapter or converter that allows you to connect the USB cable to the speakers’ compatible audio input.
5. Once the USB connection is established, power on your gaming monitor and speakers.
6. Your gaming monitor should automatically recognize and configure the USB audio connection. If necessary, refer to your monitor’s user manual or on-screen menu options to ensure that the USB audio output is enabled.
7. Test the audio by playing a sound or video on your gaming monitor. The audio should now be transmitted to your external speakers connected via USB.
It’s important to note that not all gaming monitors support audio output through USB. Check your monitor’s specifications or user manual to confirm its compatibility with USB audio.
If you encounter any issues with the USB connection, ensure that both the monitor and speakers are powered on and that the USB cable is securely connected. Alternatively, try using a different USB port on your monitor or a different USB cable to troubleshoot any potential connectivity issues.
Once you have successfully connected your speakers through USB, you can proceed to the next step, which involves adjusting the speaker settings on your monitor to optimize the audio output.
Step 6: Adjusting Speaker Settings on Your Monitor
After connecting your external speakers to your gaming monitor, it’s important to adjust the speaker settings to optimize the audio output. This step will ensure that you get the best sound quality and enhance your overall gaming or entertainment experience.
The process of adjusting speaker settings may vary depending on the make and model of your gaming monitor. However, here are some general steps you can follow:
1. Access the on-screen display (OSD) menu of your gaming monitor. The method to access the OSD may involve pressing dedicated buttons on the monitor itself or navigating through the menu using a control pad or joystick located on the back or side of the monitor.
2. Look for the audio or sound settings within the OSD menu. The exact location and terminology may differ, but it commonly appears under “Audio”, “Sound”, or “Speaker Settings”.
3. Explore the available options to adjust audio settings. This may include adjusting volume, bass, treble, balance, or selecting audio presets depending on the monitor’s capabilities.
4. Experiment with different settings to find the optimal audio configuration that suits your preferences. Adjust volume levels to a comfortable level, customize bass and treble as desired, and ensure that speakers are properly balanced to achieve a well-rounded sound experience.
5. Some gaming monitors may offer additional advanced audio features such as virtual surround sound or equalizer settings. If available, explore these options to further enhance your audio experience according to your preferences.
6. Once you have adjusted the speaker settings to your liking, save the changes if applicable and exit the OSD menu.
Remember, the specific steps and options for adjusting speaker settings may vary depending on your gaming monitor model. Consult your monitor’s user manual for detailed instructions and explanations of the available settings.
If you encounter any difficulties or need further assistance, you can also reach out to the manufacturer’s support for guidance specific to your monitor.
With the speaker settings optimized, you can now enjoy the enhanced audio quality provided by your external speakers connected to your gaming monitor.
Step 7: Troubleshooting Common Speaker Connection Issues
While setting up external speakers for your gaming monitor is usually a straightforward process, you may encounter some common issues that can affect the audio connection. Here are some troubleshooting tips to help you address these issues:
1. No Sound: If you have connected the speakers correctly but are not getting any sound, check the volume settings on both your gaming monitor and speakers. Ensure that the volume is not muted or set too low. Additionally, verify that the audio output is set to the correct source, such as HDMI, 3.5mm audio jack, or USB.
2. Distorted Sound: If you experience distorted or poor-quality sound, ensure that the audio cables are securely connected. Loose connections can cause interference and affect audio quality. Additionally, check the audio settings on your gaming monitor and adjust bass and treble levels to improve the sound balance.
3. Incorrect Port: If you are not getting any audio or experiencing sound issues, ensure that you have connected the speakers to the correct audio output port on your gaming monitor. Refer to the user manual or specifications to identify the right port for your specific monitor model.
4. Compatibility Issues: If your gaming monitor and speakers are not compatible or if the cables you are using are not suitable, it could affect the audio connection. Ensure that your speakers and monitor are compatible in terms of the audio input/output options. If necessary, use adapters or converters to bridge any compatibility gaps.
5. Check Audio Drivers: If you are connecting your gaming monitor through a USB audio connection and experiencing issues, ensure that your computer’s audio drivers are up to date. Outdated or incompatible audio drivers can cause problems with USB audio connections. Visit the manufacturer’s website to download and install the latest audio drivers for your computer.
6. Test with Different Devices and Cables: If you have multiple devices or cables available, try connecting your speakers to different devices or using different cables to isolate the potential source of the problem. This will help identify whether the issue lies with the gaming monitor, speakers, or cables being used.
7. Contact Manufacturer Support: If you have tried all the troubleshooting steps and are still experiencing issues with the speaker connection, reach out to the manufacturer’s support for further assistance. They can provide specific troubleshooting steps or help identify if there is a hardware-related problem requiring repair or replacement.
By following these troubleshooting steps, you can resolve common speaker connection issues and ensure a seamless and immersive audio experience with your gaming monitor and external speakers.
Conclusion
Congratulations! You have successfully learned how to connect speakers to a gaming monitor. By following the step-by-step process outlined in this guide, you can now enjoy enhanced audio quality and an immersive gaming or entertainment experience.
We started by checking your monitor’s audio capabilities and determining the available speaker connection options. Whether your monitor supports HDMI, 3.5mm audio jack, or USB audio output, you now have the knowledge to make the appropriate connections.
Through the HDMI method, you can transmit both audio and video signals using a single cable. Alternatively, the 3.5mm audio jack allows for a versatile and widely supported connection option. For those monitors with USB audio capabilities, you can power your speakers directly from the monitor, minimizing cable clutter.
Once the speaker connection is established, we discussed the importance of adjusting the speaker settings on your monitor to optimize audio output. By customizing volume levels, bass, treble, and other settings, you can achieve the sound quality that suits your preferences.
Lastly, we covered troubleshooting common speaker connection issues, such as sound not working, distorted audio, incorrect port selection, compatibility issues, and more. These troubleshooting tips will help you address any issues that may arise during the setup process and ensure a seamless audio experience.
Remember, each gaming monitor and speaker system may have unique features and requirements. It is essential to consult the user manuals and support resources provided by the manufacturers for accurate and specific instructions related to your devices.
By connecting external speakers to your gaming monitor, you have taken a step towards immersing yourself in the world of sound alongside stunning visuals. Enjoy the enhanced audio quality and elevate your gaming, movie-watching, and music-listening experiences with the power of external speakers connected to your gaming monitor.
Now, go ahead and experience the full potential of your gaming setup with the superior sound that external speakers bring!