Introduction
With the rapid advancements in technology, smart TVs have become a popular choice for many households. These TVs come with built-in Wi-Fi, allowing users to connect to the internet and access a wide range of online streaming services and apps. However, if you have a non-smart TV, you may be wondering if it’s possible to connect it to your home Wi-Fi network.
The good news is that there are several methods available to connect your non-smart TV to Wi-Fi, giving you the freedom to enjoy online content without the need for additional equipment or expensive upgrades. In this article, we will explore various ways to connect your non-smart TV to Wi-Fi wireless.
Whether you want to stream your favorite shows and movies, browse the internet, or play online content on the big screen, these methods will help you transform your non-smart TV into a smart one. So, let’s dive into the different options available to connect your non-smart TV to Wi-Fi.
Check for built-in Wi-Fi capabilities
The first step towards connecting your non-smart TV to Wi-Fi is to check if it has any built-in Wi-Fi capabilities. Although older TV models may not have this feature, many newer models come with integrated Wi-Fi functionality.
To determine if your TV has built-in Wi-Fi, refer to the TV’s user manual or the manufacturer’s website. Look for terms like “wireless LAN,” “Internet connectivity,” or “Wi-Fi.” If your TV has these features, follow the instructions to connect it to your Wi-Fi network.
Keep in mind that the exact steps may vary depending on the TV model and brand. Generally, you will need to access the TV’s settings menu, navigate to the network settings or Wi-Fi settings, and select the option to connect to a wireless network. Provide the necessary network credentials, such as the Wi-Fi name (SSID) and password, to establish a connection.
If your TV does not have built-in Wi-Fi capabilities, don’t worry. There are other methods you can explore to connect your non-smart TV to Wi-Fi, which we will discuss in the following sections.
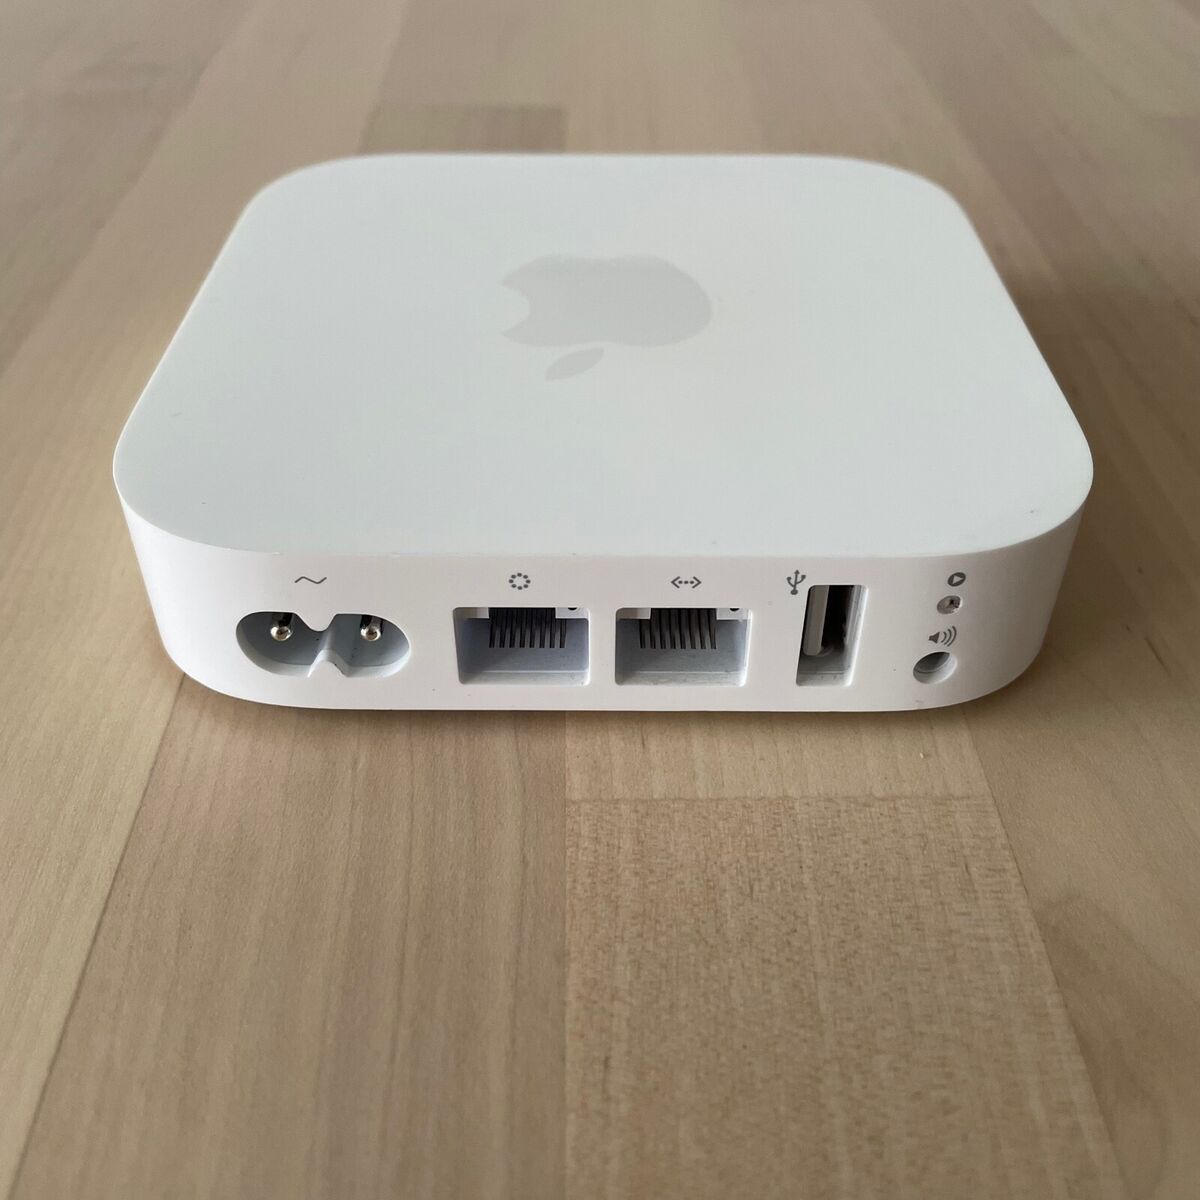
Purchase an external Wi-Fi adapter
If your non-smart TV does not have built-in Wi-Fi capabilities, you can consider purchasing an external Wi-Fi adapter. These small devices can be plugged into the USB or HDMI port of your TV and provide wireless connectivity.
Before purchasing an external Wi-Fi adapter, make sure to check the compatibility with your TV model. Look for adapters that are specifically designed for TV connectivity and support the necessary protocols and frequencies.
The installation process for an external Wi-Fi adapter may vary depending on the device and your TV’s ports. In most cases, you will need to connect the adapter to the appropriate port and follow the instructions provided with the adapter to set up the Wi-Fi connection.
Once the adapter is connected, access your TV’s settings menu and navigate to the network settings. Select the option to connect to a wireless network and enter the network credentials, such as the Wi-Fi name (SSID) and password. The TV will then establish a connection to your Wi-Fi network using the external Wi-Fi adapter.
External Wi-Fi adapters come in various types and price ranges, so it’s important to choose one that suits your needs and budget. Look for reputable brands and read reviews from other users to ensure you are getting a reliable and compatible adapter.
By purchasing an external Wi-Fi adapter, you can easily add wireless connectivity to your non-smart TV and enjoy the benefits of internet access and online streaming on your big screen.
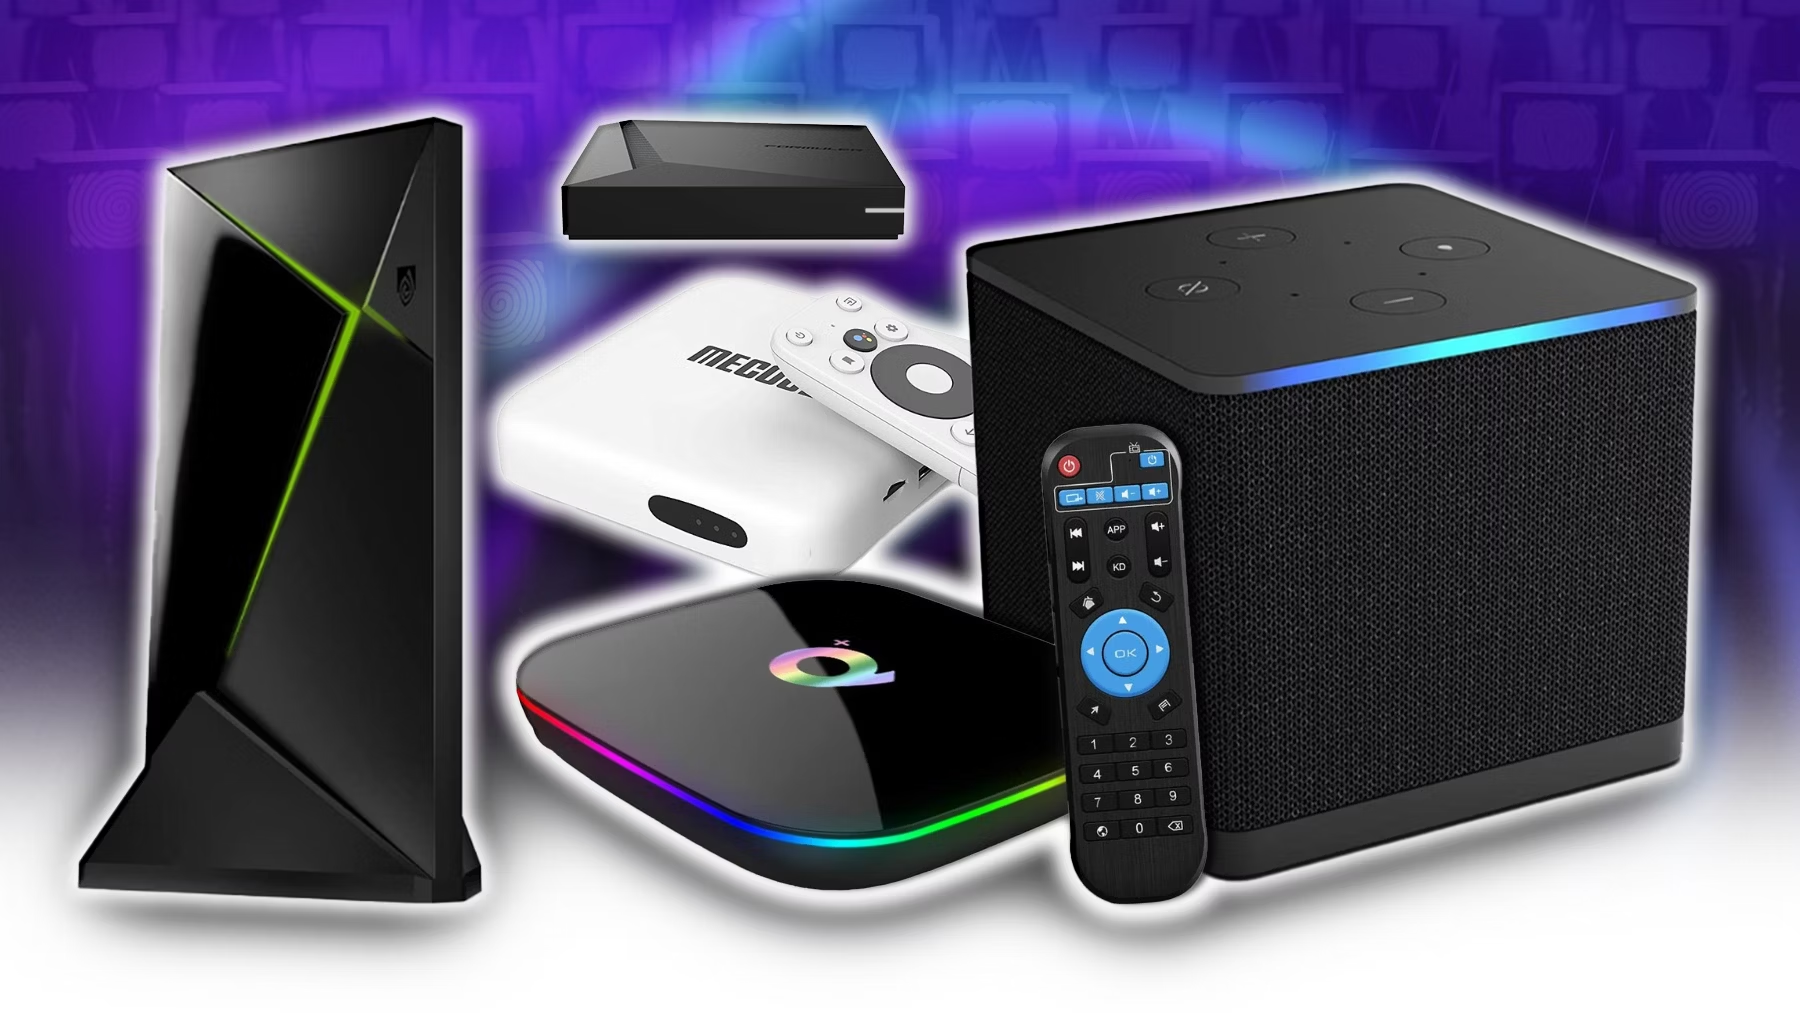
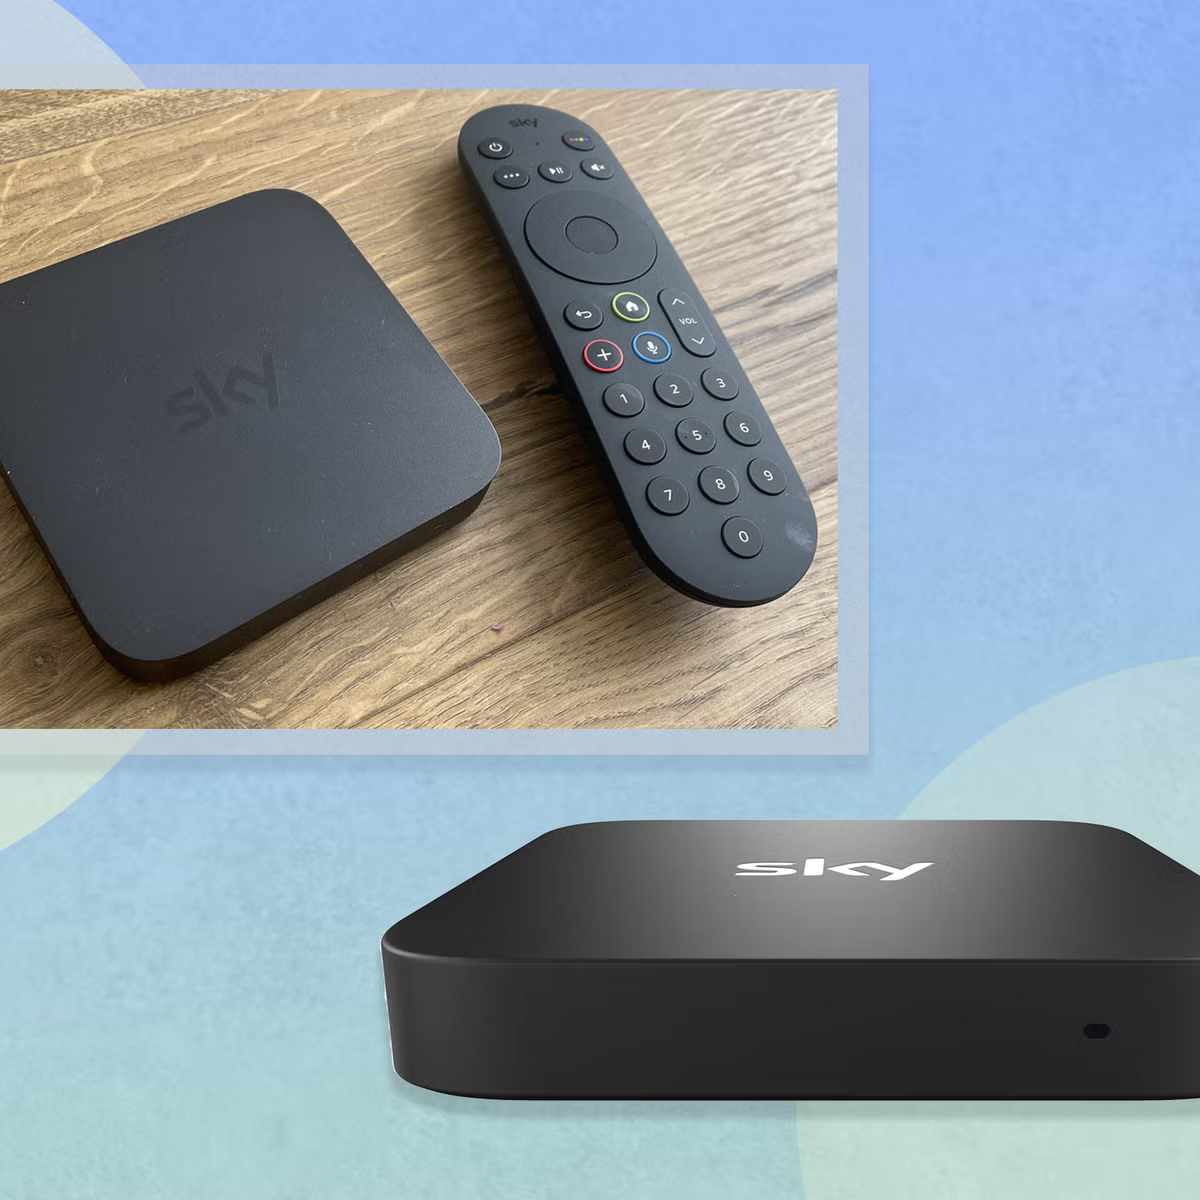
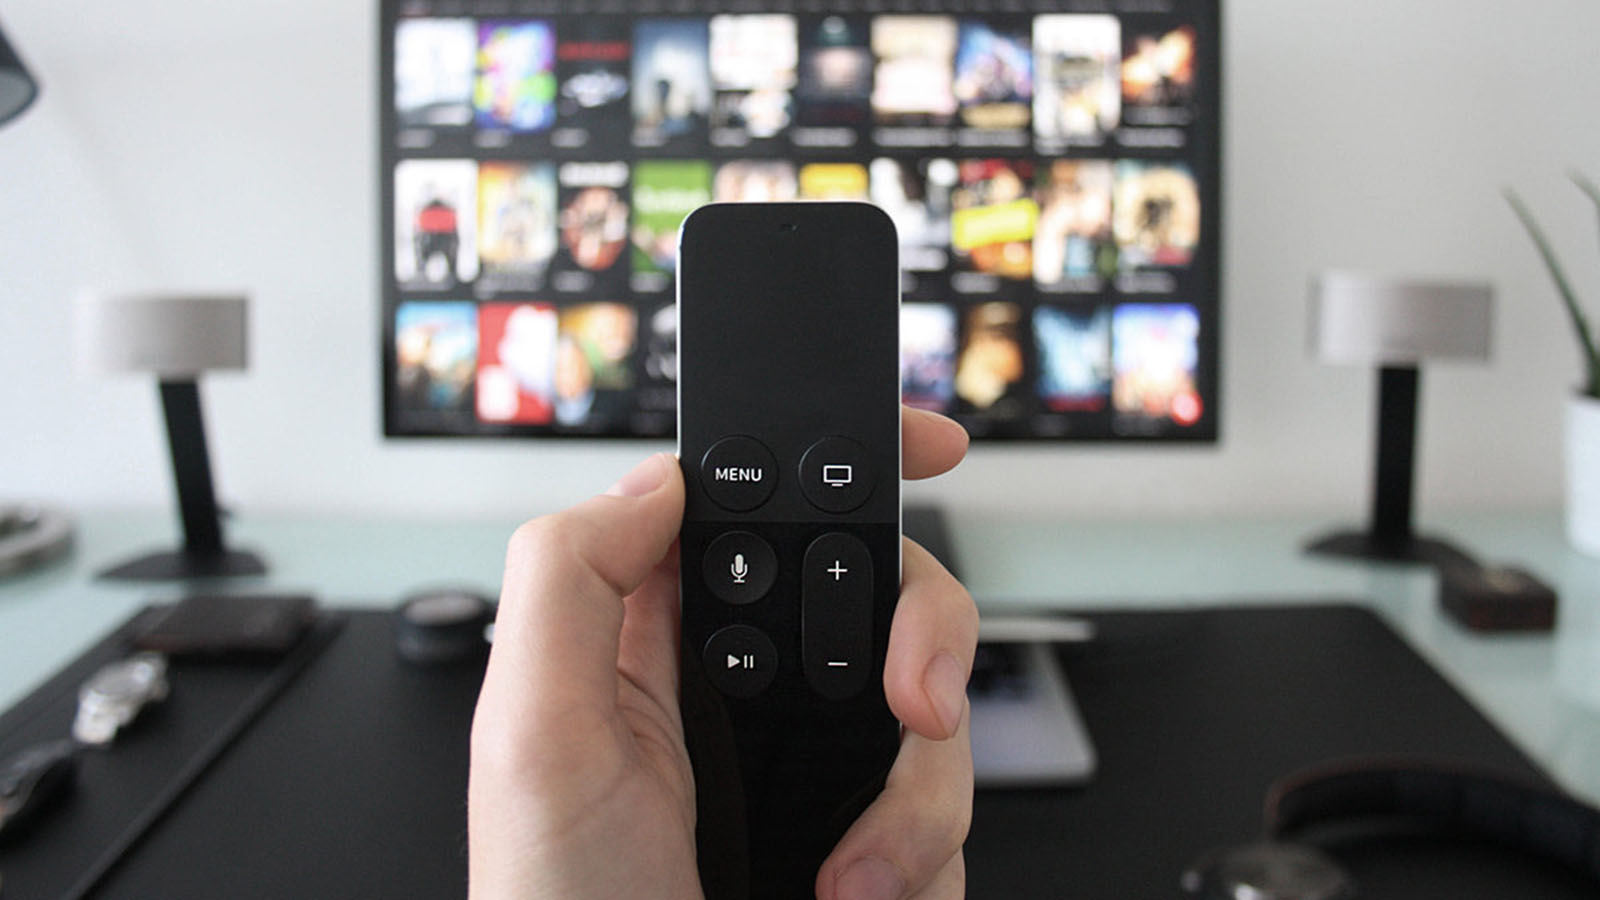
Connect using a streaming device
If you want to connect your non-smart TV to Wi-Fi and have access to a wide range of streaming services, using a streaming device is a convenient option. Streaming devices, such as Roku, Amazon Fire TV Stick, or Google Chromecast, can be connected to your TV and provide you with access to popular streaming platforms.
To get started, purchase a streaming device that is compatible with your TV. These devices usually have an HDMI port and connect to your TV through it. Plug the streaming device into the HDMI port and ensure it is powered on.
Next, switch your TV input to the HDMI port where the streaming device is connected. Most TVs have an Input or Source button on the remote control that allows you to toggle between different input sources.
Once your TV is set to the correct input, you will usually be guided through the setup process on the screen. This typically involves connecting the streaming device to your Wi-Fi network by entering the network credentials.
After successfully connecting to the Wi-Fi network, you can start accessing various streaming services available on the streaming device. Using the remote control provided with the device, you can browse through different apps, streaming services, and even play games on your non-smart TV.
Streaming devices offer a user-friendly interface and give you access to popular streaming platforms like Netflix, Hulu, and YouTube. Additionally, some streaming devices also support voice control, allowing you to search for content using your voice.
By connecting your non-smart TV to a streaming device, you can enjoy the benefits of online streaming and access a wide variety of content on your TV screen.
Utilize a wireless HDMI extender
If your non-smart TV has an HDMI port but lacks built-in Wi-Fi capabilities, you can consider using a wireless HDMI extender to connect it to your Wi-Fi network.
Wireless HDMI extenders consist of two components: a transmitter and a receiver. The transmitter is connected to a device with HDMI output, such as a media player or set-top box, while the receiver is connected to your TV’s HDMI input. These components communicate wirelessly, allowing you to transmit the audio and video signals from your device to the TV without the need for a physical HDMI cable.
To use a wireless HDMI extender, you will need to follow the setup instructions provided with the device. Generally, this involves connecting the transmitter to your device and the receiver to your TV’s HDMI input. Make sure that both the transmitter and receiver are powered on and within range of each other.
Once the wireless HDMI extender is set up, you can connect your device to your Wi-Fi network using its built-in Wi-Fi capabilities. This will allow you to access online content and streaming services on your device, and the audio and video will be transmitted to your TV wirelessly via the HDMI extender.
Wireless HDMI extenders offer a convenient solution for connecting your non-smart TV to Wi-Fi without the need for additional cables or devices. However, it’s important to note that the quality of the wireless connection may vary depending on factors such as distance and potential interference.
Before purchasing a wireless HDMI extender, make sure to check its compatibility with your TV’s HDMI version and the resolution you wish to stream. Additionally, it is recommended to read reviews and choose a reliable and reputable brand to ensure a smooth and uninterrupted streaming experience.
By utilizing a wireless HDMI extender, you can enjoy the convenience of connecting your non-smart TV to Wi-Fi and streaming online content directly on your TV screen.
Connect using a game console
If you own a game console, such as an Xbox, PlayStation, or Nintendo Switch, you can use it as a bridge to connect your non-smart TV to Wi-Fi.
Most modern game consoles come with built-in Wi-Fi capabilities, allowing you to connect them to your home Wi-Fi network. By connecting your game console to the internet, you can access various online features, including streaming services, browsing the web, and downloading apps.
To connect your game console to your non-smart TV and Wi-Fi network, you will need to follow these steps:
1. Connect your game console to your TV: Use an HDMI cable to connect the HDMI output of your game console to the HDMI input of your TV. Ensure that the TV is set to the correct input source to display the game console’s output.
2. Connect your game console to your Wi-Fi network: Access the settings menu on your game console and navigate to the network settings. Select the option to connect to a wireless network and provide the necessary network credentials, such as the Wi-Fi name (SSID) and password.
3. Follow the on-screen prompts: Your game console will guide you through the setup process, which may include performing updates, signing in to your account, or downloading any required apps.
Once your game console is connected to your Wi-Fi network, you can access various streaming services, such as Netflix, Amazon Prime Video, or Hulu, directly through your game console. Use the game console’s interface or remote control to navigate through the available apps and enjoy a wide range of online content on your non-smart TV.
Additionally, some game consoles also have built-in web browsers, allowing you to browse the internet and access websites on your TV screen.
Connecting your non-smart TV to Wi-Fi using a game console not only provides you with online streaming capabilities but also allows you to enjoy gaming and other entertainment features on your TV.
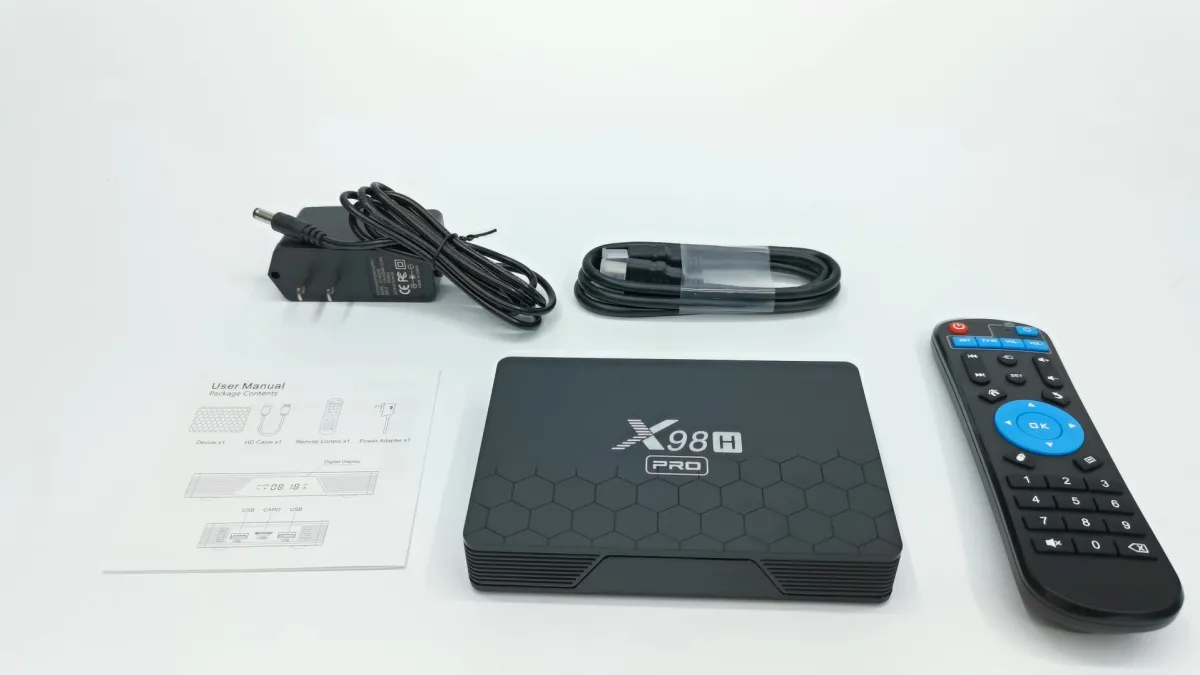
Use a media streaming stick
If you’re looking for a simple and affordable way to connect your non-smart TV to Wi-Fi, using a media streaming stick is an excellent option. Media streaming sticks, such as the Amazon Fire TV Stick, Roku Streaming Stick, or Google Chromecast, are small devices that you can plug directly into your TV’s HDMI port.
To set up a media streaming stick, follow these steps:
1. Connect the media streaming stick to your TV: Insert the media streaming stick into an available HDMI port on your TV. Most sticks come with a separate power cable or can be powered by connecting them to a USB port on your TV.
2. Switch your TV input: Use your TV remote to switch the input to the HDMI port where the media streaming stick is connected.
3. Connect the media streaming stick to your Wi-Fi network: Use the instructions provided with the media streaming stick to connect it to your Wi-Fi network. Typically, you’ll need to access the settings menu on the stick and navigate to the network settings. Enter the necessary Wi-Fi credentials, such as the Wi-Fi name (SSID) and password, to establish a connection.
Once connected to the Wi-Fi network, your media streaming stick will provide you with access to a variety of streaming services and apps. You can use the remote control included with the stick to navigate through the available content and stream movies, TV shows, and other online content on your non-smart TV.
Media streaming sticks often come with user-friendly interfaces, voice control features, and the ability to install additional apps and games. Some models even offer screen mirroring capabilities, allowing you to mirror content from your smartphone or tablet directly onto your TV screen.
By using a media streaming stick, you can easily and affordably transform your non-smart TV into a smart TV. Enjoy the benefits of online streaming, access popular apps, and enjoy a wide array of entertainment options on your big screen.
Set up a wireless bridge connection
If you have a non-smart TV with an Ethernet port but no built-in Wi-Fi capabilities, you can establish a wireless bridge connection to connect it to your Wi-Fi network. A wireless bridge acts as a bridge between your Wi-Fi network and your TV, allowing you to access the internet wirelessly.
To set up a wireless bridge connection, follow these steps:
1. Purchase a wireless bridge device: Look for a wireless bridge device that supports Wi-Fi connectivity and has an Ethernet port. These devices can often be found online or at your local electronics store.
2. Connect the wireless bridge to your TV: Connect one end of an Ethernet cable to the Ethernet port on your TV and the other end to the Ethernet port on the wireless bridge device.
3. Connect the wireless bridge to your Wi-Fi network: Use the instructions provided with the wireless bridge device to connect it to your Wi-Fi network. This usually involves accessing the settings menu on the device, selecting the network settings, and entering your Wi-Fi network credentials.
4. Set up the wireless bridge connection: Once the wireless bridge is connected to your Wi-Fi network, it will create a wireless connection from your Wi-Fi router to your TV. This allows your TV to access the internet and stream content wirelessly.
5. Configure the TV’s network settings: Access your TV’s network settings menu and set the connection type to wired or Ethernet. Some TVs may require you to manually input the IP address, subnet mask, gateway, and DNS settings. Refer to your TV’s manual or contact the manufacturer for specific instructions.
Once the wireless bridge connection is set up and your TV is configured, you can enjoy the benefits of internet access on your non-smart TV. Stream movies, TV shows, and other online content directly on your TV without the need for additional devices.
It’s important to note that the performance and range of the wireless bridge connection may vary depending on factors such as the distance between the wireless bridge device and your Wi-Fi router, as well as any potential interference from other electronic devices.
Setting up a wireless bridge connection is an effective solution to connect your non-smart TV to Wi-Fi, providing you with the convenience of streaming content and accessing online services directly on your TV screen.
Connect through a laptop or PC
If you have a laptop or PC with Wi-Fi capabilities, you can use it as a bridge to connect your non-smart TV to your Wi-Fi network. This method allows you to leverage your computer’s internet connection and share it with your TV.
To connect your non-smart TV through a laptop or PC, follow these steps:
1. Connect your laptop or PC to your Wi-Fi network: Ensure that your laptop or PC is connected to your Wi-Fi network. Make sure it has a stable internet connection.
2. Connect your laptop or PC to your TV: Depending on your TV’s available ports and your laptop/PC’s outputs, you can connect them using an HDMI cable, VGA cable, or any other appropriate video connection.
3. Configure your display settings: Once your laptop or PC is connected to your TV, adjust the display settings to extend or duplicate the screen onto your TV. This can usually be done through the display settings on your operating system.
4. Share your internet connection: On your laptop or PC, go to the network settings and access the properties of the Wi-Fi connection you are connected to. Look for the option to enable internet sharing or create a hotspot. Select your non-smart TV as the device to share the internet connection with.
5. Connect your non-smart TV to the laptop/PC’s shared connection: On your TV, access the network settings and look for available Wi-Fi connections. You should see the shared connection from your laptop/PC. Select it and enter any necessary credentials if prompted.
Once successfully connected, your non-smart TV will be able to access the internet through your laptop or PC’s shared connection. You can now stream online content, browse the web, and enjoy the capabilities of a smart TV on your non-smart TV.
Keep in mind that this method requires your laptop or PC to be turned on and connected to the Wi-Fi network whenever you want to use your non-smart TV with internet access. Additionally, the quality of the connection may depend on the capabilities of your laptop or PC and the strength of your Wi-Fi signal.
By connecting through a laptop or PC, you can easily extend your internet connection to your non-smart TV and enjoy online content directly on the big screen.
Create a mobile hotspot
If you don’t have access to a Wi-Fi network but have a smartphone with a data plan, you can create a mobile hotspot to connect your non-smart TV to the internet. A mobile hotspot allows your smartphone to act as a Wi-Fi router, providing an internet connection for your TV.
To create a mobile hotspot and connect your non-smart TV, follow these steps:
1. Enable mobile hotspot on your smartphone: Access your smartphone’s settings and look for the mobile hotspot or tethering option. Enable the mobile hotspot feature. You may need to set a name (SSID) and password for the hotspot.
2. Connect your non-smart TV to the mobile hotspot: On your TV, access the network settings and look for available Wi-Fi networks. Find and select your smartphone’s hotspot network from the list. Enter the password if prompted.
3. Verify the connection: Once connected, your non-smart TV should now have internet access through your smartphone’s data plan. You can test the connection by opening a web browser or launching streaming apps on your TV.
It’s important to note that creating a mobile hotspot and connecting your non-smart TV to it will consume data from your smartphone’s data plan. Ensure that you have a sufficient data allowance or consider using an unlimited data plan to avoid excessive charges.
Also, keep in mind that the connection speed and stability may depend on your cellular network coverage and the strength of the mobile signal in your area.
By creating a mobile hotspot, you can provide internet access to your non-smart TV even without a traditional Wi-Fi network. This method allows you to enjoy online content, stream movies or shows, and browse the web on your TV screen.
Troubleshooting tips for connectivity issues
While connecting your non-smart TV to Wi-Fi, you may encounter connectivity issues that prevent a stable and reliable connection. Here are some troubleshooting tips to help you overcome common connectivity problems:
1. Check your Wi-Fi signal strength: Poor signal strength can affect the stability and speed of your internet connection. Ensure that your non-smart TV is located within a reasonable range of your Wi-Fi router to receive a strong signal.
2. Restart your devices: Sometimes, a simple restart can resolve connectivity issues. Restart your non-smart TV, Wi-Fi router, and any other devices involved in the connection process.
3. Verify the correctness of Wi-Fi credentials: Double-check that you have entered the correct Wi-Fi network name (SSID) and password during the setup process. Incorrect credentials can prevent a successful connection.
4. Update firmware and software: Ensure that your non-smart TV, streaming devices, or any other devices involved have the latest firmware or software updates installed. Outdated software may cause compatibility or connectivity problems.
5. Reduce wireless interference: Keep your non-smart TV and Wi-Fi router away from other electronic devices that could cause interference, such as cordless phones, microwave ovens, or Bluetooth devices. These can disrupt the Wi-Fi signal and affect connectivity.
6. Check for firmware updates on your router: Access your Wi-Fi router’s settings and check for any available firmware updates. Updating the router’s firmware can improve its performance and resolve any known connectivity issues.
7. Reset network settings: If all else fails, you can try resetting your non-smart TV or the connected devices’ network settings to their default settings. This can help clear any misconfigurations that may be causing connectivity problems.
8. Contact technical support: If you’ve exhausted all troubleshooting options and still experience connectivity issues, reach out to the technical support teams of your TV manufacturer, streaming device provider, or internet service provider for further assistance. They may be able to provide additional troubleshooting steps or offer guidance to resolve the issue.
By following these troubleshooting tips, you can address common connectivity issues and improve the overall performance of your non-smart TV’s Wi-Fi connection. Enjoy seamless online streaming and internet access on your TV without interruptions.
Conclusion
Connecting your non-smart TV to Wi-Fi wireless opens up a world of possibilities, allowing you to enjoy online streaming, browse the web, and access a wide array of content right on your TV screen. Whether your TV has built-in Wi-Fi capabilities or requires additional devices, there are several methods available to transform your non-smart TV into a smart one.
In this article, we explored various ways to connect a non-smart TV to Wi-Fi. Checking for built-in Wi-Fi capabilities, using an external Wi-Fi adapter, utilizing streaming devices, setting up a wireless HDMI extender, connecting through a game console, using a media streaming stick, setting up a wireless bridge connection, connecting through a laptop or PC, creating a mobile hotspot, and troubleshooting common connectivity issues are all effective methods to achieve a seamless Wi-Fi connection for your non-smart TV.
Each method comes with its own benefits and considerations, so it’s important to choose the one that best suits your needs and preferences. Some methods may require additional equipment or configuration, while others provide a more straightforward solution.
Remember to consider factors like compatibility, ease of setup, available features, and your budget when deciding on the best method for connecting your non-smart TV to Wi-Fi.
Once connected, you can enjoy the convenience and entertainment of a smart TV experience, streaming your favorite shows and movies, accessing online content, and exploring a wide range of apps and services right from your non-smart TV.
Whether you prefer to stream through a streaming device, establish a wireless bridge connection, or use your laptop or mobile device to create a hotspot, the options available today give you the freedom to enjoy online content on any TV, regardless of its smart capabilities.
So, go ahead and upgrade your non-smart TV to a Wi-Fi connected entertainment hub, and immerse yourself in the world of unlimited online content and streaming possibilities.