Introduction
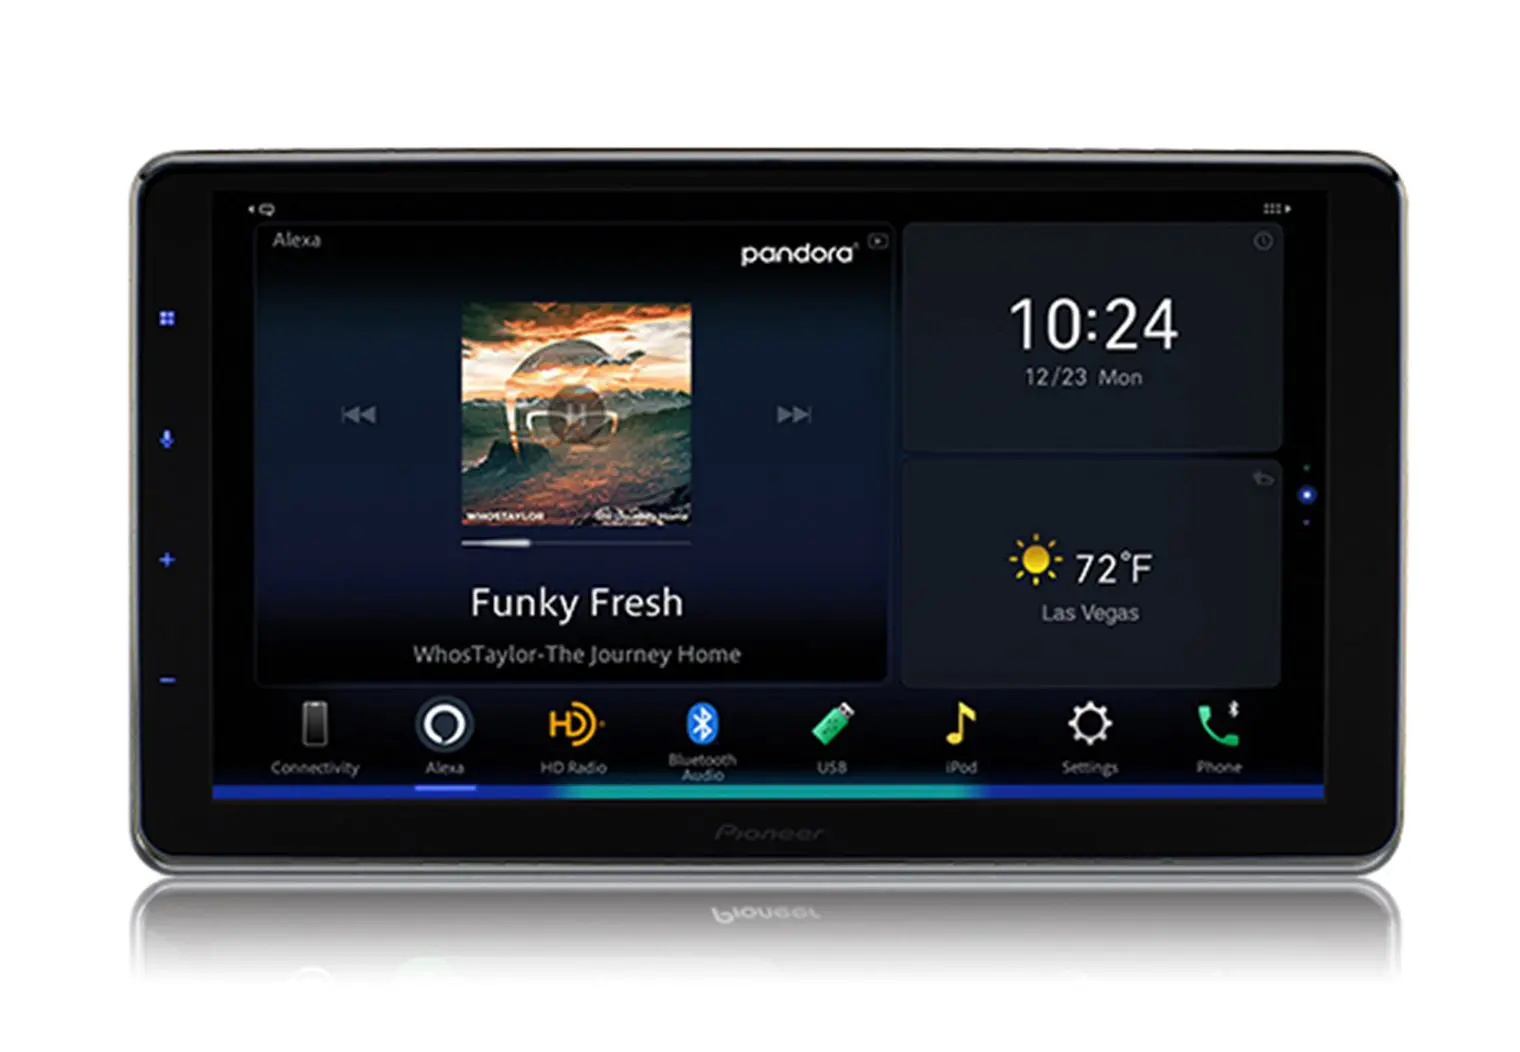
Do you want to enjoy the convenience of wireless audio streaming in your car or at home? Connecting your JVC Bluetooth device is a simple and straightforward process that allows you to connect your smartphone, tablet, or other Bluetooth-enabled devices. By establishing a Bluetooth connection, you can play your favorite music, answer calls, and enjoy hands-free functionality, all without the hassle of cables and wires.
In this guide, we will walk you through the steps to connect your JVC Bluetooth device. Whether you have a JVC Bluetooth car stereo or a JVC Bluetooth speaker, the process remains largely the same. By following these steps, you’ll be able to connect your JVC device and start enjoying the benefits of wireless audio streaming in no time.
Before we dive in, it’s important to note that the specific steps may vary slightly depending on the model and features of your JVC device. However, the general process should be similar across different models. Without further ado, let’s get started and learn how to connect your JVC Bluetooth device.
Step 1: Prepare Your JVC Bluetooth Device
Before you can connect your JVC Bluetooth device, you need to ensure that it is properly prepared. Here are a few important steps to take:
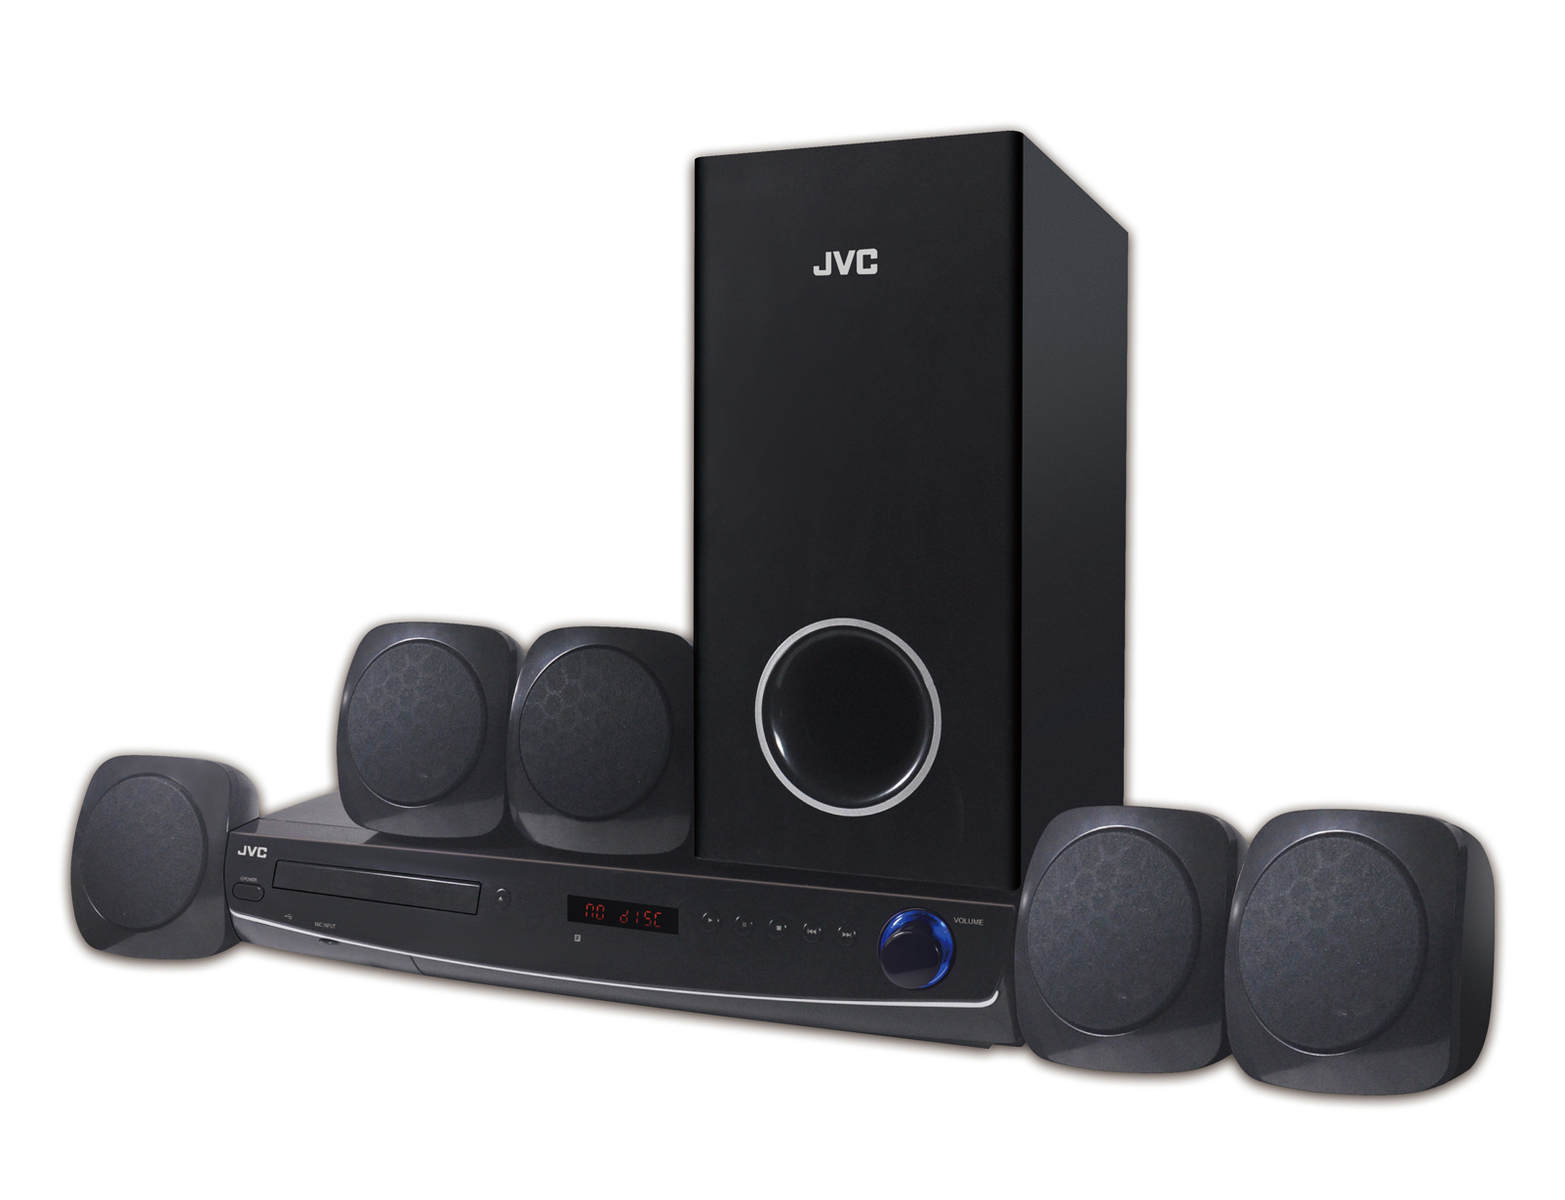
- Power on your JVC device: Make sure your JVC Bluetooth device, whether it’s a car stereo or a speaker, is powered on and ready to be paired with another device.
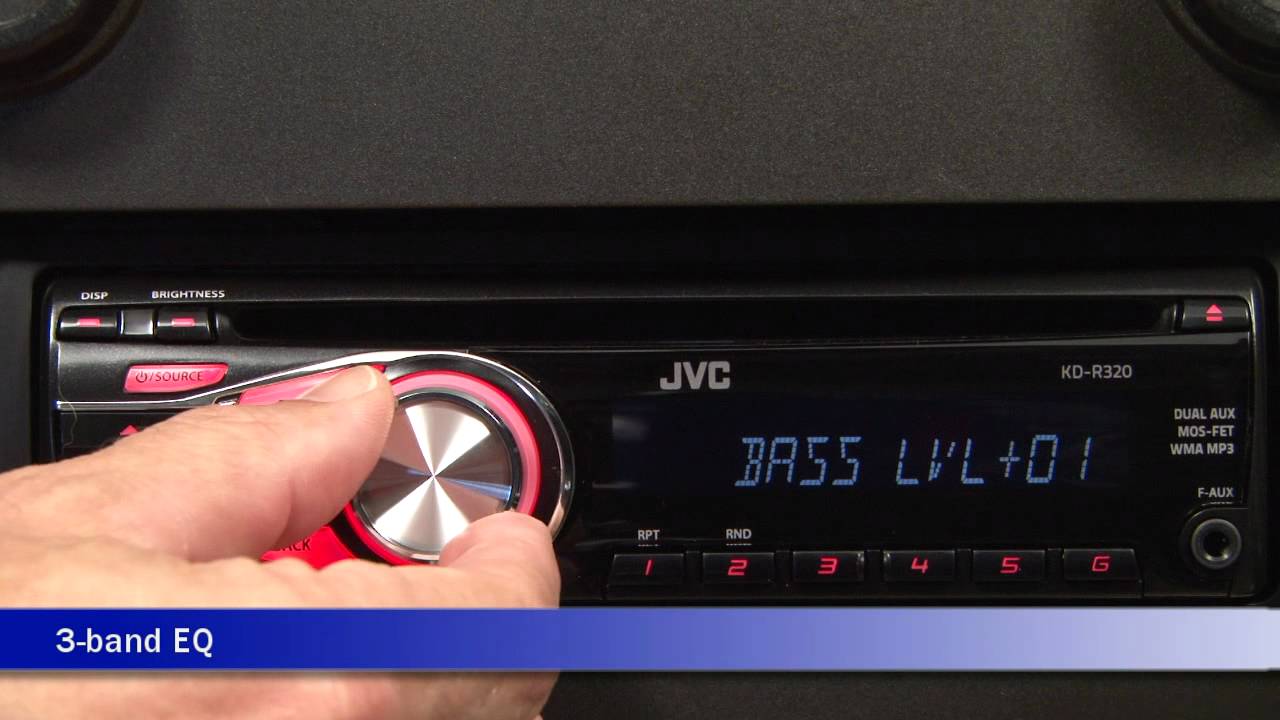
- Enable the Bluetooth function: Locate the Bluetooth function on your JVC device. This is usually denoted by a Bluetooth symbol or labeled as “BT.” Activate the Bluetooth function by pressing the Bluetooth button or navigating through the device’s settings menu.
- Enter pairing mode: Most JVC devices automatically enter pairing mode when powered on for the first time or when no devices are connected. If your device doesn’t, consult your user manual or the manufacturer’s website to learn how to activate pairing mode. Once in pairing mode, your JVC device is ready to establish a connection with your device.
By preparing your JVC Bluetooth device, you have set the foundation for a successful connection with your smartphone, tablet, or other Bluetooth-enabled device. Taking these steps ensures that the device is ready to discover and pair with other devices in the vicinity.
Step 2: Turn on the Bluetooth Function on Your Device
Now that your JVC Bluetooth device is prepared, it’s time to turn on the Bluetooth function on the device you want to connect. Here’s how to do it:
- Unlock your device: If your device is locked, enter your passcode or use the designated unlocking method to access the home screen.
- Open the Settings: Locate the Settings app on your device. It is usually represented by a gear icon and can be found on the home screen or in the app drawer.
- Find the Bluetooth option: Within the Settings, scroll down or search for the Bluetooth option. On some devices, it may be located under the “Wireless & Networks” or “Connections” section.
- Toggle the Bluetooth switch: Once you have accessed the Bluetooth settings, you will see a toggle switch or a button to enable or disable Bluetooth. Slide the switch to the “On” position to activate Bluetooth on your device.
After turning on the Bluetooth function on your device, it will start scanning for nearby Bluetooth devices. This includes your JVC Bluetooth device, which should now be discoverable and ready to pair with your device. Keep in mind that the process may vary slightly depending on the operating system and device manufacturer.
It’s worth noting that some devices may require you to grant Bluetooth permissions or accept pairing requests for security purposes. Follow any on-screen prompts or pop-up notifications to ensure a successful connection. Once the connection is established, you can proceed to the next step to pair your JVC Bluetooth device with your device.
Step 3: Pair Your JVC Bluetooth Device with Your Device
After turning on the Bluetooth function on your device, it’s time to pair it with your JVC Bluetooth device. Here’s how to do it:
- On your device, open the Bluetooth settings: Access the Bluetooth settings on your device by navigating to the Settings app and selecting the Bluetooth option. Make sure Bluetooth is still enabled.
- Scan for available devices: Your device will start scanning for nearby Bluetooth devices. Wait for your JVC Bluetooth device to appear in the list of available devices. It will usually be identified by its model name or a unique identifier.
- Select your JVC Bluetooth device: Tap on your JVC Bluetooth device from the list of available devices to select it.
- Initiate the pairing process: Your device will now attempt to establish a connection with your JVC Bluetooth device. This may take a few seconds.
- Confirm the pairing code: Depending on the device and JVC Bluetooth model, you may be prompted to enter a pairing code or confirm a passkey. If prompted, check the JVC device’s screen or user manual for the specific code and enter it on your device to proceed with the pairing process.
Once the pairing process is successfully completed, you will receive a notification or confirmation message on your device. This indicates that your device and your JVC Bluetooth device are now connected. The exact steps may vary slightly depending on the device and JVC model you are using, so consult the user manual if you encounter any difficulties.
It’s important to note that once the initial pairing is completed, most devices will automatically connect to your JVC Bluetooth device when it is within range. This eliminates the need for manual reconnection and ensures a seamless audio streaming experience.
Step 4: Connect Your JVC Bluetooth Device
Now that your JVC Bluetooth device is paired with your device, the next step is to establish a connection between them. Here’s how you can connect your JVC Bluetooth device:
- Ensure Bluetooth is enabled on your device: Make sure Bluetooth is still enabled on your device. You can check this by going to the Bluetooth settings in the device’s settings menu. If it’s turned off, switch it back on.
- Turn on your JVC Bluetooth device: Ensure that your JVC Bluetooth device is powered on. If it was turned off after the pairing process, turn it back on.
- Wait for the automatic connection: In most cases, once your JVC Bluetooth device is within range of your device, they will automatically connect. This automatic connection feature saves you the hassle of manually connecting each time.
- Confirm the connection: Once the connection is established, you will see a notification or indicator on your device’s screen confirming the successful connection to your JVC Bluetooth device. At this point, you are ready to enjoy wireless audio streaming.
It’s important to note that the exact steps to establish a connection may vary depending on the JVC Bluetooth device and the device you are connecting it to. Some devices may require you to manually select the connected device from a list, while others will connect automatically when the Bluetooth function is turned on and within range.
If you experience any issues with the connection, make sure that both devices have sufficient battery power and are in close proximity to each other. Additionally, ensure that there are no barriers or interference that may affect the Bluetooth signal.
Once you have successfully connected your JVC Bluetooth device, you are ready to enjoy a wire-free audio experience. Whether you’re listening to music, taking calls, or enjoying other audio content, the convenience of wireless streaming will surely enhance your experience.
Step 5: Test the Connection
After connecting your JVC Bluetooth device, it’s important to ensure that the connection is working properly. Testing the connection will ensure that you can seamlessly stream audio and make use of all the features provided by your JVC Bluetooth device. Here’s how you can test the connection:
- Play audio: Open your preferred music or media app on your device and play some audio content. This could be a song, a podcast, or any other audio file.
- Check the audio output: Ensure that the audio is being played through your JVC Bluetooth device. This can usually be confirmed by checking the audio output settings on your device and ensuring that it’s directed towards the Bluetooth connection.
- Adjust volume: Use the volume controls on your device, your JVC Bluetooth device, or both to adjust the volume to your desired level.
- Test call functionality: If your JVC Bluetooth device supports hands-free calling, make a test call to ensure that you can hear the other person’s voice clearly through the device. Additionally, check if the built-in microphone is capturing your voice properly.
During the testing process, pay attention to any potential audio disruptions, such as lags, skips, or poor sound quality. If you encounter any issues, try moving your devices closer together, ensuring there’s no interference from other electronic devices, or restarting the connection process. If the problems persist, consult the user manual or contact JVC customer support for further assistance.
By testing the connection, you can verify that your JVC Bluetooth device is working well and providing the audio experience you desire. It’s also a good opportunity to familiarize yourself with the controls and features offered by your JVC device.
Now that you have successfully connected and tested your JVC Bluetooth device, you can start enjoying the benefits of wireless audio streaming in your car or at home. Whether it’s listening to music, answering calls, or enjoying other audio content, your JVC Bluetooth device offers convenient and hands-free functionality.
Conclusion
Connecting your JVC Bluetooth device is a relatively simple process that allows you to enjoy the convenience of wireless audio streaming and hands-free functionality. By following the steps outlined in this guide, you can easily connect your JVC Bluetooth device to your smartphone, tablet, or other Bluetooth-enabled devices.
In the first step, we prepared your JVC Bluetooth device by ensuring it is powered on and in pairing mode. Then, in the second step, we turned on the Bluetooth function on your device, enabling it to discover and connect to nearby Bluetooth devices.
After that, we moved on to the third step, where we successfully paired your JVC Bluetooth device with your device. This involved scanning for available devices, selecting your JVC device, and confirming the pairing code if required.
In the fourth step, we connected your JVC Bluetooth device to your device by enabling Bluetooth on both devices and waiting for the automatic connection to be established. Finally, in the fifth step, we tested the connection by playing audio and checking its output, adjusting the volume, and testing the call functionality if applicable.
By completing these steps, you have successfully connected and tested your JVC Bluetooth device, allowing you to enjoy a seamless audio streaming experience. Remember, each JVC Bluetooth device may have slight variations in the process, so it’s always a good idea to consult the user manual for specific instructions.
Now, you can entertain yourself with your favorite music, answer calls hands-free, and enjoy the benefits of wireless audio streaming in your car or at home. Embrace the freedom and convenience that JVC Bluetooth devices provide!