Introduction
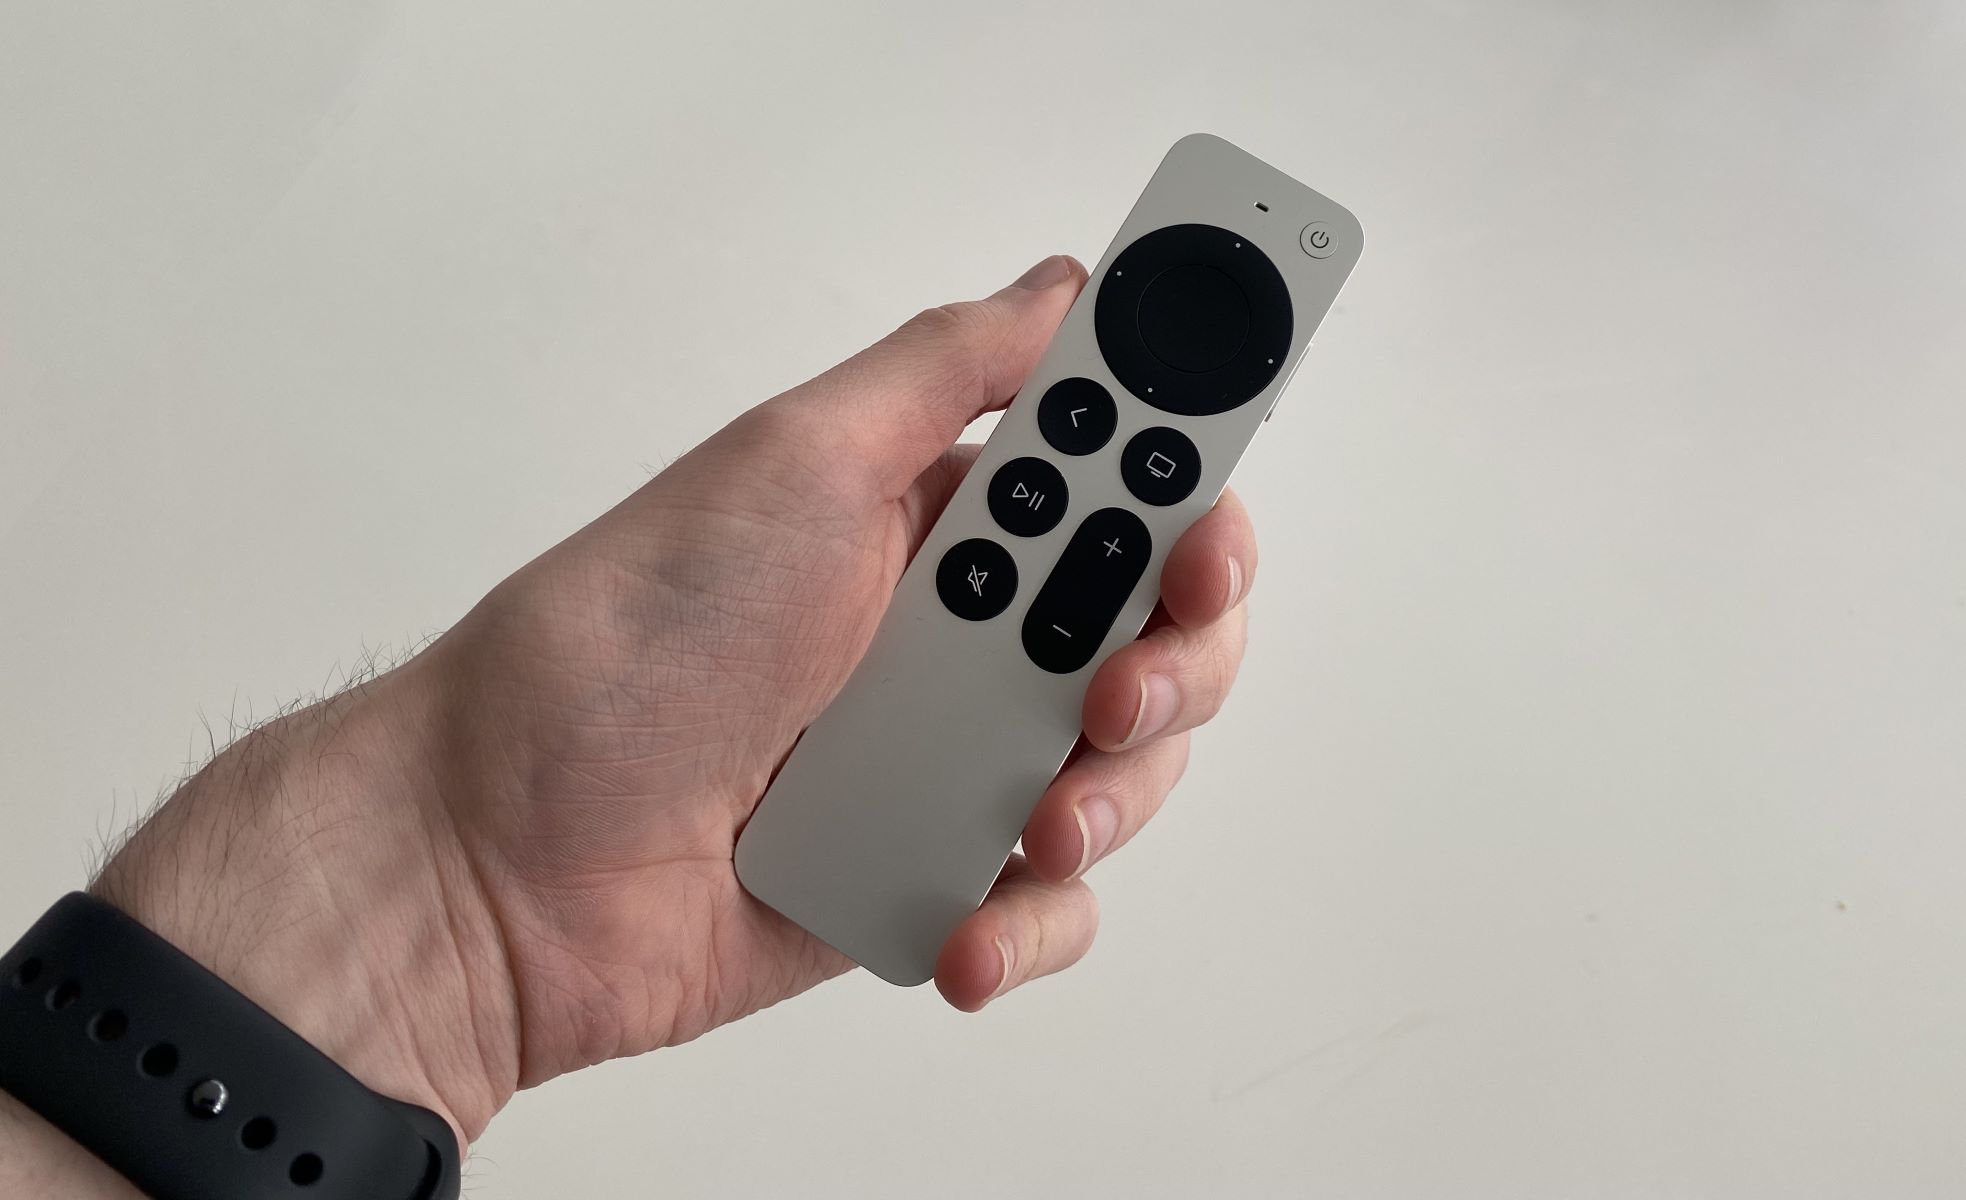
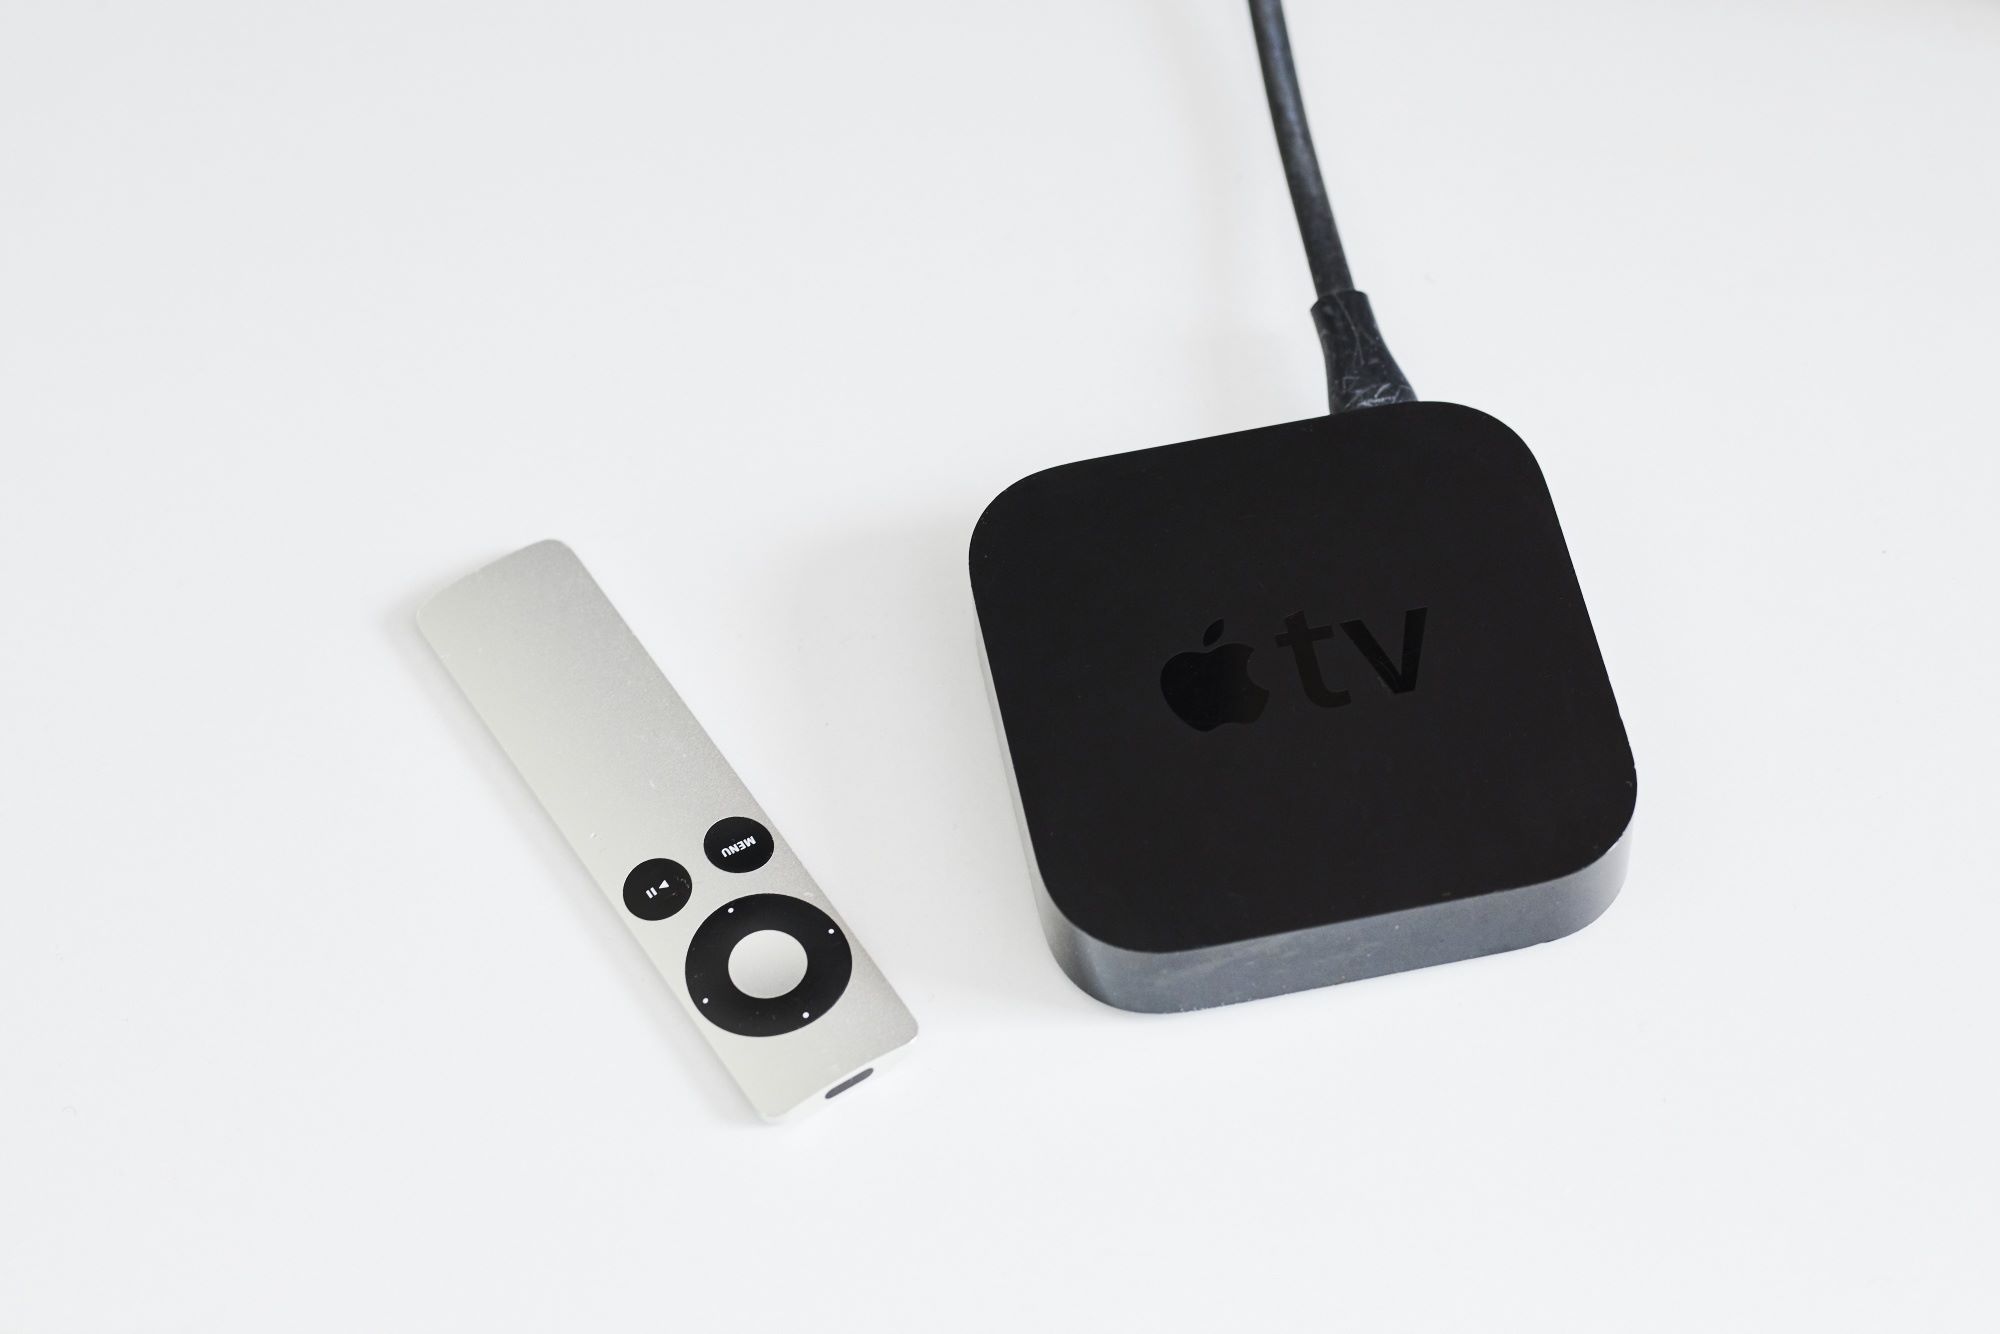
Apple TV is a popular streaming device that allows you to enjoy a wide range of entertainment options on your television. The Apple TV remote plays a crucial role in navigating through the interface and controlling the device. Like any other electronic device, the Apple TV remote requires a battery to function properly. Over time, the battery may drain and need to be replaced.
In this article, we will guide you through the process of changing the battery in your Apple TV remote. It’s a simple procedure that can be done in just a few minutes, requiring minimal tools or technical expertise. By following these step-by-step instructions, you’ll have your remote up and running in no time.
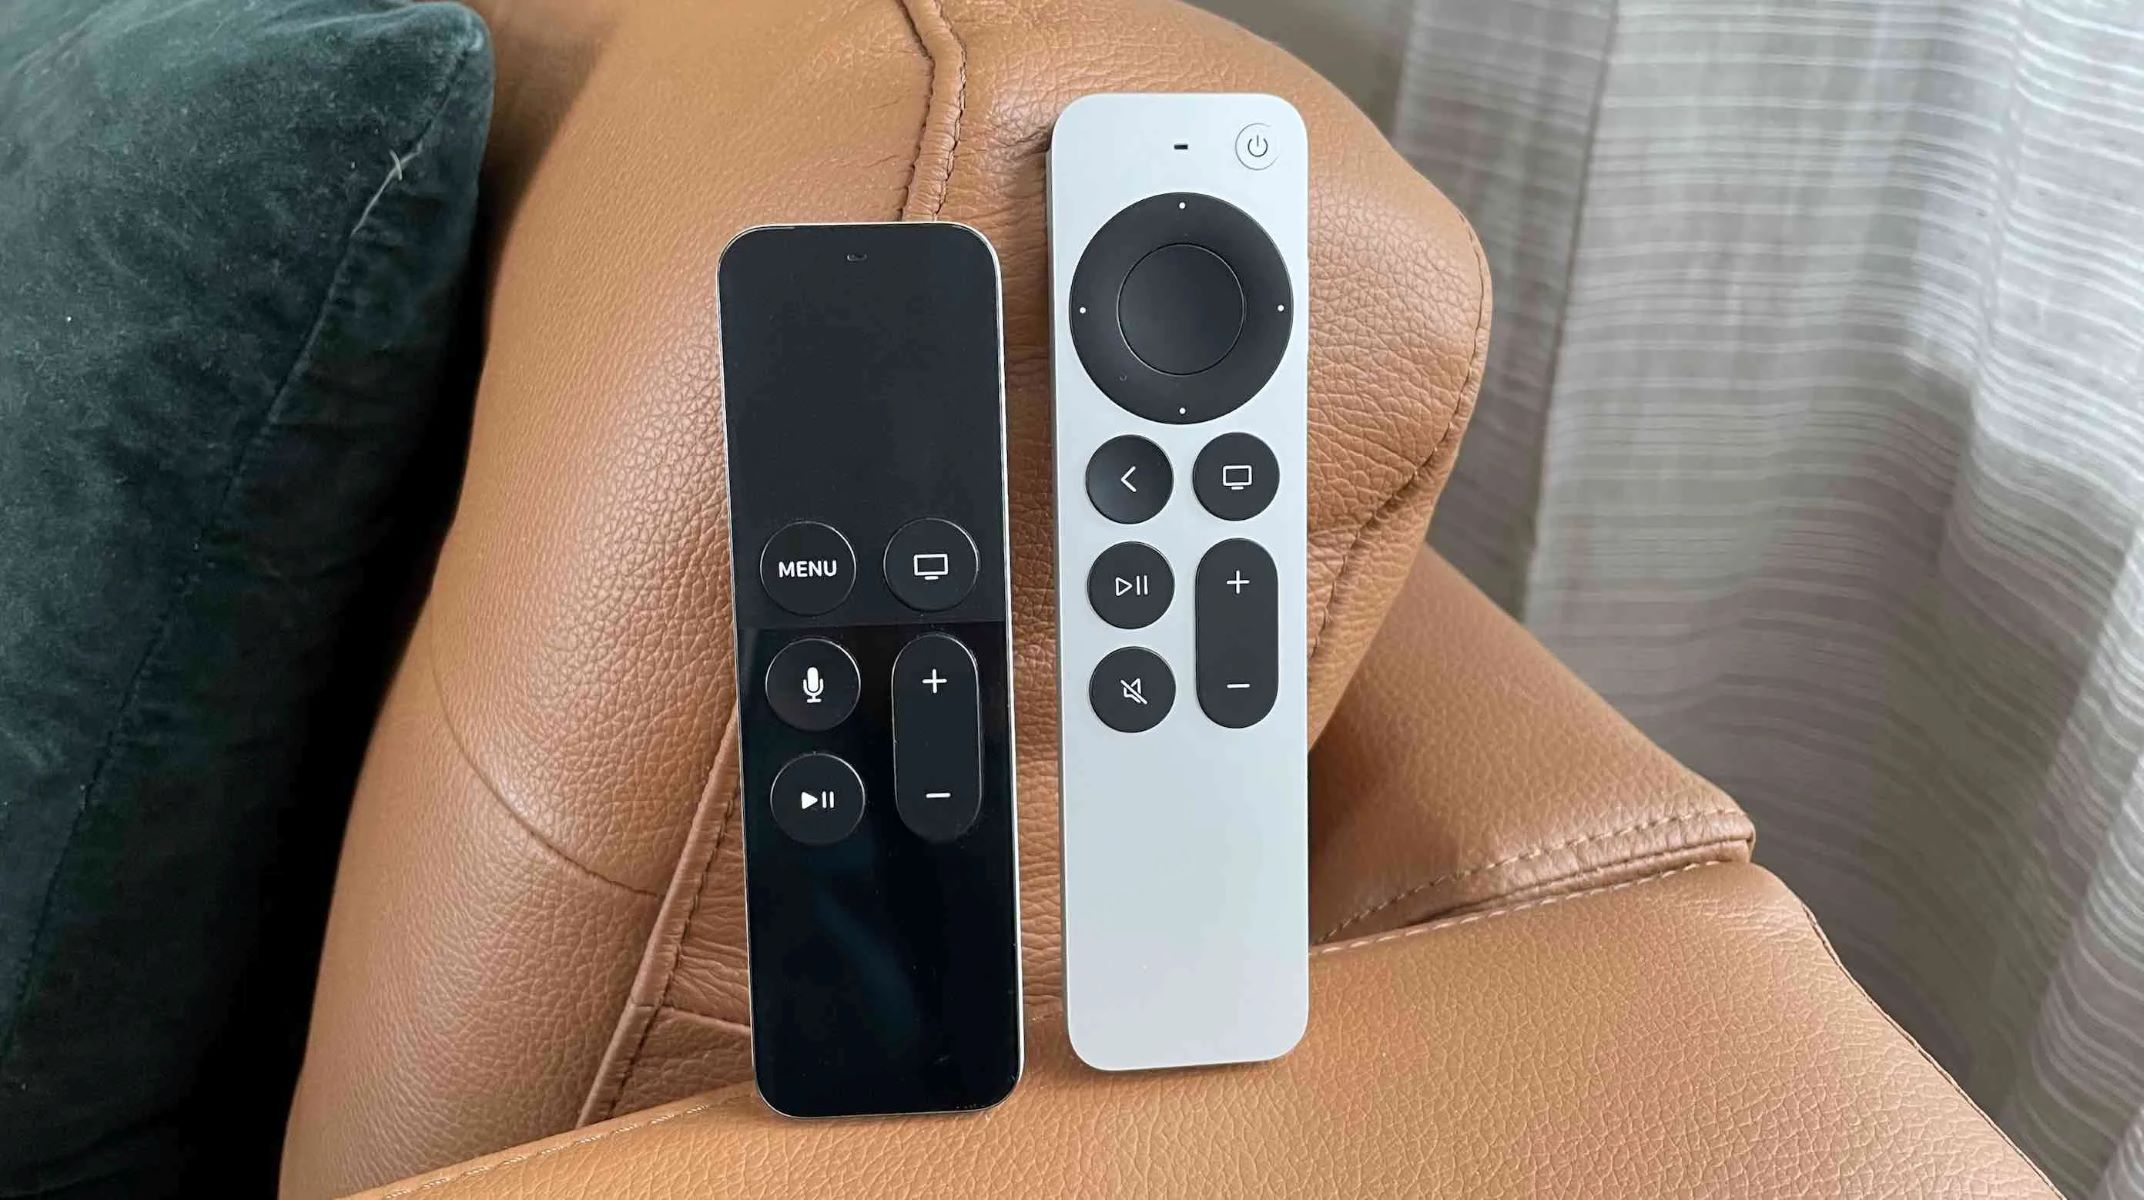
Before we get started, it’s important to note that different models of Apple TV remote may have slightly different battery replacement procedures. However, the overall process remains quite similar, so you can still use this guide as a reference regardless of the specific model you own.
Now, let’s dive into the step-by-step instructions for changing the battery in your Apple TV remote.
Step 1: Check the battery type
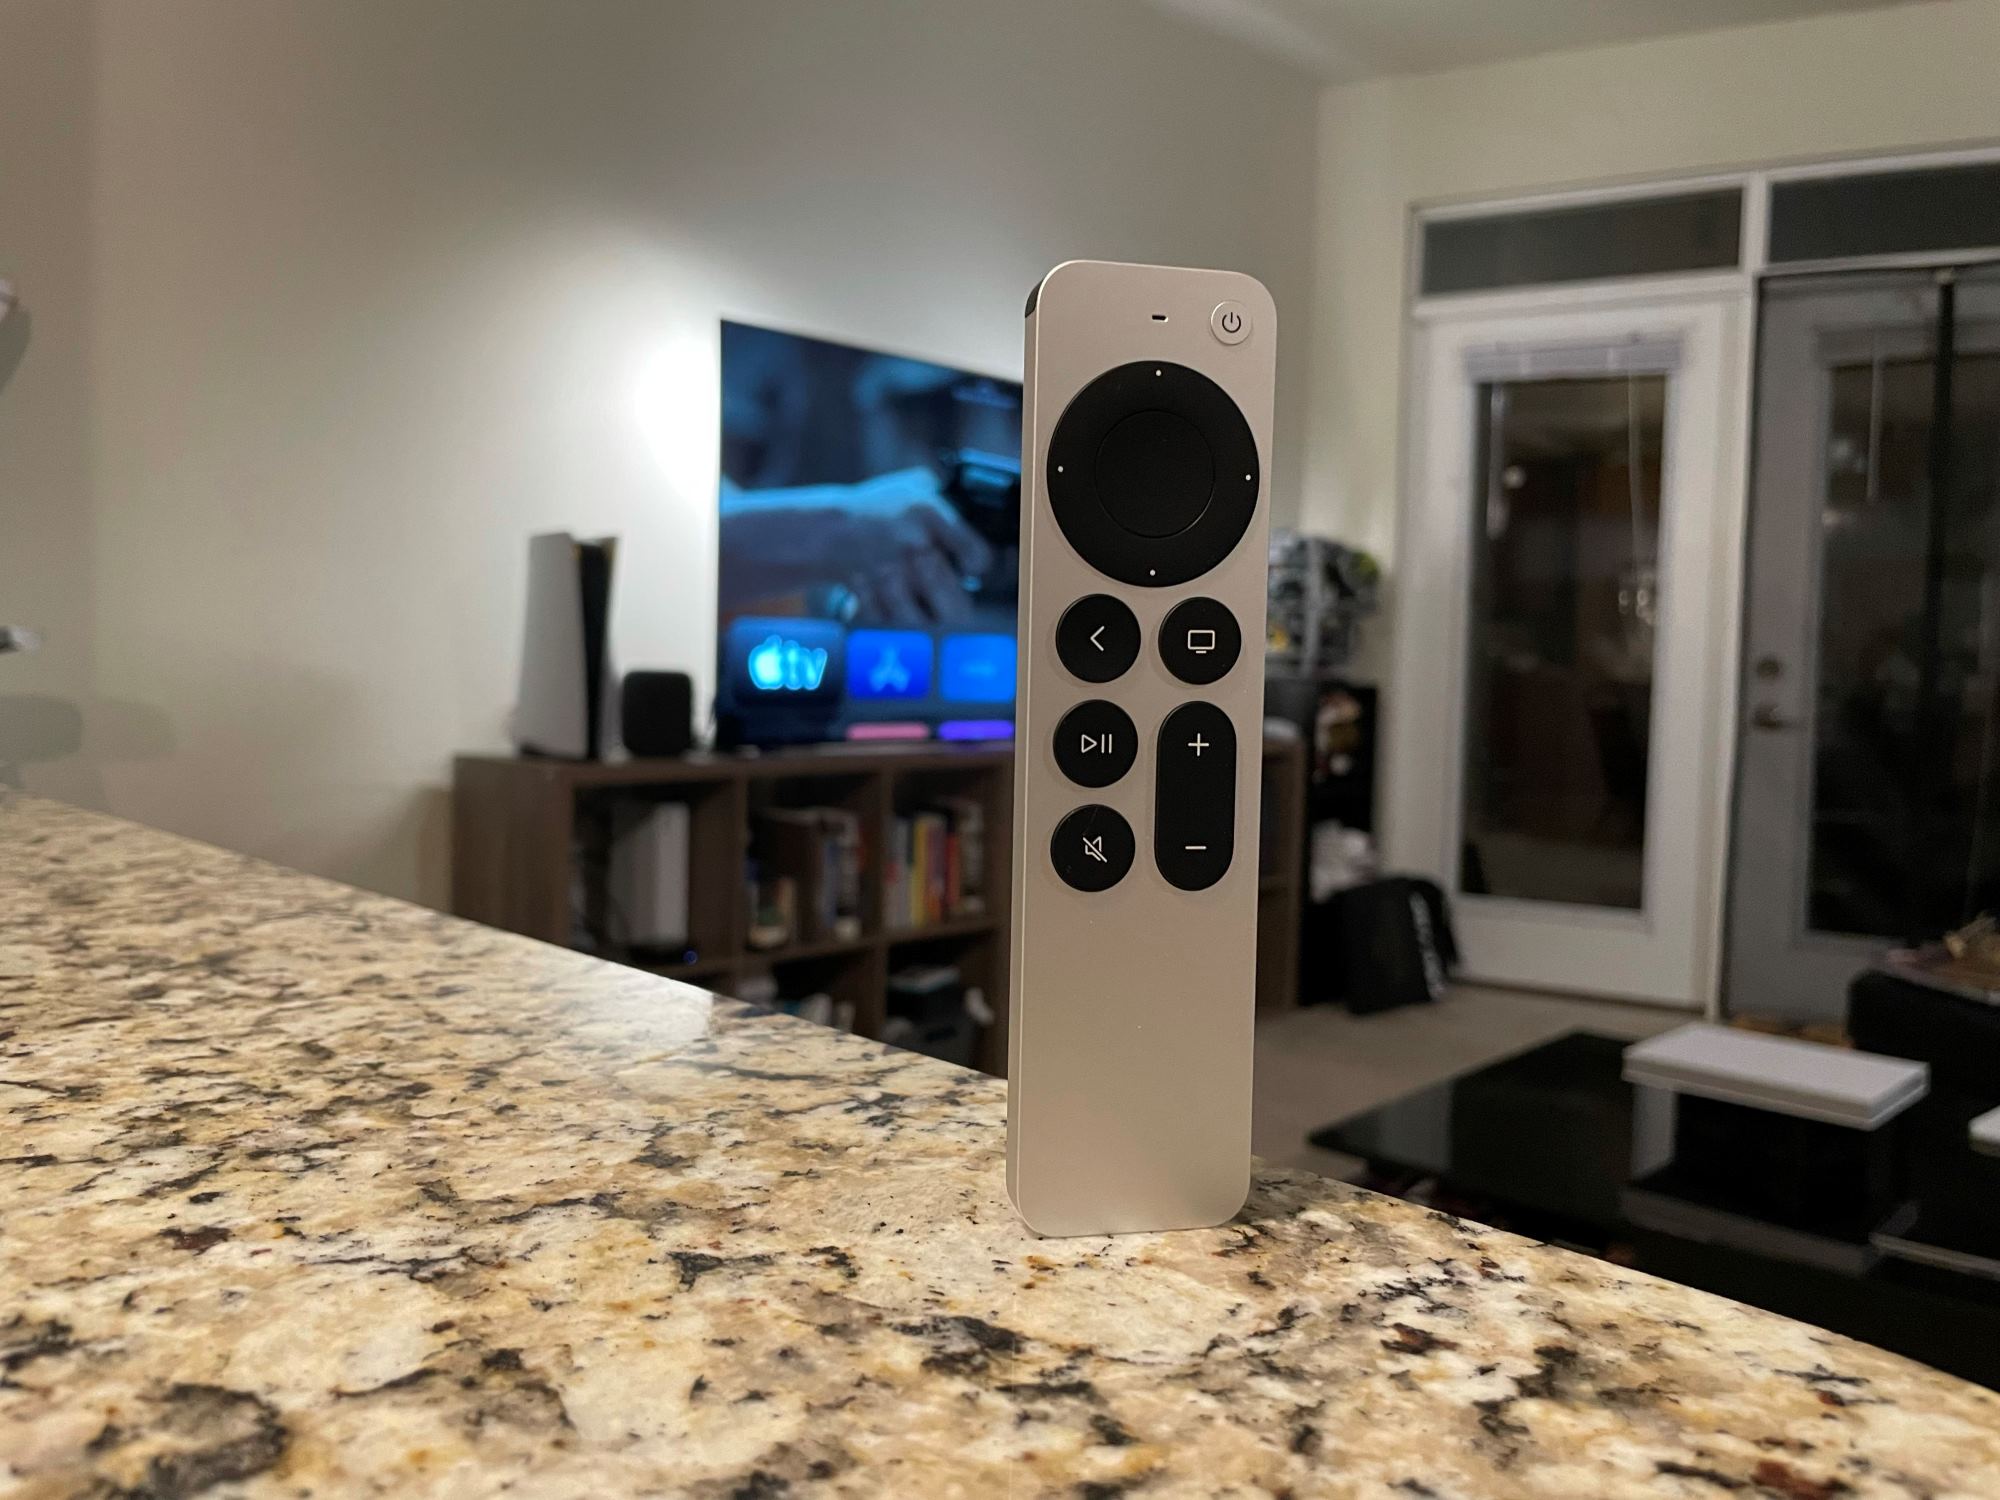
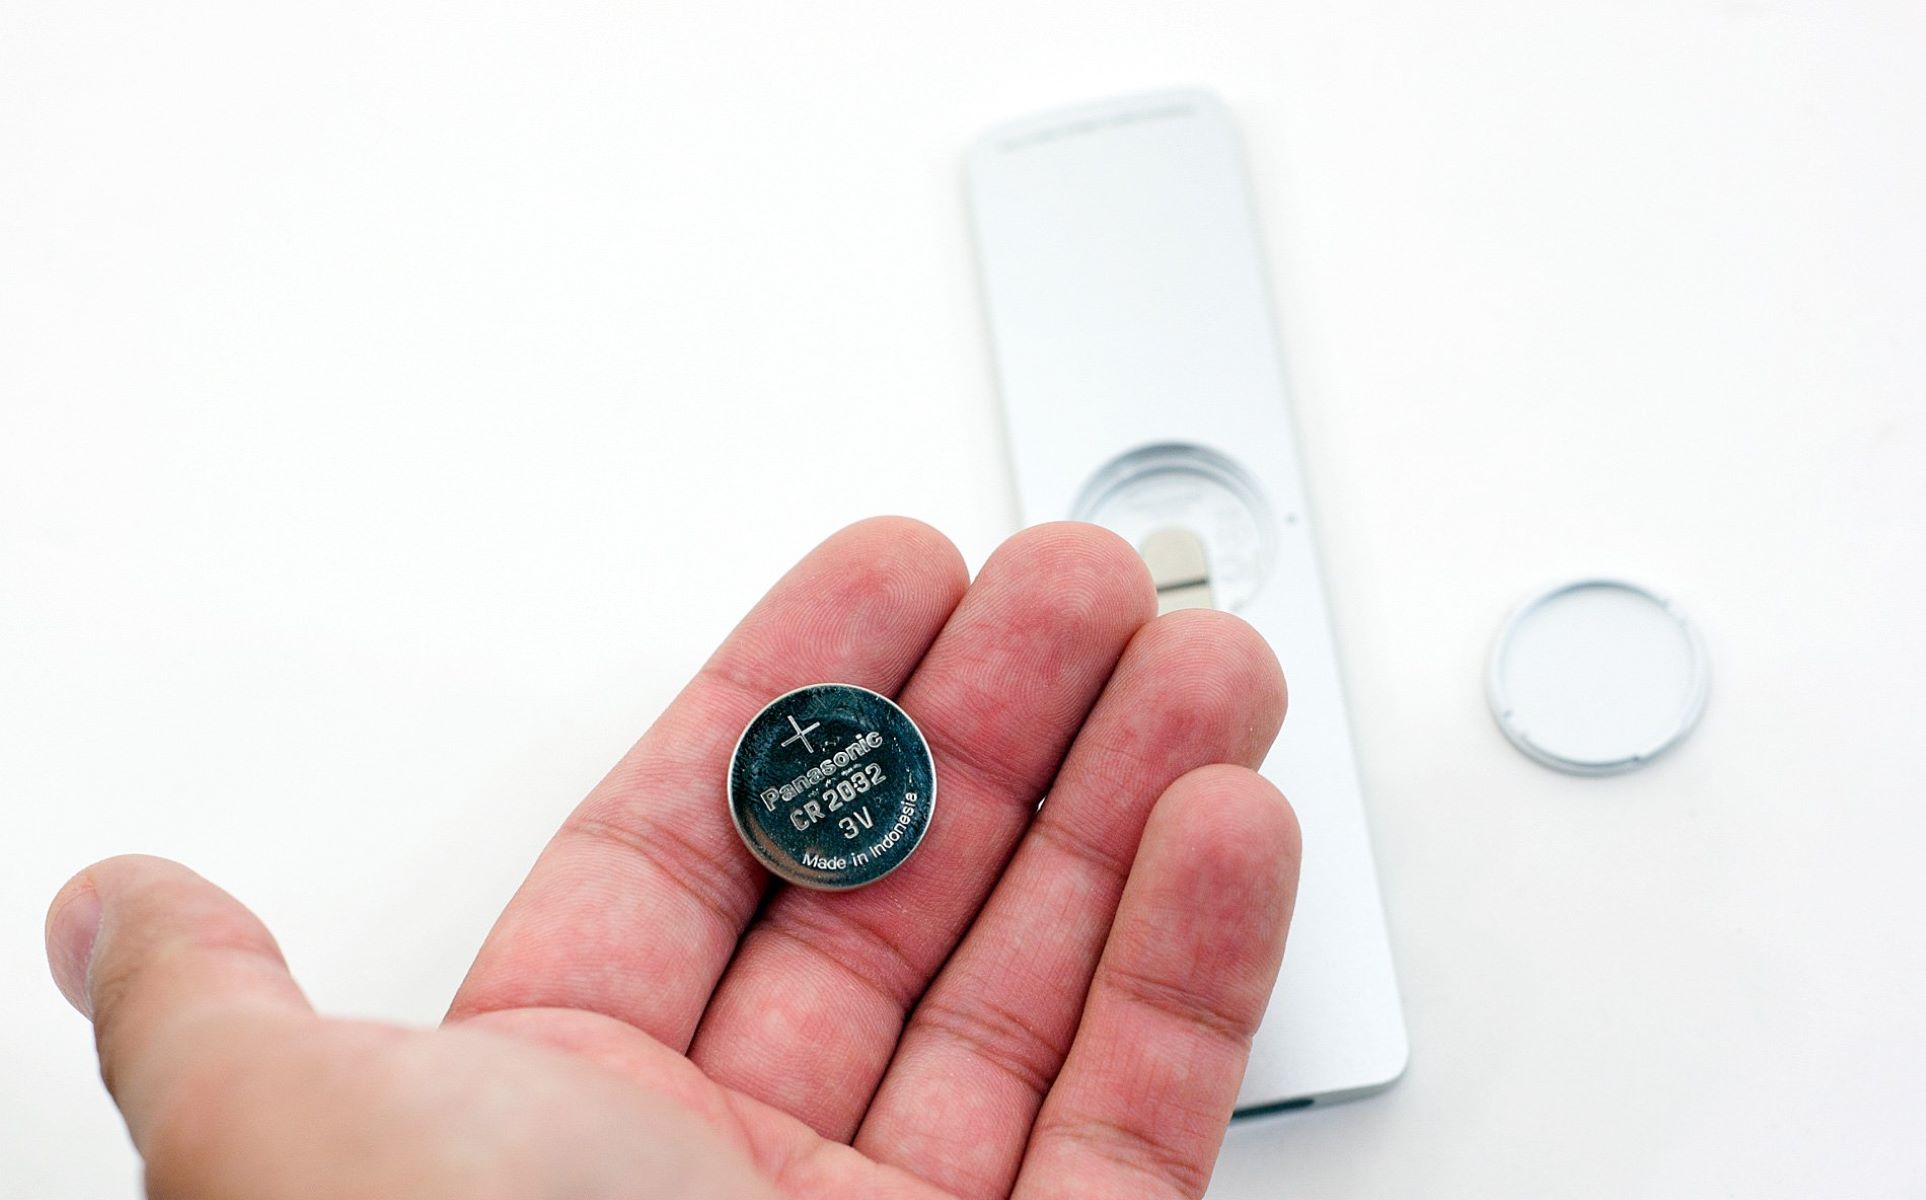
The first step in changing the battery in your Apple TV remote is to identify the type of battery required. There are two common types of batteries used in Apple TV remotes: the coin cell battery (CR2032) and the rechargeable lithium-ion battery. It’s essential to check which type of battery your remote uses before purchasing a replacement.
To determine the battery type, carefully examine the back of your Apple TV remote. Look for a battery compartment or a small, circular indentation that indicates where the battery is located. Some remotes may have a cover that needs to be slid open to access the battery compartment.
If your remote uses a coin cell battery, you’ll likely see a round disc-shaped battery installed. These batteries are readily available and can be purchased at most electronics stores or online. Make a note of the battery model number (CR2032) before proceeding to the next step.
On the other hand, if your remote has a rechargeable lithium-ion battery, you won’t see a removable battery. Instead, the battery is built into the remote, and it can be recharged using a Lightning cable. In this case, you don’t need to replace the battery; simply connect the remote to a power source with the Lightning cable to recharge it.
By identifying the battery type in your Apple TV remote, you’ll be ready to proceed to the next steps for replacing the battery or recharging it if it’s a rechargeable model.
Step 2: Remove the battery cover
Once you have determined the battery type in your Apple TV remote, the next step is to remove the battery cover. The exact method for removing the battery cover may vary slightly depending on the model of your Apple TV remote.
If your remote has a coin cell battery, start by flipping it over to locate the battery compartment. Look for a small latch or tab near the bottom of the remote. Gently slide or press the latch in the direction indicated by the arrow or symbols. This will release the battery cover, allowing you to lift it off.
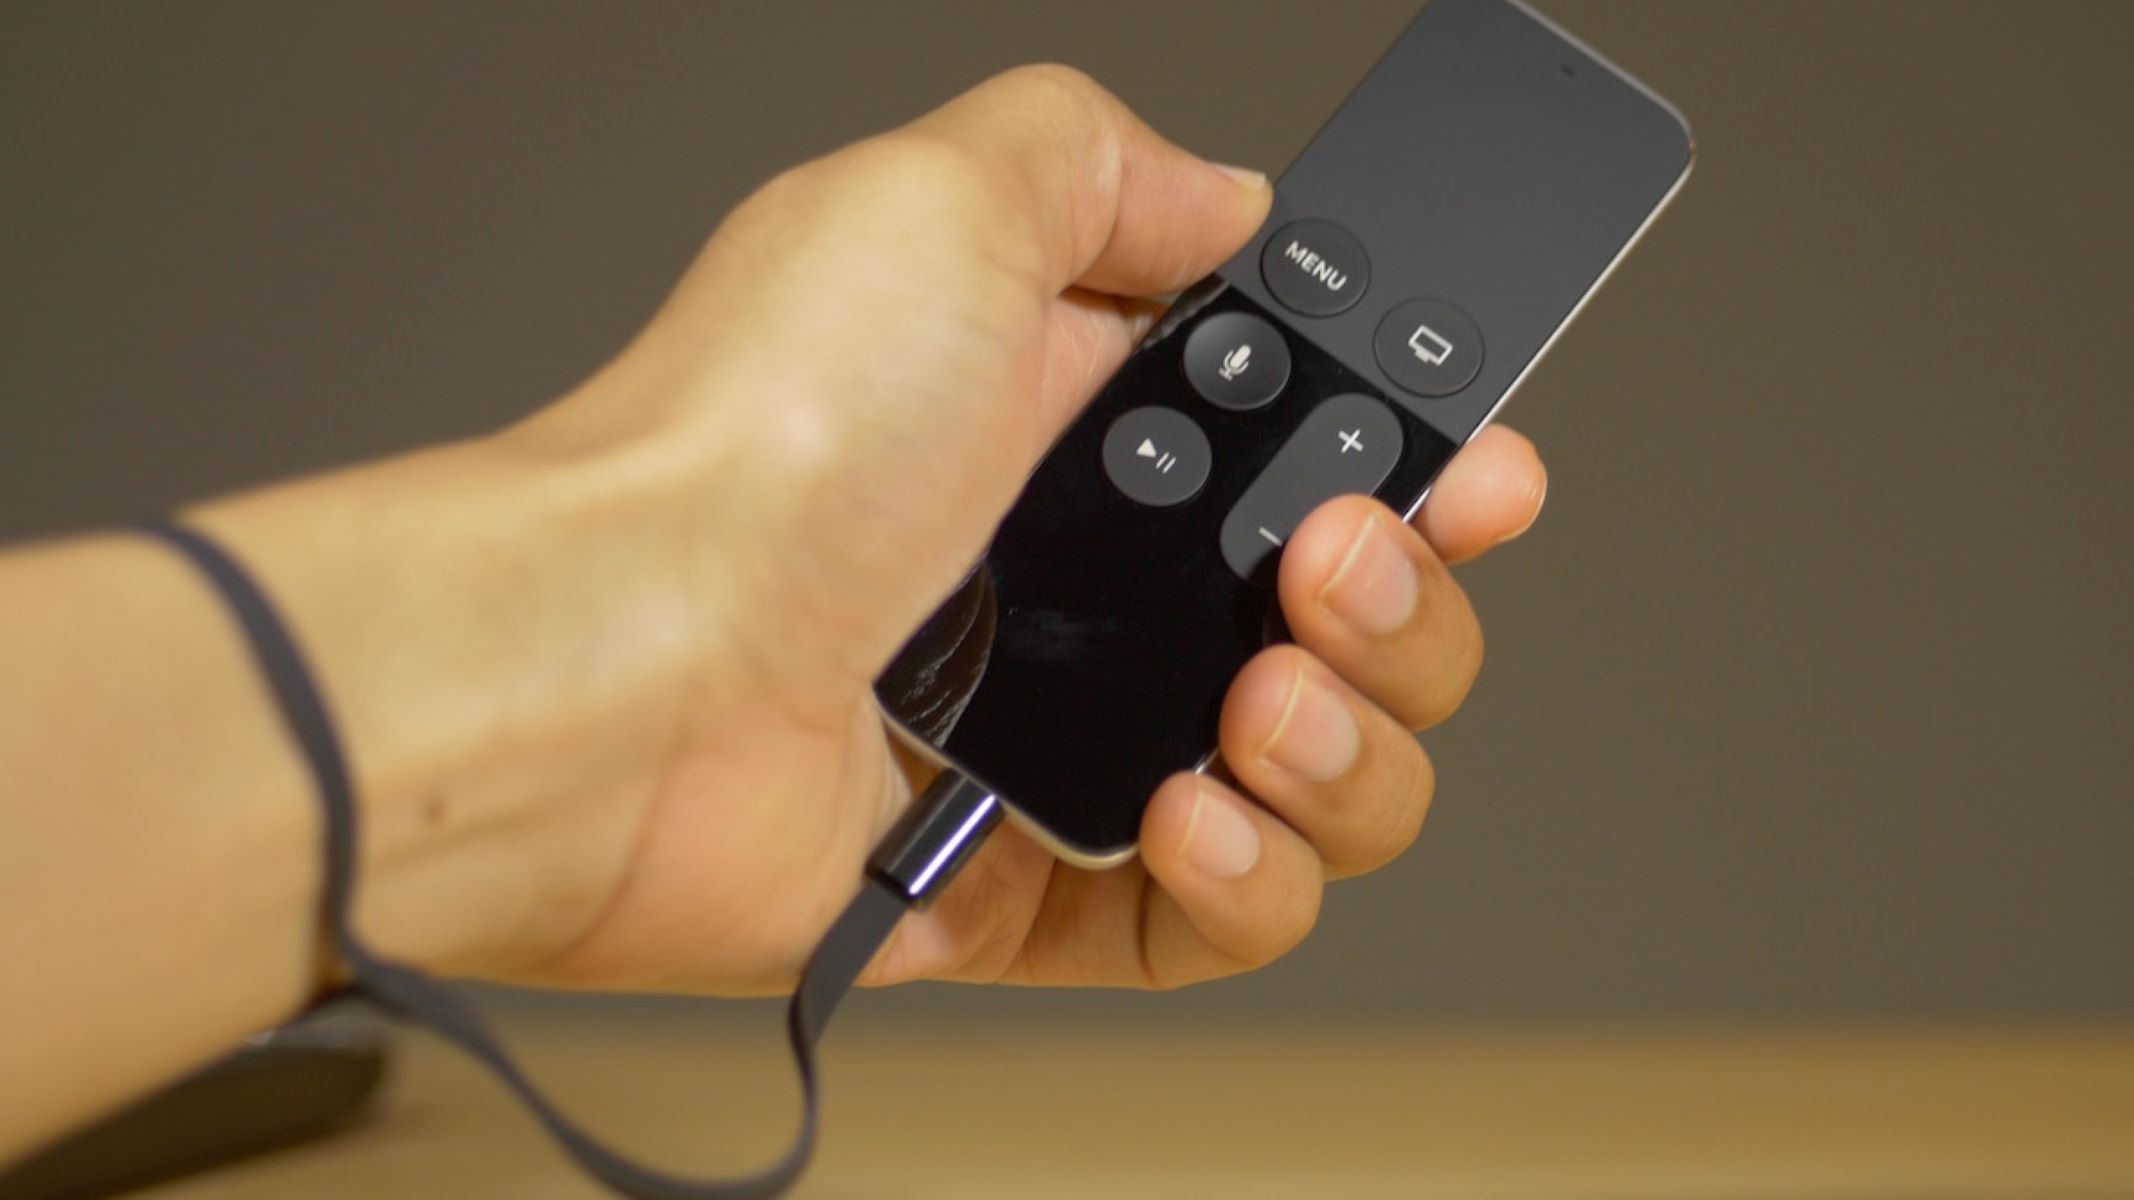
If your remote has a rechargeable lithium-ion battery, there may not be a removable battery cover. Instead, you will find a small Lightning port at the bottom of the remote. This port is used for charging the battery. Simply connect the Lightning cable to the port to charge the battery.
It’s important to handle the battery cover with care to avoid any damage. Take your time and apply gentle pressure to release the cover. If you encounter any resistance, double-check that you have correctly identified the latch or tab and are pressing it in the right direction.
After successfully removing the battery cover, set it aside in a safe place. Make sure you keep track of it to avoid losing it during the battery replacement process.
With the battery cover removed, you’re now ready to proceed to the next step – taking out the old battery.
Step 3: Take out the old battery
Now that you have removed the battery cover, it’s time to take out the old battery from your Apple TV remote. This step is applicable if your remote uses a coin cell battery.
Locate the old battery inside the battery compartment. It should be a small, round disc-shaped battery. Gently lift the battery out of the compartment using your fingertip or a non-metallic tool, such as a plastic spudger or a small flathead screwdriver.
Take note of the battery’s orientation as you remove it. Typically, there will be a (+) and a (-) sign on the battery or the battery compartment itself, indicating the correct alignment. Remembering the orientation will help you properly insert the new battery in the next step.
Exercise caution when handling the old battery. Avoid touching the battery terminals or allowing them to come into contact with any metallic objects, as this could cause a short circuit.
Once you have successfully removed the old battery, set it aside for proper disposal or recycling. It’s important to handle and dispose of batteries responsibly to minimize environmental impact.
With the old battery removed, you’re one step closer to having your Apple TV remote back in action. Let’s move on to the next step – inserting the new battery.
Step 4: Insert the new battery
Now that you have removed the old battery from your Apple TV remote, it’s time to insert the new battery. Make sure you have the correct replacement battery on hand, either a CR2032 coin cell battery or a rechargeable lithium-ion battery, depending on your remote’s specifications.
If you have a coin cell battery, orient it correctly by aligning the positive (+) and negative (-) signs on the battery with the corresponding symbols or markings inside the battery compartment. Carefully place the new battery into the compartment, ensuring it sits securely and flush with the compartment’s edges. You may need to apply slight pressure to snap it into place.
For remotes with a rechargeable lithium-ion battery, skip this step, as the battery is built into the remote and doesn’t require any manual insertion. Instead, make sure the remote is fully charged by connecting it to a power source using a Lightning cable.
When inserting the new battery, be mindful of the battery’s orientation to avoid any potential damage or incorrect functionality. If you encounter any resistance, double-check that you have aligned the battery properly and that it is inserted in the correct direction.
With the new battery inserted, take a moment to ensure it is securely in place. Give it a gentle tug to confirm it won’t come loose. This will help prevent any intermittent connection issues and ensure optimal performance.
Now that the new battery is in place, you’re almost done. The next step involves replacing the battery cover to complete the process.
Step 5: Replace the battery cover
You’re in the final step of replacing the battery in your Apple TV remote – replacing the battery cover. This step applies to remotes with a removable battery cover only.
Take the battery cover that you set aside earlier and position it back over the battery compartment. Ensure that the cover is aligned correctly with the remote’s body. Slowly slide it back into place, applying gentle pressure until you hear a click or feel the cover securely attaching to the remote.
After replacing the battery cover, double-check that it is sitting flush and snugly against the remote’s body. Ensure that there are no gaps or loose areas that could potentially allow the cover to come off unintentionally.
If you find that the battery cover isn’t aligning properly or is loose, carefully remove it and try reattaching it again. It’s essential to have a secure battery cover to protect the battery and ensure the remote’s functionality.
Once you have confirmed that the battery cover is in place correctly, give it a final inspection. Ensure that there are no visible gaps or misalignments. This will ensure the aesthetic appeal of your Apple TV remote.
With the battery cover securely replaced, you have successfully changed the battery in your Apple TV remote. It’s now time to test the remote and enjoy seamless control over your Apple TV.
Remember, if your remote uses a rechargeable lithium-ion battery, there is no need to replace the cover. Simply connect the remote to a power source using a Lightning cable to ensure it’s fully charged and ready for use.
Congratulations! You have successfully completed the process of changing the battery or charging your Apple TV remote. Enjoy your entertainment without any interruption and continue to explore the exciting features offered by your Apple TV.
Conclusion
Changing the battery in your Apple TV remote is a simple and straightforward process that allows you to continue enjoying seamless control over your Apple TV device. Whether you have a remote with a coin cell battery or a rechargeable lithium-ion battery, following the steps outlined in this guide will help you replace the battery efficiently.
By checking the battery type, removing the battery cover, taking out the old battery, inserting the new battery, and replacing the battery cover, you can ensure that your Apple TV remote is ready for use. Remember to handle the batteries with care and dispose of the old battery responsibly.
If you encounter any difficulties during the battery replacement process, consult your device’s user manual or reach out to Apple support for further assistance.
Now that you have successfully changed the battery, you can enjoy uninterrupted entertainment with your Apple TV. Take advantage of its vast array of features and explore a world of streaming content right at your fingertips.
Thank you for following this guide, and we hope it has been helpful in assisting you with changing the battery in your Apple TV remote. Enjoy your streaming experience!