Introduction
Welcome to this guide on how to backup your computer using the HP Portable SSD P600. In today’s digital age, our computers have become an integral part of our lives, containing important documents, precious memories, and valuable data. Unfortunately, computer crashes, malware attacks, or accidental deletions can lead to the loss of all that information. That’s why it’s crucial to have a reliable backup system in place.
Backing up your computer ensures that your files are safely stored elsewhere, providing a lifeline in case of emergencies. It allows you to recover your data easily and quickly, minimizing the stress and potential loss associated with computer issues. With the HP Portable SSD P600, you can conveniently store and safeguard your files, keeping them secure and accessible whenever you need them.
Whether you’re a student, a professional, or a regular computer user, taking the time to backup your computer is a valuable investment. It provides peace of mind, knowing that your files are protected and can be easily restored in the event of an unforeseen event. In this guide, we’ll walk you through the step-by-step process of setting up and using the HP Portable SSD P600 to backup your computer effectively.
So, if you’re ready to take control of your data and ensure its safety, let’s get started on this journey to backup your computer using the HP Portable SSD P600.
Benefits of Backing up Your Computer
Backing up your computer is one of the most important things you can do to protect your valuable data. By creating a backup of your files, you gain several benefits that can save you time, money, and emotional distress in the long run. Let’s explore some of the key advantages of backing up your computer:
- Protection against data loss: Computers are vulnerable to data loss due to hardware failures, software errors, viruses, natural disasters, and human error. By regularly backing up your files, you have a safety net to rely on in case of a catastrophic event.
- Quick recovery: When disaster strikes and you lose your data, having a backup allows you to quickly restore your files. This eliminates the frustration and potential downtime associated with recreating lost documents or searching for alternative solutions.
- Preservation of important files: Your computer contains crucial documents, such as financial records, legal documents, and family photos. Backing up these files ensures their preservation, keeping them safe from accidental deletion or corruption.
- Seamless upgrade: When upgrading to a new computer or replacing a hard drive, having a backup simplifies the migration process. You can easily transfer your files and settings to the new system, eliminating the hassle of manually reinstalling applications or recreating personalized configurations.
- Peace of mind: Knowing that your data is safely backed up provides peace of mind. You can work, browse, and explore your digital world without the constant worry of losing everything in an instant.
These benefits highlight the importance of implementing a reliable backup system for your computer. By utilizing the HP Portable SSD P600, you can effortlessly safeguard your files and enjoy the peace of mind that comes with knowing your data is secure. Now that we understand the advantages of backing up your computer, let’s explore how the HP Portable SSD P600 can help you achieve this.
Overview of HP Portable SSD P600
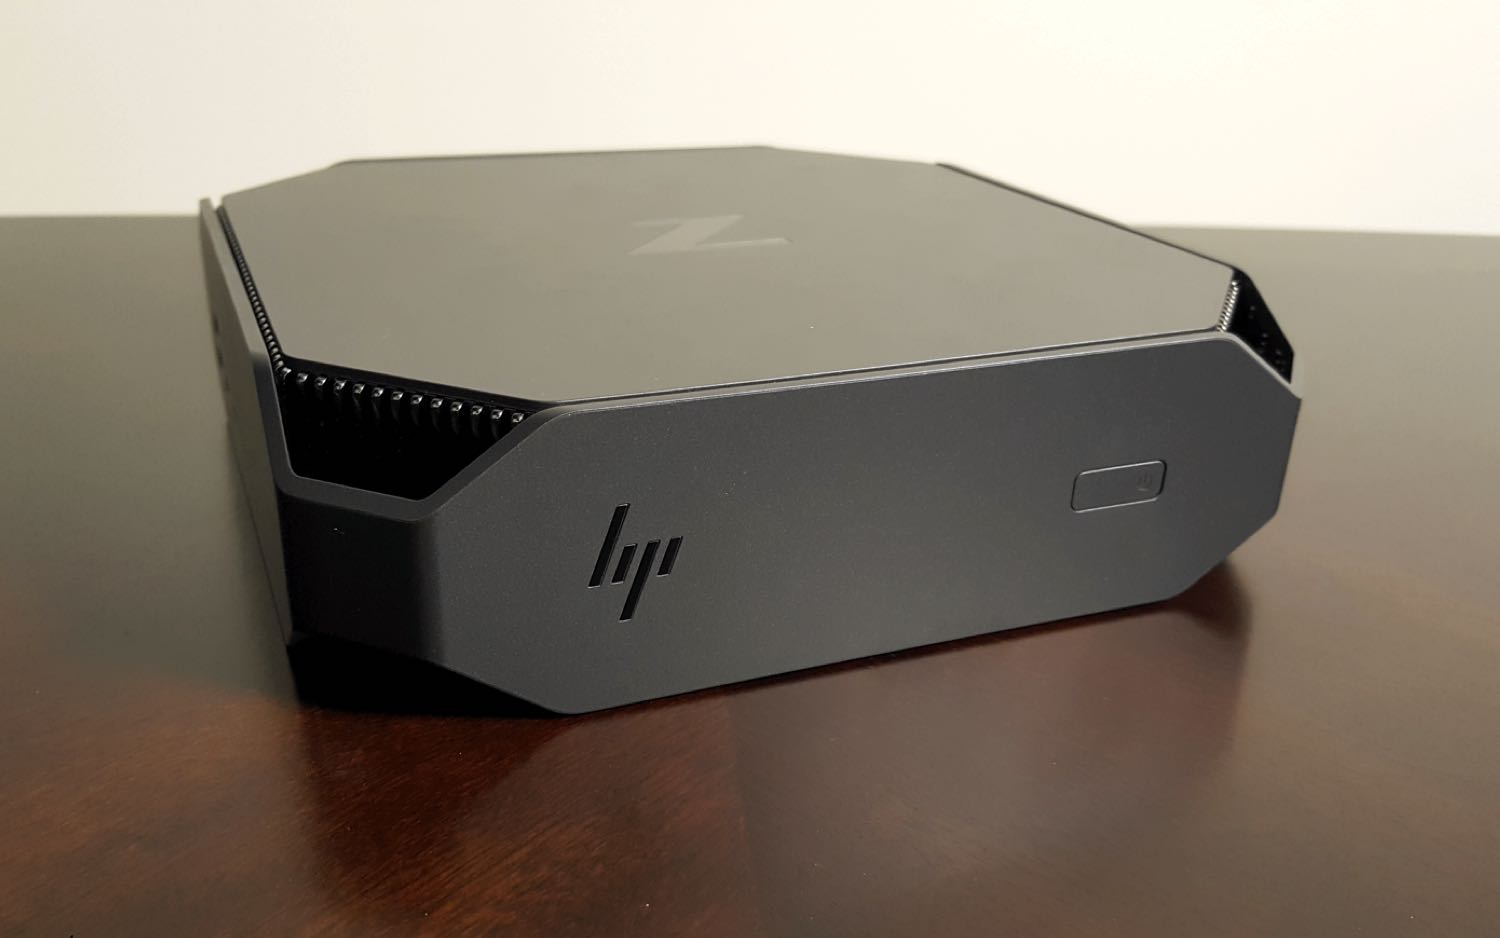
The HP Portable SSD P600 is a compact and portable storage device designed to provide secure and efficient data backup for your computer. With its sleek design and high-speed performance, it offers a reliable solution for storing and protecting your important files.
This SSD (Solid State Drive) offers several features that make it an ideal choice for backup purposes. It utilizes the latest USB 3.2 Gen 2×2 technology, delivering lightning-fast transfer speeds of up to 10 gigabits per second. This ensures that your backups are completed quickly and efficiently, saving you time and enhancing productivity.
The HP Portable SSD P600 is available in various storage capacities, ranging from 500GB to 2TB. This allows you to choose the size that best suits your needs, whether you’re a casual user or a professional with extensive data storage requirements.
One of the standout features of the HP Portable SSD P600 is its durability. Built with shock and vibration resistance, it provides peace of mind knowing that your data is protected even in rugged conditions. Its compact and lightweight design also makes it highly portable, allowing you to carry it with you wherever you go.
The HP Portable SSD P600 is compatible with both Windows and Mac operating systems, making it versatile and accessible for a wide range of users. Additionally, it comes equipped with advanced security features such as password protection and encryption options, ensuring that your data remains secure and protected from unauthorized access.
Setting up the HP Portable SSD P600 is a breeze. It requires a simple plug-and-play installation, with no additional power supply required. Its user-friendly interface makes it accessible for all levels of computer users, even those with limited technical knowledge.
In summary, the HP Portable SSD P600 offers a combination of speed, durability, and security, making it an excellent choice for backing up your computer. Its compact design, high-performance capabilities, and ease of use make it an indispensable tool for keeping your important files safe and accessible. In the following sections, we will guide you through the step-by-step process of using the HP Portable SSD P600 to backup and restore your computer. Let’s dive in!
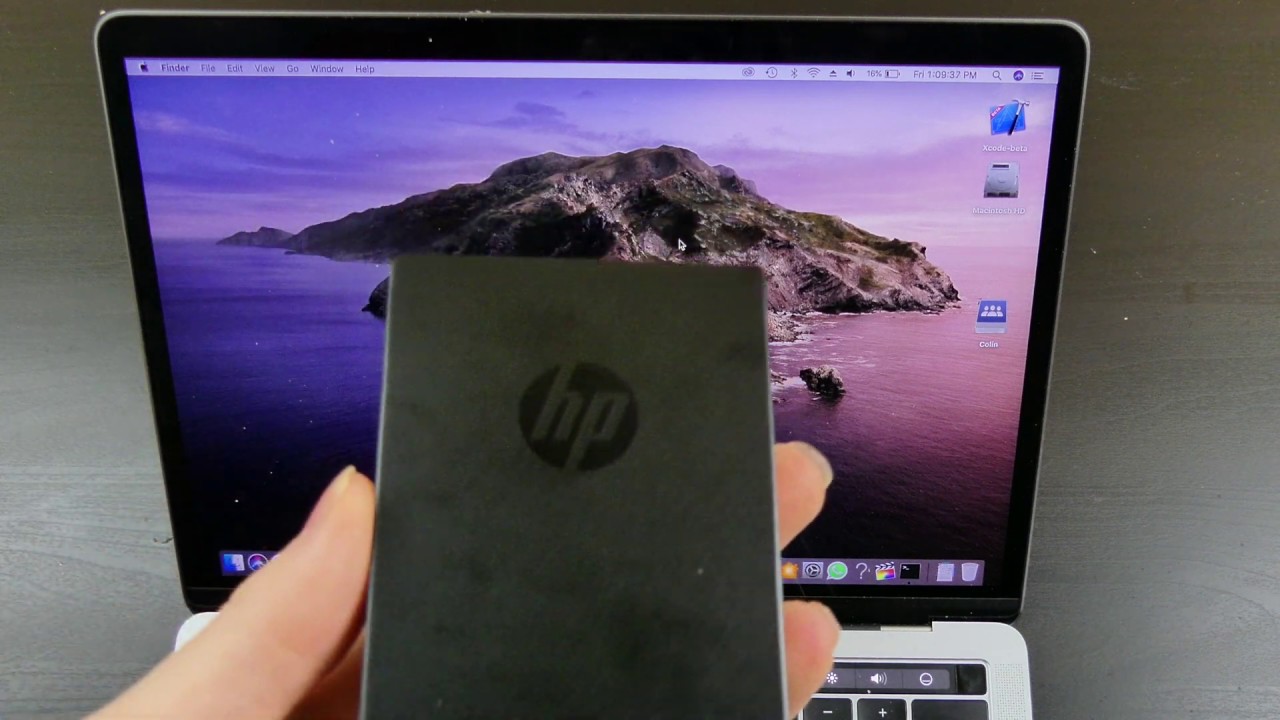
Step 1: Connecting the HP Portable SSD P600 to Your Computer
To begin the backup process using the HP Portable SSD P600, the first step is to connect the device to your computer. Follow these simple instructions:
- Locate an available USB port on your computer. The HP Portable SSD P600 utilizes the USB 3.2 Gen 2×2 technology for optimal performance, so it is recommended to use a USB 3.0 or higher port.
- Take the USB cable that comes with the HP Portable SSD P600 and connect one end to the device, and the other end to the USB port on your computer. Make sure the connection is secure.
- Once connected, wait for your computer to recognize the HP Portable SSD P600. It may take a few moments for the device to be detected and installed.
- Once the device is recognized, you can access it like any other external storage device on your computer. It will appear as a new drive in your file explorer, with a designated drive letter (e.g., E: or F:).
That’s it! You have successfully connected the HP Portable SSD P600 to your computer. You are now ready to start backing up your important files and data. In the following steps, we will guide you through the process of installing the necessary backup software, configuring the backup settings, and initiating the backup process. Stay tuned!
Step 2: Installing the HP Backup Software
After connecting the HP Portable SSD P600 to your computer, the next step is to install the HP backup software. This software provides a user-friendly interface to manage and schedule your backups. Follow these steps to install the software:
- Insert the included installation disc into your computer’s optical drive. If your computer doesn’t have an optical drive, don’t worry! You can download the software from the official HP website.
- Once the installation disc is inserted, an auto-run feature may launch the installation process automatically. If not, navigate to the disc drive in your file explorer and locate the setup file (usually called “setup.exe” or similar).
- Double-click on the setup file to initiate the installation. Follow the on-screen prompts and accept the terms and conditions.
- Choose the destination folder where you want the software to be installed. The default location is typically the “Program Files” folder.
- Click “Install” to start the installation. Wait for the process to complete. It may take a few moments.
- Once the installation is finished, you may be prompted to restart your computer. If so, click “Yes” to restart and complete the installation.
- After your computer has restarted, locate the HP backup software either on your desktop or in the Start menu. Double-click on the icon to launch the software.
That’s it! The HP backup software is now installed on your computer. In the next step, we will guide you through the process of configuring the backup settings to customize your backup preferences. Stay tuned!
Step 3: Configuring the Backup Settings
Now that you have installed the HP backup software, it’s time to configure the backup settings to customize your backup preferences. Follow these steps to configure the backup settings:
- Launch the HP backup software on your computer. The software’s main interface will open, displaying various options and settings.
- Click on the “Settings” or “Preferences” option in the software’s menu. This will open a new window where you can customize your backup settings.
- In the settings window, you will find options to select the files and folders you want to backup. You can choose to backup specific files, such as documents, photos, or videos, or select entire folders for a complete backup.
- Choose the backup schedule that best suits your needs. You can opt for automatic backups at regular intervals, such as daily, weekly, or monthly. Alternatively, you can manually initiate backups whenever you want.
- Consider enabling incremental backups. This feature allows the software to only backup new or modified files since the last backup, saving time and storage space.
- Explore the advanced settings options, such as encryption and compression. Encryption provides an extra layer of security by encrypting your backup files, while compression reduces the file size to optimize storage space.
- Once you have configured all the desired settings, click “Save” or “Apply” to save the changes and exit the settings window.
That’s it! You have successfully configured the backup settings for the HP backup software. In the next step, we will guide you through the process of initiating the backup process, ensuring your files are securely backed up on the HP Portable SSD P600. Stay tuned!
Step 4: Initiating the Backup Process
Now that you have configured the backup settings, it’s time to initiate the backup process using the HP backup software. Follow these steps to start backing up your files:
- Open the HP backup software on your computer if it’s not already running.
- In the software’s main interface, locate and click on the “Backup” or “Start Backup” button. This will initiate the backup process.
- The software will now start scanning your selected files and folders for backup. Depending on the size and number of files, this process might take a few moments.
- Once the scanning is complete, the software will prompt you to choose the HP Portable SSD P600 as the destination for the backup. Select the device from the list of available backup locations.
- Specify any additional preferences you may have for the backup process, such as encryption or compression, if applicable.
- Click on the “Start Backup” or similar button to initiate the backup. The software will now begin copying your selected files and folders to the HP Portable SSD P600.
- Depending on the size of the backup and the speed of your computer and SSD, the backup process may take some time to complete. It’s important to be patient and let the software finish the backup process.
- Once the backup is complete, the software will display a confirmation message. You can now safely eject the HP Portable SSD P600 from your computer.
Congratulations! You have successfully initiated the backup process using the HP backup software. Your important files and folders are now securely backed up on the HP Portable SSD P600. In the next step, we will guide you through the process of verifying the backup to ensure its accuracy and integrity. Stay tuned!
Step 5: Verifying the Backup
After completing the backup process using the HP backup software and the HP Portable SSD P600, it’s essential to verify the backup to ensure that your files are accurately and securely stored. Follow these steps to verify the backup:
- Connect the HP Portable SSD P600 to your computer if it’s not already connected. Make sure the device is recognized and accessible.
- Open the HP backup software on your computer.
- In the software’s main interface, navigate to the “Verify Backup” or “Check Backup” option. Click on it to initiate the verification process.
- The software will now scan the files and folders on the HP Portable SSD P600, comparing them to the original files on your computer. It will check for any inconsistencies or errors that may have occurred during the backup process.
- Depending on the size and number of files, the verification process may take some time. It’s important to be patient and let the software complete the verification.
- Once the verification is complete, the software will display a verification report. It will highlight any discrepancies between the original files and the backed-up files, if any.
- If the verification report indicates that the backup is successful and error-free, you can be confident that your files are accurately stored on the HP Portable SSD P600.
- If the verification report identifies any issues or errors, it’s recommended to reinitiate the backup process to ensure the complete and accurate storage of your files.
By verifying your backup, you can have peace of mind knowing that your files are securely stored on the HP Portable SSD P600 and can be easily recovered if needed. In the next step, we will guide you through the process of restoring your computer from the backup. Stay tuned!
Step 6: Restoring Your Computer from the Backup
In the event of a computer crash, data loss, or the need to transfer your files to a new system, restoring your computer from the backup stored on the HP Portable SSD P600 becomes crucial. Follow these steps to restore your computer from the backup:
- Connect the HP Portable SSD P600 to your computer if it’s not already connected. Ensure that the device is recognized and accessible.
- Open the HP backup software on your computer.
- In the software’s main interface, navigate to the “Restore” or “Recover” option. Click on it to initiate the restoration process.
- The software will now prompt you to select the backup from which you want to restore your computer. Choose the backup stored on the HP Portable SSD P600.
- Specify the destination for the restored files. You can choose to restore the files to their original locations or specify a new location on your computer.
- Review the restore options, such as preserving file attributes or overwriting existing files, if applicable.
- Once you have configured the restore options, click on the “Start Restore” or similar button to initiate the restoration process.
- The software will now begin restoring the files from the backup stored on the HP Portable SSD P600 to your computer. Depending on the size of the backup and the speed of your computer, this process may take some time.
- Once the restoration is complete, the software will display a confirmation message. You can now access and use your files as they were before the backup.
- It is recommended to restart your computer after the restoration process to ensure that all changes take effect and your system is properly set up.
Congratulations! You have successfully restored your computer from the backup stored on the HP Portable SSD P600. Your files and data are now recovered, allowing you to continue working without the worry of lost data. It’s always a good practice to periodically create new backups to ensure the most up-to-date version of your files is available. With the HP Portable SSD P600, you can easily repeat the backup and restoration process whenever needed. Remember to keep your backup device safe and secure for future use. Happy computing!
Troubleshooting Tips
While the backup process using the HP Portable SSD P600 is designed to be smooth and efficient, you may encounter some issues or challenges along the way. Here are some troubleshooting tips to help you overcome common problems:
- Make sure the HP Portable SSD P600 is properly connected: Double-check the USB connection between the device and your computer. Ensure that the USB cable is securely plugged into both ends.
- Verify compatibility: Ensure that your computer’s operating system is compatible with the HP backup software and the HP Portable SSD P600. Check the system requirements for both to confirm compatibility.
- Update drivers and software: Make sure that you have the latest drivers and software updates installed on your computer. Outdated software can cause compatibility issues and affect the performance of the backup process.
- Check available storage space: Ensure that the HP Portable SSD P600 has enough free storage space to accommodate your backup files. If it’s running low on space, consider deleting unnecessary files or transferring files to another storage device.
- Restart your computer: Sometimes, a simple restart can resolve software or connectivity issues. Restart your computer and then try reconnecting the HP Portable SSD P600 to see if the problem persists.
- Scan for errors: Use your computer’s built-in disk scanning and repair tools to check for any errors or corruption on the HP Portable SSD P600. Fixing these issues can help ensure the stability and reliability of your backup process.
- Try a different USB port or cable: If you’re experiencing connectivity issues, try connecting the HP Portable SSD P600 to a different USB port on your computer. You can also try using a different USB cable to rule out any potential cable problems.
- Temporarily disable antivirus software: In some cases, antivirus software may interfere with the backup process. Temporarily disable your antivirus software and try initiating the backup again to see if the issue is resolved.
- Consult technical support: If you have tried the above troubleshooting tips and are still experiencing issues, reach out to the HP customer support team for further assistance. They can provide specialized guidance and solutions tailored to your specific situation.
By following these troubleshooting tips, you can address common problems that may arise during the backup process using the HP Portable SSD P600. Remember to be patient and methodical when troubleshooting, and don’t hesitate to seek professional support when needed. With determination and the appropriate assistance, you’ll be able to overcome any challenges and ensure a successful backup experience. Good luck!
Conclusion
Backing up your computer is an essential practice to protect your valuable data from loss or damage. The HP Portable SSD P600 provides a reliable and efficient solution for backing up your files, with its high-speed performance, secure storage, and user-friendly interface.
In this guide, we have walked you through the step-by-step process of using the HP Portable SSD P600 to backup your computer. We started by highlighting the benefits of backing up your data and introduced you to the HP Portable SSD P600 and its notable features.
We then guided you through connecting the HP Portable SSD P600 to your computer and installing the HP backup software. We explained how to configure the backup settings, initiate the backup process, and verify the backup to ensure its accuracy.
Furthermore, we provided troubleshooting tips to help you overcome common issues that may arise during the backup process. These tips can help you address connectivity problems, compatibility issues, and other challenges that may affect a smooth backup experience.
By following these steps and tips, you can ensure that your important files and data are securely backed up on the HP Portable SSD P600. In the event of a computer crash, data loss, or the need to transfer your files to a new system, you can easily restore your computer from the backup stored on the device.
Remember to regularly create new backups to keep your files up-to-date and safely stored. Additionally, always prioritize the safety and security of your backup device to protect your valuable data.
We hope that this guide has been informative and helpful in assisting you with the backup process using the HP Portable SSD P600. By implementing a reliable backup system, you can have peace of mind knowing that your files are protected and can be easily recovered whenever needed.
Start backing up your computer today and safeguard your invaluable data with the HP Portable SSD P600!