Introduction
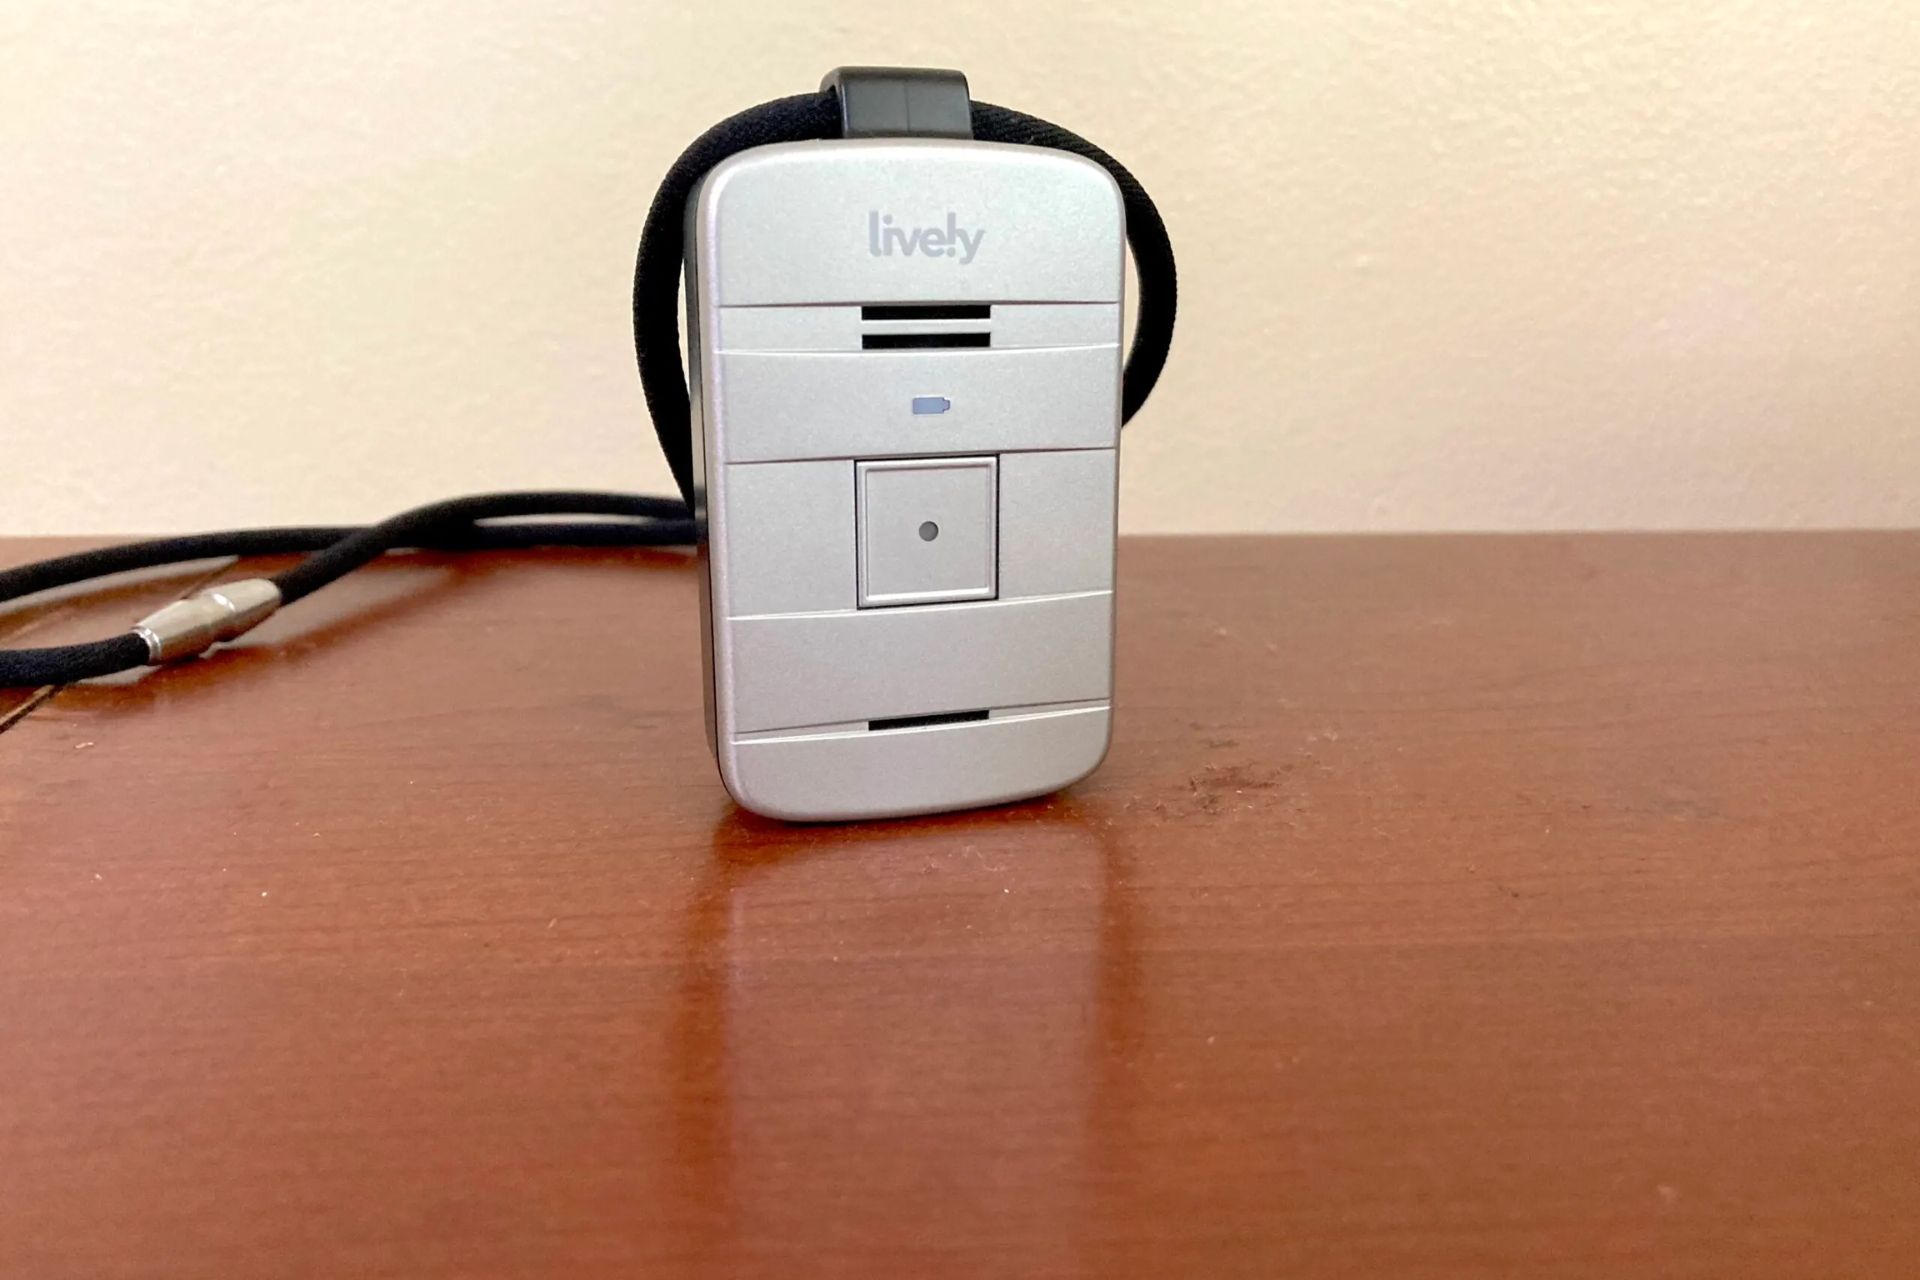
Replacing the battery in your Greatcall Lively Mobile Urgent Response Waterproof Case is a straightforward process that can breathe new life into your device. As with any electronic gadget, the battery is a crucial component that powers the device, and over time, it may require replacement to ensure optimal performance. By following this step-by-step tutorial, you can learn how to replace the battery in your Greatcall Lively Mobile Urgent Response Waterproof Case, allowing you to continue using this essential device with confidence.
The Greatcall Lively Mobile Urgent Response Waterproof Case is designed to provide peace of mind and security, especially for seniors and individuals with medical conditions. Its durable and waterproof construction makes it suitable for use in various environments, and being able to replace the battery ensures that the device remains reliable and functional when it's needed most.
In this tutorial, we will guide you through the process of replacing the battery in your Greatcall Lively Mobile Urgent Response Waterproof Case, from gathering the necessary tools and supplies to testing the device after the battery replacement. Whether you're a tech-savvy individual or a novice in gadget maintenance, this tutorial will equip you with the knowledge and confidence to carry out this essential task.
So, without further ado, let's delve into the step-by-step process of replacing the battery in the Greatcall Lively Mobile Urgent Response Waterproof Case, ensuring that you can continue to rely on this crucial device for your safety and peace of mind.
Step 1: Gather Necessary Tools and Supplies
Before embarking on the battery replacement process for your Greatcall Lively Mobile Urgent Response Waterproof Case, it's essential to gather the necessary tools and supplies to ensure a smooth and efficient procedure. Here's what you will need:
Tools and Supplies:
-
Replacement Battery: Ensure that you have a compatible replacement battery specifically designed for the Greatcall Lively Mobile Urgent Response Waterproof Case. It's crucial to use the correct battery model to maintain the device's performance and safety standards.
-
Small Phillips Head Screwdriver: This tool will be used to remove the screws securing the back cover of the device. A precision screwdriver set is recommended for this task, as it provides various head sizes to accommodate different screw types.
-
Plastic Opening Tool or Spudger: To safely pry open the back cover of the device without causing damage, a plastic opening tool or spudger is essential. These tools are designed to carefully separate the components without scratching or denting the device's casing.
-
Clean Workspace: Prepare a clean and well-lit workspace where you can comfortably perform the battery replacement process. A clutter-free environment will help prevent misplacement of small components and ensure a focused approach to the task.
-
Safety Precautions: It's important to prioritize safety during the battery replacement process. Consider using anti-static wrist straps to prevent static electricity from damaging sensitive electronic components. Additionally, having a pair of gloves can protect your hands and prevent accidental slippage of tools during the procedure.
By ensuring that you have all the necessary tools and supplies at hand, you can proceed with confidence to the next step of the battery replacement process for your Greatcall Lively Mobile Urgent Response Waterproof Case. With these items readily available, you are well-prepared to undertake the subsequent steps, leading to a successful battery replacement and the continued functionality of your essential device.
Step 2: Remove the Back Cover of the Greatcall Lively Mobile Urgent Response Waterproof Case
To begin the battery replacement process, the first crucial step is to carefully remove the back cover of the Greatcall Lively Mobile Urgent Response Waterproof Case. This step requires precision and patience to avoid damaging the device's casing and internal components. Here's a detailed guide on how to successfully remove the back cover:
-
Power Off the Device: Before handling the device, ensure that it is powered off to prevent any accidental damage or electrical hazards during the battery replacement process. If the device is on, power it down following the manufacturer's instructions.
-
Identify the Screws: Using a small Phillips head screwdriver from your tool kit, carefully inspect the back of the device to locate the screws securing the back cover. The number of screws may vary based on the device model, so take note of their positions for reassembly later.
-
Unscrew the Fasteners: With the Phillips head screwdriver, gently unscrew the fasteners from the back cover. It's essential to apply even pressure and use the appropriate screwdriver size to avoid stripping the screws. Place the screws in a secure location to prevent misplacement.
-
Use a Plastic Opening Tool: Once the screws are removed, it's time to carefully pry open the back cover of the device. To do this, use a plastic opening tool or spudger, inserting it into the seam between the back cover and the main body of the device. Apply gentle pressure to gradually release the clips securing the cover.
-
Work Around the Edges: As you begin to separate the back cover, work your way around the edges of the device, ensuring that the cover is being evenly released. Take your time and avoid using excessive force, as this could lead to damage or breakage.
-
Lift Off the Back Cover: Once the clips are released, gently lift off the back cover, taking care not to strain any connected cables or components. If there are any resistance or cables attached, carefully disconnect them using a pair of tweezers or a plastic spudger, following the manufacturer's guidelines.
By following these detailed steps, you can successfully remove the back cover of the Greatcall Lively Mobile Urgent Response Waterproof Case, setting the stage for the subsequent phases of the battery replacement process. With the back cover removed, you are ready to proceed to the next step of replacing the old battery with a new one, ensuring the continued functionality of your essential device.
Step 3: Remove the Old Battery
With the back cover successfully removed, the next critical step in the battery replacement process for your Greatcall Lively Mobile Urgent Response Waterproof Case is to remove the old battery. This step requires precision and caution to prevent damage to the device's internal components. Here's a detailed guide on how to safely and effectively remove the old battery:
-
Identify the Battery Location: Once the back cover is off, locate the battery within the device. The battery is typically situated near the center or bottom of the device's interior, secured in place by connectors or adhesive strips.
-
Disconnect the Battery: Before proceeding, it's essential to disconnect the old battery from the device's internal circuitry. If the battery is connected via a cable, carefully unplug the connector using a pair of tweezers or a plastic spudger. Exercise caution to avoid applying excessive force or damaging the connector.
-
Release Adhesive Strips (If Applicable): In some cases, the battery may be secured to the device's casing with adhesive strips. If this is the case, gently release the adhesive by applying consistent and gradual pressure to separate the battery from the casing. Take care to avoid puncturing or bending the battery during this process.
-
Lift Out the Battery: Once the battery is disconnected and any adhesive strips are released, carefully lift out the old battery from its position within the device. Use gentle and steady movements to avoid causing any damage to the surrounding components or cables.
-
Handle the Battery with Care: As you remove the old battery, handle it with care and avoid bending, puncturing, or exposing it to excessive force. Lithium-ion batteries, commonly used in electronic devices, require careful handling to prevent damage and ensure safety.
By following these detailed steps, you can safely and effectively remove the old battery from your Greatcall Lively Mobile Urgent Response Waterproof Case, paving the way for the next phase of the battery replacement process.
With the old battery successfully removed, you are now ready to proceed to the subsequent step of inserting the new battery into the device, ensuring that it is securely and correctly positioned for optimal functionality.
Step 4: Insert the New Battery
With the old battery removed, it's time to proceed with inserting the new battery into your Greatcall Lively Mobile Urgent Response Waterproof Case. This step is crucial in ensuring that the device receives the necessary power supply for optimal functionality. Follow these detailed steps to safely and effectively insert the new battery:
-
Verify Compatibility: Before proceeding, verify that the replacement battery is compatible with the Greatcall Lively Mobile Urgent Response Waterproof Case. Ensure that the new battery matches the required specifications and dimensions to guarantee a proper fit and optimal performance.
-
Position the New Battery: Carefully position the new battery in the designated location within the device. Align the battery in the same orientation as the old battery, taking note of any connectors or contact points that need to be properly aligned.
-
Secure the Battery: If the new battery utilizes adhesive strips for secure placement, gently press the battery into position, ensuring that it adheres securely to the device's casing. Exercise caution to avoid applying excessive pressure that may damage the battery or the device's internal components.
-
Connect the Battery (If Applicable): If the new battery features a connector for attachment to the device's circuitry, carefully plug the connector into the corresponding port, ensuring a secure and snug fit. Take care to align the connector properly to avoid any potential damage during the connection process.
-
Test the Battery Alignment: Once the new battery is in place, perform a visual inspection to ensure that it is correctly aligned and securely positioned within the device. Verify that the battery sits flush with the surrounding components and that there are no obstructions or misalignments.
-
Replace the Back Cover: With the new battery securely in place, carefully reattach the back cover of the Greatcall Lively Mobile Urgent Response Waterproof Case. Align the cover with the device's body and gently press it into position, ensuring that the clips engage securely.
By following these detailed steps, you can successfully insert the new battery into your Greatcall Lively Mobile Urgent Response Waterproof Case, setting the stage for the final phase of the battery replacement process. With the new battery securely positioned, you are ready to proceed to the next step of reattaching the back cover and testing the functionality of the device.
Step 5: Replace the Back Cover
With the new battery securely positioned within your Greatcall Lively Mobile Urgent Response Waterproof Case, the next crucial step is to replace the back cover of the device. This step is essential in ensuring that the internal components are protected and that the device maintains its waterproof and durable properties. Follow these detailed steps to successfully replace the back cover:
-
Align the Back Cover: Carefully position the back cover over the device's body, ensuring that it aligns with the edges and screw holes. Take your time to align the cover accurately to prevent any misfit or uneven placement.
-
Engage the Clips: Once the back cover is aligned, gently press it into position, allowing the clips to engage securely. Start by applying light pressure at the edges and gradually work your way around the perimeter of the device. Ensure that all clips are properly engaged to secure the cover in place.
-
Reinsert the Screws: Using the small Phillips head screwdriver from your tool kit, reinsert the screws into their respective positions on the back cover. Tighten the screws evenly, applying gentle pressure to secure the cover without over-tightening, which may cause damage to the screw threads or the device's casing.
-
Test the Cover Alignment: After securing the screws, perform a visual inspection to ensure that the back cover is evenly aligned and sits flush with the device's body. Verify that there are no gaps or misalignments that may compromise the device's waterproof properties or overall aesthetics.
-
Perform a Functionality Check: Before considering the battery replacement process complete, power on the device and verify that it functions as expected. Check for any signs of abnormal behavior or functionality issues that may indicate a potential problem with the battery replacement or the reassembly of the device.
By following these detailed steps, you can successfully replace the back cover of your Greatcall Lively Mobile Urgent Response Waterproof Case, ensuring that the internal components are protected and the device maintains its reliability and durability. With the back cover securely in place, you are now ready to proceed to the final step of testing the functionality of the device after the battery replacement.
Step 6: Test the Device
After completing the battery replacement process and reassembling the Greatcall Lively Mobile Urgent Response Waterproof Case, it is crucial to perform a comprehensive test to ensure that the device functions as expected. The testing phase allows you to verify the effectiveness of the battery replacement and the integrity of the device's overall functionality. Here's a detailed guide on how to conduct a thorough test of the device:
-
Power On the Device: Press the power button or follow the manufacturer's instructions to turn on the Greatcall Lively Mobile Urgent Response Waterproof Case. Observe the device's response as it powers up, ensuring that the startup sequence proceeds without any interruptions or anomalies.
-
Check Battery Level: Once the device is powered on, check the battery level indicator to verify that the new battery is recognized and providing an adequate power supply. Ensure that the battery level is displayed accurately and that it reflects the expected charge level for a new battery.
-
Test Key Functions: Test the key functions of the device, including making test calls, activating emergency response features, and navigating through the device's interface. Verify that the device responds promptly to user input and that all essential functions operate smoothly without any delays or malfunctions.
-
Monitor Standby Time: Allow the device to remain in standby mode for an extended period to monitor its standby time and battery performance. Observe how the device maintains its charge during idle periods, ensuring that the new battery demonstrates optimal efficiency and longevity.
-
Assess Waterproof Integrity: If applicable, perform a waterproof test to ensure that the device's waterproof integrity is maintained following the battery replacement. This may involve submerging the device in water or exposing it to simulated wet conditions to verify its resistance to water ingress.
-
Verify Signal Reception: Test the device's signal reception and connectivity in various environments to ensure that it maintains reliable communication capabilities. Verify that the device can establish and maintain connections as expected, indicating that the battery replacement has not adversely affected its wireless functionality.
-
Observe Overall Performance: Throughout the testing phase, observe the overall performance of the device, including its responsiveness, stability, and adherence to the manufacturer's specifications. Look for any signs of irregular behavior or performance issues that may indicate underlying issues related to the battery replacement.
By meticulously testing the device following the battery replacement, you can gain confidence in the effectiveness of the replacement process and the device's continued reliability. If the device passes the comprehensive testing phase without any issues, it signifies a successful battery replacement, ensuring that the Greatcall Lively Mobile Urgent Response Waterproof Case is ready to serve its essential purpose with renewed power and functionality.
Conclusion
In conclusion, the process of replacing the battery in the Greatcall Lively Mobile Urgent Response Waterproof Case is a vital maintenance task that ensures the continued functionality and reliability of this essential device. By following the step-by-step tutorial outlined in this guide, you have gained the knowledge and confidence to undertake the battery replacement process with precision and care.
The careful gathering of necessary tools and supplies, the meticulous removal of the back cover, the safe extraction of the old battery, the precise insertion of the new battery, the secure replacement of the back cover, and the comprehensive testing of the device collectively contribute to a successful battery replacement endeavor.
By adhering to the detailed instructions provided in each step, you have not only learned the technical aspects of replacing the battery but also embraced the importance of safety, precision, and thorough testing in maintaining the integrity of the Greatcall Lively Mobile Urgent Response Waterproof Case.
The successful completion of the battery replacement process signifies your commitment to the proper maintenance and care of your essential device, ensuring that it remains ready to provide peace of mind and security when needed. The newfound knowledge and hands-on experience gained from this tutorial empower you to take proactive measures in preserving the functionality and longevity of your electronic gadgets.
As you reflect on the journey of replacing the battery in the Greatcall Lively Mobile Urgent Response Waterproof Case, remember that the skills and insights acquired extend beyond this specific device. They equip you with a valuable understanding of battery replacement procedures, device maintenance, and the conscientious approach required to uphold the reliability of electronic gadgets in various contexts.
With the completion of the battery replacement process, you can now enjoy the reassurance of a fully functional Greatcall Lively Mobile Urgent Response Waterproof Case, knowing that it is equipped with a new, reliable power source. Your proactive approach to device maintenance exemplifies a commitment to safety, preparedness, and the seamless integration of technology into daily life.
In essence, the successful replacement of the battery in the Greatcall Lively Mobile Urgent Response Waterproof Case embodies the fusion of technical proficiency, attention to detail, and a dedication to maintaining essential devices at their optimal performance levels. This accomplishment stands as a testament to your capability and readiness to embrace the responsibilities of gadget ownership while ensuring their continued functionality and reliability.