Introduction
Welcome to the world of Chromebooks, where sleek design meets user-friendly functionality. These lightweight, portable devices have gained popularity for their seamless integration with Google’s suite of applications and their affordability, making them an attractive option for students, professionals, and anyone in between. One of the standout features of Chromebooks is their compatibility with styluses, offering users a convenient and intuitive way to interact with their devices.
Whether you’re an artist looking to unleash your creativity, a student taking notes in class, or a professional navigating through presentations, the right stylus can elevate your Chromebook experience. However, navigating the landscape of stylus compatibility and connectivity can be daunting, especially for those new to the Chromebook ecosystem. This guide is designed to demystify the process of connecting a stylus to your Chromebook, helping you make informed decisions and troubleshoot common issues along the way.
Join us as we delve into the intricacies of Chromebook compatibility and explore the seamless integration of styluses, empowering you to unlock the full potential of your device. Whether you’re a seasoned Chromebook user or a newcomer to the platform, this guide will equip you with the knowledge and confidence to harness the power of stylus technology with your Chromebook.
Understanding Chromebook Compatibility
Chromebooks are designed to offer a versatile and user-friendly computing experience, and their compatibility with styluses is a testament to their adaptability. Before diving into the world of styluses, it’s essential to understand the compatibility factors that come into play when selecting the right stylus for your Chromebook.
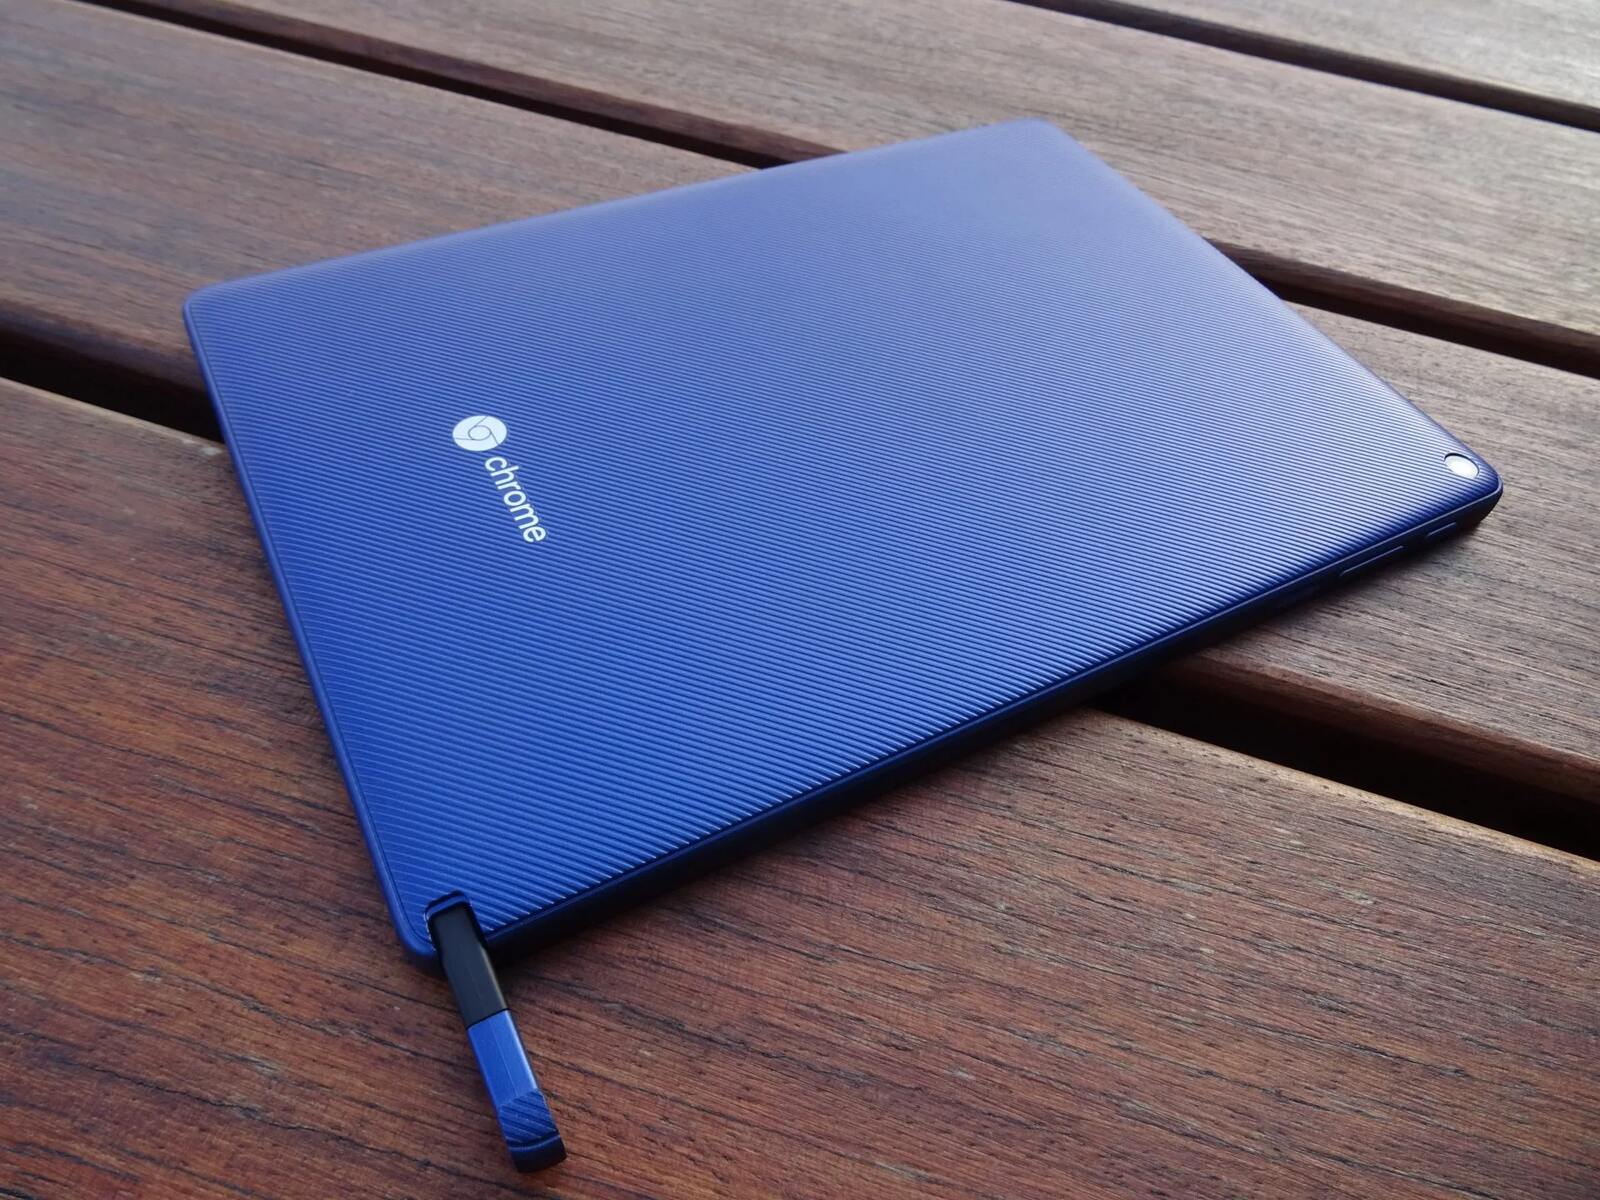
First and foremost, Chromebooks are equipped with touchscreens that support stylus input, providing a responsive and intuitive interface for users. However, not all Chromebooks are created equal in terms of stylus compatibility. Some Chromebook models come with built-in stylus support, featuring dedicated stylus docks or included styluses that seamlessly integrate with the device. On the other hand, many Chromebooks are designed to be compatible with a wide range of third-party styluses, offering users the flexibility to choose a stylus that suits their preferences and budget.
When evaluating stylus compatibility, it’s crucial to consider the type of touchscreen technology employed in your Chromebook. Capacitive touchscreens, which rely on the electrical properties of the human body to detect touch input, are the most common type found in Chromebooks. These touchscreens are compatible with a broad selection of styluses, including passive styluses that do not require a power source. Additionally, some Chromebooks feature active stylus support, catering to users who seek a more precise and feature-rich stylus experience.
Furthermore, the compatibility of a stylus with a Chromebook depends on the underlying software and drivers. Chrome OS, the operating system powering Chromebooks, is optimized to work seamlessly with a variety of styluses, ensuring a smooth and responsive stylus experience across different applications and tasks. Whether you’re sketching, annotating documents, or navigating the interface, Chrome OS leverages stylus input to enhance productivity and creativity.
By understanding the nuances of Chromebook compatibility, you can make informed decisions when selecting a stylus that aligns with your specific Chromebook model and usage requirements. With a solid grasp of compatibility considerations, you’re ready to embark on the journey of choosing the perfect stylus for your Chromebook.
Choosing the Right Stylus for Your Chromebook
When it comes to selecting a stylus for your Chromebook, the market offers a plethora of options, each catering to different preferences and usage scenarios. Understanding the key factors that differentiate styluses can help you make an informed decision that aligns with your needs and enhances your Chromebook experience.
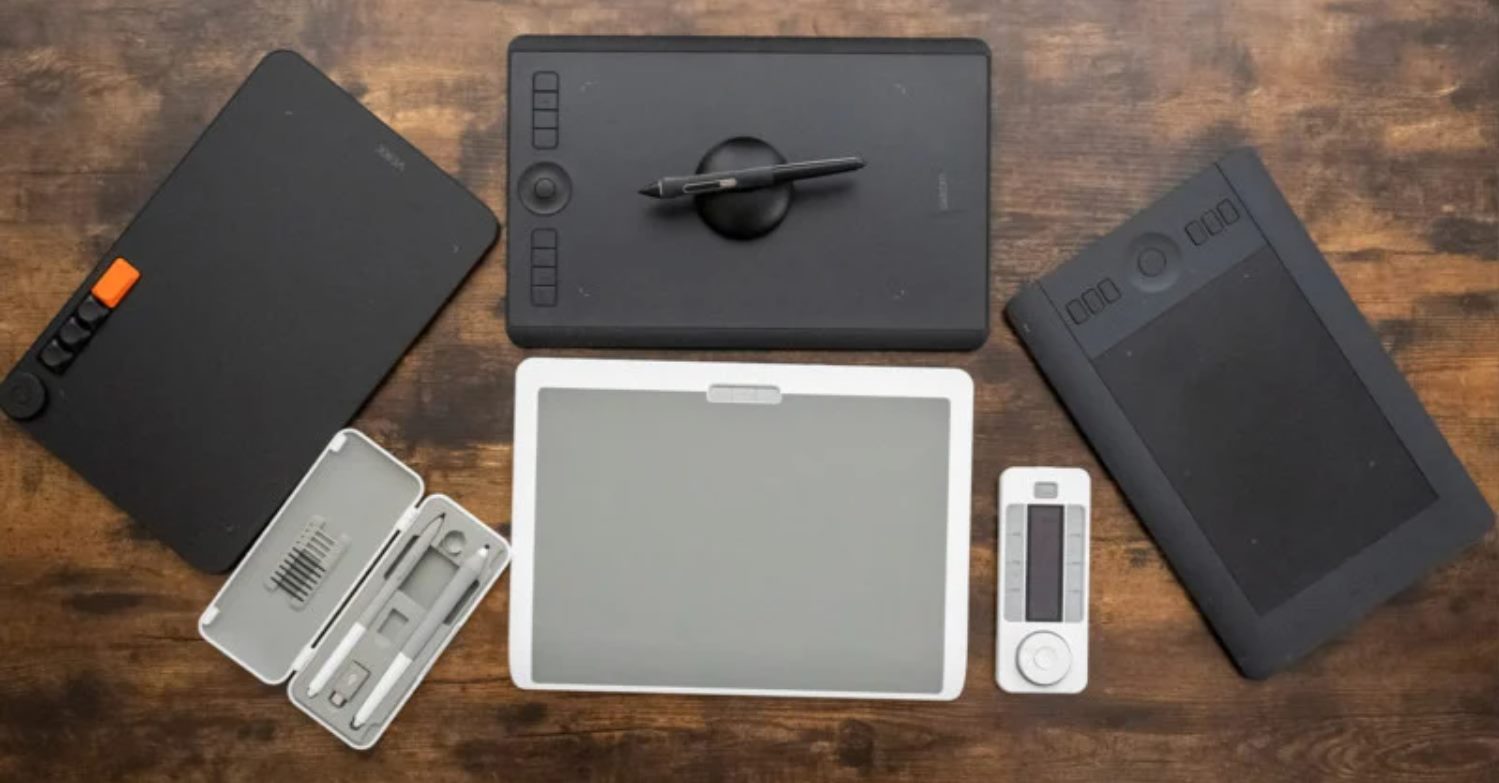
Stylus Technology: Styluses come in two primary categories: passive and active. Passive styluses, also known as capacitive styluses, are simple and affordable, utilizing conductive materials to interact with the touchscreen. While they lack advanced features such as pressure sensitivity and palm rejection, passive styluses are suitable for basic tasks like navigating the interface and taking quick notes. On the other hand, active styluses incorporate advanced technology, offering features like pressure sensitivity, tilt recognition, and programmable buttons. These styluses deliver a more immersive and precise input experience, making them ideal for digital artists, note-takers, and professionals seeking enhanced productivity.
Compatibility: When choosing a stylus for your Chromebook, it’s crucial to ensure compatibility with your specific model. Some Chromebooks are designed to work seamlessly with certain stylus models, offering optimized performance and additional features. Additionally, third-party styluses that are compatible with a wide range of devices provide flexibility and choice, allowing you to explore various options based on your preferences and budget.
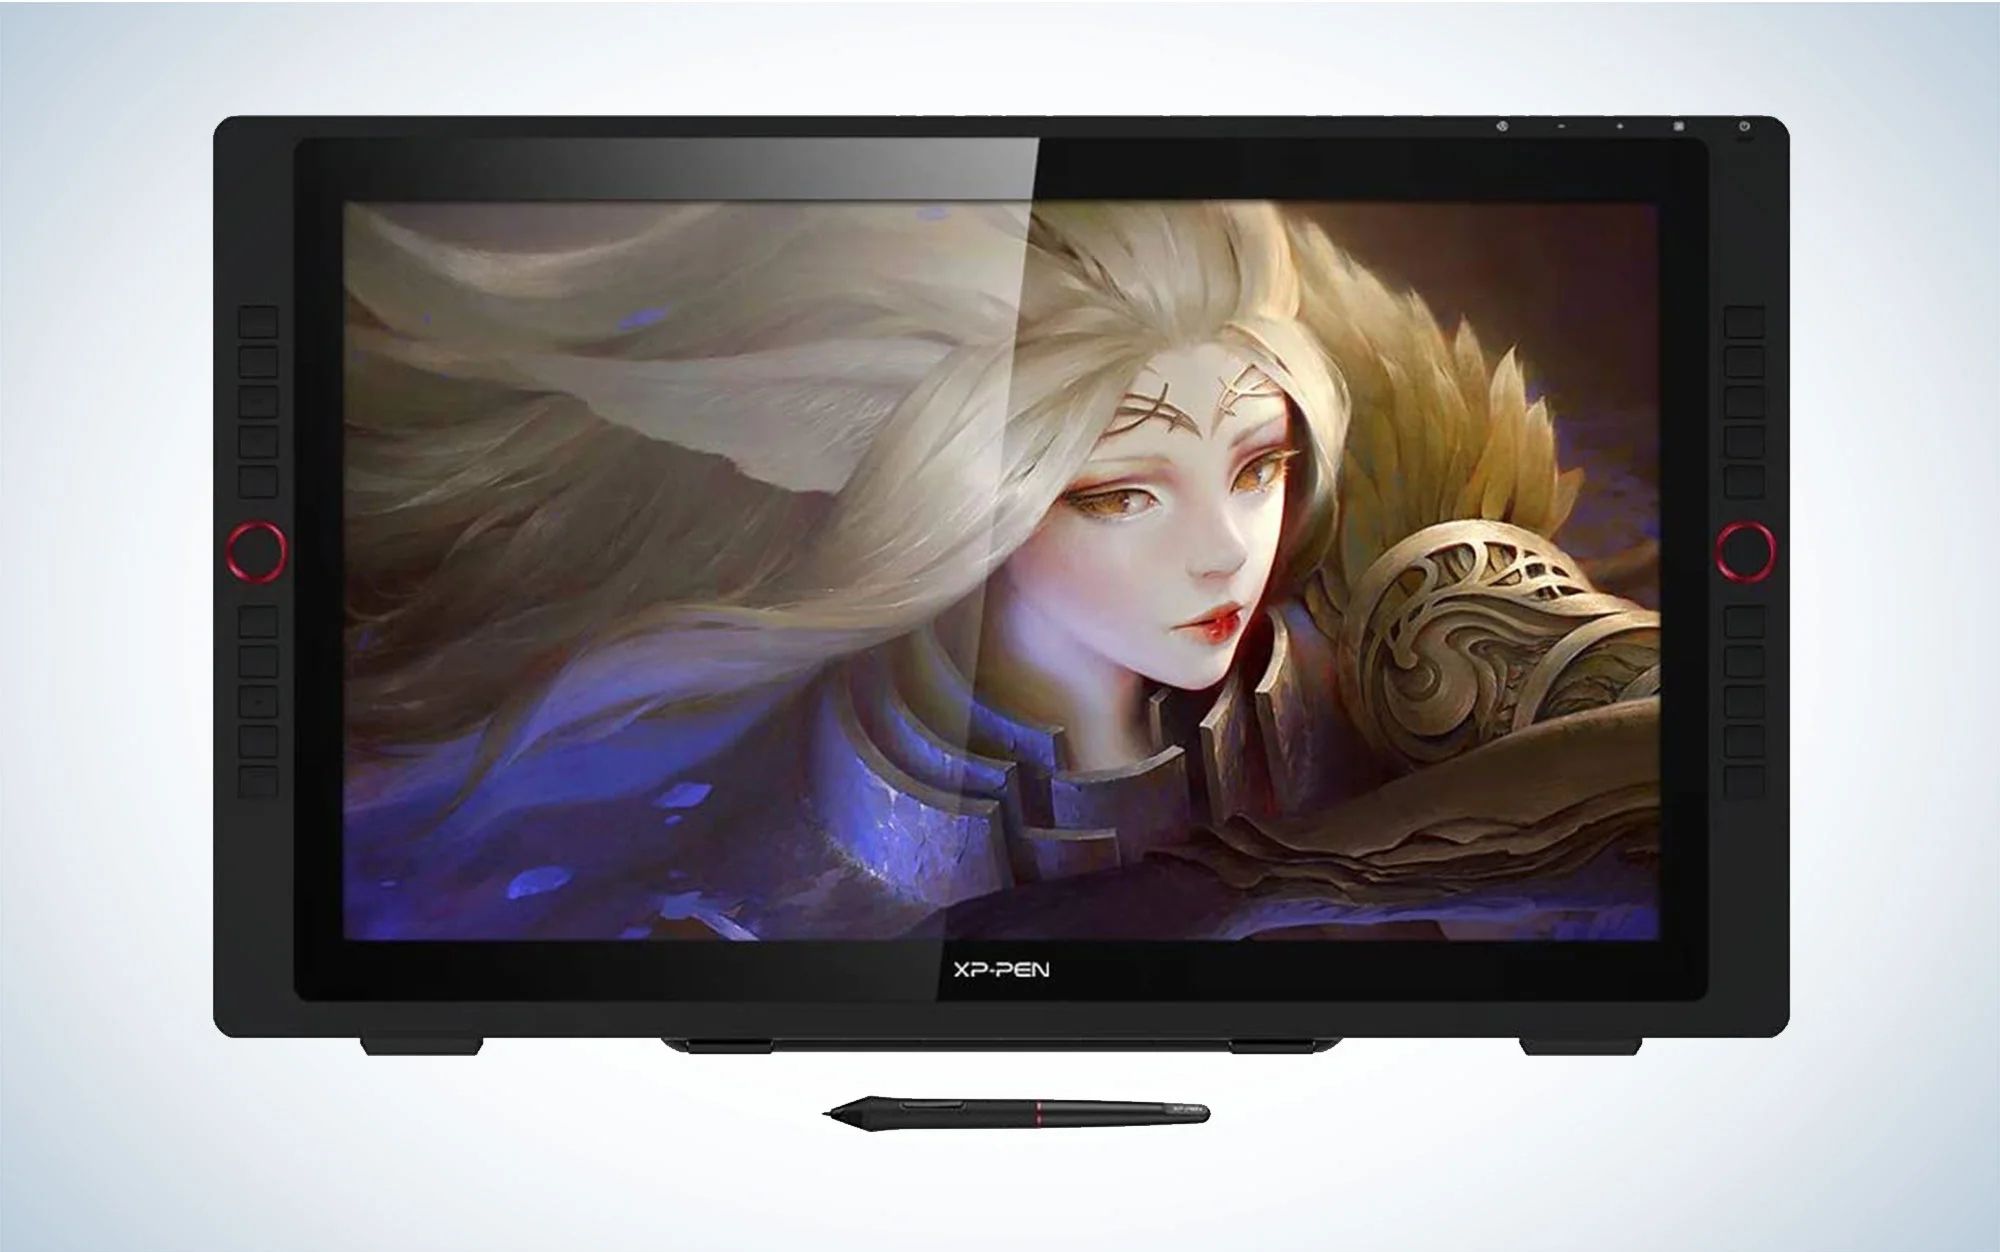
Intended Use: Consider how you plan to utilize the stylus with your Chromebook. If you’re an artist or designer seeking a stylus for digital art and illustration, prioritizing features like pressure sensitivity and precision is essential. Conversely, if your primary use case involves note-taking, document annotation, or general navigation, a stylus with a comfortable grip and responsive tip may be more suitable.
Budget and Value: Stylus prices vary significantly based on the features and technology they offer. While high-end active styluses with advanced capabilities may come at a premium, there are budget-friendly options that provide a satisfactory stylus experience for everyday tasks. Assessing the value proposition of a stylus based on its features, build quality, and long-term usability can help you make a balanced decision that aligns with your budget and expectations.
By considering these factors, you can narrow down the options and choose a stylus that complements your Chromebook, elevating your productivity, creativity, and overall interaction with the device. With the right stylus in hand, you’re poised to unlock the full potential of your Chromebook and enjoy a seamless and intuitive stylus experience.
Connecting Your Stylus to Your Chromebook
Once you’ve selected the perfect stylus for your Chromebook, the next step is to seamlessly connect it to your device, unlocking a world of creative and productive possibilities. The process of connecting a stylus to your Chromebook is straightforward, ensuring that you can quickly transition from setup to seamless stylus interaction.
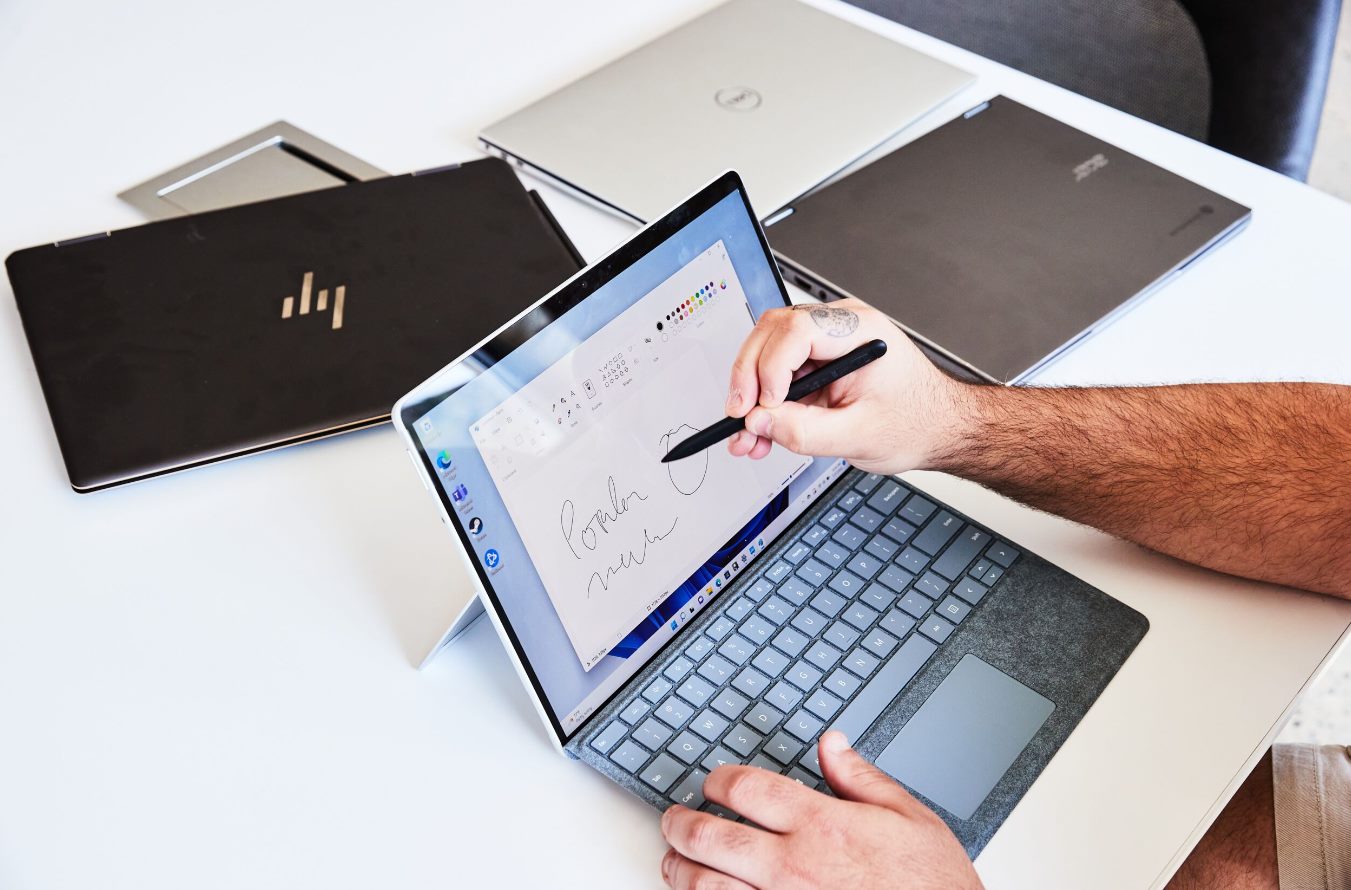
Bluetooth Connectivity: If you’ve opted for an active stylus that features advanced capabilities such as pressure sensitivity and programmable buttons, it may utilize Bluetooth connectivity to establish a seamless connection with your Chromebook. To initiate the pairing process, simply enable Bluetooth on your Chromebook and follow the stylus manufacturer’s instructions for pairing. Once paired, your stylus is ready to deliver enhanced functionality and precision across compatible applications and tasks.
Plug-and-Play Functionality: Many passive styluses and some active styluses offer plug-and-play functionality, allowing you to start using the stylus immediately without the need for Bluetooth pairing or additional setup. Simply touch the stylus to the touchscreen, and your Chromebook will recognize the input, enabling you to navigate, draw, annotate, and interact with ease.
Optimizing Stylus Settings: Chromebooks provide users with the flexibility to customize stylus settings to suit their preferences and workflow. From adjusting pressure sensitivity and button functions to enabling palm rejection and configuring tilt recognition, exploring the stylus settings in the Chrome OS can enhance your stylus experience and streamline your creative and productivity workflows.
Calibration and Precision: In some cases, particularly with active styluses, calibrating the stylus can further enhance its precision and responsiveness. Chromebooks offer calibration tools that enable users to fine-tune the stylus input, ensuring that strokes, lines, and gestures are accurately captured, making it ideal for digital artists and professionals who rely on precise input for their work.
By following these simple steps and leveraging the capabilities of your stylus and Chromebook, you can seamlessly connect your stylus to your device, unlocking a world of creative and productive possibilities. Whether you’re sketching, taking notes, or navigating through intricate design projects, the seamless integration of your stylus with your Chromebook empowers you to unleash your creativity and productivity with ease.
Troubleshooting Common Issues
While connecting and using a stylus with your Chromebook is generally a seamless experience, occasional issues may arise that hinder the smooth operation of the stylus. By familiarizing yourself with common troubleshooting steps, you can swiftly address these issues and restore the optimal functionality of your stylus.
Intermittent Connectivity: If you encounter intermittent connectivity issues with your stylus, first ensure that the stylus is adequately charged or that the battery is not depleted. For active styluses, a low battery can result in unreliable connectivity and performance. Additionally, verify that the stylus is within the recommended operating range from the Chromebook to maintain a stable Bluetooth connection.
Unresponsive Stylus Input: In the event of unresponsive stylus input, inspect the stylus tip for any debris or damage that may hinder its interaction with the touchscreen. Cleaning the stylus tip and ensuring that it is free from obstructions can restore its responsiveness. For active styluses, replacing the battery or recharging the stylus may also address unresponsiveness.
Software Updates and Compatibility: Chrome OS regularly receives updates to enhance compatibility, stability, and performance. If you encounter issues with your stylus, ensuring that your Chromebook is running the latest software version can resolve compatibility issues and introduce optimizations for stylus functionality. Additionally, checking for stylus-specific firmware or driver updates from the manufacturer can address compatibility issues and introduce new features.
Stylus Calibration and Settings: If you notice discrepancies in stylus precision or accuracy, recalibrating the stylus can rectify these issues. Chromebooks offer calibration tools that enable users to fine-tune the stylus input, ensuring consistent and accurate tracking of stylus movements and gestures. Additionally, revisiting the stylus settings in the Chrome OS can help customize the stylus behavior to align with your preferences and workflow.
Hardware and Compatibility Verification: If persistent issues arise, verifying the compatibility of the stylus with your specific Chromebook model is crucial. Some styluses may have specific compatibility requirements or may not be optimized for certain Chromebook models, leading to performance issues. Referencing the manufacturer’s compatibility guidelines and user manuals can provide insights into potential compatibility limitations.
By addressing these common issues and leveraging the troubleshooting steps, you can overcome potential hurdles and ensure a seamless stylus experience with your Chromebook. With a proactive approach to troubleshooting, you can maintain the optimal performance and functionality of your stylus, empowering you to maximize its potential in various creative and productivity endeavors.
Conclusion
As we conclude our exploration of Chromebook compatibility and the seamless integration of styluses, it’s evident that the fusion of innovative technology and user-centric design has paved the way for a harmonious stylus experience on Chromebooks. From understanding the nuances of compatibility to selecting the ideal stylus and effortlessly connecting it to your device, this guide has equipped you with the knowledge and insights to embark on a journey of creativity, productivity, and seamless interaction with your Chromebook.
By embracing the versatility of styluses, users can unlock a myriad of possibilities, whether it’s unleashing their artistic prowess, streamlining note-taking and annotation tasks, or enhancing productivity in professional environments. The diverse range of styluses available, catering to different preferences and usage scenarios, ensures that users can tailor their stylus experience to align with their unique needs and creative aspirations.
Furthermore, the troubleshooting guidance provided empowers users to address common issues with confidence, ensuring that the seamless stylus experience remains uninterrupted. By leveraging the tips and strategies for troubleshooting, users can maintain the optimal performance and functionality of their styluses, fostering a consistent and reliable interaction with their Chromebooks.
As you embark on your stylus-enhanced journey with your Chromebook, remember that the seamless integration of styluses is not merely a feature but a gateway to boundless creativity, efficiency, and expression. Whether you’re sketching a masterpiece, annotating a document, or navigating through intricate design projects, the symbiotic relationship between your stylus and Chromebook empowers you to elevate your digital endeavors with precision and finesse.
Ultimately, the marriage of Chromebook compatibility and stylus technology exemplifies the commitment to user-centric innovation, ensuring that users can harness the full potential of their devices with intuitive and seamless stylus interaction. As you embrace this fusion of technology and creativity, may your stylus become an extension of your imagination, enabling you to craft, create, and communicate with unparalleled fluidity and precision.