Introduction
Understanding the Process of Rooting Moto G Stylus 5G
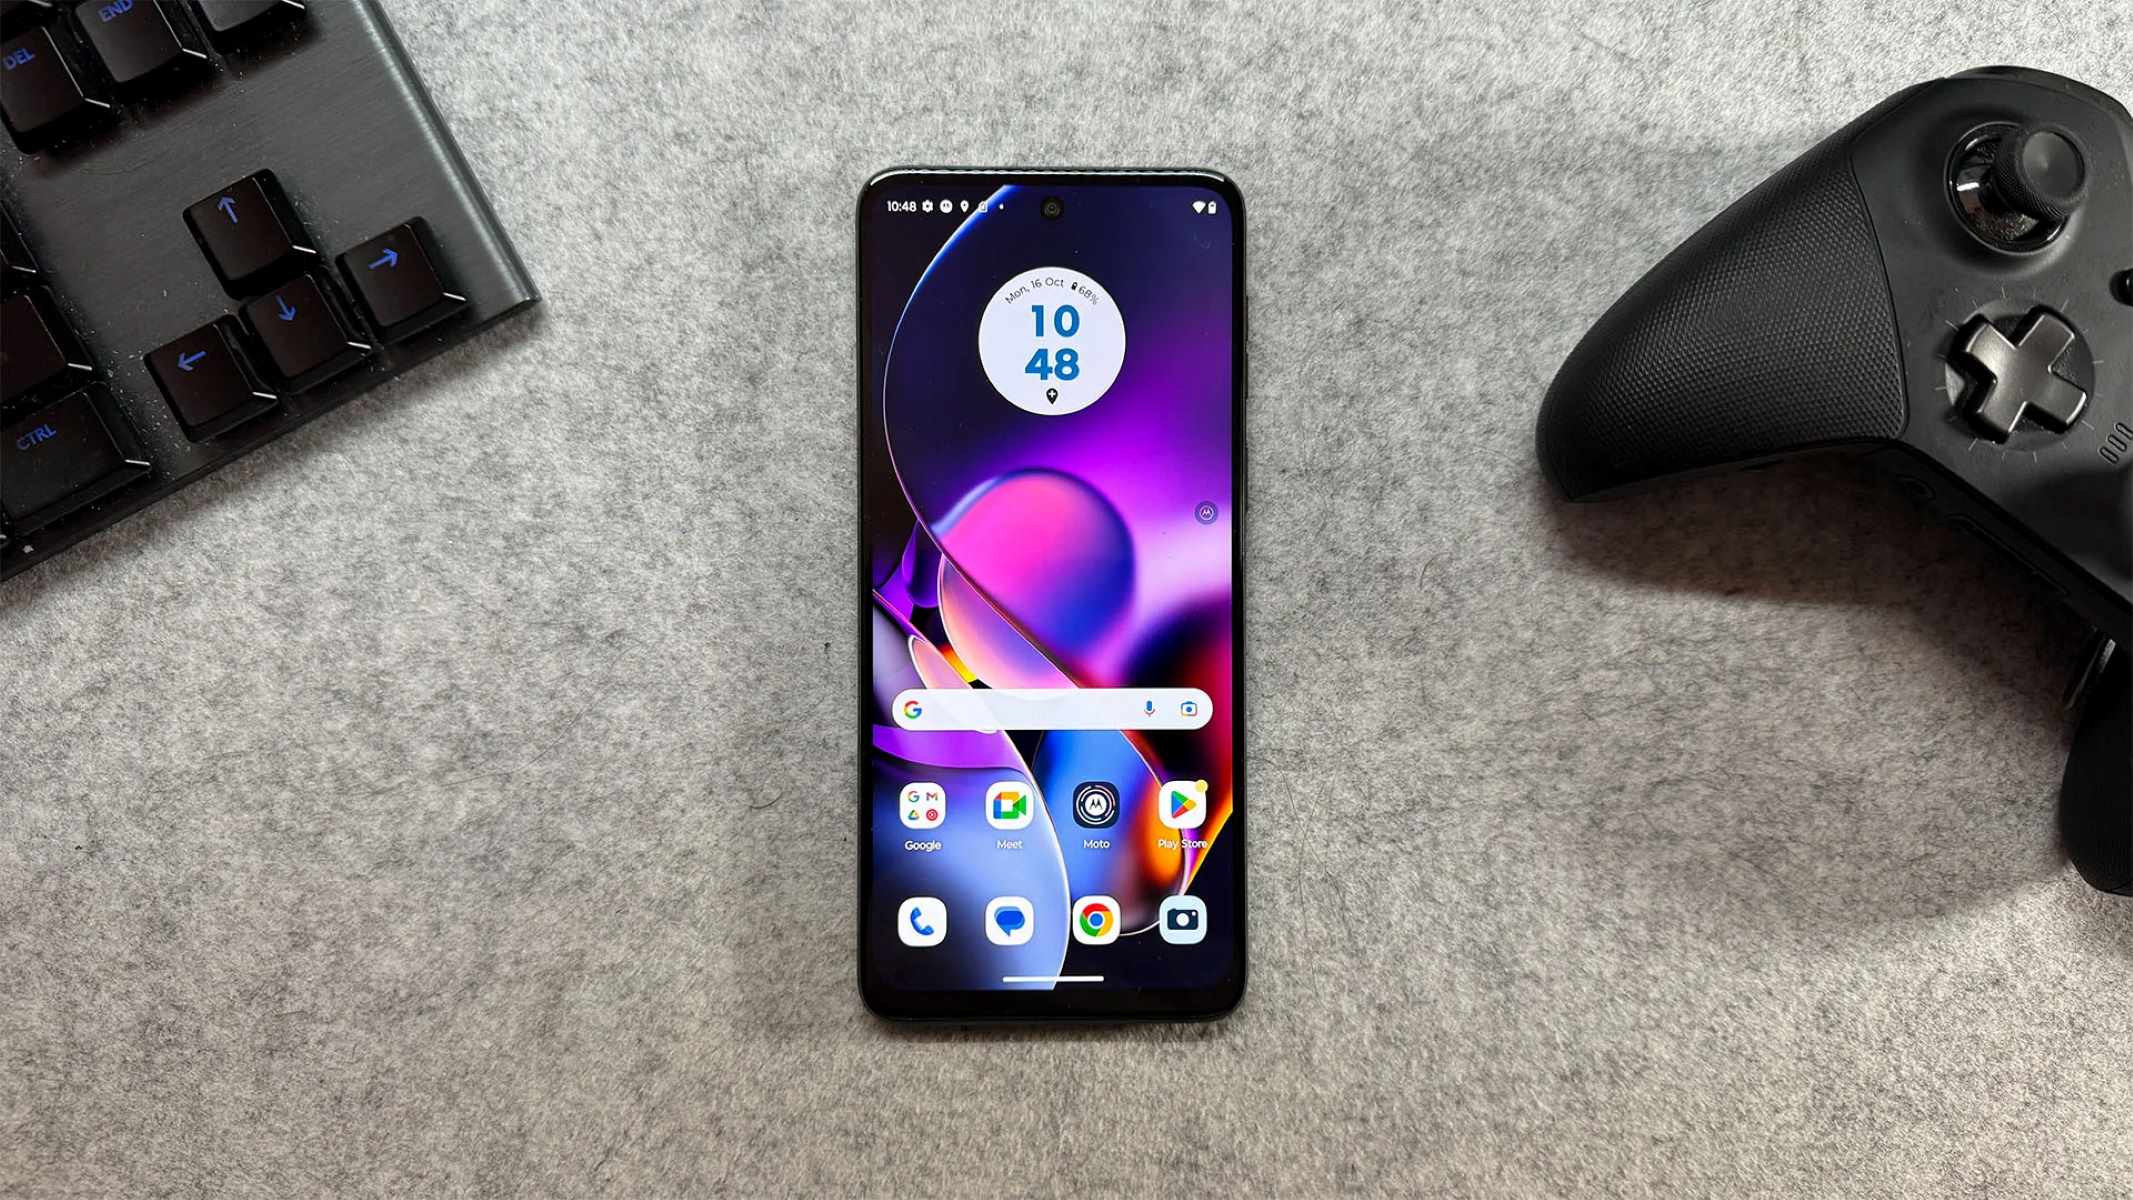
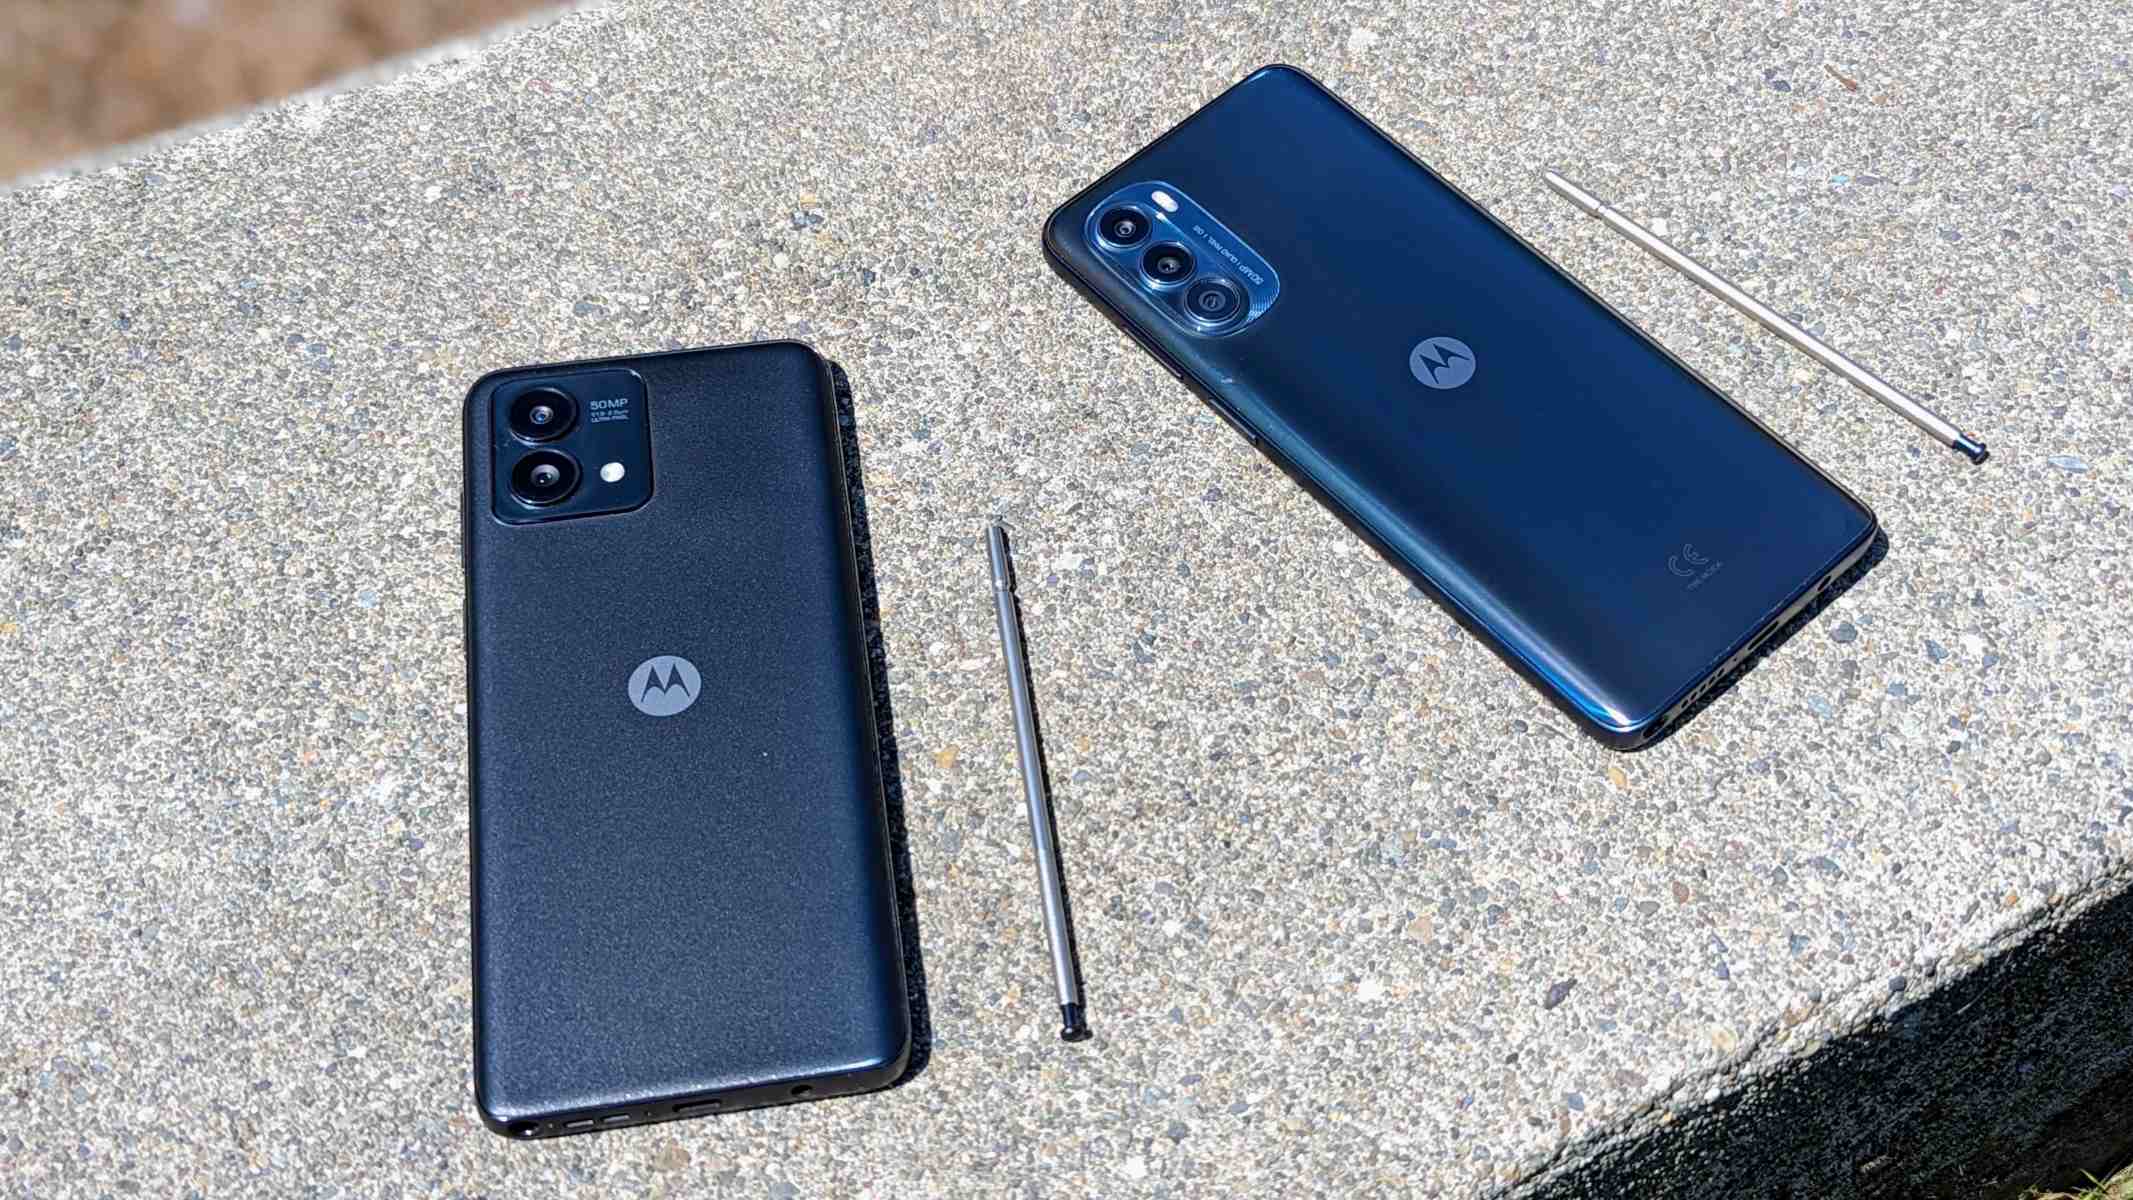
So, you've decided to take the plunge and root your Moto G Stylus 5G. Rooting your device grants you elevated privileges, allowing you to customize and optimize your smartphone experience to your heart’s content. Whether you're seeking to install custom ROMs, remove bloatware, or fine-tune system settings, rooting opens a world of possibilities. However, it's crucial to approach the process with caution and care, as rooting can void your warranty and potentially lead to unforeseen complications if not executed properly.
In this comprehensive guide, we'll walk you through the step-by-step process of rooting your Moto G Stylus 5G. From preparing your device and unlocking the bootloader to installing TWRP recovery and ultimately rooting your device, we'll cover each stage thoroughly. By the end of this guide, you'll have a clear understanding of the intricacies involved in rooting your device, empowering you to make informed decisions every step of the way.
Throughout this tutorial, we'll provide detailed instructions, tips, and precautions to ensure that you can proceed with confidence. It's essential to note that rooting your device carries inherent risks, and any misstep can result in irreversible damage. Therefore, we strongly advise following the instructions meticulously and exercising caution at every stage of the process.
Now, without further ado, let's delve into the preparatory steps required to set the stage for rooting your Moto G Stylus 5G. This journey will equip you with the knowledge and skills to unleash the full potential of your device while understanding the responsibility that comes with wielding such power. Let's embark on this transformative journey together.
Preparing Your Device
Before diving into the intricate process of rooting your Moto G Stylus 5G, it’s crucial to prepare your device meticulously. This preparatory phase lays the foundation for a smooth and successful rooting experience, minimizing the likelihood of complications and ensuring that your device is ready for the transformative changes ahead.
First and foremost, it’s imperative to back up all essential data stored on your device. Rooting your phone involves making significant modifications to its system, and while the process is designed to be seamless, unforeseen issues can arise. By backing up your photos, videos, documents, and any other critical data, you can safeguard against potential data loss and restore your device to its previous state if necessary.
Additionally, ensure that your Moto G Stylus 5G is adequately charged before initiating the rooting process. A fully charged battery mitigates the risk of interruptions during the procedure, minimizing the likelihood of complications that may arise from an unexpected power loss. Ideally, aim for a battery level of at least 50% to provide a buffer for the duration of the rooting process.
Moreover, familiarize yourself with the concept of rooting and the associated risks and benefits. Understanding the implications of rooting empowers you to make informed decisions and navigate the process with confidence. Research reputable sources, forums, and community discussions to gain insights into the experiences of other users who have rooted similar devices, allowing you to glean valuable tips and precautions.
Lastly, ensure that you have the necessary tools and resources at your disposal, including a reliable USB cable and a computer with internet access. These tools are instrumental in executing various stages of the rooting process, such as unlocking the bootloader and installing custom recovery. By preparing your device and equipping yourself with the essential knowledge and resources, you’re poised to embark on the next phase of this transformative journey – unlocking the bootloader of your Moto G Stylus 5G.
Unlocking the Bootloader
Unlocking the bootloader is a pivotal step in the process of rooting your Moto G Stylus 5G, as it grants you the freedom to make substantial modifications to the device’s software. However, it’s essential to approach this stage with caution, as unlocking the bootloader can result in the loss of data and void the device’s warranty. By understanding the implications and following the prescribed steps diligently, you can navigate this phase with confidence and precision.
Firstly, enable Developer Options on your Moto G Stylus 5G by navigating to Settings, selecting About Phone, and tapping on the Build Number seven times. This action unlocks the Developer Options menu, granting you access to advanced settings and tools. Within Developer Options, enable OEM unlocking and USB debugging, essential prerequisites for unlocking the bootloader.
Next, power off your device and boot it into Fastboot mode by simultaneously pressing the Volume Down and Power buttons. Once in Fastboot mode, connect your device to the computer using a USB cable. Access the command prompt or terminal on your computer and execute the command to ensure that your device is being detected properly by the system. This verification step is crucial to proceed with confidence, confirming that your device is communicating effectively with the computer.
Subsequently, initiate the bootloader unlocking process by entering the designated command in the command prompt or terminal. This command triggers the bootloader unlocking sequence, prompting your device to display a confirmation message. Follow the on-screen instructions to confirm the bootloader unlocking process, acknowledging the associated risks and implications.
It’s important to note that unlocking the bootloader wipes all data from your device, necessitating a comprehensive backup of essential files and data beforehand. Once the bootloader is successfully unlocked, your Moto G Stylus 5G is primed for the subsequent stages of the rooting process, paving the way for the installation of TWRP recovery, a critical component that facilitates the rooting procedure.
By meticulously following the prescribed steps and exercising caution at every stage, you can unlock the bootloader of your Moto G Stylus 5G confidently, setting the stage for the next phase of this transformative journey.
Installing TWRP Recovery
Installing TWRP (Team Win Recovery Project) recovery on your Moto G Stylus 5G is a crucial step in the rooting process, as it empowers you to create full device backups, flash custom ROMs, and perform system-level modifications with unparalleled flexibility. TWRP recovery serves as a gateway to unleashing the full potential of your device, offering a feature-rich and intuitive interface for managing and customizing your smartphone’s software.
Before proceeding with the installation of TWRP recovery, ensure that you have the necessary files and tools at your disposal, including the TWRP image file specific to your device model and the ADB and Fastboot tools on your computer. Once these prerequisites are in place, you can initiate the installation process with confidence.
Firstly, boot your Moto G Stylus 5G into Fastboot mode by powering off the device and then pressing the Volume Down and Power buttons simultaneously. Once in Fastboot mode, connect your device to the computer using a USB cable. Access the command prompt or terminal on your computer and navigate to the directory where the TWRP image file is located.
Execute the command to flash the TWRP recovery image to your device, ensuring that the process is initiated seamlessly. Once the flashing process is complete, reboot your device into recovery mode to verify the successful installation of TWRP recovery. This can be achieved by selecting the “Recovery” option from the Fastboot mode menu using the volume and power buttons.
Upon entering TWRP recovery, take a moment to familiarize yourself with the interface and navigation controls. TWRP offers a user-friendly and feature-rich environment, allowing you to perform a myriad of advanced operations, including creating and restoring backups, flashing custom ROMs and kernels, and managing system-level modifications.
It’s essential to exercise caution and precision during the installation of TWRP recovery, as any misstep can result in unforeseen complications. By following the prescribed steps meticulously and verifying the successful installation of TWRP recovery, you’re poised to embark on the final phase of this transformative journey – rooting your Moto G Stylus 5G and unlocking its full potential.
Rooting Your Moto G Stylus 5G
As you approach the culminating phase of this transformative journey, the process of rooting your Moto G Stylus 5G represents the gateway to unlocking the device’s full potential and customization capabilities. Rooting grants you elevated privileges, enabling you to delve into the intricacies of the Android operating system and customize your device to suit your preferences and requirements.
Before proceeding with the rooting process, it’s paramount to ensure that your device is prepared, the bootloader is unlocked, and TWRP recovery is successfully installed. These foundational prerequisites set the stage for a seamless and successful rooting experience, minimizing the likelihood of complications and ensuring that your device is primed for the transformative changes ahead.
Initiate the rooting process by downloading the appropriate root package for your Moto G Stylus 5G from a reputable source. Verify the compatibility and authenticity of the root package to mitigate the risk of potential issues arising from using incompatible or unreliable files. Once the root package is downloaded, transfer it to your device’s internal storage to facilitate seamless access during the rooting process.
Boot your device into TWRP recovery by powering off the device and then pressing the designated hardware key combination to access recovery mode. Within TWRP recovery, navigate to the location where the root package is stored and initiate the flashing process. This process installs the root binaries and associated files, granting your device root access and elevated privileges.
After flashing the root package, reboot your Moto G Stylus 5G to complete the rooting process. Upon rebooting, your device will be rooted, empowering you to explore a multitude of customization options, install powerful root-enabled apps, and optimize system-level settings to enhance your smartphone experience.
It’s crucial to approach the rooting process with caution and mindfulness, as rooting your device carries inherent risks and implications. By following the prescribed steps meticulously and exercising prudence at every stage, you can root your Moto G Stylus 5G confidently, unlocking its full potential while understanding the responsibility that comes with wielding such elevated privileges.
With your Moto G Stylus 5G successfully rooted, you’ve embarked on a transformative journey that empowers you to personalize and optimize your device to align with your unique preferences and requirements. Embrace this newfound freedom responsibly, and revel in the boundless possibilities that rooting bestows upon your smartphone experience.
Conclusion
Embarking on the journey to root your Moto G Stylus 5G has equipped you with a profound understanding of the intricate process involved in unlocking the device’s full potential. From the preparatory steps of backing up essential data and familiarizing yourself with the implications of rooting to the pivotal stages of unlocking the bootloader, installing TWRP recovery, and ultimately rooting your device, this transformative journey has empowered you to navigate the complexities of the rooting process with confidence and precision.
Throughout this guide, you’ve embraced the responsibility that comes with wielding elevated privileges, understanding the risks and implications associated with rooting your device. By meticulously following the prescribed steps and exercising caution at every stage, you’ve successfully unlocked the full potential of your Moto G Stylus 5G, paving the way for unparalleled customization and optimization.
Rooting your device transcends the realm of mere technical modifications – it embodies a profound sense of empowerment and individuality, allowing you to tailor your smartphone experience to align with your unique preferences and requirements. With root access, you can explore a myriad of customization options, install powerful root-enabled apps, and fine-tune system-level settings to elevate your smartphone experience to new heights.
As you navigate the realm of rooted devices, it’s essential to approach this newfound freedom responsibly, acknowledging the risks and implications while embracing the boundless possibilities it bestows upon your smartphone experience. Engage with the vibrant community of rooted device enthusiasts, share insights, and leverage the collective wisdom to optimize and personalize your device with finesse.
Rooting your Moto G Stylus 5G signifies a transformative milestone in your smartphone journey, unlocking a realm of endless customization and optimization possibilities. Embrace this newfound freedom with mindfulness and responsibility, and revel in the unparalleled potential that now lies at your fingertips.
With your Moto G Stylus 5G rooted, you’ve ventured into a realm where innovation and individuality converge, shaping your smartphone experience in alignment with your unique vision. Embrace this transformative journey with confidence, and let the boundless horizons of rooted devices inspire and elevate your digital endeavors.