Introduction
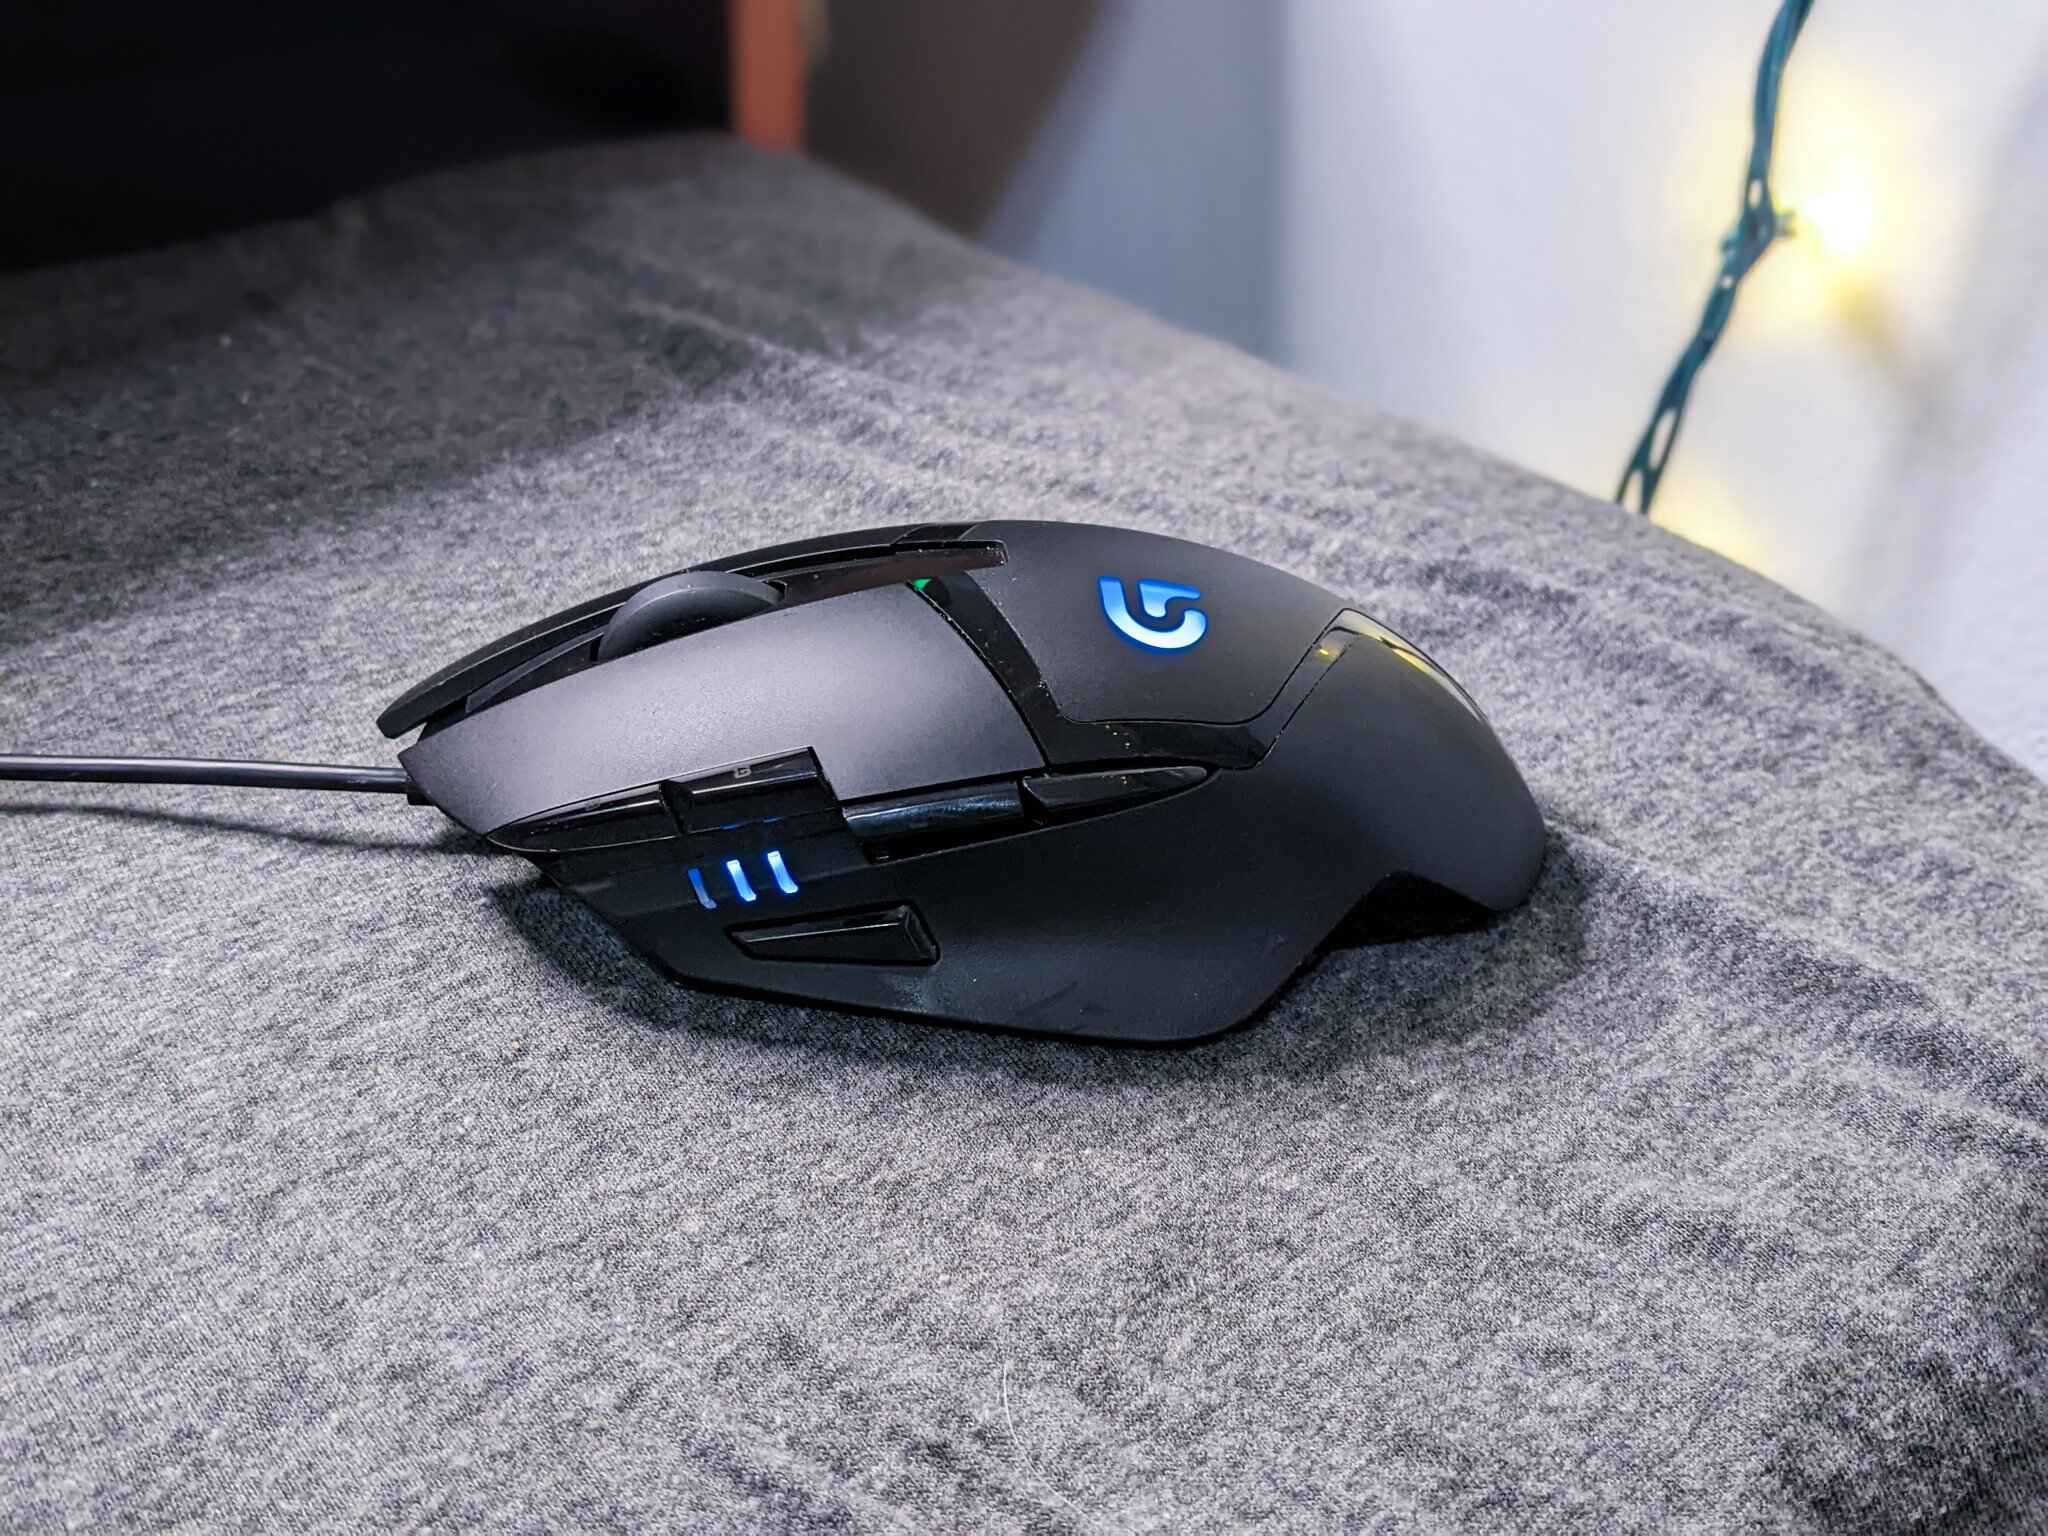
Welcome to the world of gaming with the Logitech G402 gaming mouse! This high-performance mouse is equipped with customizable buttons that can enhance your gaming experience by providing quick access to essential functions. In this guide, we will walk you through the process of setting up the buttons on your Logitech G402 gaming mouse to suit your gaming preferences.
The Logitech G402 is designed to deliver precision and speed, making it an ideal choice for gamers who demand optimal performance. With its ergonomic design and advanced features, this gaming mouse is built to handle the rigors of intense gaming sessions while providing a comfortable and responsive user experience.
By customizing the button functions on your Logitech G402 gaming mouse, you can gain a competitive edge in your favorite games, streamline your workflow, and execute complex commands with ease. Whether you're a seasoned gamer or just getting started, mastering the customization options of your gaming mouse can significantly enhance your gaming performance and overall enjoyment.
In the following steps, we will guide you through the process of installing the Logitech Gaming Software, connecting your G402 gaming mouse, customizing the button functions, and saving your profile settings. By the end of this guide, you will have a deeper understanding of how to optimize the functionality of your Logitech G402 gaming mouse to suit your unique gaming style and preferences.
So, let's dive in and unlock the full potential of your Logitech G402 gaming mouse by harnessing the power of its customizable buttons!
Step 1: Install Logitech Gaming Software
Before you can begin customizing the button functions on your Logitech G402 gaming mouse, you need to install the Logitech Gaming Software, which serves as the control center for managing your gaming peripherals. The software provides a user-friendly interface that allows you to configure and personalize the settings of your Logitech devices, including the G402 gaming mouse.
To get started, visit the official Logitech website and navigate to the support section to locate the Logitech Gaming Software. Ensure that you download the latest version of the software to access the most up-to-date features and optimizations for your gaming mouse.
Once the software is downloaded, follow the installation instructions provided by Logitech to complete the setup process. After the installation is complete, launch the Logitech Gaming Software to begin the configuration of your G402 gaming mouse.
Upon opening the software, you will be prompted to connect your G402 gaming mouse to your computer. Ensure that the mouse is properly connected and recognized by the software before proceeding to the next steps.
The Logitech Gaming Software offers a range of customization options, allowing you to assign specific functions to the programmable buttons on your G402 gaming mouse, adjust sensitivity settings, create custom profiles for different games, and more. By installing and familiarizing yourself with the software, you gain access to a powerful tool that empowers you to tailor your gaming experience to your preferences and play style.
With the Logitech Gaming Software installed, you are now ready to move on to the next step, which involves connecting your G402 gaming mouse and preparing it for customization.
Step 2: Connect the G402 Gaming Mouse
Now that you have the Logitech Gaming Software installed, it’s time to connect your G402 gaming mouse to your computer and ensure that it is properly recognized by the software. The process of connecting the G402 mouse is straightforward and essential for accessing its full range of customization options.
Begin by plugging the USB connector of the G402 gaming mouse into an available USB port on your computer. Once connected, the Logitech Gaming Software should detect the G402 mouse and display it in the interface, allowing you to access its settings and customization features.
Upon successful connection, you may notice a confirmation message or indicator within the software, signifying that the G402 gaming mouse is ready for configuration. If the mouse is not immediately recognized, try connecting it to a different USB port or restarting the Logitech Gaming Software to ensure proper detection.
It’s important to verify that the G402 gaming mouse is functioning correctly and responding to your inputs before proceeding to the customization phase. Test the primary buttons, scroll wheel, and any default settings to confirm that the mouse is operational and ready for further adjustments.
Once the G402 gaming mouse is successfully connected and recognized by the Logitech Gaming Software, you are one step closer to unlocking its full potential. With the mouse ready for customization, you can proceed to the next stage, where you will personalize the button functions to align with your gaming preferences and desired in-game actions.
Step 3: Customize Button Functions
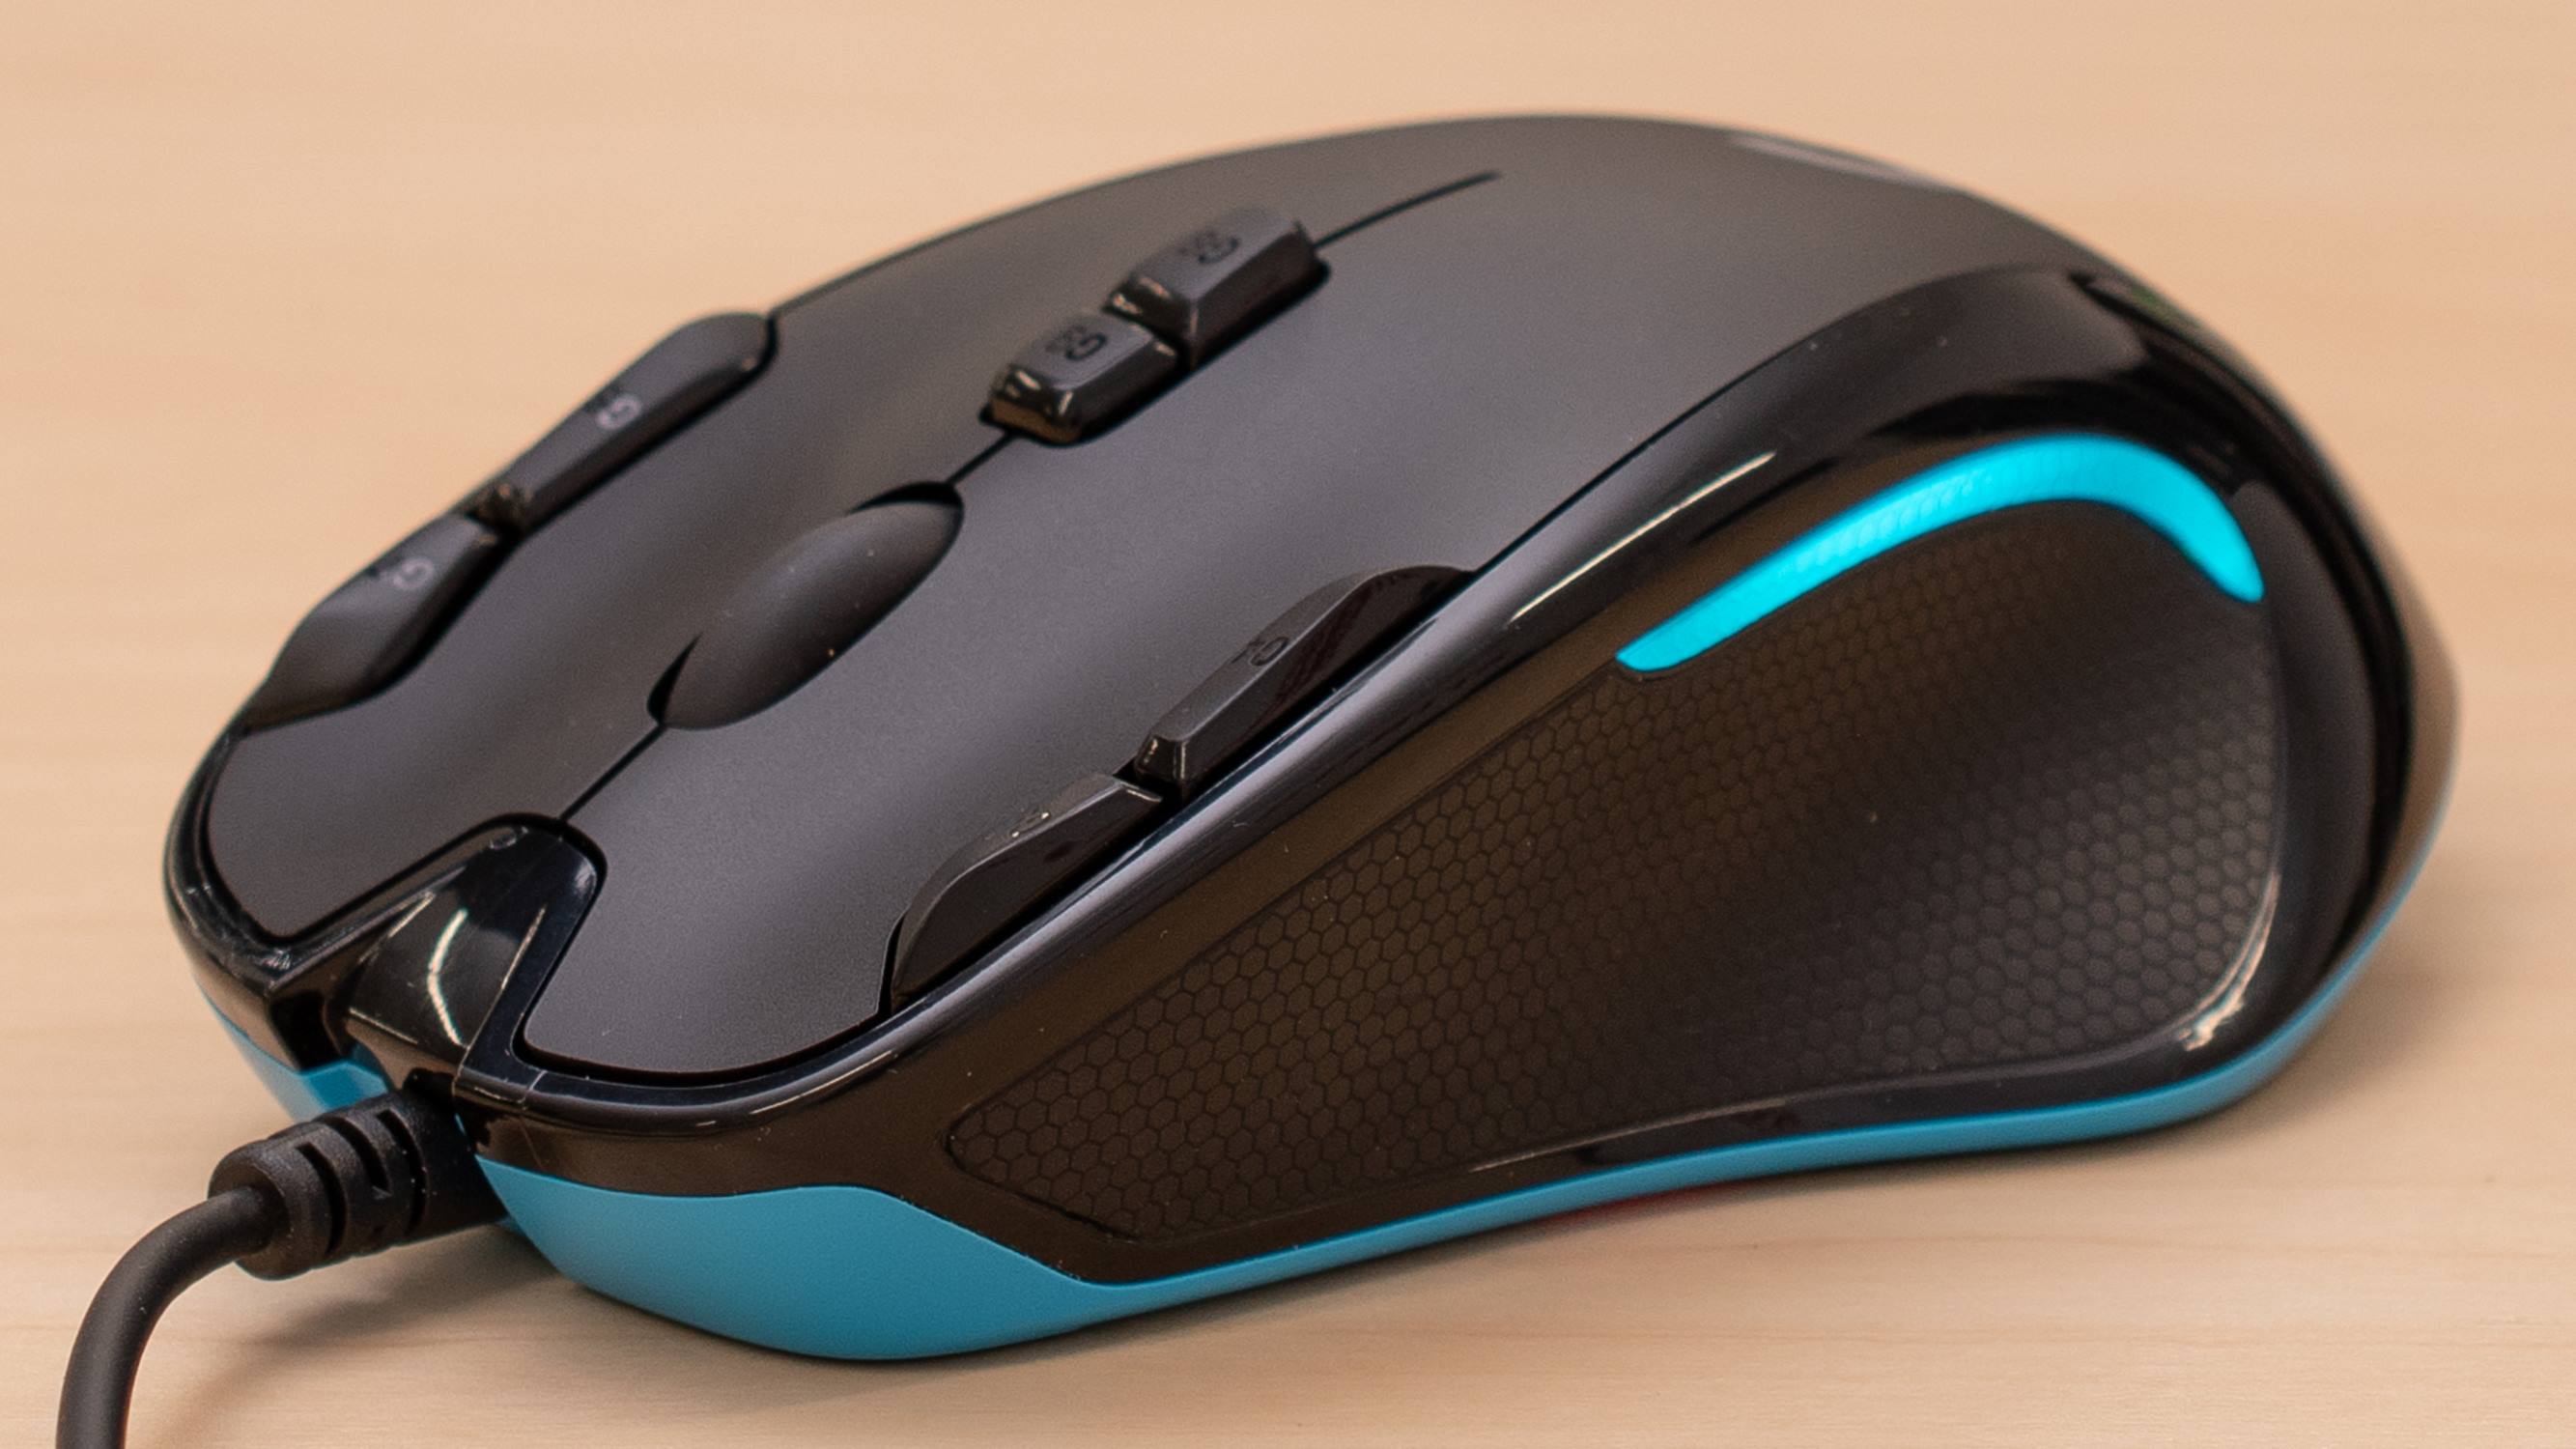
With your Logitech G402 gaming mouse connected and recognized by the Logitech Gaming Software, you can now delve into the exciting process of customizing the button functions to optimize your gaming experience. The G402 mouse features several programmable buttons that can be tailored to execute specific commands, macros, or in-game actions, providing you with a competitive edge and enhanced control.
Within the Logitech Gaming Software interface, navigate to the section dedicated to the G402 gaming mouse. Here, you will find a comprehensive overview of the mouse’s customizable features, including the programmable buttons, DPI settings, and lighting options.
To customize the button functions, select the specific button you wish to configure from the graphical representation of the mouse within the software. Once the button is selected, you can assign a wide range of functions to it, such as keystrokes, multimedia commands, DPI adjustments, and more. This flexibility allows you to tailor the mouse’s buttons to suit the demands of different games and applications.
Consider the types of actions or commands that would benefit from quick access during your gaming sessions. For example, assigning weapon switches, grenade throws, or character abilities to programmable buttons can streamline your gameplay and improve your responsiveness in critical moments.
Furthermore, the Logitech Gaming Software enables you to create and store multiple profiles for the G402 gaming mouse, each tailored to a specific game or usage scenario. This feature empowers you to switch between custom button configurations seamlessly, ensuring that your mouse adapts to the unique requirements of different gaming experiences.
By customizing the button functions on your G402 gaming mouse, you can elevate your gaming performance and efficiency, allowing you to execute complex actions with a single press and maintain your focus on the game. With the button functions personalized to your preferences, you are better equipped to navigate virtual worlds, engage in intense battles, and achieve your gaming objectives with precision and speed.
Step 4: Save Profile Settings
After customizing the button functions and fine-tuning the settings of your Logitech G402 gaming mouse, it’s essential to save your configurations as profiles to ensure that your personalized preferences are easily accessible and transferrable across different gaming environments.
Within the Logitech Gaming Software interface, locate the option to create and save profiles for your G402 gaming mouse. Profiles serve as containers for your customized settings, allowing you to switch between distinct configurations with minimal effort. This functionality is particularly valuable when transitioning between various games or applications that demand different button layouts and sensitivity preferences.
When saving a profile, consider assigning a descriptive name that reflects the intended usage or game title. This makes it easier to identify and select the appropriate profile when needed, streamlining the process of adapting your mouse’s settings to specific gaming scenarios.
Furthermore, the Logitech Gaming Software facilitates the seamless synchronization of profiles with your Logitech G402 gaming mouse, ensuring that your configurations are readily available whenever you connect the mouse to a different computer or gaming setup. This portability enables you to maintain consistency in your gaming experience, regardless of the hardware environment.
By saving your profile settings, you safeguard the time and effort invested in customizing the button functions, DPI sensitivity, and other parameters of your G402 gaming mouse. This proactive approach ensures that your preferred configurations remain accessible and persistent, empowering you to focus on your gameplay without the need for repetitive adjustments.
Additionally, the ability to store multiple profiles for the G402 gaming mouse grants you the flexibility to adapt to diverse gaming genres, play styles, and team roles, maximizing your adaptability and performance across various gaming experiences.
With your profile settings securely saved, you are equipped to seamlessly transition between gaming sessions, maintain consistency in your preferred configurations, and unleash the full potential of your Logitech G402 gaming mouse across different gaming environments.
Conclusion
Congratulations! You have successfully navigated the process of setting up the button functions on your Logitech G402 gaming mouse, harnessing its customizable features to align with your gaming preferences and elevate your gaming performance. By following the steps outlined in this guide, you have gained valuable insight into the seamless integration of the Logitech Gaming Software and the versatile capabilities of the G402 mouse.
Through the installation of the Logitech Gaming Software, you have unlocked a comprehensive suite of customization options, enabling you to tailor the button functions, DPI settings, and profiles of your G402 gaming mouse to suit the demands of various games and applications. This level of personalization empowers you to optimize your gaming experience, enhance your efficiency, and maintain a competitive edge in virtual battlegrounds.
By connecting and configuring your G402 gaming mouse, you have laid the foundation for a responsive and adaptable gaming peripheral that caters to your unique play style. The ability to assign specific commands and macros to programmable buttons, adjust sensitivity settings, and store multiple profiles ensures that your gaming mouse seamlessly adapts to the diverse challenges presented by different gaming environments.
Furthermore, the process of saving your profile settings has equipped you with the convenience of effortlessly transitioning between gaming scenarios while retaining your preferred configurations. This portability and consistency in your personalized settings reflect your proactive approach to optimizing your gaming peripherals for peak performance and enjoyment.
As you embark on your gaming endeavors with the Logitech G402 gaming mouse, remember that the customization options at your disposal are designed to empower you, enhance your control, and amplify your gaming prowess. Embrace the flexibility and adaptability offered by the G402 mouse, and explore the myriad ways in which its customizable features can elevate your gaming experience.
With your Logitech G402 gaming mouse primed to cater to your gaming preferences, you are poised to embark on immersive gaming adventures, execute precise maneuvers, and conquer virtual challenges with confidence. Embrace the power of customization, and let your Logitech G402 gaming mouse become an extension of your gaming prowess, responding to your commands with precision and speed.