Introduction
Welcome to the exciting world of HoloLens! If you’re a fan of augmented reality and immersive experiences, you’re in for a treat. HoloLens is a cutting-edge device developed by Microsoft that brings holograms to life, blending them seamlessly into your real-world environment. With its advanced technology, HoloLens opens up a whole new realm of possibilities for gaming, education, design, and much more.
But did you know that you can take your HoloLens experience to the next level by connecting multiple devices together? This allows you to create a shared augmented reality experience with friends and colleagues. Imagine collaborating on a virtual project or engaging in a thrilling multiplayer game, all within the same holographic space. Connecting multiple HoloLens devices opens up a world of possibilities for social interaction and teamwork.
In this article, we will walk you through the step-by-step process of connecting multiple HoloLens devices together. Whether you’re a developer looking to create a multiplayer application or simply a group of friends wanting to explore the wonders of shared holographic experiences, this guide has got you covered.
To successfully connect multiple HoloLens devices, you’ll need to follow a series of steps including device setup, configuration, network connection, and syncing. Don’t worry, we’ll explain each step in detail, making it easy for you to get started.
So, grab your HoloLens devices and let’s embark on this exciting journey of connecting multiple HoloLens together. Get ready to step into a world where virtual and reality converge, and where collaboration and imagination have no limits.
What is HoloLens?
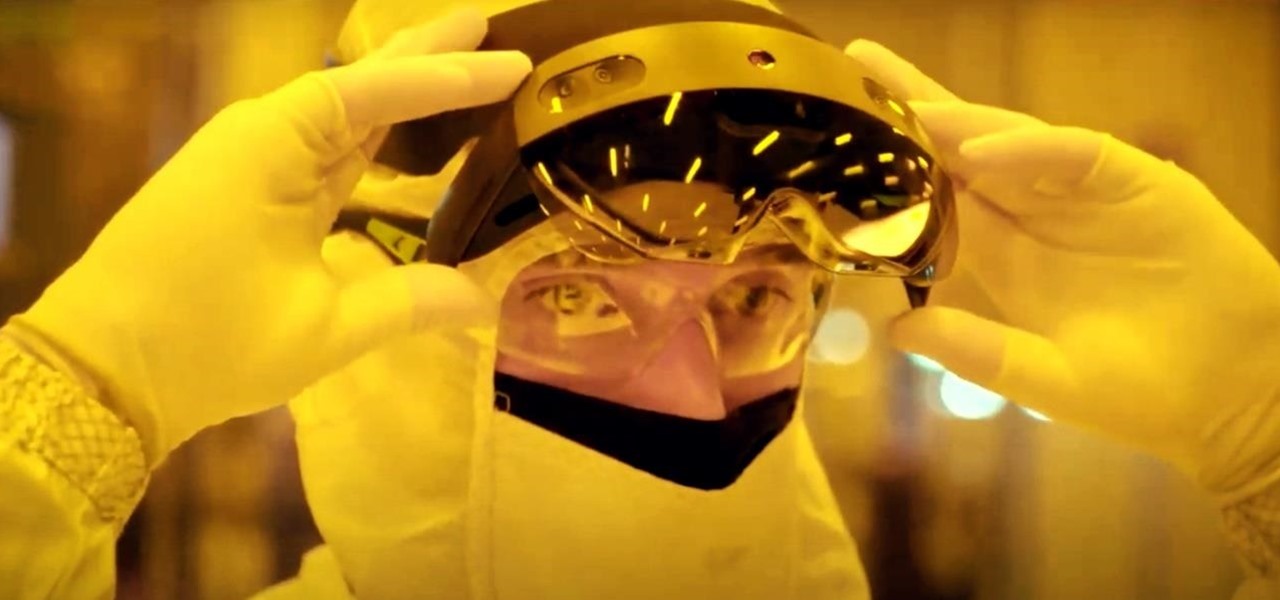
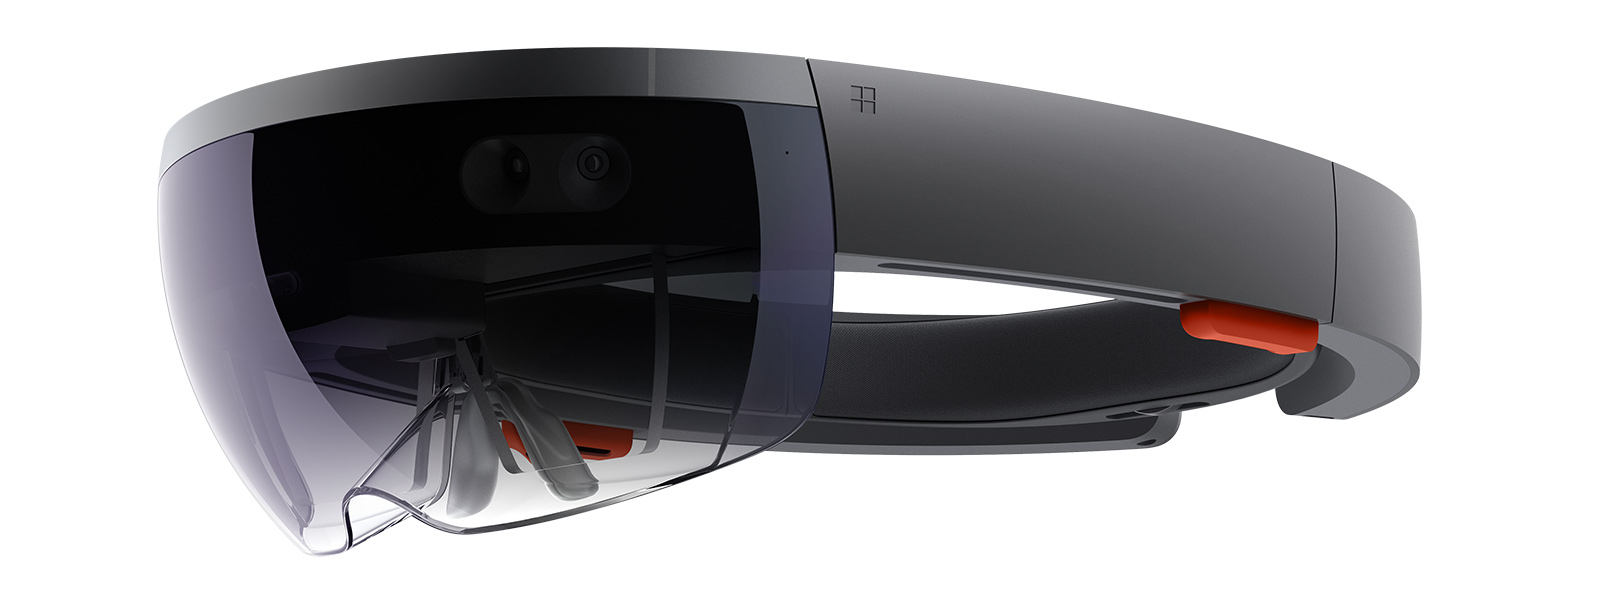
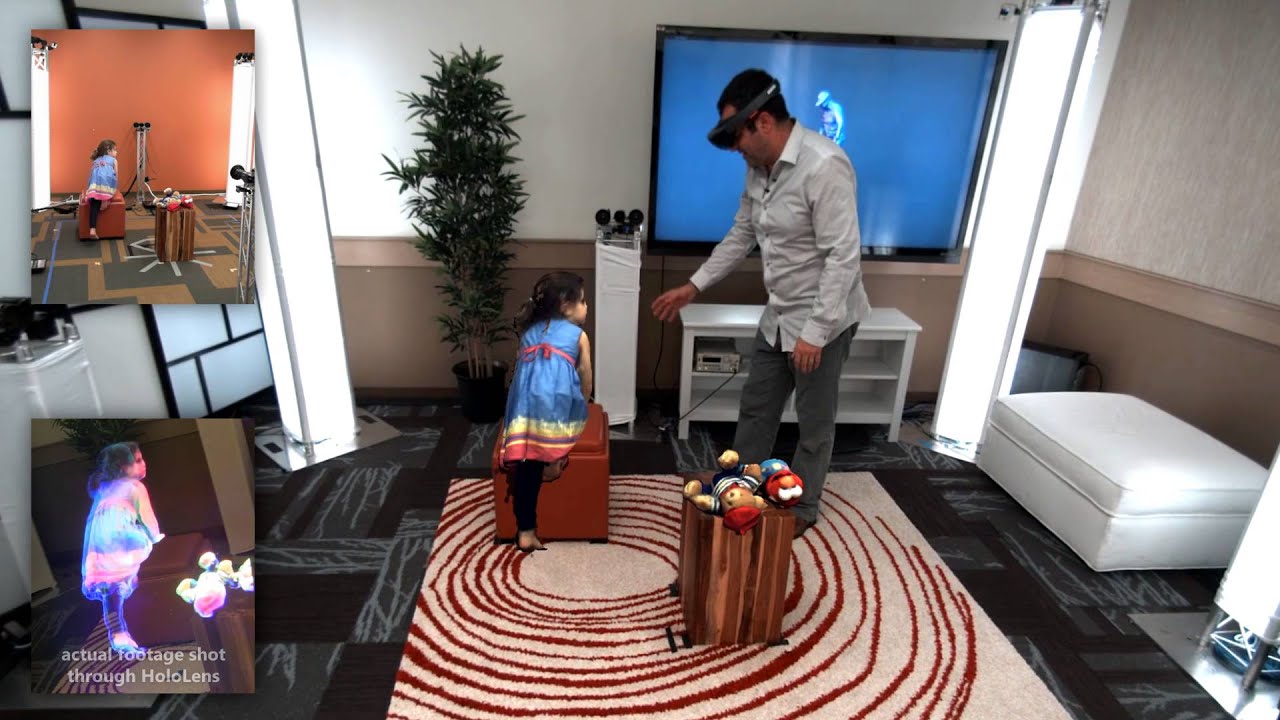
HoloLens is a revolutionary device developed and released by Microsoft that combines augmented reality (AR) with wearable technology. It allows users to see and interact with holograms in their real-world environment, creating a truly immersive mixed reality experience.
Unlike virtual reality (VR) devices that completely replace the real world with a digital one, HoloLens adds virtual elements to your existing surroundings. By wearing the HoloLens headset, the holographic images are projected onto the lenses, seamlessly integrating them into your field of view.
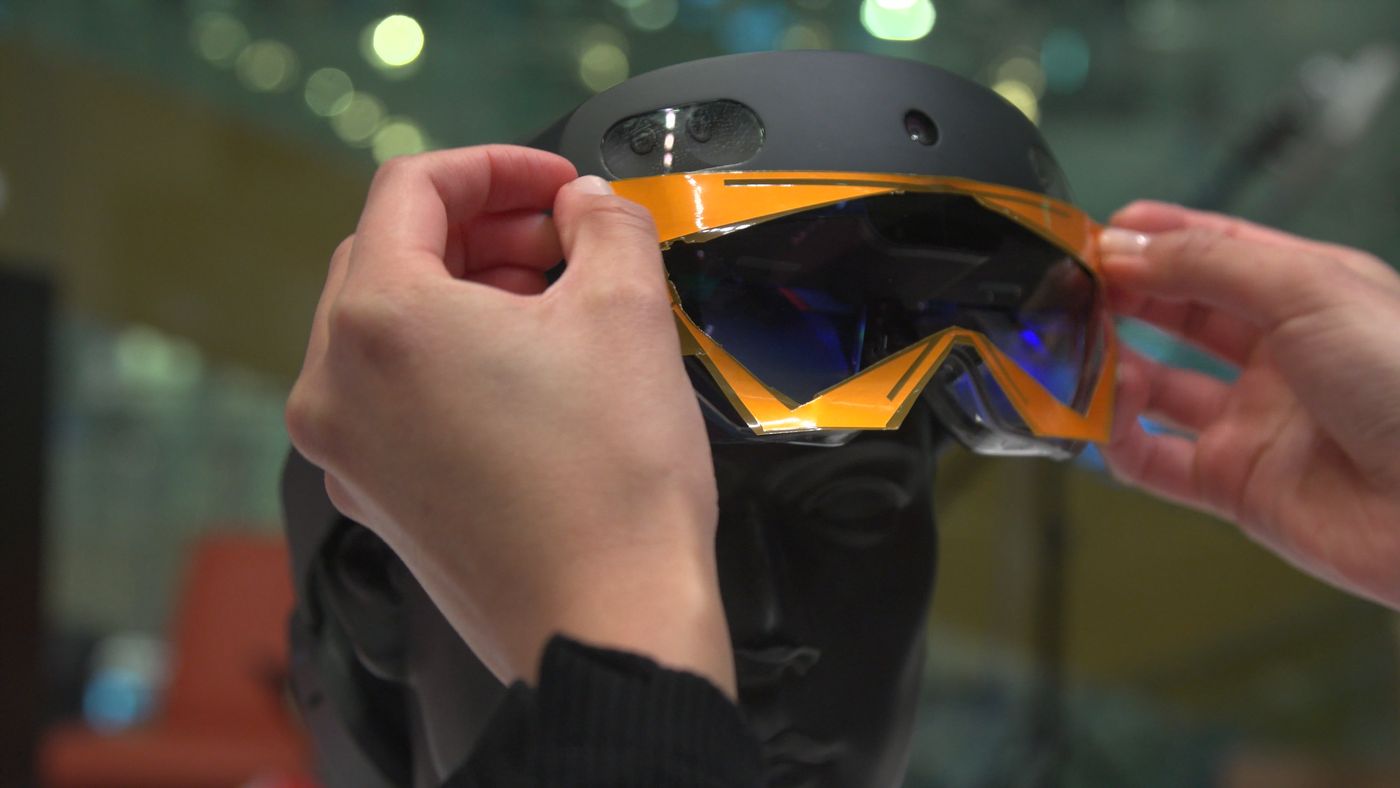
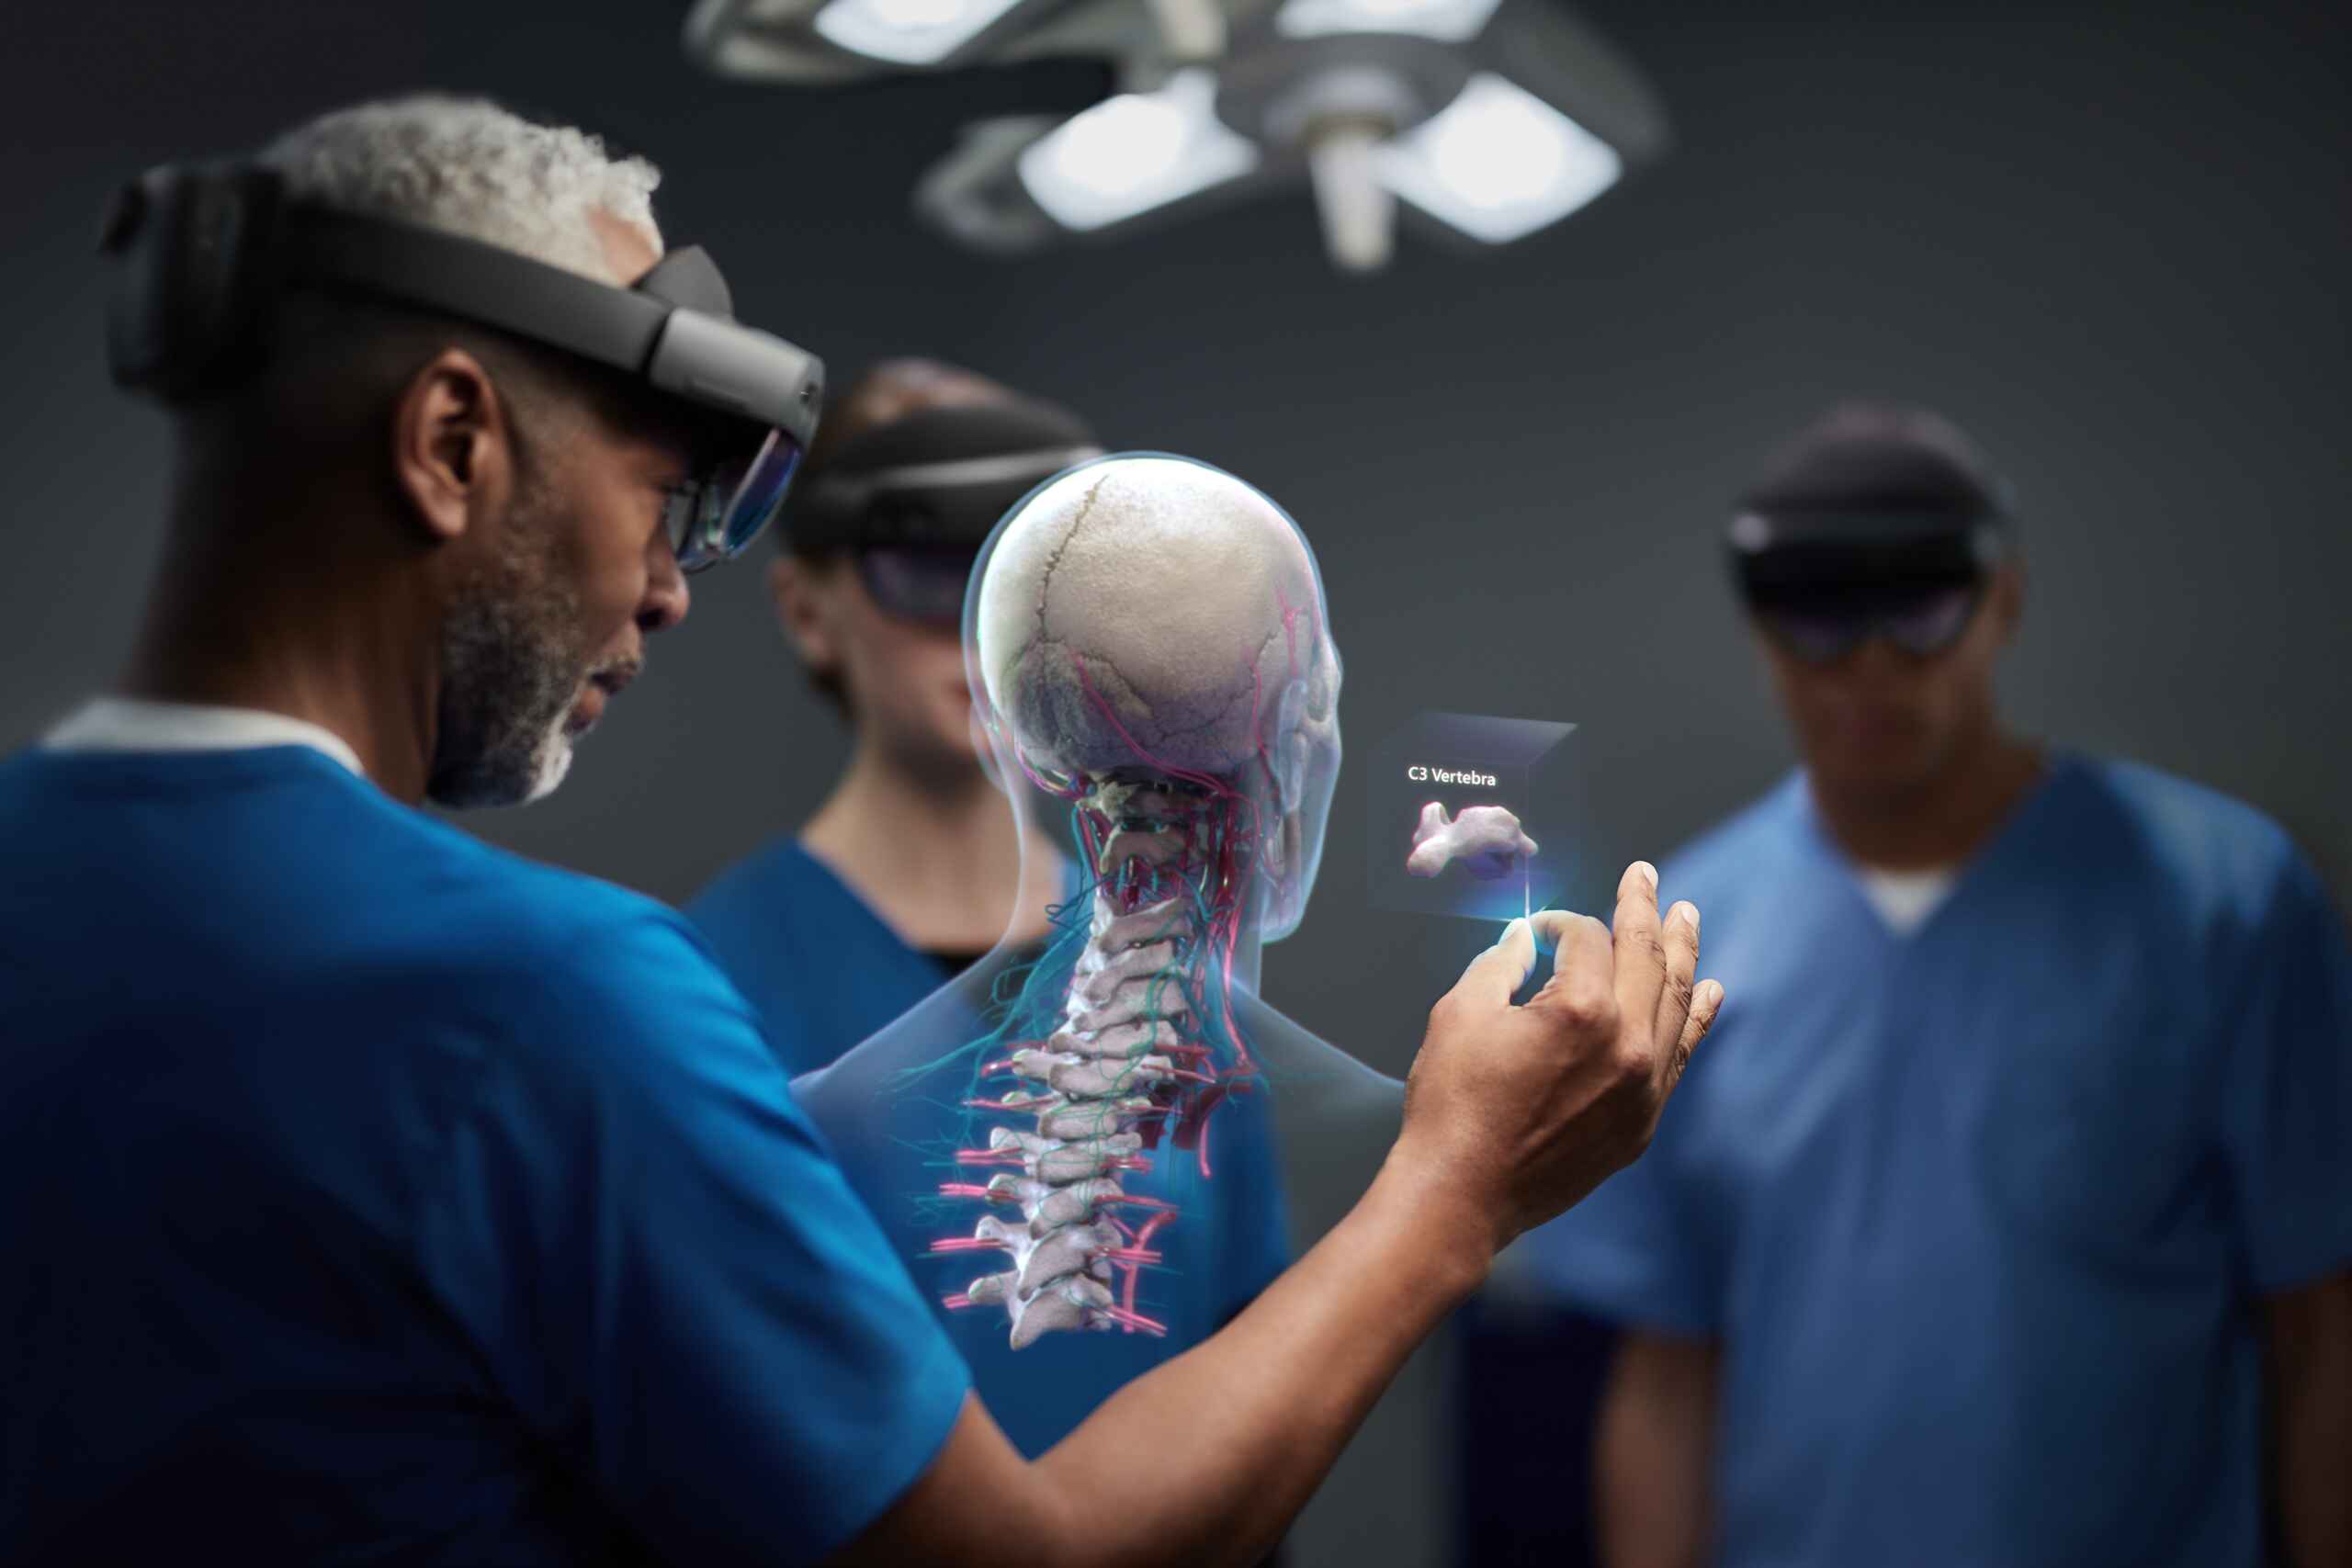
The HoloLens device is equipped with a variety of sensors, including cameras, depth sensors, and spatial sound, enabling it to understand and map the environment around you. This allows for precise tracking and interaction with holograms, making them appear as if they exist in the real world.
One of the most remarkable features of HoloLens is its ability to create spatial sound. This means that when you hear a hologram’s audio, it will appear to be coming from its virtual location within your environment. This enhances the realism and creates a more immersive experience.
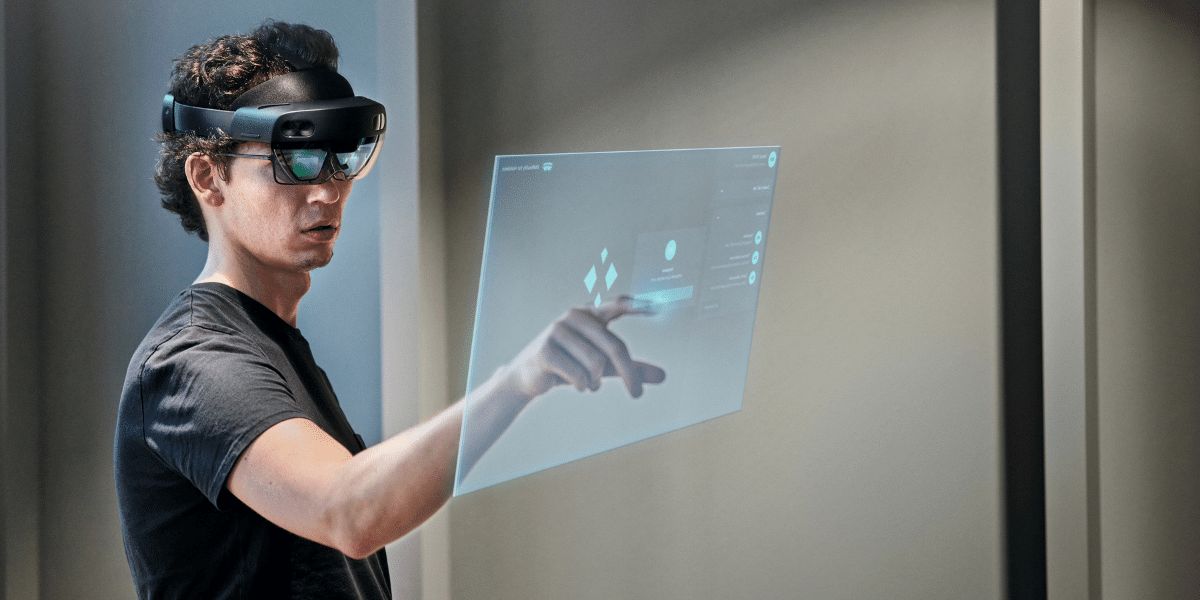
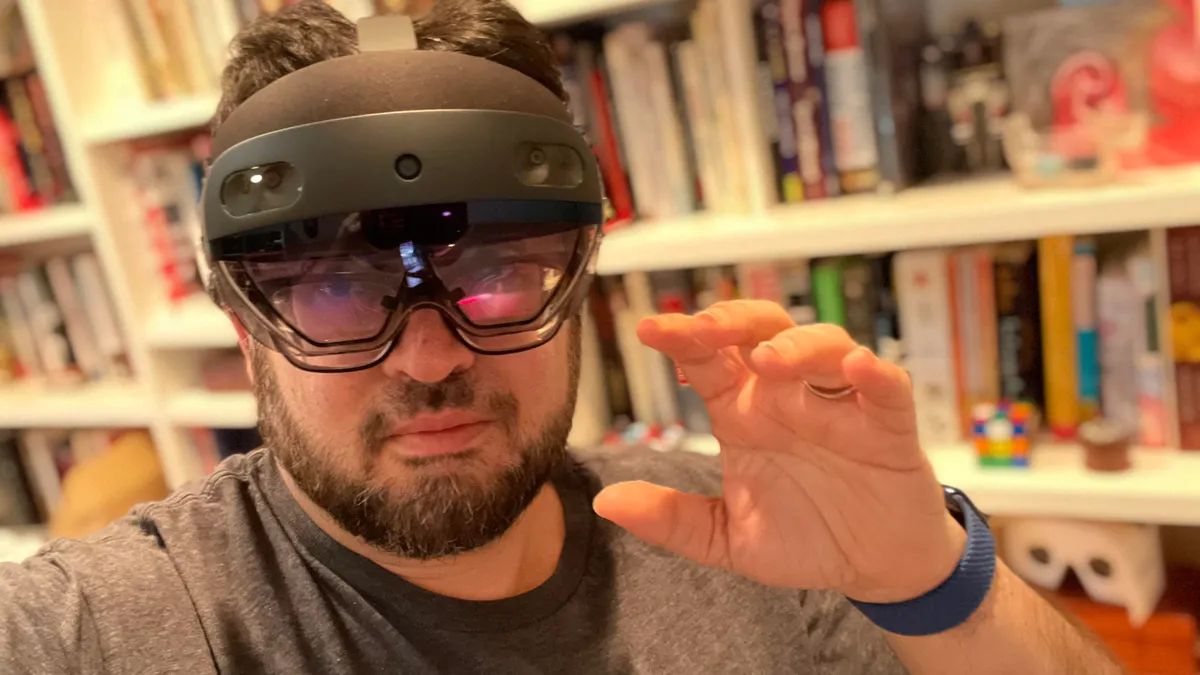
HoloLens also comes with advanced gesture recognition and voice commands, allowing users to interact with holographic objects in a natural and intuitive way. You can navigate through menus, manipulate objects, and even control virtual characters using simple gestures or voice instructions.
With its powerful hardware and software capabilities, HoloLens opens up a world of possibilities across various industries. It has applications in gaming, education, design, architecture, healthcare, and more. Developers can create their own holographic applications using the Windows Mixed Reality platform, bringing their visions to life in ways never before imagined.
Whether you’re exploring distant galaxies, learning complex anatomical structures, or designing virtual prototypes, HoloLens provides a unique and immersive experience that can revolutionize the way we interact with technology.
Now that you understand the basics of what HoloLens is, let’s dive deeper into how you can connect multiple devices together to create a shared holographic experience.
Why Connect Multiple HoloLens Together?
Connecting multiple HoloLens devices together offers a range of exciting benefits and opportunities for both individuals and groups. Here are some compelling reasons why you should consider connecting multiple HoloLens devices:
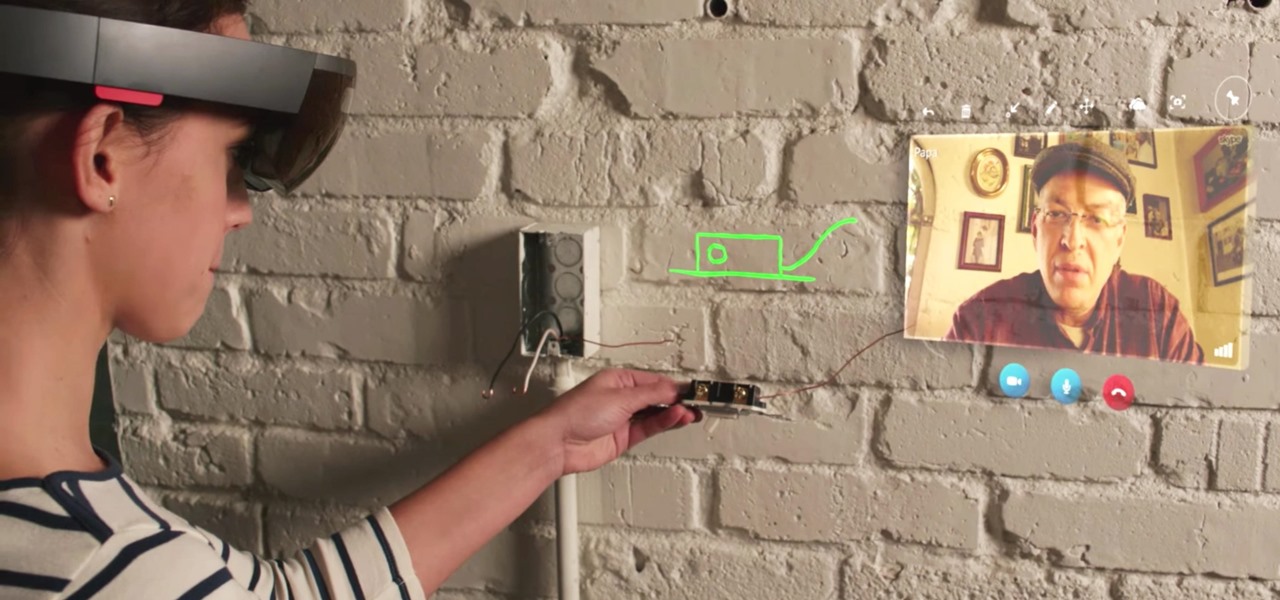
- Enhanced Collaboration: By connecting multiple HoloLens devices, you can enable real-time collaboration in a shared augmented reality space. This means that users can work together on projects, designs, or presentations, regardless of their physical locations. It opens up possibilities for remote collaboration and eliminates the limitations of physical distance.
- Social Gaming Experiences: Multiplayer gaming takes on a whole new level of excitement with connected HoloLens devices. Imagine battling virtual foes or solving puzzles as a team, all within a shared augmented reality environment. Whether you’re a casual gamer or a serious enthusiast, connecting multiple HoloLens devices enables engaging and immersive gaming experiences that blur the line between the virtual and real world.
- Education and Training: Connecting HoloLens devices can revolutionize the way we learn and train. In an educational setting, teachers and students can collaborate on virtual lessons, conduct virtual labs, and explore interactive simulations together. This creates a more engaging and interactive learning experience that can improve retention and understanding. In industries like healthcare or engineering, connecting HoloLens devices can facilitate remote training sessions, allowing experts to guide trainees through complex procedures or scenarios.
- Design and Visualization: Connecting multiple HoloLens devices enables architects, engineers, and designers to collaborate on virtual designs and visualizations. Teams can collectively review and modify 3D models, walk through virtual spaces, and provide real-time feedback. This enhances the design process, making it more efficient and collaborative.
- Social Interaction: Connecting HoloLens devices allows for shared social experiences in an augmented reality environment. Friends and family can gather virtually in a shared space to celebrate occasions, play games, or simply have conversations, regardless of physical location. It brings people together and fosters a sense of presence and connection.
These are just a few examples of the potential opportunities and benefits of connecting multiple HoloLens devices. By creating a shared holographic experience, you can unlock new possibilities for collaboration, gaming, education, design, and social interaction. Now, let’s move on to the step-by-step process of connecting multiple HoloLens devices together.
Step 1: Setting up your HoloLens devices
Before you can connect multiple HoloLens devices together, you need to make sure that each device is properly set up and ready for use. Follow these steps to ensure a smooth setup process:
- Unboxing and Charging: Start by unboxing each HoloLens device and ensuring they are fully charged. The devices come with a charger and cable, so connect each device to its respective charger and let them charge until they reach full battery capacity.
- Putting on the Headset: Once your HoloLens devices are charged, put on the headset and adjust the straps to ensure a secure and comfortable fit. Make sure that the lenses are clean and free from any smudges or dirt for optimal visibility.
- Calibrating the Device: Turn on each HoloLens device and follow the on-screen instructions to calibrate it. This process involves setting up the device’s spatial mapping and understanding the environment. Make sure to follow the prompts and move your head and gaze around the room to help the device map the space accurately.
- Creating User Accounts: Each HoloLens device requires a Microsoft account to be associated with it. Create individual user accounts for each device, or use existing accounts if multiple users will be using the same device. This will ensure personalized experiences and access to specific settings and applications.
- Updating the Software: Check for any available software updates for your HoloLens devices and install them. Keeping the software up to date ensures that you have access to the latest features, improvements, and bug fixes.
- Testing Functionality: Once the setup and updates are complete, test the basic functionality of each device. Make sure that holograms are properly displayed, voice commands are recognized, and gestures are tracked accurately. If any issues arise, troubleshoot them based on the device’s support documentation.
By following these steps, you will ensure that each of your HoloLens devices is ready to be connected and used in a shared augmented reality experience. With the devices set up, we can now move on to configuring the devices for multiplayer mode.
Step 2: Configuring the devices for multiplayer mode
In order to connect multiple HoloLens devices together, you need to configure them for multiplayer mode. This involves adjusting the settings and enabling the necessary features to enable seamless collaboration and communication. Follow these steps to configure your HoloLens devices:
- Enable Sharing: On each HoloLens device, go to the settings menu and enable the sharing feature. This allows the devices to discover and connect with each other within the same network.
- Enable Multiplayer Mode: Next, navigate to the Microsoft Store on each device and search for the “HoloLens Sharing Service” app. Download and install this app on all the devices that you want to connect together. This app allows the HoloLens devices to synchronize and share holographic data.
- Pair the Devices: Once the sharing app is installed, open it on each device and follow the prompts to pair the devices together. This may involve scanning a QR code or entering a code displayed on one of the devices. Ensure that all devices are successfully paired with each other.
- Configure Permissions: Grant the necessary permissions for the sharing app to access the camera, spatial mapping, and network on each device. These permissions are vital for the devices to communicate and synchronize holographic content effectively.
- Set User Permissions: If multiple users will be using the devices, configure the user permissions within the sharing app. Assign roles and permissions to each user, such as granting admin access or controlling content creation and manipulation.
- Test Multiplayer Functionality: To ensure that the multiplayer configuration is successful, test the functionality by creating a simple shared experience. For example, place a hologram on one device and check if it appears on the other connected devices. This will confirm that the devices are properly configured for multiplayer mode.
By following these steps, you will successfully configure your HoloLens devices for multiplayer mode. Now that the devices are configured, the next step is to establish a network connection between them.
Step 3: Establishing a network connection
Now that your HoloLens devices are configured for multiplayer mode, it’s time to establish a network connection between them. This will enable seamless communication and synchronization of holographic content. Follow these steps to establish a network connection:
- Connect to the same Wi-Fi network: Ensure that all the HoloLens devices are connected to the same Wi-Fi network. This is crucial for them to discover and communicate with each other.
- Check network settings: Go to the settings menu on each HoloLens device and verify that the network settings are correctly configured. Make sure that the devices have a stable internet connection, as this is necessary for content synchronization and real-time communication.
- Verify network firewall settings: If you are using HoloLens devices in a corporate or enterprise environment, check with your IT department to ensure that the network firewall allows the devices to communicate with each other. Adjust the firewall settings if necessary to enable communication between the devices.
- Connect devices to a hub or router: If you’re using multiple HoloLens devices in a local area network, connect all the devices to a router or hub. This will create a local network that allows the devices to communicate with each other directly. Follow the manufacturer’s instructions to set up the hub or router if needed.
- Set up a Mobile Hotspot: If you’re in a situation where a Wi-Fi network is not available, you can create a mobile hotspot using a smartphone or tablet. Set up the hotspot on one device and connect all the other HoloLens devices to that hotspot. This way, the devices will be on the same network and able to communicate with each other.
By establishing a network connection between your HoloLens devices, you create the foundation for seamless communication and synchronization. Now, let’s move on to the next step of syncing the devices together.
Step 4: Syncing the devices
After establishing a network connection between your HoloLens devices, the next step is to sync them together. This ensures that the holographic content is shared and displayed consistently across all the connected devices. Follow these steps to sync your HoloLens devices:
- Launch the Sharing Service: On each HoloLens device, open the HoloLens Sharing Service app that you previously installed. This app is responsible for synchronizing the holographic data between the devices.
- Create a room: Choose one device to serve as the host device and create a “room” within the Sharing Service app. This room acts as a shared space where the holographic content will be synced between the devices.
- Join the room: On the other devices, join the room created by the host device using the Sharing Service app. This will establish a connection between all the devices and allow them to exchange holographic data.
- Position the devices: Position the HoloLens devices within the physical environment, ensuring that they have a clear line of sight to each other. This will enable accurate and seamless synchronization of holograms between the devices.
- Place and manipulate holographic content: Start placing and manipulating holographic content within the shared room. As you interact with the holograms on one device, the changes will be reflected on all the connected devices. This allows for collaborative interaction and synchronization of the virtual world.
- Monitor synchronization: Keep an eye on the synchronization process to ensure that all the devices are displaying the holographic content correctly and in real-time. If there are any issues with synchronization, you may need to adjust the network connection or troubleshoot the devices’ settings.
By following these steps, you will successfully sync your HoloLens devices together, allowing for a shared holographic experience. Now, let’s move on to the final step of testing the connection to ensure everything is working as expected.
Step 5: Testing the connection
Once you have completed the previous steps of setting up, configuring, establishing a network connection, and syncing your HoloLens devices, it’s crucial to test the connection to ensure that everything is working as expected. Testing the connection allows you to identify any potential issues and make adjustments if needed. Follow these steps to test the connection:
- Place a hologram: Start by placing a hologram within the shared room. It can be a simple object or a more complex holographic representation. Ensure that the hologram is visible on all the connected HoloLens devices.
- Interact with the hologram: On one device, interact with the hologram by manipulating, moving, or resizing it. Check if the changes are mirrored in real-time on the other devices. This will confirm that the devices are synchronized and that the connection is working properly.
- Collaborate and share content: Encourage all the users to interact with the hologram, either individually or in a collaborative manner. Share ideas, communicate, and observe how the changes made by one user are reflected across all the devices. This will demonstrate the effectiveness of the connection and the ability to collaborate in real-time.
- Test communication features: Experiment with the communication features of the HoloLens devices, such as voice commands, sharing annotations, or using gaze gestures. Ensure that these features are functioning correctly and that communication between users is seamless.
- Monitor performance: Pay attention to the performance of the connected HoloLens devices during the testing process. Check if there are any lag or latency issues, and address them if necessary. Smooth and responsive performance is essential for a quality shared holographic experience.
By thoroughly testing the connection between your HoloLens devices, you can ensure that everything is functioning properly and that users can collaborate and interact seamlessly within the shared holographic environment. If any issues arise during testing, refer to the troubleshooting resources provided by Microsoft or seek assistance from the HoloLens community.
Congratulations! You have successfully connected and tested multiple HoloLens devices, allowing for an immersive shared augmented reality experience. Now, you can unleash your creativity, explore endless possibilities, and engage in collaborative holographic adventures with others.
Conclusion
Connecting multiple HoloLens devices together opens up a world of possibilities for collaboration, gaming, education, design, and social interaction. By following the step-by-step process outlined in this guide, you can create a shared holographic experience that transcends the boundaries of physical space.
From setting up your HoloLens devices and configuring them for multiplayer mode, to establishing a network connection and syncing the devices, each step is essential to ensure a seamless and immersive shared experience.
By connecting multiple HoloLens devices, you can collaborate with others in real-time, extending the capabilities of augmented reality beyond individual interactions. Whether you’re working on a virtual project, engaging in a thrilling multiplayer game, or exploring educational simulations, the shared holographic experience brings people together in a whole new way.
Throughout this process, it is crucial to monitor the performance and test the connection to ensure optimal functionality and synchronization between the devices. By troubleshooting any issues that may arise and fine-tuning the settings, you can create an immersive and seamless shared holographic environment.
Now, armed with the knowledge and understanding of how to connect multiple HoloLens devices, it’s time to unleash your creativity and explore the vast potential of shared augmented reality. Collaborate, communicate, and immerse yourself in a world where the virtual and real intertwine. The possibilities are endless, and the adventure awaits.