Introduction
Understanding the Basics of DSLR Cameras for YouTube Content Creation
So you've decided to step up your YouTube game and create professional-quality videos. One of the most important tools in your arsenal is a DSLR camera. These versatile cameras offer high-quality video recording capabilities, allowing you to capture stunning visuals and create engaging content for your audience. However, using a DSLR camera for YouTube requires more than just pressing the record button. It involves understanding the technical aspects of the camera, mastering various settings, and employing creative techniques to produce compelling videos.
In this comprehensive guide, we will delve into the intricacies of using a DSLR camera for YouTube video production. From choosing the right camera to mastering composition techniques, we will cover everything you need to know to elevate the quality of your content. Whether you're a beginner looking to upgrade your equipment or a seasoned YouTuber aiming to enhance your video production skills, this guide is designed to provide valuable insights and practical tips to help you make the most of your DSLR camera.
Creating captivating YouTube videos with a DSLR camera is an art form that requires a combination of technical knowledge and creative vision. By mastering the fundamentals of DSLR videography and leveraging the capabilities of your camera, you can elevate the quality of your content and captivate your audience. So, let's embark on this journey to unlock the potential of DSLR cameras for YouTube video creation and take your content to new heights.
Choosing the Right DSLR Camera
Selecting the Perfect Tool for Your YouTube Video Production
When it comes to choosing a DSLR camera for YouTube video production, the options can be overwhelming. With a plethora of models available in the market, each boasting unique features and capabilities, it’s essential to narrow down your choices based on your specific needs and budget.
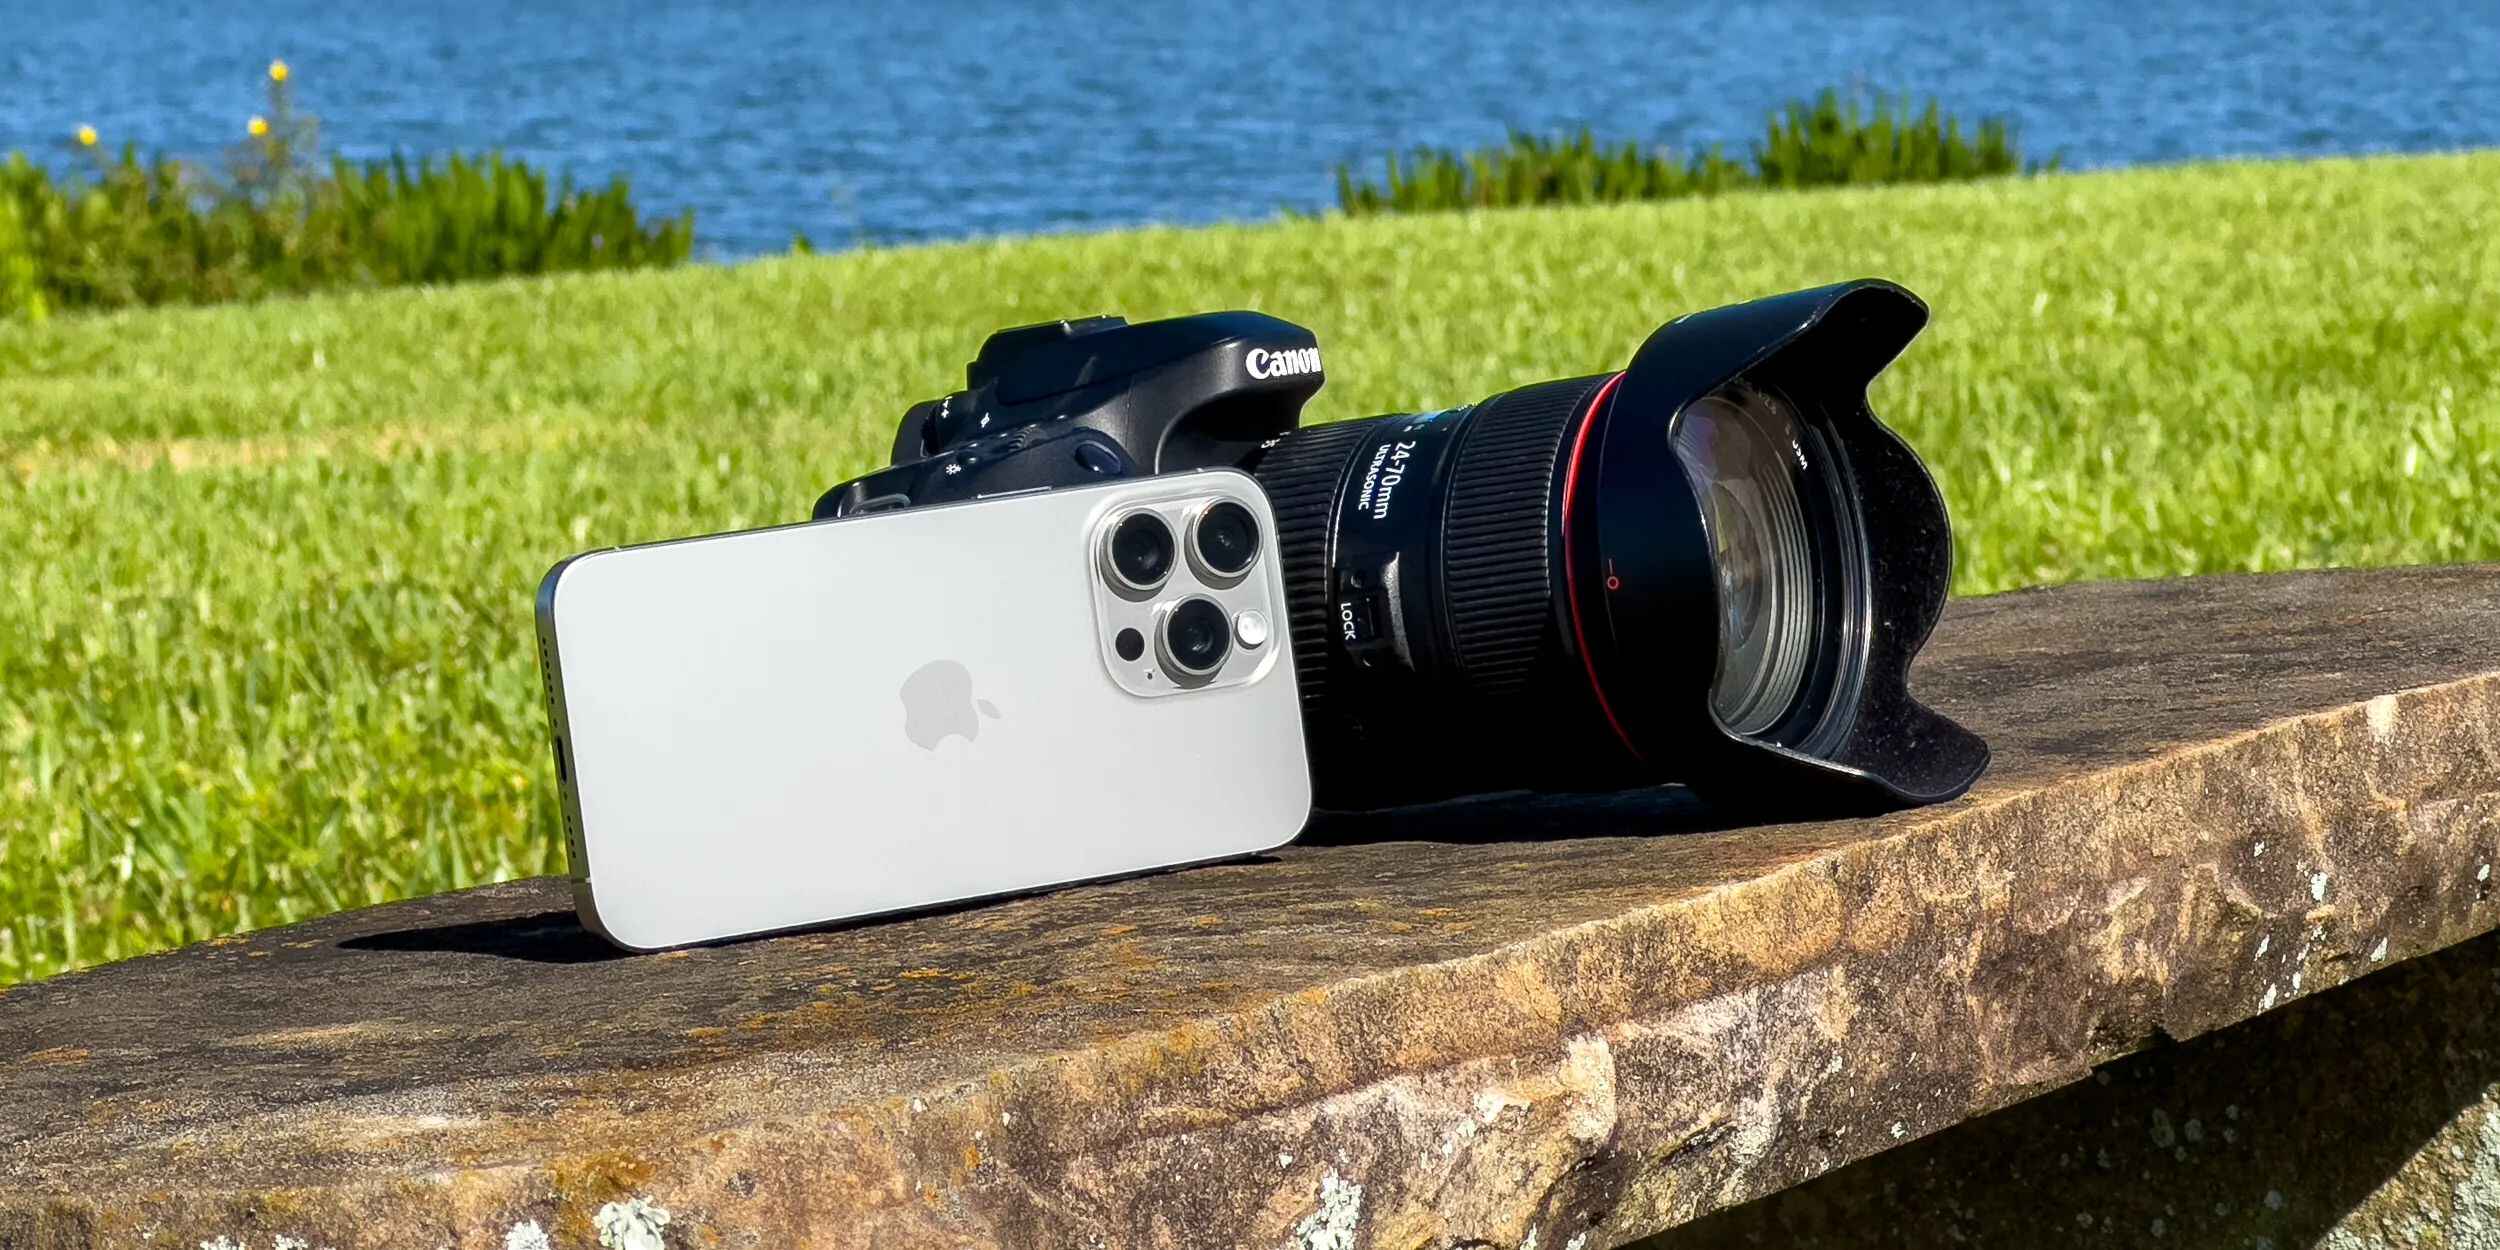
First and foremost, consider the type of content you plan to create. If you’re focusing on vlogs or sit-down videos, a lightweight and portable camera like the Canon EOS Rebel T7i or the Sony Alpha a6400 might be suitable. These cameras offer excellent autofocus capabilities and flip-out screens, making them ideal for solo content creators.
For cinematic and visually immersive videos, you may want to explore higher-end models such as the Canon EOS 5D Mark IV or the Sony A7 III. These cameras deliver exceptional image quality, low-light performance, and extensive lens options, allowing you to achieve professional-grade visuals for your YouTube channel.
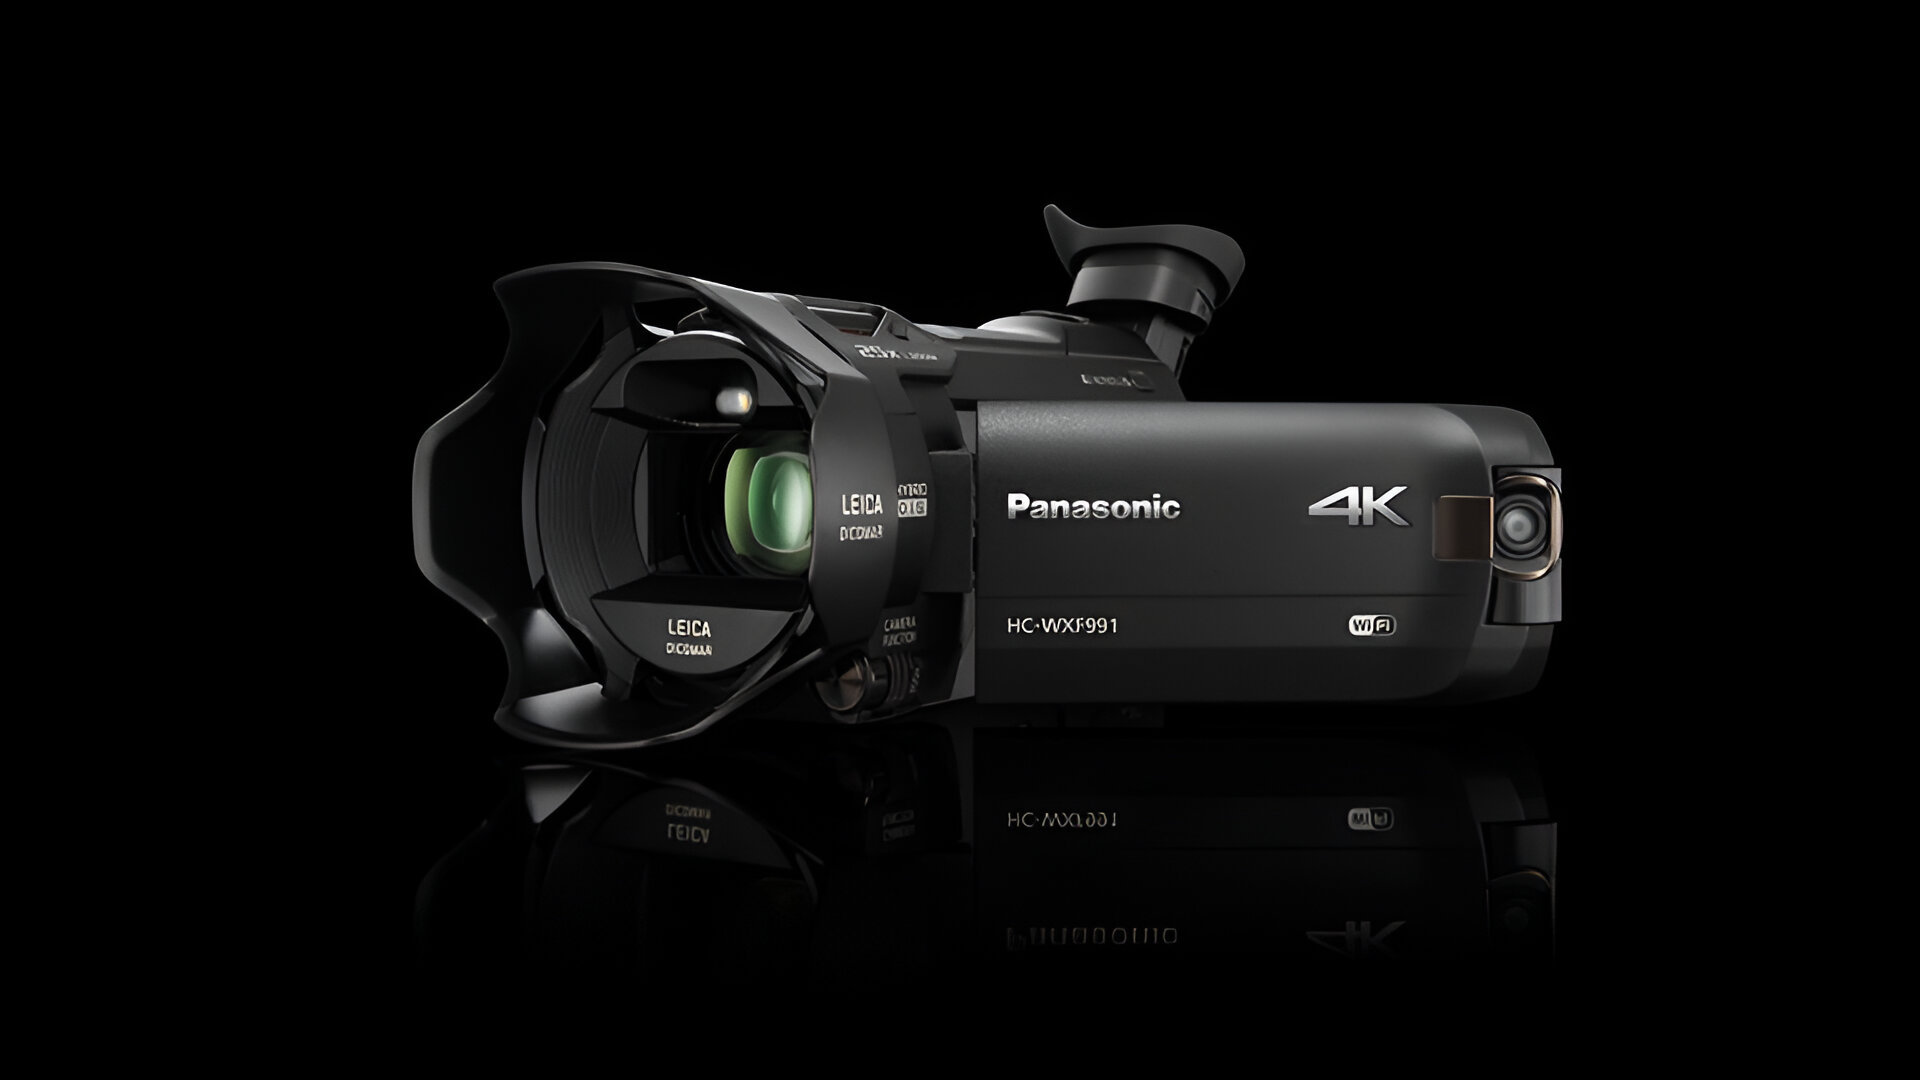
Another critical factor to consider is the camera’s video recording capabilities. Look for features such as 4K recording, high frame rates for slow-motion capture, and in-body stabilization, which can significantly enhance the production value of your videos. Additionally, assess the camera’s audio input options, as clear and high-quality sound is paramount for engaging content.
Budget is also a determining factor in your camera selection process. While high-end DSLR cameras offer unmatched performance and versatility, there are budget-friendly options that can deliver impressive results for YouTube content creation. The Canon EOS Rebel T7, Nikon D3500, and Panasonic Lumix G7 are excellent entry-level DSLR cameras that provide a solid foundation for aspiring YouTubers.
Ultimately, the right DSLR camera for your YouTube channel is the one that aligns with your content goals, complements your shooting style, and fits within your budget constraints. By carefully evaluating your requirements and researching the available options, you can make an informed decision and invest in a camera that empowers you to bring your creative vision to life.
Understanding the Basics of DSLR Camera Settings
Mastering the Key Parameters for Optimal Video Quality
Before embarking on your YouTube video production journey with a DSLR camera, it’s crucial to familiarize yourself with the fundamental camera settings that directly impact the quality and visual appeal of your footage. Understanding these settings will enable you to harness the full potential of your camera and elevate the production value of your videos.
One of the primary settings to master is the aperture, which controls the amount of light entering the camera and influences the depth of field. For cinematic shots with a blurred background, a wide aperture (represented by a lower f-stop number) is desirable, while a narrow aperture (higher f-stop number) is suitable for capturing sharp details in landscapes or product shots.
Shutter speed is another critical parameter that determines the exposure time of each frame. When recording videos, maintaining the shutter speed at double the frame rate (e.g., 1/50 for 24fps) is a common practice to achieve natural motion blur. However, adjusting the shutter speed can also be used creatively to convey a sense of urgency or capture dynamic action sequences.
Understanding ISO sensitivity is essential for adapting to different lighting conditions. While a lower ISO setting preserves image quality in well-lit environments, increasing the ISO becomes necessary in low-light situations. However, higher ISO values may introduce digital noise, so finding the optimal balance between exposure and noise levels is crucial for achieving clean and visually appealing footage.
White balance, often overlooked but equally vital, ensures accurate color representation in your videos. Different lighting conditions, such as natural daylight, artificial indoor lighting, or mixed light sources, require specific white balance adjustments to maintain natural colors and avoid color casts that can detract from the visual integrity of your content.
Additionally, familiarize yourself with the camera’s picture profiles and color settings to tailor the look of your footage. Customizing these settings allows you to achieve a distinct visual style and ensures consistency across your videos, reinforcing your brand identity and enhancing viewer engagement.
By mastering these fundamental DSLR camera settings, you can exercise greater creative control over your videos, adapt to diverse shooting environments, and deliver visually captivating content that resonates with your audience. Embrace the learning process, experiment with different settings, and unleash the potential of your DSLR camera to craft compelling visual narratives for your YouTube channel.
Setting up Your DSLR Camera for Video Recording
Optimizing Your Camera’s Configuration for Seamless Video Capture
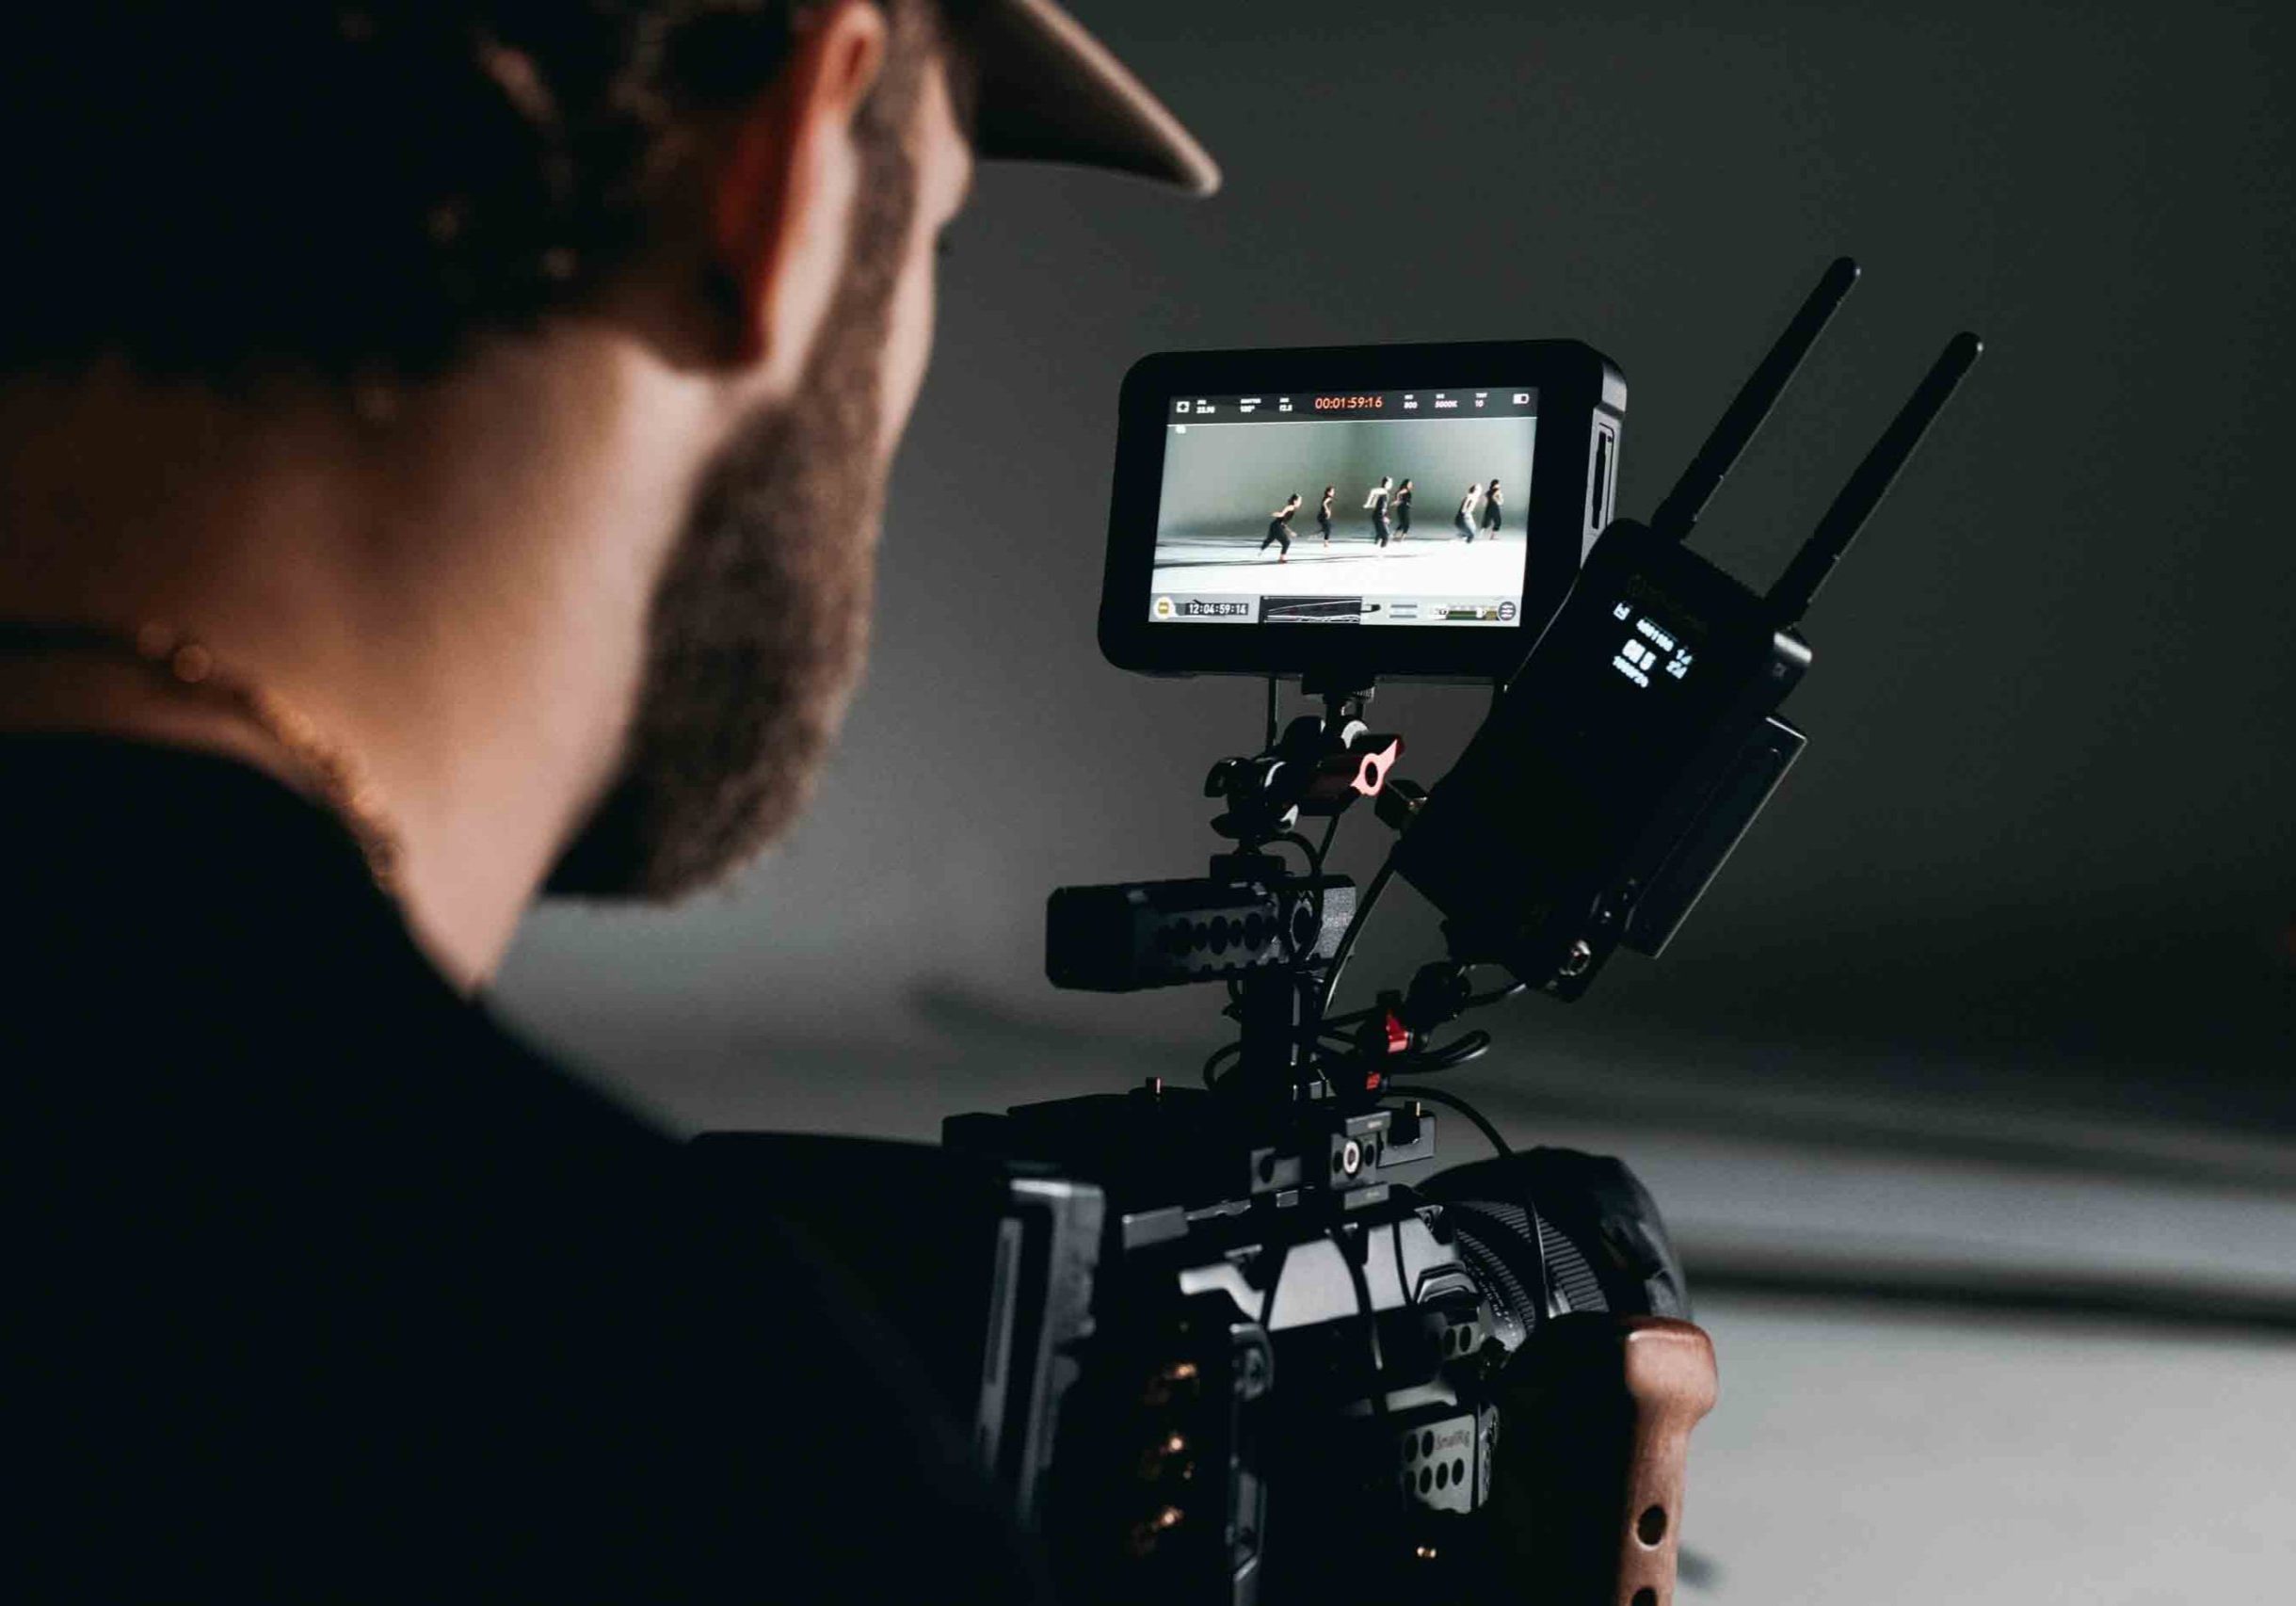
As you prepare to embark on your YouTube video recording journey with a DSLR camera, it’s essential to configure your camera settings to ensure optimal performance and seamless video capture. By fine-tuning various parameters and implementing best practices, you can elevate the quality of your footage and streamline the recording process.
First and foremost, set the video resolution and frame rate according to your content requirements. While 1080p at 24fps is a standard choice for cinematic visuals, higher resolutions such as 4K offer greater detail and flexibility in post-production. Consider the visual aesthetic you aim to achieve and the capabilities of your editing system when selecting the resolution and frame rate for your videos.
Next, enable manual exposure control to have precise command over the aperture, shutter speed, and ISO settings. Manual exposure allows you to adapt to changing lighting conditions and maintain consistent exposure throughout your recordings, resulting in visually balanced and professional-looking footage.
Utilize manual focus to ensure critical sharpness and control over the focal point of your shots. While autofocus can be convenient in certain scenarios, manual focus provides greater accuracy and creative freedom, particularly when executing complex camera movements or capturing subjects with specific depth-of-field requirements.
Activating the camera’s audio monitoring features, such as headphone monitoring and audio level meters, is crucial for capturing high-quality sound. Monitoring audio levels in real-time allows you to detect and address any issues, ensuring that your audio recordings are clear, balanced, and free from unwanted distortions or background noise.
Consider utilizing external accessories to enhance your video recording capabilities. Attach a sturdy tripod or a gimbal stabilizer to achieve smooth and steady shots, especially during dynamic movements or vlogging scenarios. Additionally, invest in a quality external microphone to capture clear and immersive audio, significantly enhancing the overall production value of your videos.
Lastly, take advantage of custom presets and user settings to streamline your workflow. By creating and saving custom configurations tailored to specific shooting scenarios, you can expedite the setup process and maintain consistency across your video productions, ultimately maximizing your efficiency and creative output.
By meticulously setting up your DSLR camera for video recording, you can establish a solid foundation for capturing compelling and visually stunning content for your YouTube channel. Embrace the technical aspects of camera configuration while allowing room for creative experimentation, and you’ll be well-equipped to produce captivating videos that resonate with your audience.
Using Different Lenses for Different Effects
Unlocking Creative Possibilities with Versatile Lens Options
One of the most powerful tools at your disposal as a DSLR videographer is the ability to harness a diverse range of lenses to achieve distinct visual effects and convey compelling narratives through your videos. Understanding the characteristics and creative potential of various lenses empowers you to elevate the production value of your content and infuse your videos with unique visual storytelling elements.
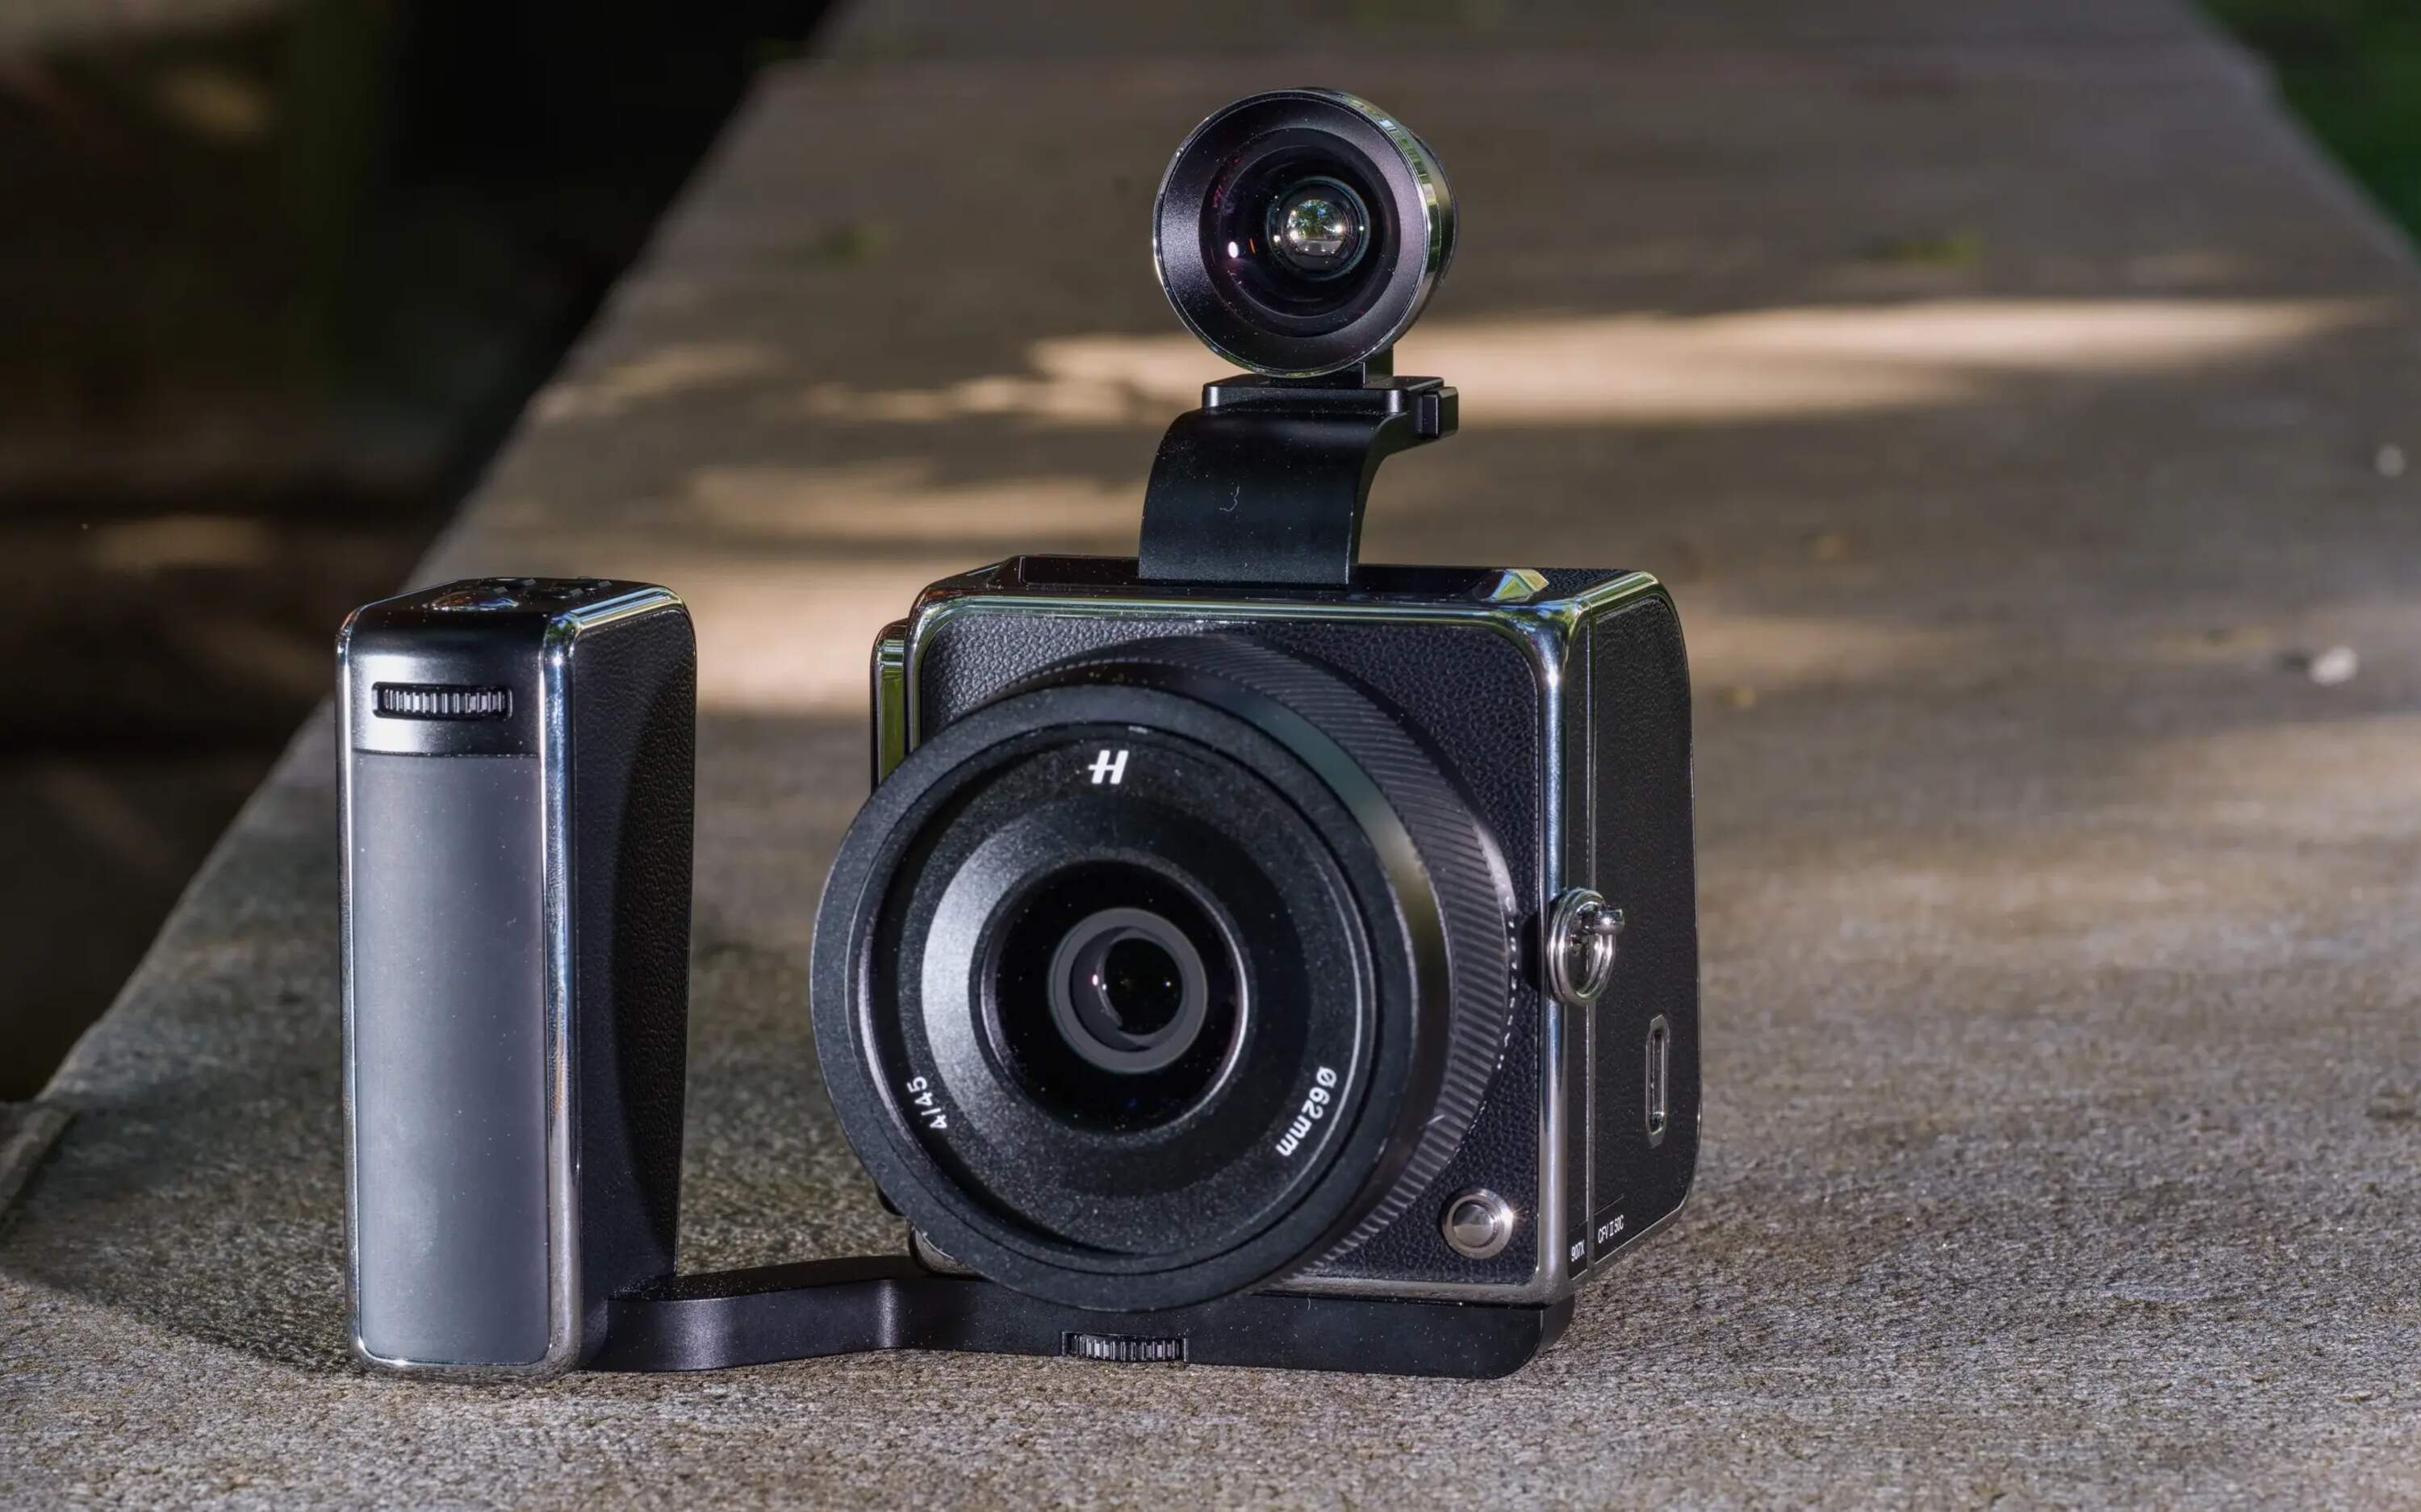
Wide-angle lenses, such as the popular 16-35mm or 10-18mm options, are ideal for capturing expansive scenes, emphasizing spatial relationships, and creating a sense of immersion for your audience. These lenses excel in vlogging, landscape cinematography, and establishing shots, allowing you to convey a broad perspective and draw viewers into the environment you’re presenting.
Standard or “nifty fifty” prime lenses, typically with a focal length of 50mm and a wide aperture, are prized for their versatility and ability to produce natural-looking perspectives. These lenses are well-suited for capturing authentic moments, conducting interviews, and achieving a cinematic shallow depth of field that isolates subjects from their surroundings, adding a touch of visual sophistication to your videos.
Telephoto lenses, such as the 70-200mm or 100-400mm options, offer a narrower field of view and powerful magnification, making them indispensable for capturing distant subjects, compressing perspectives, and isolating specific details within a scene. These lenses are valuable for wildlife videography, sports coverage, and creating visually impactful close-ups or compressed background elements in storytelling.
Macro lenses, designed for extreme close-up photography, enable you to explore intricate details, textures, and small subjects with remarkable clarity and magnification. Whether showcasing product features, capturing intricate textures in nature, or revealing the subtleties of a subject’s appearance, macro lenses add a captivating dimension to your visual storytelling repertoire.
Specialty lenses, including fisheye, tilt-shift, and anamorphic lenses, offer unconventional perspectives and distinctive optical characteristics that can infuse your videos with a creative flair. These lenses open up avenues for experimental visual storytelling, unique distortion effects, and unconventional compositions, allowing you to craft visually arresting content that stands out in the crowded digital landscape.
By leveraging the diverse capabilities of different lenses, you can expand your creative horizons, tailor your visual style to the specific needs of each video project, and imbue your content with a rich visual tapestry that captivates and resonates with your audience. Embrace the versatility of lenses as a means to express your creative vision and elevate the storytelling potential of your YouTube videos.
Lighting Tips for DSLR Video Recording
Enhancing Visual Quality and Cinematic Ambiance through Effective Lighting
Lighting plays a pivotal role in DSLR video recording, influencing the overall visual quality, mood, and storytelling impact of your footage. By mastering lighting techniques and leveraging the interplay of light and shadow, you can elevate the production value of your videos and create compelling visual narratives that captivate your audience.
First and foremost, prioritize natural light whenever possible, as it offers a soft, flattering illumination that can imbue your videos with a natural and authentic ambiance. Position your subject near windows or in outdoor settings to harness the gentle, diffused light that creates a visually appealing and cinematic look, especially for vlogs, interviews, or lifestyle content.
When working in indoor environments, invest in a versatile lighting kit that includes key lights, fill lights, and backlighting options. Soft, diffused lighting sources, such as LED panels or softboxes, can create even, flattering illumination that minimizes harsh shadows and accentuates the details of your subjects, resulting in visually pleasing and professional-looking footage.
Experiment with the placement and angle of your lights to sculpt the visual composition of your shots. Consider the principles of three-point lighting, where a key light provides the primary illumination, a fill light softens shadows, and a backlight separates the subject from the background, creating depth and dimension in your videos.
Adjust the color temperature of your lights to match the desired mood and aesthetic of your videos. Warm, golden hues evoke a cozy and inviting atmosphere, while cooler tones can convey a sense of professionalism and modernity. Understanding the emotional impact of different color temperatures allows you to tailor the visual tone of your videos to align with your content’s narrative and messaging.
Embrace the creative potential of practical lighting elements within your shooting environment. Utilize practical lights, such as desk lamps, string lights, or ambient fixtures, to add character and visual interest to your scenes, infusing them with an authentic and immersive ambiance that resonates with your audience.
Mastering the art of lighting for DSLR video recording is a continuous journey of exploration and experimentation. By honing your skills in manipulating light, understanding its impact on visual storytelling, and adapting to diverse shooting scenarios, you can craft visually captivating videos that leave a lasting impression on your viewers.
Audio Tips for DSLR Video Recording
Elevating the Sonic Experience for Engaging and Immersive Videos
While stunning visuals are essential for captivating YouTube videos, the importance of high-quality audio cannot be overstated. Clear, immersive sound enhances the overall viewing experience, drawing your audience deeper into the content and fostering a stronger connection. When recording videos with a DSLR camera, implementing effective audio techniques is paramount to ensure that your message is conveyed with clarity and impact.
Invest in an external microphone to capture superior audio quality. While DSLR cameras feature built-in microphones, external options, such as shotgun or lavalier microphones, offer improved sound isolation and fidelity, resulting in crisper and more professional audio recordings. Select a microphone that aligns with your shooting style and content needs, whether it’s capturing interviews, on-location soundscapes, or narrative dialogue.
Utilize windshields or furry covers to mitigate wind noise and outdoor disturbances. When filming in outdoor environments, wind noise can significantly degrade the audio quality, leading to distracting and unpleasant sound artifacts. By equipping your microphone with appropriate wind protection, you can maintain clear and distortion-free audio, ensuring a seamless auditory experience for your viewers.
Monitor audio levels and set appropriate gain levels to prevent overmodulation or excessively low volume. DSLR cameras often provide basic audio level meters, allowing you to monitor the strength of your audio signal. Adjust the gain settings on your camera or external audio recorder to achieve optimal levels, preventing audio clipping while ensuring that the desired sound elements are captured with sufficient volume and clarity.
Position microphones strategically to capture targeted sound sources effectively. When recording dialogue or interviews, position lavalier microphones close to the subject’s mouth to capture clear and intelligible speech. For ambient soundscapes or immersive environmental audio, experiment with microphone placement to capture the desired sonic textures and spatial dimensions, enriching the auditory backdrop of your videos.
Consider utilizing audio post-processing techniques to refine and enhance your recordings. Software tools such as equalization, noise reduction, and compression can polish your audio, removing unwanted background noise, balancing frequency ranges, and ensuring that your soundtracks are cohesive and professional. However, exercise restraint to maintain a natural and authentic sonic character that complements your visual content.
By prioritizing high-quality audio capture and implementing effective recording techniques, you can elevate the auditory dimension of your videos, creating a more immersive and engaging viewing experience for your audience. Embrace the art of sonic storytelling, and your videos will resonate with clarity and impact, leaving a lasting impression on your viewers.
Framing and Composition Techniques
Elevating Visual Storytelling Through Thoughtful Cinematic Framing
Effective framing and composition are essential elements of visual storytelling, shaping the narrative impact and emotional resonance of your videos. By mastering the art of framing and employing composition techniques, you can create visually compelling and immersive content that resonates with your audience, elevating the overall quality of your YouTube videos.
Embrace the rule of thirds to achieve balanced and visually engaging compositions. Divide your frame into a 3×3 grid, and position key elements, such as the subject’s eyes or prominent visual cues, along the intersecting points or within the grid lines. This technique creates a natural and aesthetically pleasing arrangement, drawing the viewer’s attention and fostering a sense of visual harmony within your shots.
Utilize leading lines to guide the viewer’s gaze and create a sense of depth and movement within your compositions. Incorporate elements such as roads, fences, or architectural features that naturally lead the viewer’s eyes toward the focal point of your shot, enhancing visual flow and directing attention to the most significant elements within the frame.
Experiment with varied camera angles and perspectives to infuse your videos with dynamic visual storytelling. Low-angle shots can convey a sense of empowerment or dominance, while high-angle shots offer a unique vantage point and can evoke feelings of vulnerability or diminishment. By exploring diverse camera angles, you can imbue your videos with nuanced emotional tones and enrich the visual narrative.
Pay attention to the use of negative space to create evocative and visually arresting compositions. Embracing empty or minimally occupied areas within the frame can evoke a sense of isolation, contemplation, or emphasize the significance of the subject, adding depth and emotional resonance to your visual storytelling.
Implement the concept of depth of field to add visual interest and dimension to your shots. Utilize shallow depth of field to isolate subjects from their surroundings, creating a sense of intimacy and drawing attention to specific elements, while deep focus can convey expansive environments and intricate spatial relationships, enriching the visual narrative with layers of detail and context.
By mastering framing and composition techniques, you can harness the power of visual storytelling to create emotionally resonant and visually compelling YouTube videos. Embrace the art of cinematic framing as a means to convey narratives, evoke emotions, and captivate your audience, ultimately elevating the impact and quality of your content.
Editing and Post-Production Tips for DSLR Videos
Refining Your Visual Narratives to Create Polished and Engaging Content
Once you’ve captured compelling footage with your DSLR camera, the post-production phase offers an opportunity to refine, enhance, and craft your videos into polished, visually captivating narratives. By employing effective editing techniques and leveraging post-production tools, you can elevate the quality of your content, engage your audience, and bring your creative vision to life.
Organize your footage systematically to streamline the editing process. Create a clear folder structure and labeling system for your video files, enabling efficient access and management of assets during the editing phase. By maintaining an organized workflow, you can expedite the editing process and focus on refining the visual storytelling elements of your videos.
Utilize non-linear editing software such as Adobe Premiere Pro, Final Cut Pro, or DaVinci Resolve to wield powerful creative tools and achieve professional-grade results. Familiarize yourself with the software’s interface, editing tools, and effects to unleash the full potential of your footage, creating seamless transitions, impactful visual effects, and cohesive storytelling sequences.
Embrace the art of pacing and rhythm to maintain viewer engagement throughout your videos. Employ techniques such as dynamic cutting, rhythm-based editing, and strategic use of visual and auditory cues to create a fluid and captivating viewing experience. By mastering the nuances of pacing, you can guide the viewer through your narrative with precision and impact.
Enhance the visual allure of your videos through color grading and correction. Experiment with color palettes, contrast adjustments, and stylistic grading to establish a consistent and visually appealing aesthetic that complements your content’s mood and narrative. Thoughtful color grading can elevate the emotional impact of your videos and reinforce the intended visual tone.
Integrate visual effects and motion graphics to add depth and dynamism to your videos. Incorporate subtle animations, text overlays, and graphic elements to convey information, enhance visual interest, and reinforce your brand identity. However, exercise restraint to ensure that visual effects complement the narrative without overwhelming the viewer.
Pay meticulous attention to audio post-production to refine and enhance the sonic dimension of your videos. Utilize audio editing tools to balance levels, remove unwanted noise, and implement subtle enhancements that elevate the auditory experience, ensuring that your videos are immersive and sonically engaging.
By embracing the art of editing and post-production, you can refine your DSLR videos into polished and visually captivating narratives that resonate with your audience. Exercise creativity, precision, and attention to detail throughout the post-production process, and your videos will exude a professional sheen and compelling storytelling allure that captivates and resonates with viewers.
Conclusion
Elevating Your YouTube Content with DSLR Mastery
Congratulations on embarking on a journey to master the art of DSLR videography for your YouTube content creation. Throughout this comprehensive guide, we’ve delved into the intricacies of using a DSLR camera to produce visually captivating and engaging videos, covering everything from camera selection to post-production refinement. By embracing the technical nuances and creative potential of DSLR videography, you are poised to elevate the quality of your content and captivate your audience with compelling visual narratives.
Choosing the right DSLR camera sets the foundation for your video production endeavors, empowering you to capture stunning visuals and achieve professional-grade results. Understanding the nuances of camera settings, lens selection, lighting techniques, and audio capture enables you to harness the full potential of your DSLR camera, elevating the quality and immersive impact of your videos.
As you venture into the realm of visual storytelling, framing and composition techniques offer a powerful means to convey narratives, evoke emotions, and captivate your audience. By mastering the art of cinematic framing, you can infuse your videos with visual allure and immersive storytelling elements that resonate with viewers on a profound level.
Furthermore, the post-production phase presents an opportunity to refine and polish your videos into visually captivating narratives. Through meticulous editing, color grading, and audio enhancement, you can elevate the quality of your content, engage your audience, and bring your creative vision to life with precision and impact.
Embrace the learning process, experiment with different techniques, and allow your creativity to flourish as you navigate the intricacies of DSLR videography. Each video project serves as an opportunity to refine your skills, express your unique creative voice, and captivate your audience with visually compelling and emotionally resonant content.
By integrating the insights and techniques presented in this guide into your YouTube content creation process, you are well-equipped to harness the full potential of DSLR videography, elevate the quality of your videos, and leave a lasting impression on your audience. Embrace the art of visual storytelling, and let your creativity shine through each frame, enriching the digital landscape with captivating and immersive content that resonates with viewers around the world.