Introduction
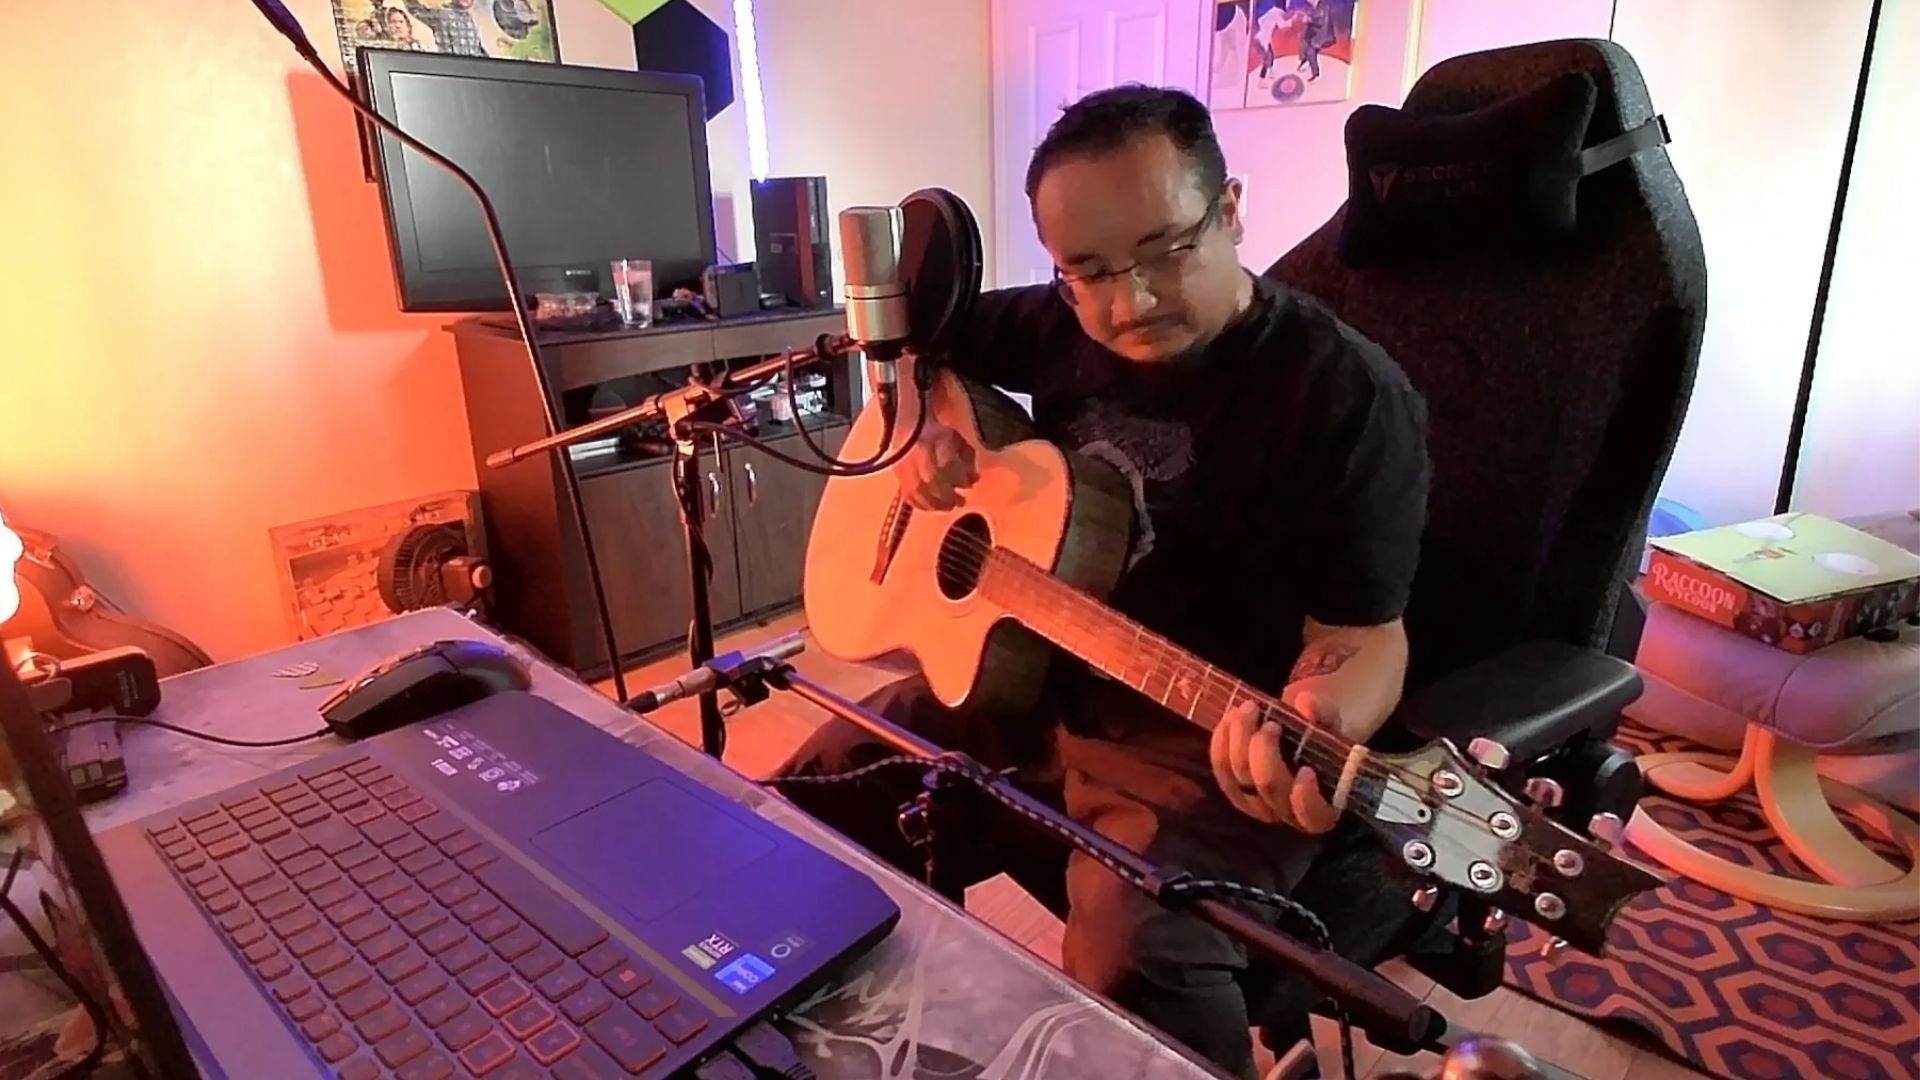
Recording acoustic guitar in GarageBand is a fantastic way for musicians and home studio enthusiasts to capture the rich and warm tones of their instrument. Whether you’re a seasoned guitarist or a beginner, GarageBand offers a user-friendly interface and a wide range of features to help you achieve professional-quality recordings.
In this article, we will guide you through the process of recording acoustic guitar in GarageBand, from setting up the software and positioning the microphone, to selecting the right equipment and adding effects. With these tips and techniques, you’ll be able to capture the true essence of your acoustic guitar and create impressive recordings that can be shared with the world.
Before we dive into the details, it’s important to note that GarageBand is a digital audio workstation (DAW) software developed by Apple. It comes pre-installed on Macintosh computers and is also available for iOS devices. It offers a range of features, including virtual instruments, audio recording, MIDI support, and a variety of audio effects.
Now, let’s get started on the journey of recording your acoustic guitar using GarageBand!
Equipment Needed
Before you start recording your acoustic guitar in GarageBand, it’s important to have the right equipment. Here’s a list of essential items you’ll need:
- Acoustic Guitar: Of course, you’ll need a high-quality acoustic guitar to record. Make sure your guitar is in good condition, with fresh strings and proper intonation.
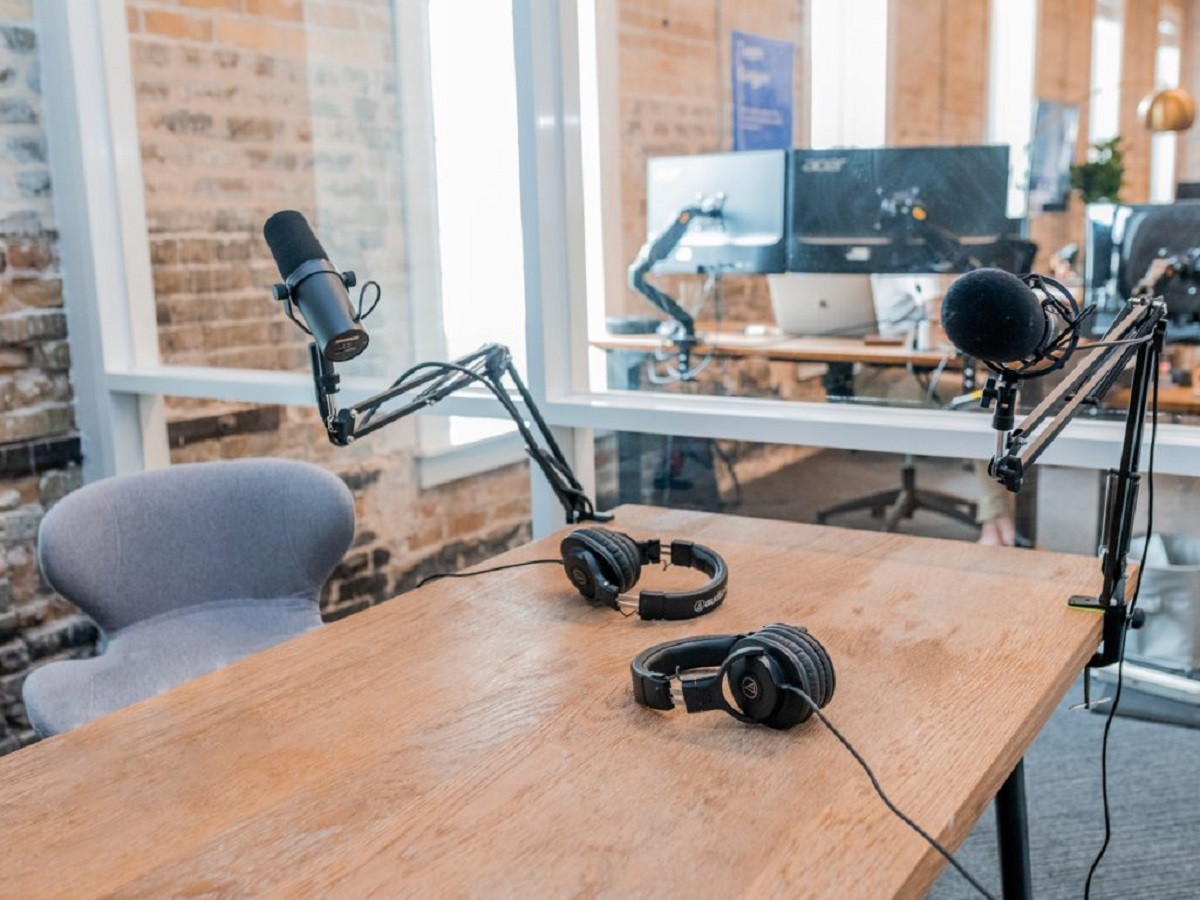
- Microphone: A good microphone is crucial for capturing the natural sound of your acoustic guitar. There are different types of microphones to choose from, such as condenser, dynamic, and ribbon microphones. Experiment with different options to find the one that suits your personal preferences and budget.
- Microphone Stand: To position your microphone properly, you’ll need a microphone stand. This will ensure stability and allow you to find the perfect placement for capturing the sound of your guitar.
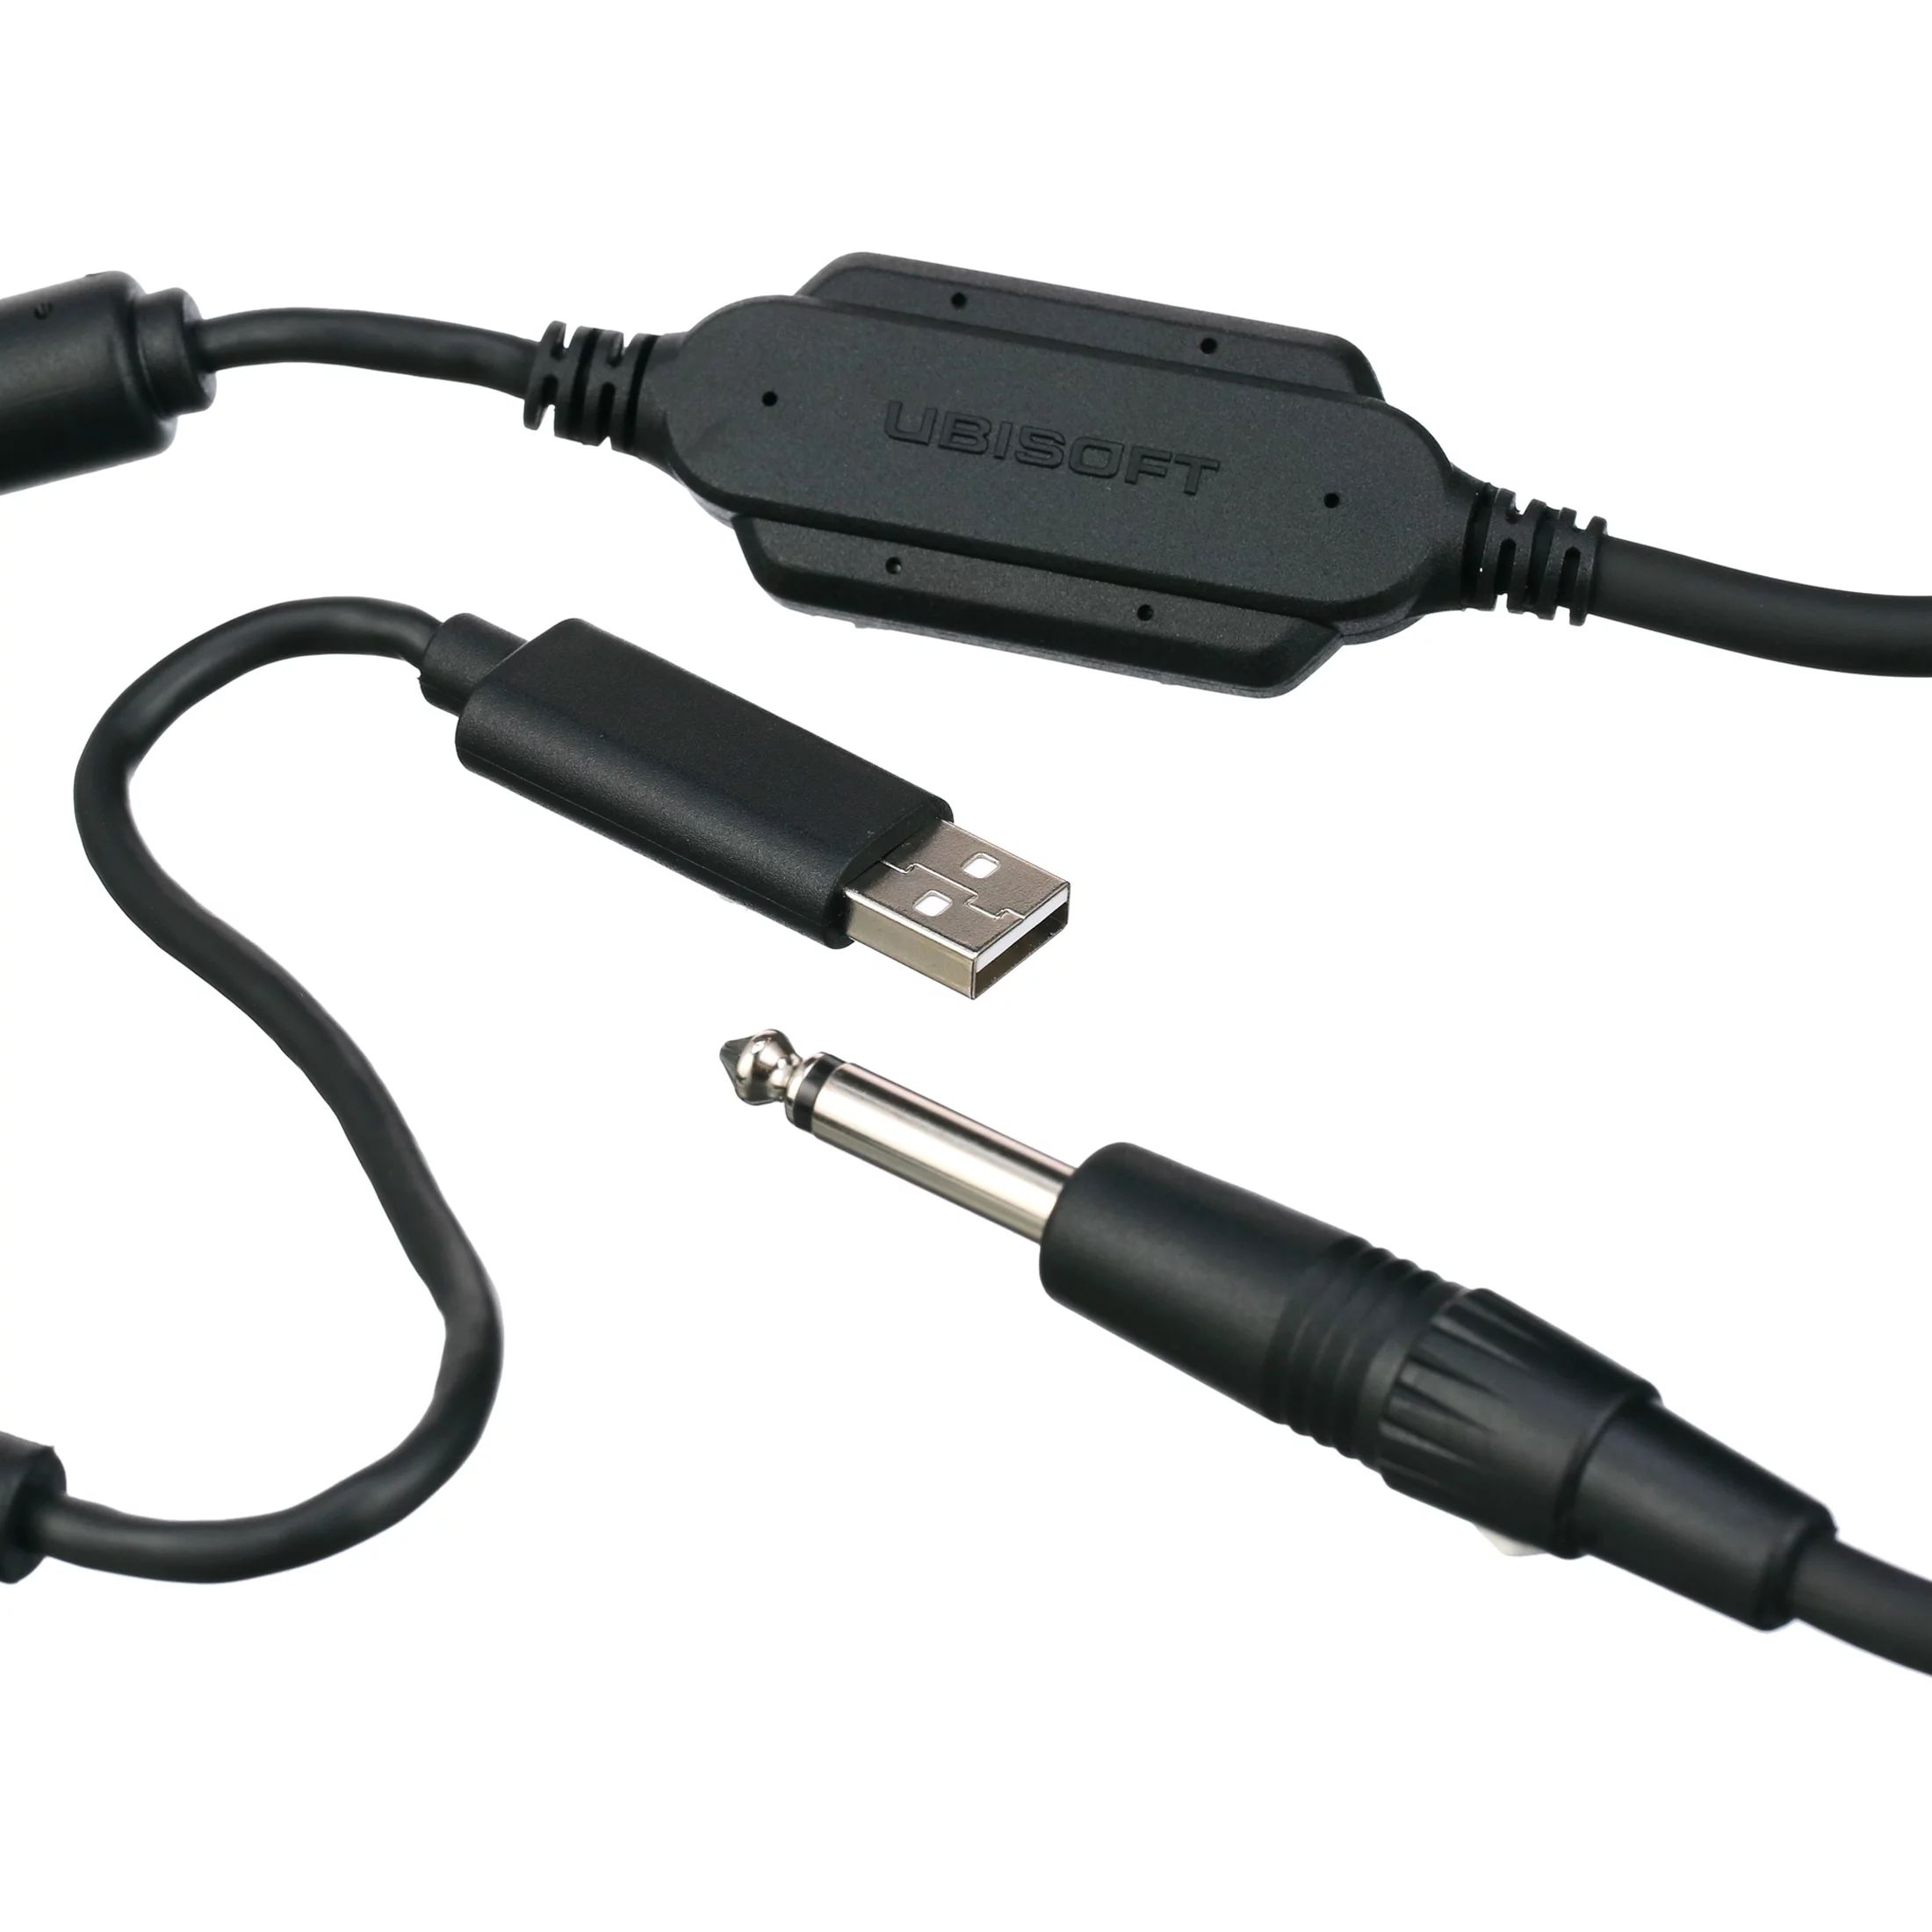
- XLR Cable: An XLR cable is necessary to connect your microphone to your audio interface. Make sure you have a high-quality cable to ensure clean and reliable signal transfer.
- Audio Interface: An audio interface is a device that converts analog audio signals into digital signals that your computer can understand. It allows you to connect your microphone and guitar to your computer and provides better sound quality than your computer’s built-in audio input.
- Headphones: A good pair of headphones is essential for monitoring your recordings. They will help you hear the details and nuances of your guitar performance and ensure accurate mixing and editing.
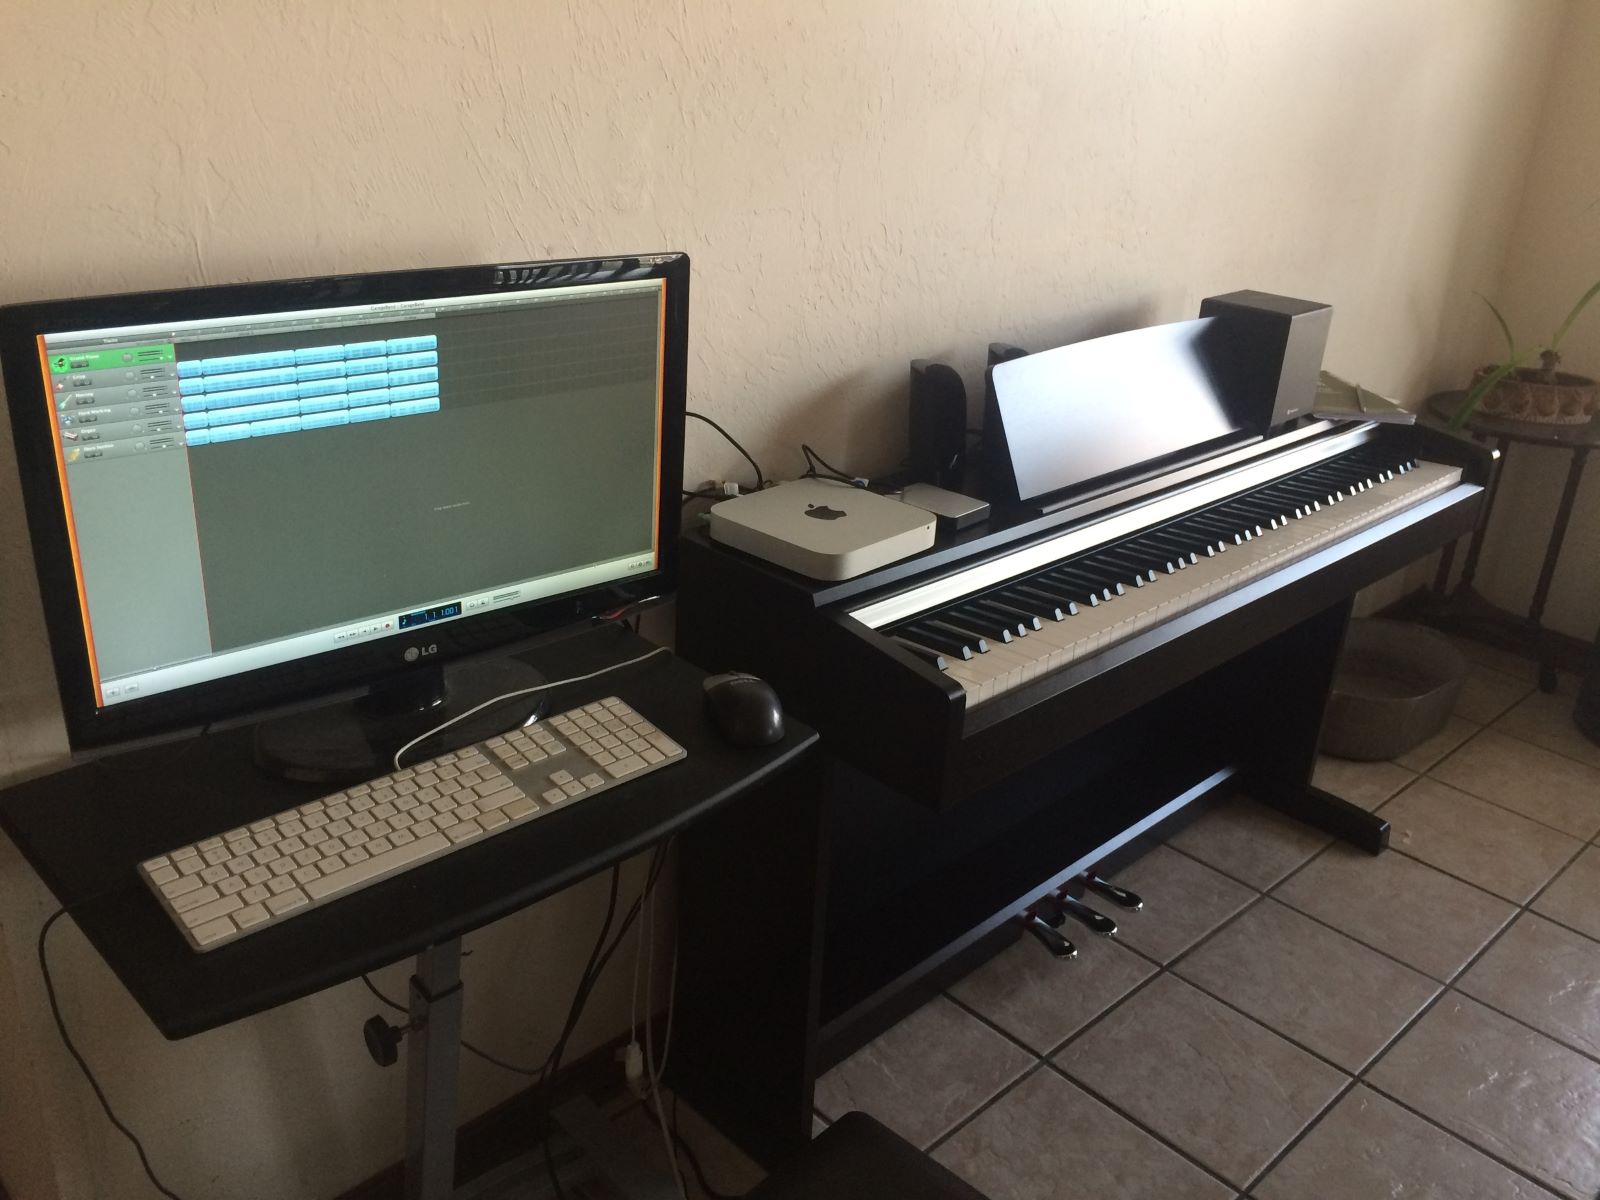
- Computer or iOS Device: GarageBand runs on both Macintosh computers and iOS devices. Make sure you have a compatible device with sufficient processing power and storage capacity.
Having these essential pieces of equipment will set you up for success in recording your acoustic guitar in GarageBand. Once you have everything ready, it’s time to move on to the next steps of setting up GarageBand and positioning the microphone.
Setting Up GarageBand
Now that you have all the necessary equipment, it’s time to set up GarageBand for recording your acoustic guitar. Follow these steps to get started:
- Open GarageBand: Launch the GarageBand application on your computer or iOS device.
- Create a New Project: Click on “New Project” or “New Song” to create a new project. You can choose from various templates or create a blank project depending on your preferences.
- Select Audio Input: In the New Project dialog box, choose the audio input source as your audio interface. This will ensure that GarageBand recognizes your microphone and guitar when recording.
- Set the Project Tempo and Key: Set the tempo and key for your project. You can select a pre-determined tempo or manually adjust it to match the desired pace of your acoustic guitar performance.
- Adjust Track Settings: Create a new audio track for recording your acoustic guitar. You can do this by clicking on the “+” button in the Tracks area. Make sure the track is set to record from the input source connected to your microphone.
- Enable Monitoring: Enable the monitoring option for the audio track. This will allow you to hear your guitar in real-time as you play, making it easier to monitor your performance.
Once you have completed these steps, GarageBand is ready for recording your acoustic guitar. Before you start recording, it’s important to position the microphone correctly to capture the best sound. We will explore microphone placement in the next section.
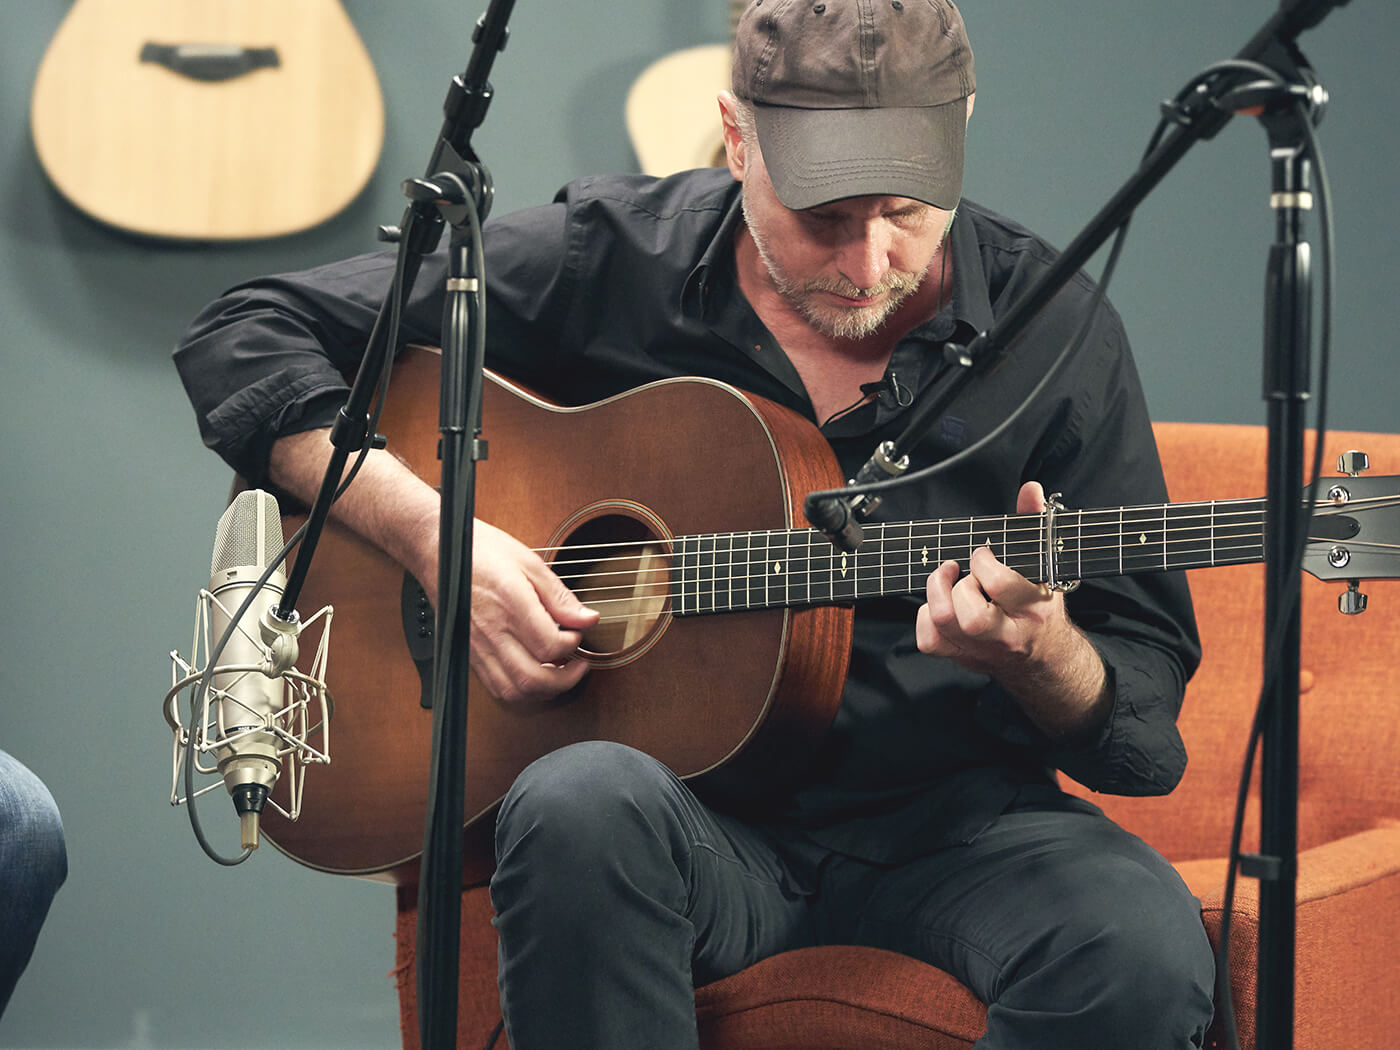
Positioning the Microphone
Properly positioning the microphone is crucial for capturing the best sound from your acoustic guitar. The microphone placement will greatly affect the tone, volume, and overall quality of your recorded sound. Here are some tips for positioning your microphone:
- Distance from the Guitar: Start by placing the microphone about 6-12 inches away from the guitar’s soundhole. This is a common starting point for capturing a balanced sound.
- Angle of the Microphone: Angle the microphone slightly towards the soundhole or the area where the guitar’s sound is projected. This will ensure that the microphone captures the optimal blend of the guitar’s body resonance and string sound.
- Experiment with Placement: Don’t be afraid to experiment with different microphone positions to find the sweet spot for your guitar. Move the microphone closer to the soundhole for a more focused, bass-rich sound, or place it near the 12th fret for a brighter, more detailed sound.
- Avoid Plosives and Finger Noise: Position the microphone slightly off-axis from the soundhole to minimize plosive sounds (such as p’s and b’s) and excessive finger noise. This can help create a cleaner recording.
- Use a Pop Filter: If you’re experiencing issues with plosive sounds, consider using a pop filter. A pop filter is a screen that you can place in front of the microphone to reduce the impact of plosives on the recording.
- Consider Room Acoustics: Take your recording environment into account when positioning the microphone. If you’re in a room with a lot of reverb, you may want to move the microphone closer to the guitar to capture more direct sound and reduce room reflections.
Remember, these guidelines are a starting point, and the best microphone position may vary depending on your guitar, room acoustics, and personal preference. Take the time to experiment and listen to the results to find the ideal placement that captures the character and tone of your acoustic guitar.
Picking the Right Microphone
Choosing the right microphone for recording your acoustic guitar is crucial in capturing the true essence and character of your instrument. With a wide variety of microphones available on the market, it’s important to consider the following factors when making your selection:
Type of Microphone: There are different types of microphones to choose from, such as condenser, dynamic, and ribbon microphones. Condenser microphones are commonly used for recording acoustic instruments due to their sensitivity and ability to capture fine details. Dynamic microphones are more rugged and can handle higher sound pressure levels, making them suitable for live performances. Ribbon microphones are known for their smooth and warm sound, but they may require preamp support due to their low output level.
Polar Pattern: Consider the polar pattern of the microphone, which determines its sensitivity to sound from different directions. For recording acoustic guitar, a cardioid polar pattern is commonly used, as it focuses on capturing sound from the front and rejects sound from the sides and rear. This helps to isolate the guitar’s sound and minimize unwanted ambient noise.
Budget: Determine your budget for purchasing a microphone. Keep in mind that higher-priced microphones often offer better sound quality and durability, but there are also budget-friendly options available that can deliver satisfactory results for home recordings.
Sound Preference: Consider your personal preference for the sound you want to capture. Some microphones have a warm and vintage character, while others offer a more detailed and transparent sound. Research and listen to microphone samples to find a microphone that suits your desired sonic qualities.
Compatibility: Ensure that the microphone you choose is compatible with your audio interface and recording setup. Check for the necessary connectors and specifications to ensure a seamless connection and integration with your recording system.
Ultimately, the right microphone will depend on your specific needs and preferences. It’s a good idea to try out different microphones whenever possible to find the one that best captures the unique qualities and tonal characteristics of your acoustic guitar.
Adjusting Input Levels
Once you have your microphone set up and selected, it’s important to properly adjust the input levels in GarageBand to ensure a clean and balanced recording of your acoustic guitar. Here are some steps to help you adjust the input levels:
- Open the Track Mixer: In GarageBand, locate the Track Mixer, which allows you to control the volume and other settings for each individual track. You can access the Track Mixer by clicking on the Mixer button in the Control Bar.
- Select the Guitar Track: Identify the track that you are recording your acoustic guitar onto and select it in the Track Mixer.
- Adjust the Input Gain: In the Track Mixer, find the input gain control for your guitar track. This control allows you to boost or attenuate the input level of your guitar. Start with the input gain at a lower level and gradually increase it while playing your guitar. Make sure the input level does not peak into the red zone to avoid distortion.
- Use Visual Feedback: GarageBand provides visual feedback in the form of level meters. These meters indicate the volume levels of your incoming audio. Aim to have your guitar’s levels consistently hitting around the middle or slightly above on the meter. This will ensure a healthy signal without clipping or distortion.
- Continuous Monitoring: While adjusting the input levels, it is important to monitor the sound using your headphones. This will allow you to hear any potential issues with the recording, such as distortion or excessive noise, and make the necessary adjustments.
- Experiment and Fine-Tune: It’s a good idea to experiment with different input levels and monitor the recorded sound to find the optimal balance. Fine-tuning the input levels allows you to achieve the best signal-to-noise ratio and ensure that your acoustic guitar is recorded at the desired volume and clarity.
By carefully adjusting the input levels, you can prevent audio distortion, capture a clean and balanced recording of your acoustic guitar, and avoid any potential issues during the mixing and mastering stages.
Using Effects
GarageBand provides a wide range of effects that allow you to enhance and shape the sound of your recorded acoustic guitar. Whether you want to add depth and ambience or apply creative effects, here are some tips for using effects in GarageBand:
- Select the Guitar Track: Identify the track that contains your recorded acoustic guitar and select it in the GarageBand interface.
- Open the Smart Controls: At the bottom of the GarageBand window, click on the “Smart Controls” button to access the controls for the selected track.
- Explore the Effects Library: Within the Smart Controls pane, you’ll find the Effects section. Click on the “Edit” button to reveal the Effects Library. Here, you can browse and choose from a variety of effects, such as reverb, delay, chorus, EQ, compression, and more.
- Experiment with Presets: GarageBand offers a range of presets for each effect, providing you with a starting point for your desired sound. Explore the presets and audition them to find the ones that complement your acoustic guitar recording. Once you find a preset you like, you can further customize it to fit your specific preferences.
- Adjust Effect Parameters: Each effect in GarageBand has adjustable parameters that allow you to fine-tune the sound. Experiment with the different parameters to shape the effect to your liking. For example, with reverb, you can adjust the decay time and room size to create different ambiance and spatial effects.
- Apply Effects in Moderation: When using effects, it’s important to apply them in moderation and with intention. Avoid overwhelming the natural sound of your acoustic guitar by subtly enhancing it with effects. Remember that less is often more when it comes to effects.
- Use Automation: GarageBand allows you to automate the effects parameters over time. This can create dynamic and expressive changes in the sound of your acoustic guitar. Experiment with automating the effects to add movement and variation to your recordings.
- Save Custom Effect Chains: If you create a combination of effects that you particularly like, you can save it as a custom effect chain. This allows you to easily recall and apply your preferred effects settings to other tracks or projects in the future.
Remember, the goal of using effects is to enhance your acoustic guitar recording, not to cover up any flaws or mistakes. Use effects creatively and tastefully to bring out the best qualities of your guitar and create a unique sonic landscape.
Tips for a Great Recording
Recording your acoustic guitar in GarageBand can be a rewarding and enjoyable experience. To ensure a great recording that accurately captures the essence of your instrument and performance, consider the following tips:
- Choose a Suitable Room: Find a quiet and well-ventilated room with balanced acoustics. Avoid rooms with excessive reverb or background noise that can adversely affect the recording quality.
- Tune Your Guitar: Ensure that your acoustic guitar is properly tuned before recording. This will ensure accurate pitch and a harmonious blend with other tracks if you plan to include additional instruments.
- Warm-Up and Practice: Warm up your fingers and spend some time practicing before hitting the record button. This will improve your performance and help you maintain consistency throughout the recording.
- Experiment with Mic Placement: Don’t be afraid to try different microphone positions to find the sweet spot that captures the best sound of your acoustic guitar. Keep in mind the guidelines mentioned earlier and trust your ears.
- Minimize Background Noise: Try to eliminate any potential sources of noise, such as buzzing appliances or outside distractions. This will ensure cleaner recordings with less unwanted interference.
- Play with Dynamics: Vary your playing dynamics during the recording to create a more expressive and engaging performance. This will add depth and emotion to your acoustic guitar recordings.
- Record Multiple Takes: Don’t settle for the first take. Record multiple takes of your acoustic guitar performance to have more options during the editing and mixing process. This will allow you to choose the best parts and create a more polished final product.
- Capture Natural Ambience: Experiment with recording techniques that capture the natural ambiance of the room, such as placing additional microphones further away or using room mics. This can add depth and dimension to your recordings.
- Monitor the Recording Levels: Keep an eye on the recording levels to ensure they stay within an optimal range. Avoid clipping or distortion by adjusting the input gain and monitoring the metering tools in GarageBand.
- Take Breaks: Take breaks during recording sessions to rest your ears and maintain focus. Fatigue can affect your perception of sound, so it’s important to give yourself regular breaks to maintain a fresh perspective on your recordings.
By following these tips, you’ll greatly increase your chances of capturing a great recording that highlights the unique qualities of your acoustic guitar and showcases your talent as a musician.
Editing and Mixing the Track
Once you have recorded your acoustic guitar track in GarageBand, it’s time to edit and mix the recording to achieve a polished and professional sound. Here are some steps to guide you through the editing and mixing process:
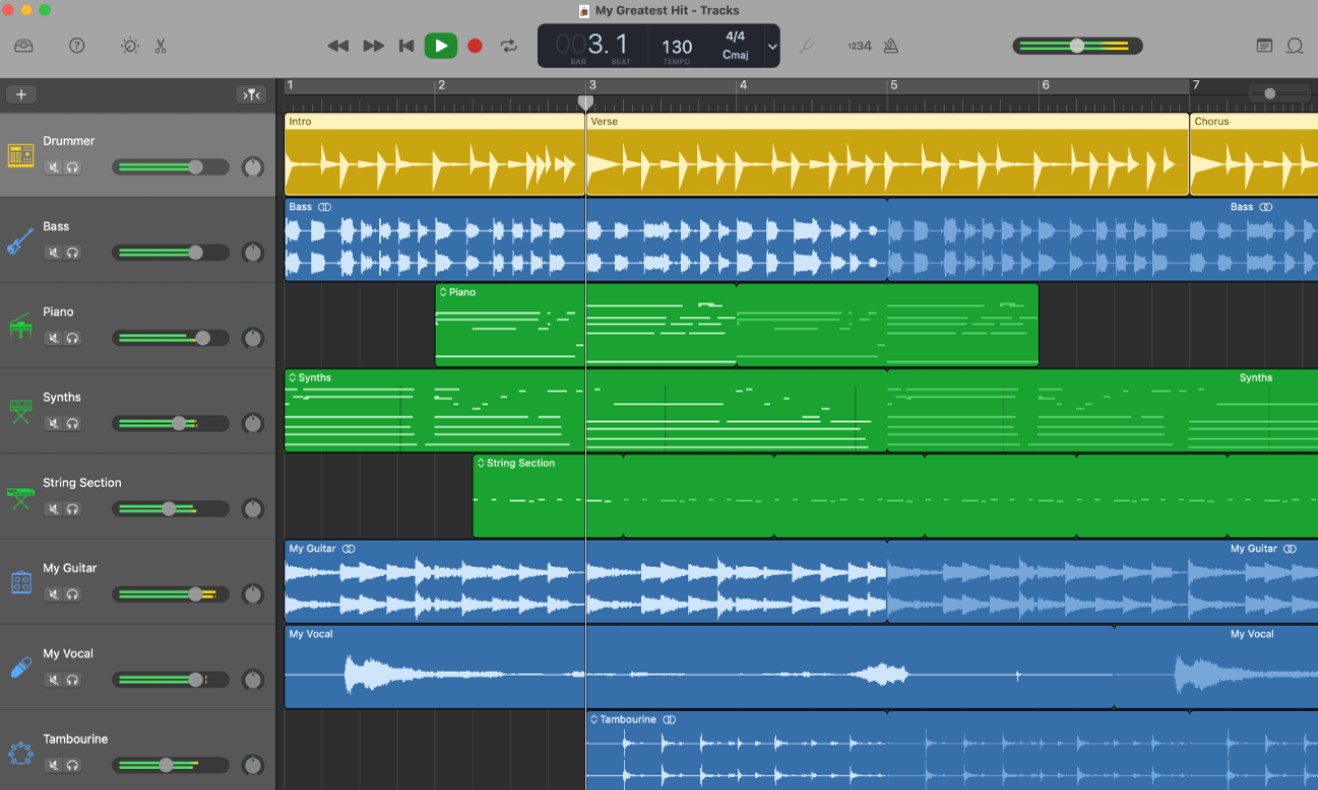
- Trimming and Arranging: Start by trimming any unnecessary parts of the recording, such as count-ins or mistakes. Arrange the remaining sections of the track to create a cohesive structure.
- Quantize or Align Timing: If you notice any timing inconsistencies in your guitar performance, use quantization or manual adjustments to align the notes and tighten up the timing.
- Adjusting Levels: Balance the levels of your acoustic guitar track with other instruments in your mix. Use the faders in GarageBand’s Track Mixer to adjust the volume and achieve a well-balanced sound.
- Applying EQ: Use equalization (EQ) to shape the frequency response of your acoustic guitar track. Enhance the desired frequencies, remove any unwanted frequencies, and carve out space for other elements in the mix.
- Adding Compression: Apply compression to even out the dynamic range of your acoustic guitar track. This will help control any sudden peaks in volume and create a more consistent and polished sound.
- Using Additional Effects: Experiment with other effects, such as reverb, delay, or modulation, to further enhance the tone and add depth to your acoustic guitar track. Remember to use these effects tastefully and in a way that complements the overall mix.
- Panning: Utilize panning to create a sense of space and separation in your mix. Place your acoustic guitar track in the stereo field to give it a defined position along with other instruments.
- Automation: Use automation to add movement and variation to your acoustic guitar track. Automate parameters like volume, EQ, or effects to create dynamic changes throughout the song.
- Monitor and Fine-Tune: Continuously monitor your mix and make adjustments as needed. Pay attention to the overall balance, clarity, and coherence of the acoustic guitar track within the context of the entire mix.
- Referencing: Compare your mix to professional recordings in the same genre. This will help you identify areas that may need improvement and allow you to make adjustments accordingly.
Remember, editing and mixing are subjective processes, and there are no strict rules. Trust your ears and make creative decisions that serve the song and highlight the beauty of your acoustic guitar recording. Take your time to experiment, refine, and craft a mix that brings out the best in your music.
Conclusion
Recording acoustic guitar in GarageBand offers a world of possibilities for musicians and home studio enthusiasts. By following the steps outlined in this guide, you can capture the rich and expressive sound of your acoustic guitar with ease.
We began by discussing the equipment needed, including a high-quality acoustic guitar, microphone, stand, XLR cable, audio interface, headphones, and a compatible computer or iOS device. With these tools in hand, you’re ready to create professional-level recordings.
Setting up GarageBand for recording, positioning the microphone, and choosing the right microphone are crucial steps that greatly impact your final sound. By taking the time to properly configure these elements, you’ll capture the natural beauty and nuances of your acoustic guitar.
We then explored the process of adjusting input levels, using effects, and provided tips for achieving a great recording. Whether it’s finding the ideal input gain, applying effects tastefully, or incorporating dynamic playing techniques, paying attention to these details will elevate your recordings to the next level.
Finally, we delved into the process of editing and mixing your acoustic guitar track. Trimming and arranging the recording, adjusting levels and EQ, adding compression and effects, and fine-tuning the mix all contribute to creating a polished and professional sound.
Remember that practice and experimentation are key to honing your recording skills. Don’t be afraid to try new techniques, explore different microphone positions, and discover the unique sound that resonates with you the most.
With patience and dedication, recording acoustic guitar in GarageBand can be a rewarding and fulfilling experience. So grab your guitar, fire up GarageBand, and unleash your creativity as you embark on your musical journey!