Introduction
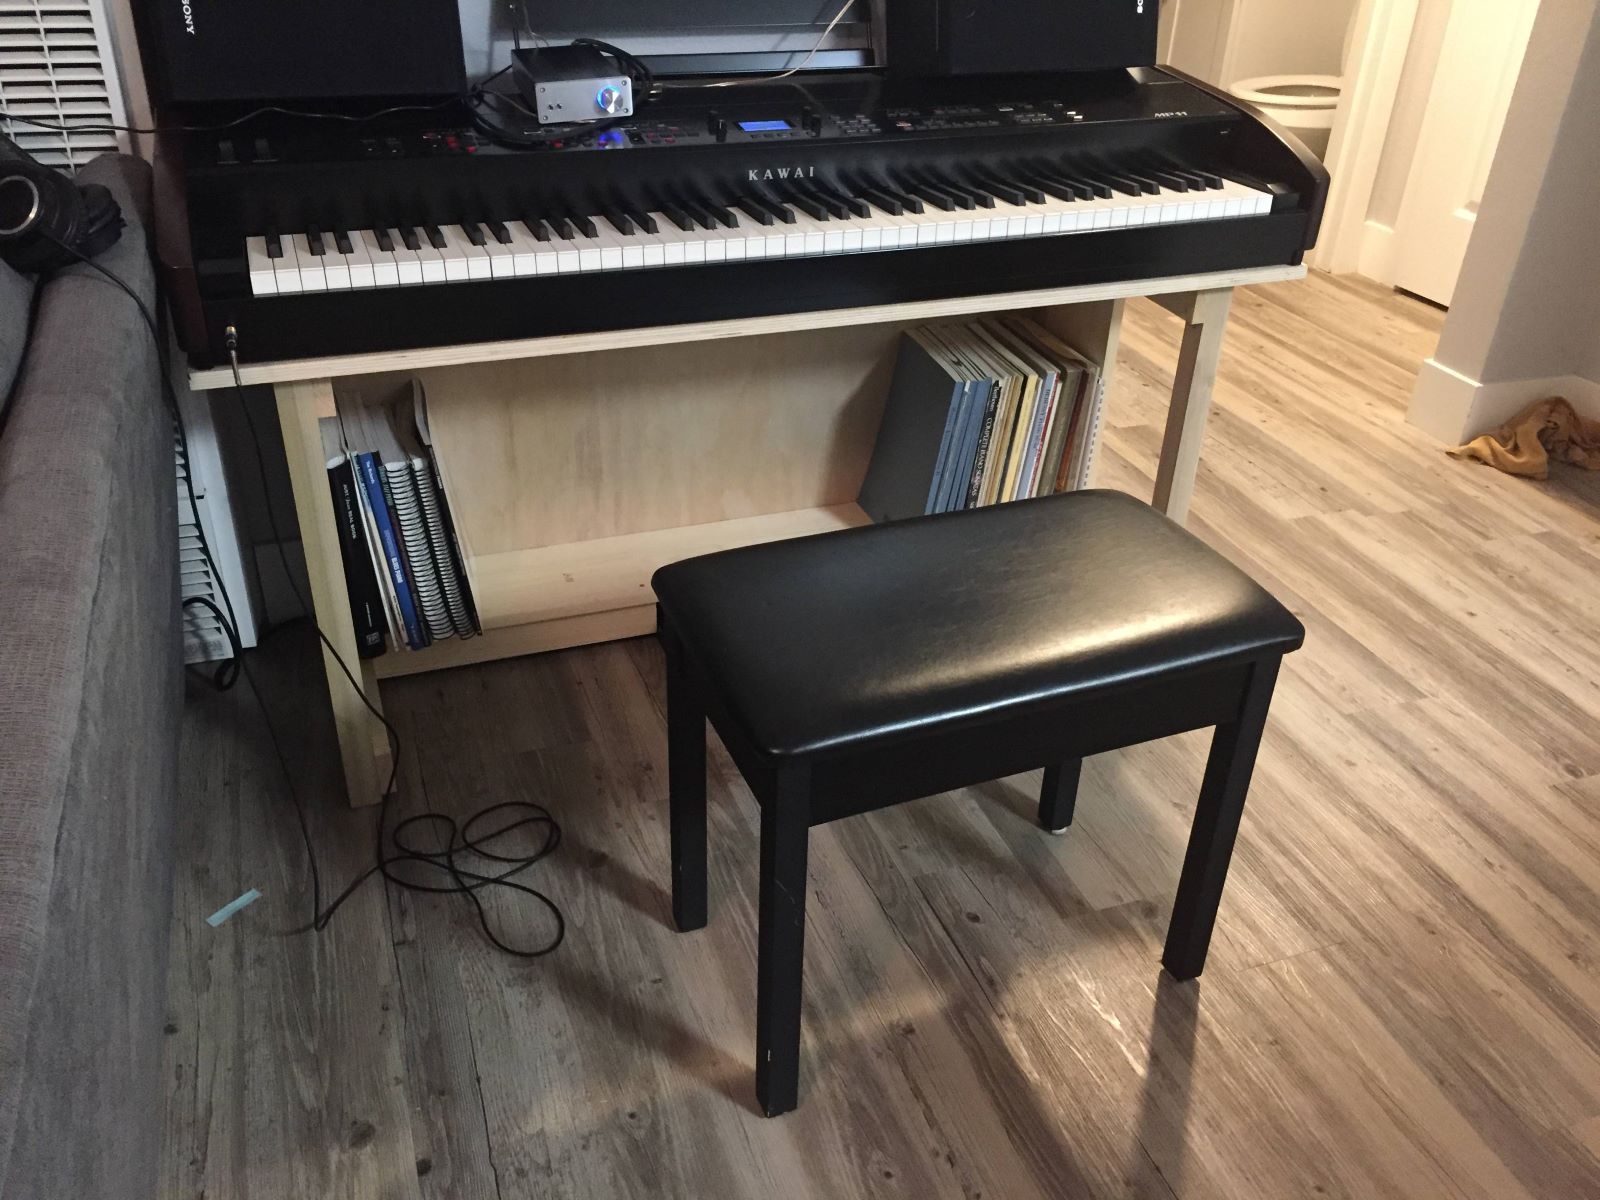
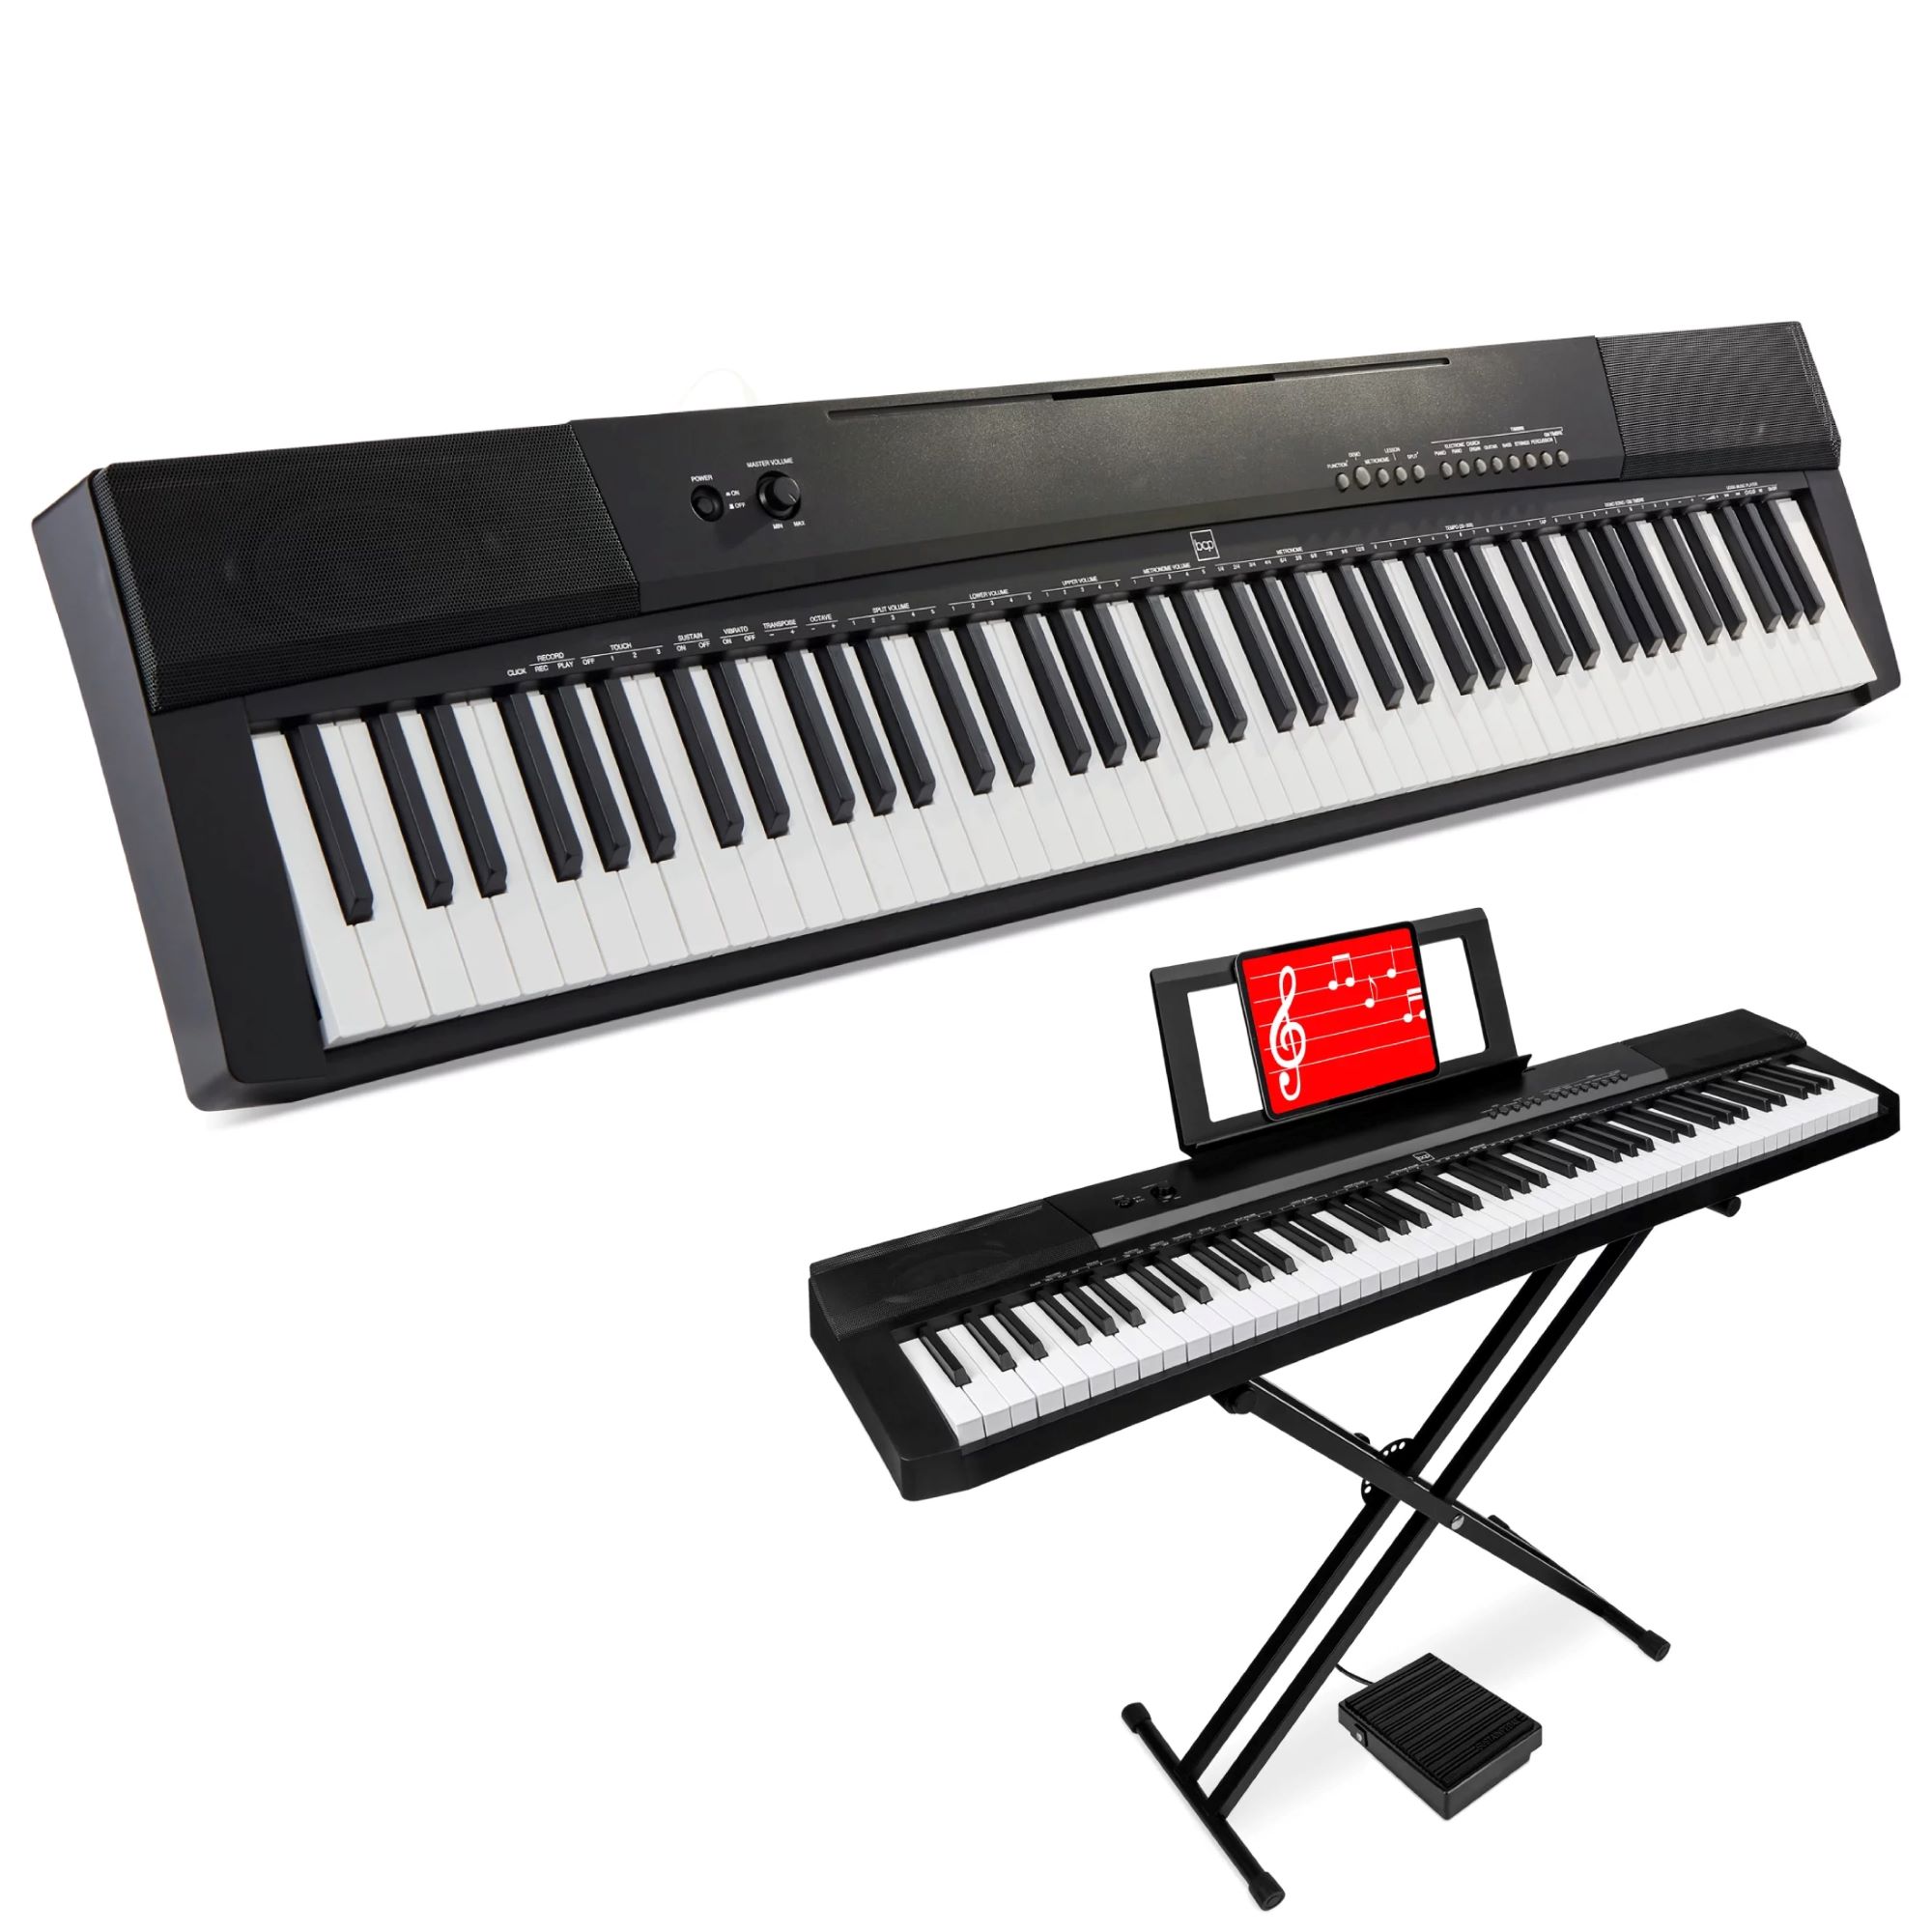
Are you a passionate pianist looking for a stable and stylish stand for your digital piano? Building your own digital piano stand can be a rewarding and cost-effective endeavor. Not only does it allow you to customize the stand to perfectly fit your instrument and personal style, but it also provides a sense of accomplishment and pride in creating something functional with your own hands.
In this guide, we will walk you through the process of constructing a sturdy and visually appealing digital piano stand. Whether you are a seasoned woodworking enthusiast or a novice DIYer, this project can be a fulfilling and enjoyable experience. By following these step-by-step instructions and using the right materials and tools, you can create a custom stand that complements your digital piano while providing the stability and support it needs.
As we embark on this creative journey, you will have the opportunity to hone your woodworking skills and gain a deeper understanding of the craftsmanship involved in creating a practical yet aesthetically pleasing piece of furniture. So, roll up your sleeves, gather your tools, and let's delve into the art of crafting a bespoke digital piano stand that will elevate both your playing experience and the visual appeal of your musical space.
Materials and Tools Needed
Before diving into the construction process, it’s essential to gather all the necessary materials and tools to ensure a smooth and efficient building experience. Here’s a comprehensive list of what you’ll need:
Materials:
- Four wooden boards (dimensions will vary based on the desired size of the stand)
- Wood glue
- Screws
- Sandpaper
- Wood stain or paint (optional for finishing)
- Polyurethane for sealing (optional)
Tools:
- Measuring tape
- Pencil
- Saw (circular saw or handsaw)
- Drill with bits
- Screwdriver
- Sanding block or electric sander
- Paintbrushes (if applying wood stain or paint)
When selecting the wooden boards, consider the dimensions of your digital piano and the desired height and width of the stand. The type of wood can also impact the overall appearance and durability of the stand, so choose a wood species that aligns with your aesthetic preferences and budget.
Additionally, having the right tools at your disposal is crucial for precise measurements, accurate cuts, and secure assembly. If you don’t already own the required tools, consider borrowing or renting them to ensure that you can complete the project effectively.
With these materials and tools in hand, you’re well-equipped to commence the construction of your custom digital piano stand. The next steps will guide you through the process of transforming these basic components into a functional and visually appealing piece of furniture that will enhance your musical environment.
Step 1: Cutting the Wood
The initial phase of building your digital piano stand involves accurately cutting the wooden boards to the appropriate dimensions. This step is crucial, as precise measurements and clean cuts will lay the foundation for a stable and visually pleasing stand.
Start by measuring and marking the dimensions for the main components of the stand, including the legs, top frame, and crossbars. Use a measuring tape and pencil to ensure accuracy, and double-check your measurements before making any cuts. Once the dimensions are marked, carefully use a saw – whether it’s a circular saw or handsaw – to cut the wooden boards according to the marked lines. It’s advisable to wear appropriate safety gear, such as goggles and gloves, during this process.
For the legs, consider the desired height of the stand and cut the wooden boards accordingly, ensuring that all four legs are of equal length. Next, cut the boards for the top frame, which will provide support for the digital piano. Additionally, cut the crossbars that will connect the legs and provide stability to the stand.
After making the initial cuts, use sandpaper to smooth the edges and surfaces of the cut wooden pieces. This step is essential for achieving a professional finish and ensuring that the stand is free from any rough or splintered areas that could detract from its overall appearance.
By meticulously cutting the wood to the specified dimensions and refining the edges, you’re laying the groundwork for a well-constructed and visually appealing digital piano stand. With the components prepared, you’re ready to progress to the next stage of assembling the frame, bringing you one step closer to completing your custom creation.
Step 2: Assembling the Frame
With the wooden components cut to size, it’s time to assemble the frame of your digital piano stand. This step is pivotal in creating a sturdy and reliable foundation that will support your instrument with stability and style.
Begin by arranging the cut wooden pieces – the legs, top frame, and crossbars – in the designated layout. Apply wood glue to the joints where the legs and top frame will connect, ensuring a secure bond. Once the wood glue is applied, carefully position the components and use a drill with appropriate bits to create pilot holes for the screws. This step is crucial for preventing the wood from splitting when the screws are inserted.
After creating the pilot holes, use screws to firmly attach the legs to the top frame. Ensure that the components are aligned and level during this process to guarantee a balanced and stable stand. Once the legs are securely attached to the top frame, proceed to affix the crossbars between the legs, reinforcing the structure and enhancing its overall integrity.
As you progress through the assembly, periodically check the squareness and alignment of the frame to maintain precision and coherence. This attention to detail will contribute to the overall stability and aesthetic appeal of the stand. Once the frame is fully assembled, allow the wood glue to dry completely, solidifying the connections and ensuring the structural integrity of the stand.
By methodically assembling the frame of your digital piano stand, you’re bringing the vision of a custom-crafted piece of furniture to life. The next step will involve attaching the crossbars to further fortify the stand and prepare it for the final touches that will complete its transformation into a functional and visually captivating addition to your musical space.
Step 3: Attaching the Crossbars
As you progress in constructing your digital piano stand, the next crucial step involves attaching the crossbars to the frame. These crossbars play a pivotal role in providing additional stability and support, ensuring that your stand can securely accommodate your digital piano.
To begin, position the pre-cut crossbars between the legs of the stand, ensuring that they are evenly spaced and aligned with precision. Once their placement is determined, use a measuring tape and pencil to mark the locations where the crossbars will be attached to the legs. This step is essential for maintaining consistency and balance in the stand’s construction.
Subsequently, apply wood glue to the areas where the crossbars will connect with the legs, facilitating a strong and durable bond. With the wood glue in place, use a drill with suitable bits to create pilot holes in both the crossbars and the legs. These pilot holes will serve as guides for the screws and prevent the wood from splitting during the attachment process.
After creating the pilot holes, carefully insert screws to secure the crossbars to the legs, ensuring a snug and stable connection. It’s important to verify that the crossbars are level and flush with the legs, maintaining the overall symmetry and structural integrity of the stand. Once the crossbars are firmly attached, allow the wood glue to dry completely, reinforcing the connections and solidifying the stand’s framework.
By meticulously attaching the crossbars to the frame, you are enhancing the stability and load-bearing capacity of your digital piano stand. This crucial step brings you closer to completing the construction process and sets the stage for adding support braces, the next phase in fortifying the stand and preparing it for the finishing touches that will elevate its visual appeal.
Step 4: Adding Support Braces
As you approach the final stages of constructing your digital piano stand, it’s essential to incorporate support braces to further reinforce the structure and ensure its long-term stability. These braces play a crucial role in distributing the weight of the digital piano and fortifying the stand against potential stress or strain.
Begin by measuring and marking the locations where the support braces will be positioned on the stand. Typically, these braces are installed diagonally between the legs and the top frame, forming triangular supports that enhance the stand’s overall rigidity. Once the positions are marked, use a measuring tape and pencil to ensure accuracy before proceeding with the attachment process.
Apply wood glue to the areas where the support braces will connect with the legs and top frame, establishing a strong adhesive bond. Subsequently, use a drill with appropriate bits to create pilot holes in both the braces and the corresponding components of the stand. These pilot holes are essential for guiding the screws and preventing the wood from splitting during the attachment process.
After creating the pilot holes, carefully insert screws to firmly attach the support braces to the legs and top frame, ensuring a secure and stable connection. It’s important to verify that the braces are positioned at the designated angles and are flush with the adjoining components, contributing to the stand’s overall symmetry and load-bearing capacity.
Once the support braces are securely in place, allow the wood glue to dry completely, reinforcing the connections and solidifying the stand’s framework. This final addition of support braces further enhances the stand’s structural integrity, ensuring that it can effectively bear the weight of the digital piano while maintaining its stability and balance.
With the support braces integrated into the stand, you are one step closer to completing the construction process. The final step will involve adding the finishing touches, including optional wood staining, painting, and sealing, to enhance the stand’s visual appeal and ensure its longevity in your musical space.
Step 5: Finishing Touches
As you near the completion of your custom digital piano stand, the final step involves adding finishing touches to enhance its visual appeal and ensure its longevity. While these touches are optional, they can significantly elevate the stand’s aesthetic and protective qualities, contributing to a polished and professional end result.
If you desire a specific color or finish for your stand, consider applying wood stain or paint to the surface. Before beginning the staining or painting process, ensure that the wood is clean and free of any dust or debris. Use a paintbrush to apply the wood stain or paint evenly across the surface, following the wood grain for a uniform and attractive finish. Multiple coats may be necessary to achieve the desired color depth, so allow each coat to dry thoroughly before applying the next.
Once the desired color is achieved, consider applying a protective layer of polyurethane to seal the wood and safeguard it from moisture, scratches, and general wear and tear. This step is particularly important if the stand will be placed in a high-traffic area or if it will be exposed to potential spills or humidity. The polyurethane will enhance the durability of the stand, prolonging its lifespan and preserving its appearance over time.
After applying the wood stain, paint, and polyurethane, allow the stand to dry completely in a well-ventilated area. Once the finish has cured, inspect the stand for any imperfections or areas that may require touch-ups. Sanding any rough spots and applying additional coats of polyurethane, if needed, will ensure a smooth and resilient finish that accentuates the natural beauty of the wood.
With the finishing touches complete, your custom digital piano stand is now ready to complement your musical space with both functionality and visual appeal. Whether you’ve chosen a natural wood finish or added a pop of color, the stand is a testament to your craftsmanship and dedication to creating a personalized and reliable support for your digital piano.
Conclusion
Congratulations on successfully crafting your very own digital piano stand! Through the meticulous process of cutting, assembling, and adding finishing touches, you have not only created a functional piece of furniture but also imbued your musical space with a touch of your personality and craftsmanship.
Building a custom digital piano stand offers a multitude of benefits beyond the satisfaction of completing a DIY project. By tailoring the dimensions and design to suit your specific digital piano and personal style, you’ve ensured that the stand not only provides stable support but also enhances the visual appeal of your musical environment.
Furthermore, the process of constructing the stand has likely provided you with valuable insights into woodworking techniques, reinforcing your skills and confidence in tackling future projects. Whether you’re an experienced woodworker or a novice DIY enthusiast, the creation of this stand has undoubtedly expanded your repertoire of practical skills and knowledge.
As you integrate your new digital piano stand into your musical space, take pride in the fact that it is a unique and personalized addition that reflects your dedication to both craftsmanship and music. The stand serves as a testament to your creativity and resourcefulness, enhancing your playing experience and contributing to the ambiance of your musical sanctuary.
Remember, the journey doesn’t end here. Embrace the satisfaction of completing this project and let it inspire you to explore further opportunities for crafting custom pieces that enrich your surroundings and reflect your individuality. Whether it’s woodworking, music, or any other creative pursuit, each endeavor offers the chance to express yourself and make a meaningful impact on your environment.
With your newly constructed digital piano stand in place, take a moment to appreciate the fusion of artistry and functionality that it represents. Your dedication and craftsmanship have yielded a remarkable result, and as you continue your creative journey, may this project serve as a reminder of the fulfillment that comes from bringing your ideas to life.


