Introduction
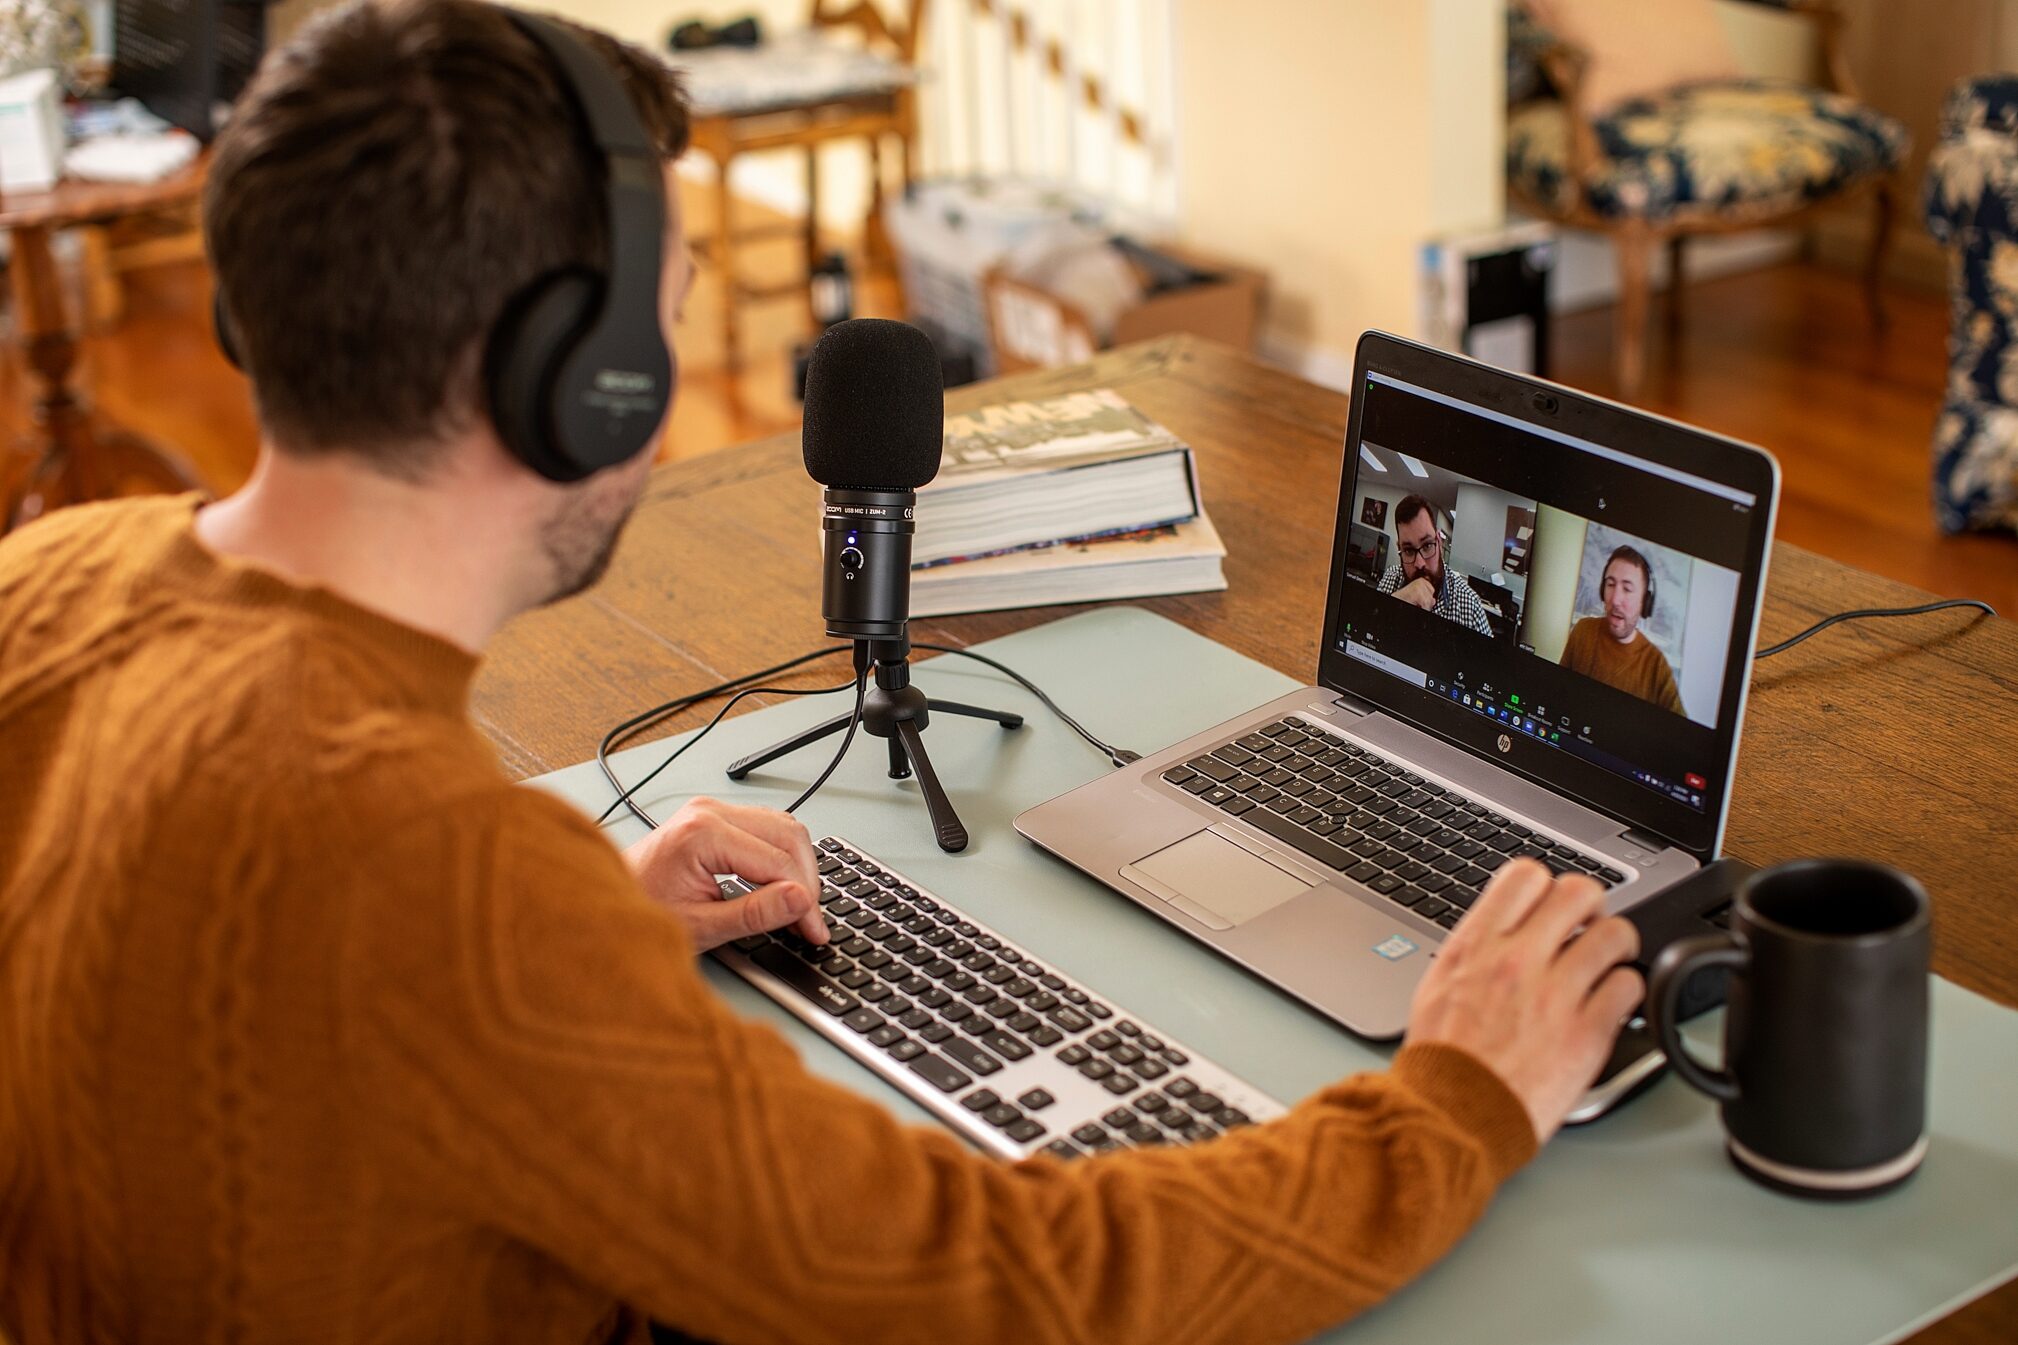
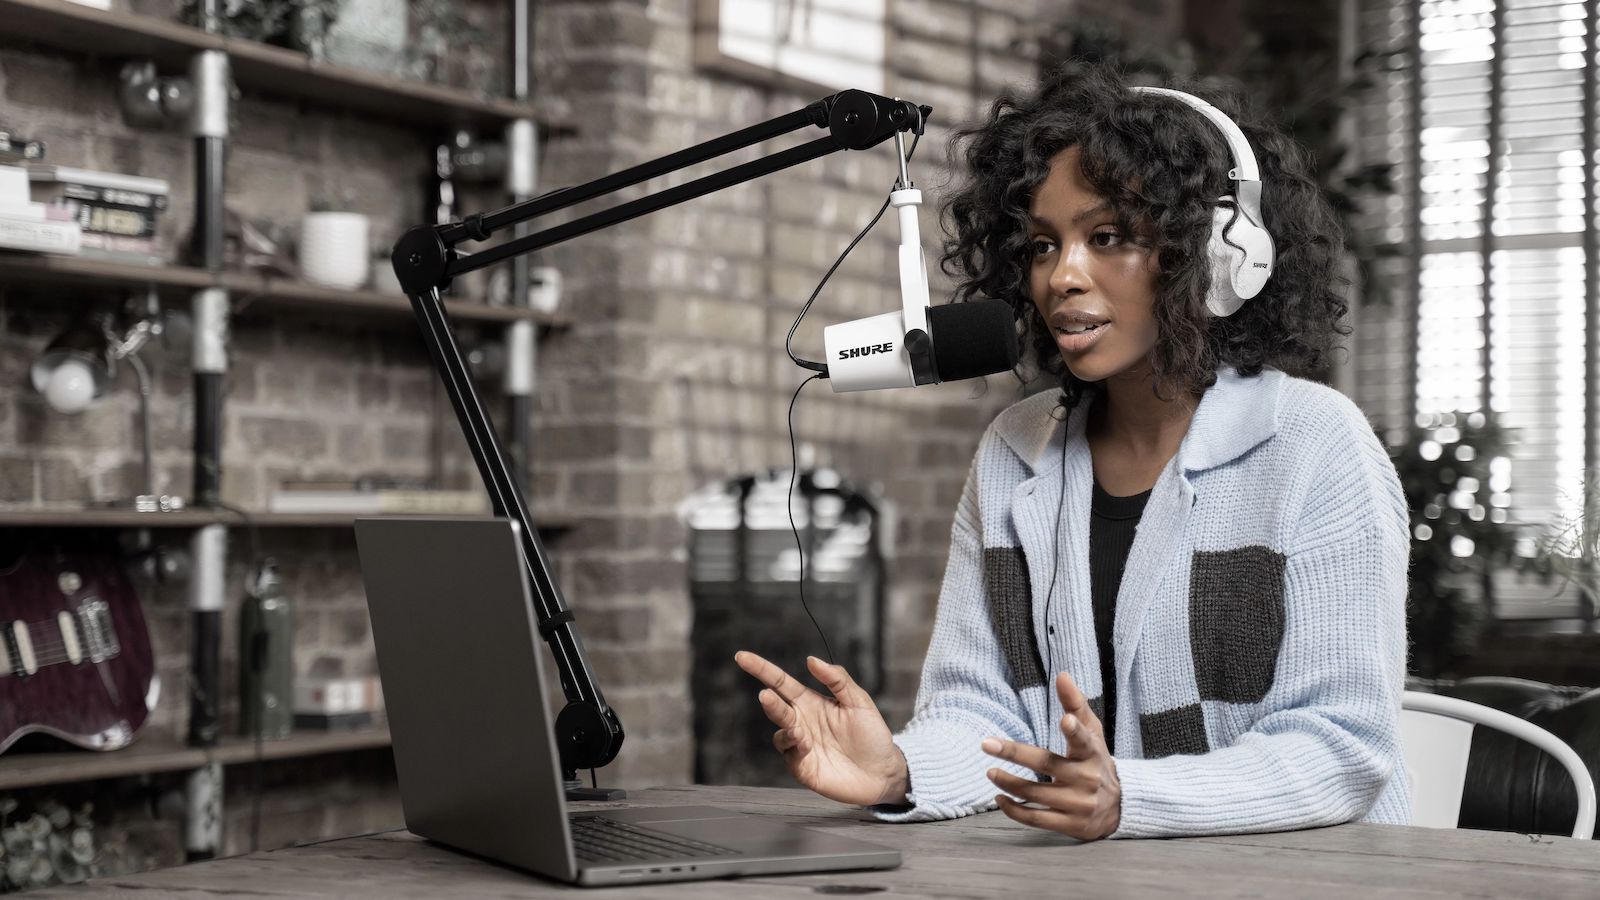
Using a USB microphone on your laptop can greatly improve the quality of your audio recordings, whether you’re a podcaster, gamer, content creator, or simply someone who wants to have better voice audio during video calls. USB microphones are famous for their convenience and easy setup, making them an ideal choice for beginners and professionals alike.
In this article, we will guide you through the process of how to use a USB microphone on your laptop, step by step. We will cover everything from checking compatibility to configuring the microphone settings. By the end of this guide, you’ll be able to effortlessly connect and use a USB microphone with your laptop.
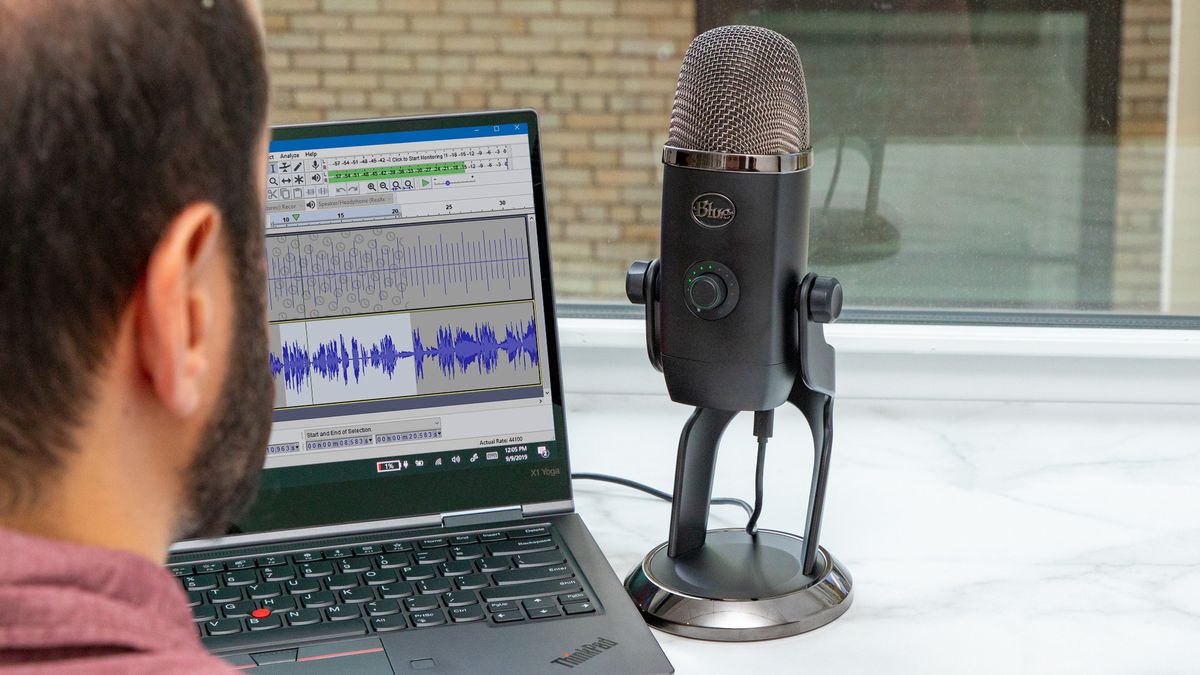
Before we delve into the steps, it’s important to understand the basics of USB microphones. Unlike traditional analog microphones that require preamps and audio interfaces to connect to a computer, USB microphones have built-in analog-to-digital converters and connect directly to your laptop’s USB port. This plug-and-play functionality eliminates the need for additional equipment, allowing you to start recording or streaming with ease.
Now that you have a general idea of USB microphones, let’s jump into the detailed steps to get your USB microphone up and running on your laptop.
Understanding USB Microphones
USB microphones are a popular choice for recording audio on laptops due to their simplicity and versatility. Unlike traditional XLR microphones that require additional equipment, such as audio interfaces, USB microphones have everything you need built-in. Here are a few key points to help you understand USB microphones better:
Digital-to-Analog Conversion: USB microphones have an integrated analog-to-digital converter (ADC) that converts the audio signal captured by the microphone into a digital format. This allows your laptop to process and record the audio directly without the need for an external ADC.
Plug-and-Play Functionality: One of the biggest advantages of USB microphones is their ease of use. Simply plug the USB microphone into an available USB port on your laptop, and it will be recognized as a separate audio device. This eliminates the need for complicated setup processes and driver installations.
Built-in Headphone Jacks: Many USB microphones come with a headphone jack on the microphone itself. This allows you to monitor the audio in real-time without any latency, making it a convenient feature for podcasters, gamers, and musicians.
Compatibility: USB microphones are designed to be compatible with a wide range of devices, including Windows, Mac, and even some mobile devices. However, it’s always a good idea to check the product specifications and system requirements to ensure compatibility with your specific laptop.
Quality and Features: USB microphones come in various price ranges, offering different levels of audio quality and additional features. Higher-end models often incorporate advanced technologies such as multiple pickup patterns, built-in preamps, and gain control. Understanding your specific audio needs and budget will help you choose the right USB microphone for your laptop.
Now that you have a better understanding of USB microphones, let’s move on to the step-by-step process of using a USB microphone on your laptop.
Step 1: Check Compatibility
Before you start using a USB microphone on your laptop, it’s essential to ensure that it is compatible with your operating system. While most USB microphones are designed to work with both Windows and Mac systems, it’s always a good idea to double-check to avoid any compatibility issues. Here’s how to check compatibility:
1. Research the USB Microphone: Begin by researching the USB microphone you plan to use. Visit the manufacturer’s website or refer to the product manual to find information about system requirements and supported operating systems. Make sure that your laptop’s operating system is listed as compatible.
2. Determine USB Version: USB microphones usually use different versions of the USB protocol, such as USB 2.0, USB 3.0, or USB-C. Check the USB ports on your laptop to identify the available USB versions. Ensure that the USB microphone you choose matches the USB version supported by your laptop.
3. Update Software: Keep your operating system and drivers up to date. This ensures that your laptop has the necessary software and firmware to support the USB microphone. Check for any available updates and install them before connecting the USB microphone.
4. Check Power Requirements: Some USB microphones draw power directly from the USB port, while others may require an external power source. Make sure your laptop’s USB ports can supply sufficient power to the USB microphone. If necessary, use a powered USB hub to provide additional power.
5. Compatibility Checks: If you’re unsure about compatibility, search online forums or contact the USB microphone’s manufacturer for assistance. They can provide you with specific information and recommendations based on your laptop’s specifications.
Checking compatibility is an important first step to ensure that you have a seamless experience when using a USB microphone on your laptop. Once you have confirmed that your USB microphone is compatible, you can proceed to the next steps for installation and configuration.
Step 2: Install Necessary Drivers
After confirming the compatibility of your USB microphone with your laptop, the next step is to install any necessary drivers. While many USB microphones are plug-and-play and do not require additional drivers, some models may have specific software that needs to be installed for optimal performance. Here’s how to install drivers for your USB microphone:
1. Check the Manufacturer’s Website: Visit the manufacturer’s website of your USB microphone and navigate to the support or downloads section. Look for any available drivers or software for your specific model. Make sure to download the drivers that are compatible with your operating system.
2. Run the Installer: Locate the downloaded driver file on your laptop and run the installer. Follow the on-screen instructions to install the necessary drivers. Be sure to read any prompts or notifications during the installation process.
3. Restart Your Laptop: After the driver installation is complete, it’s a good idea to restart your laptop. This ensures that any changes made by the driver installation take effect properly and allows your laptop to recognize the USB microphone.
4. Connect the USB Microphone: Once your laptop has restarted, connect the USB microphone to an available USB port. Your laptop should automatically recognize the USB microphone and complete the installation process.
5. Test the Microphone: Open your preferred recording software or go to your laptop’s sound settings to test the USB microphone. Speak into the microphone and check if the audio is being picked up. Adjust the volume and gain settings as necessary.
If your USB microphone is plug-and-play and does not require any additional drivers, you can skip this step and proceed to the next step for connecting and configuring the microphone on your laptop.
By installing the necessary drivers, you ensure that your USB microphone is fully optimized and ready to use on your laptop. Once the drivers are installed, it’s time to connect the USB microphone and configure the settings for optimal performance.
Step 3: Plug in the USB Microphone
Now that you have ensured compatibility and installed any necessary drivers, it’s time to plug in your USB microphone to your laptop. Follow these simple steps to connect your USB microphone:
1. Locate an Available USB Port: Find an available USB port on your laptop. USB ports are typically located on the sides or back of your laptop. Ensure that the port is not damaged or obstructed.
2. Connect the USB Cable: Take the USB cable that came with your USB microphone and connect one end to the USB port on your laptop. Make sure the connection is secure.
3. Connect the Microphone: Connect the other end of the USB cable to the USB port on your USB microphone. Again, ensure a secure connection.
4. USB Microphone Recognition: Once the USB microphone is connected, your laptop should automatically recognize it as a separate audio device. It may take a few seconds to install the necessary drivers or configure the settings.
5. Check the Connection: Open your laptop’s sound settings or recording software and check if the USB microphone is listed as an available input device. If it is, then the connection is successful.
Now that you have successfully connected your USB microphone to your laptop, you can proceed to the next step for configuring the microphone settings.
Note that some USB microphones may have additional features like adjustable gain controls or headphone output jacks. Refer to the manufacturer’s instructions or documentation to learn more about utilizing these features.
Before moving on, it’s a good practice to ensure the USB microphone is set up correctly by testing its functionality. Speak into the microphone and monitor the audio levels to confirm that it is working properly. If the audio levels are too low or distorted, you can adjust the microphone settings and volume accordingly.
Step 4: Configure Microphone Settings
Once you have successfully connected your USB microphone to your laptop, the next step is to configure the microphone settings. This will ensure optimal audio quality and performance. Follow these steps to configure your USB microphone settings:
1. Open Sound Settings: On your laptop, go to the system settings or control panel and find the sound settings. The exact location may vary depending on your operating system.
2. Select Input Device: In the sound settings, look for the option to select the input or recording device. Choose your USB microphone from the available devices. Set it as the default input device if necessary.
3. Adjust Microphone Levels: Adjust the input volume or microphone gain settings to ensure that the audio input from your USB microphone is neither too soft nor too loud. Test your microphone by speaking into it and monitor the audio levels in the settings or recording software. Make necessary adjustments until the audio levels are optimal.
4. Check Additional Settings: Some USB microphones have additional settings that can be adjusted for better performance. These settings may include polar patterns, sample rate, bit depth, or headphone volume. Refer to the manufacturer’s instructions or documentation to learn more about these settings and make any desired adjustments.
5. Test the Microphone: Once you have configured the settings, it’s important to test the microphone again. Open a recording software or use the built-in voice recorder on your laptop to test the audio quality. Ensure that the microphone is picking up clear and accurate sound. Make further adjustments if necessary.
6. Background Noise Reduction: If you’re experiencing background noise or unwanted sounds during recordings, you can explore noise reduction techniques. This may involve adjusting microphone placement, using a pop filter, or utilizing software-based noise reduction tools in your recording software.
By carefully configuring your USB microphone’s settings, you can tailor the audio input to suit your specific needs and ensure high-quality recordings or clear communication during video calls. Taking the time to calibrate the microphone settings will help you achieve the best possible performance.
Once your USB microphone is configured, you’re ready to move on to the next step to ensure that it is set as the default recording device on your laptop.
Step 5: Test and Adjust the Volume
After configuring the settings of your USB microphone, it’s crucial to test and adjust the volume to achieve optimal audio levels. This step ensures that your recordings or voice input during video calls are clear and well-balanced. Follow these steps to test and adjust the volume of your USB microphone:
1. Open a Recording Software: Open a recording software or application on your laptop. This can be a dedicated audio recording software or a video conferencing application that allows you to test your microphone’s volume.
2. Begin Recording: Start a new recording or make a test call to a friend or colleague. Speak into the USB microphone at your normal speaking volume and ensure that your voice is being picked up clearly.
3. Monitor the Volume Levels: Keep an eye on the volume meters or indicators in the recording software or application while speaking. The volume meters typically display the audio input levels in real-time.
4. Adjust the Microphone Gain: If the volume levels appear too low, you can adjust the microphone gain or input level settings in the sound settings of your laptop or within the recording software. Gradually increase the gain until the volume reaches an optimal level, making sure it doesn’t distort or clip.
5. Speak at a Consistent Level: During the volume adjustment process, ensure that you speak at a consistent level to get accurate readings. Speak naturally and avoid shouting or whispering to avoid drastic volume fluctuations.
6. Playback and Evaluate: After making volume adjustments, playback the recorded test to evaluate the audio quality. Listen for any distortions, clipping, or background noise. If necessary, fine-tune the microphone gain or volume settings to achieve balanced and clear audio.
7. Test in Various Scenarios: To ensure the microphone volume is suitable for different situations, test it in various scenarios such as recording in a quiet room, speaking from a distance, or testing in a noisy environment. This will help you determine if further adjustments are needed.
Remember that achieving the right volume level is crucial for effective communication and quality recordings. By testing and adjusting the volume of your USB microphone, you’re ensuring that your voice is captured clearly and without any distortion or excessive noise.
Once you are satisfied with the volume levels, move on to the next step to set your USB microphone as the default recording device on your laptop to streamline future usage.
Step 6: Select the USB Microphone as Default Recording Device
Setting your USB microphone as the default recording device on your laptop ensures that whenever you use an application or software that requires audio input, it automatically uses the USB microphone without the need for manual selection. Follow these steps to set your USB microphone as the default recording device:
1. Open Sound Settings: Navigate to the sound settings on your laptop. The location of the sound settings may vary depending on your operating system, but it can typically be found in the system settings or control panel.
2. Select Recording Devices: Within the sound settings, locate the tab or option that allows you to manage recording devices. This may be labeled as “Recording” or “Input.”
3. Choose the USB Microphone: In the list of available recording devices, locate and select your USB microphone. It may be listed by its brand or model name. Set it as the default recording device by right-clicking and selecting “Set as Default Device” or a similar option.
4. Adjust Default Device Settings: Once you have set your USB microphone as the default recording device, you can further adjust its settings by selecting it and clicking on the “Properties” or “Configure” button. Here, you can fine-tune settings such as the microphone boost level, enhancements, or noise cancellation options, depending on your laptop’s audio settings.
5. Test the Default Device: To ensure that your USB microphone is now set as the default recording device, open a recording software or make a test call to confirm that the audio is being picked up by the USB microphone automatically. Speak into the microphone and monitor the audio levels to verify it’s working as expected.
By selecting your USB microphone as the default recording device, you eliminate the need to manually switch audio input devices each time you want to use the microphone. Your laptop will automatically use the USB microphone as the default input whenever it’s connected.
It’s important to note that if you have multiple recording devices connected to your laptop, such as a built-in microphone or a headset with a microphone, you may need to change the default device setting back to your USB microphone if you disconnect and reconnect it or use a different input device.
Now that you have successfully set the USB microphone as the default recording device, you can confidently use it for various applications, such as recording voice-overs, participating in online meetings, or creating podcasts.
Troubleshooting Common Issues
While connecting and using a USB microphone on your laptop is usually straightforward, you may encounter some common issues along the way. Understanding these issues and their solutions can help you troubleshoot and resolve any problems you may experience. Here are some common issues and their suggested solutions:
1. Driver Issues: If your laptop does not recognize the USB microphone or fails to install the necessary drivers, try the following:
- Disconnect the USB microphone and reconnect it to a different USB port.
- Download the latest drivers from the manufacturer’s website and reinstall them.
- Restart your laptop and try connecting the USB microphone again.
2. Low Volume or No Sound: If the USB microphone is not picking up sound or the volume is too low, consider the following troubleshooting steps:
- Check the microphone’s volume or gain settings in the sound settings or recording software and adjust them accordingly.
- Ensure that the microphone is set as the default recording device on your laptop.
- Try connecting the USB microphone to a different USB port on your laptop.
- Ensure that the microphone is not muted or disabled in the sound settings.
3. Background Noise or Distortion: If you’re experiencing unwanted background noise or distortion in the audio recorded by the USB microphone, consider the following solutions:
- Adjust the microphone’s position or distance from the sound source to reduce background noise.
- Use a pop filter or windscreen to minimize plosives and other unwanted noises.
- Check for any physical damage or loose connections on the USB microphone or cables.
- Experiment with different microphone settings, such as gain levels or polar patterns, to reduce distortion.
- Utilize noise reduction or audio enhancement tools within your recording software if available.
4. Compatibility Issues: If your USB microphone is not compatible with your laptop or operating system, consider the following steps:
- Double-check the compatibility requirements and system specifications of the USB microphone.
- Contact the manufacturer for assistance or to inquire about any compatibility updates or firmware releases.
- If your laptop’s operating system is not compatible, consider using an alternative USB microphone or upgrading your system if possible.
If you continue to experience issues with your USB microphone, consider consulting the manufacturer’s support resources, online forums, or seeking assistance from technical experts who can provide personalized guidance for your specific situation.
By troubleshooting and addressing these common issues, you can ensure smooth and seamless usage of your USB microphone for recording, streaming, or communication purposes.
Conclusion
Congratulations! You have reached the end of this guide on how to use a USB microphone on your laptop. By following the steps outlined in this article, you should now be able to connect, configure, and use a USB microphone with ease. USB microphones offer convenience and high-quality audio for a variety of applications, including podcasting, gaming, content creation, and video conferencing.
We started by understanding the basics of USB microphones and how they differ from traditional analog microphones. We then walked through the necessary steps, from checking compatibility and installing drivers to plugging in the USB microphone, configuring settings, and setting it as the default recording device on your laptop. Troubleshooting common issues was also covered to help you overcome any challenges that may arise.
Remember to always double-check the compatibility of your USB microphone with your laptop’s operating system and ensure that you have installed the necessary drivers for optimal performance. Adjusting the microphone settings, testing and adjusting the volume, and selecting the USB microphone as the default recording device are essential steps to achieve the best audio quality.
If you encounter any problems or have further questions, don’t hesitate to consult the manufacturer’s support resources or seek assistance from online forums or technical experts. They can provide personalized guidance based on your specific setup and requirements.
Now, armed with this knowledge, you can fully leverage the capabilities of your USB microphone and enjoy enhanced audio experiences during your recordings, live streams, or online conversations. Happy recording!


