Introduction
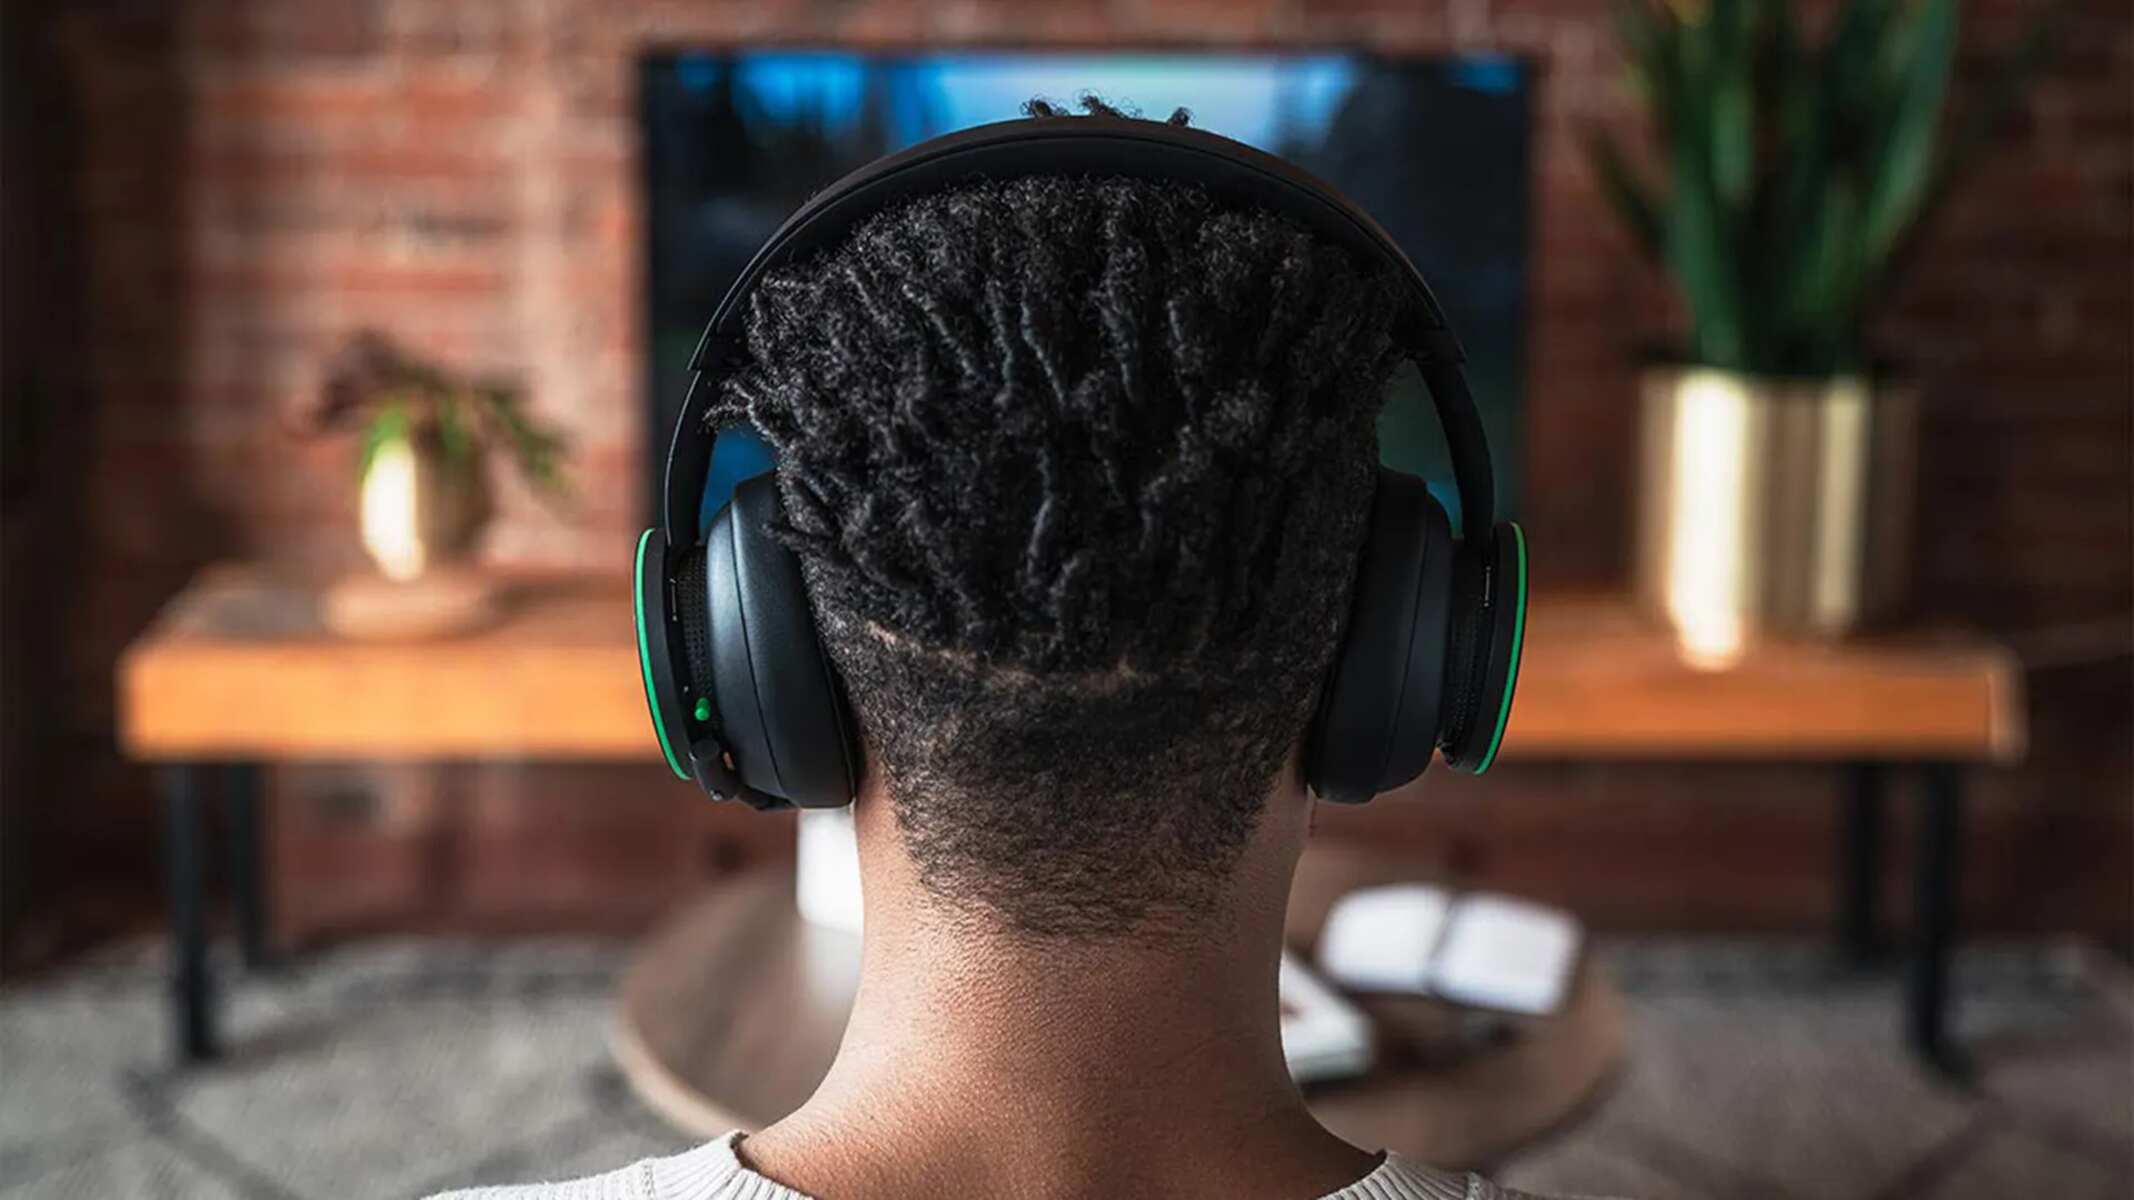
Are you tired of being tethered to your gaming console or computer by a wired headset? Do you dream of the freedom to move around without being restricted by cables? The good news is that you can easily transform your existing gaming headset into a wireless one. By following a few simple steps, you can enjoy the convenience and flexibility of a wireless headset without having to purchase an entirely new device.
Converting a gaming headset to wireless involves selecting the right wireless adapter, disassembling the headset, installing the adapter, and reassembling the headset. This process allows you to maintain the audio quality and comfort of your current headset while gaining the freedom of movement that a wireless setup offers.
This guide will walk you through each step, providing detailed instructions and tips to ensure a successful conversion. Whether you’re a seasoned gamer, a casual player, or someone who simply values the convenience of a wireless headset, this DIY project is a practical and rewarding endeavor.
Get ready to untether yourself and elevate your gaming experience with a wireless gaming headset!
Understanding the Components
Before embarking on the journey of converting your gaming headset to wireless, it’s crucial to understand the key components involved in this process. The primary elements include the gaming headset itself, a compatible wireless adapter, and any additional tools required for disassembly and installation.
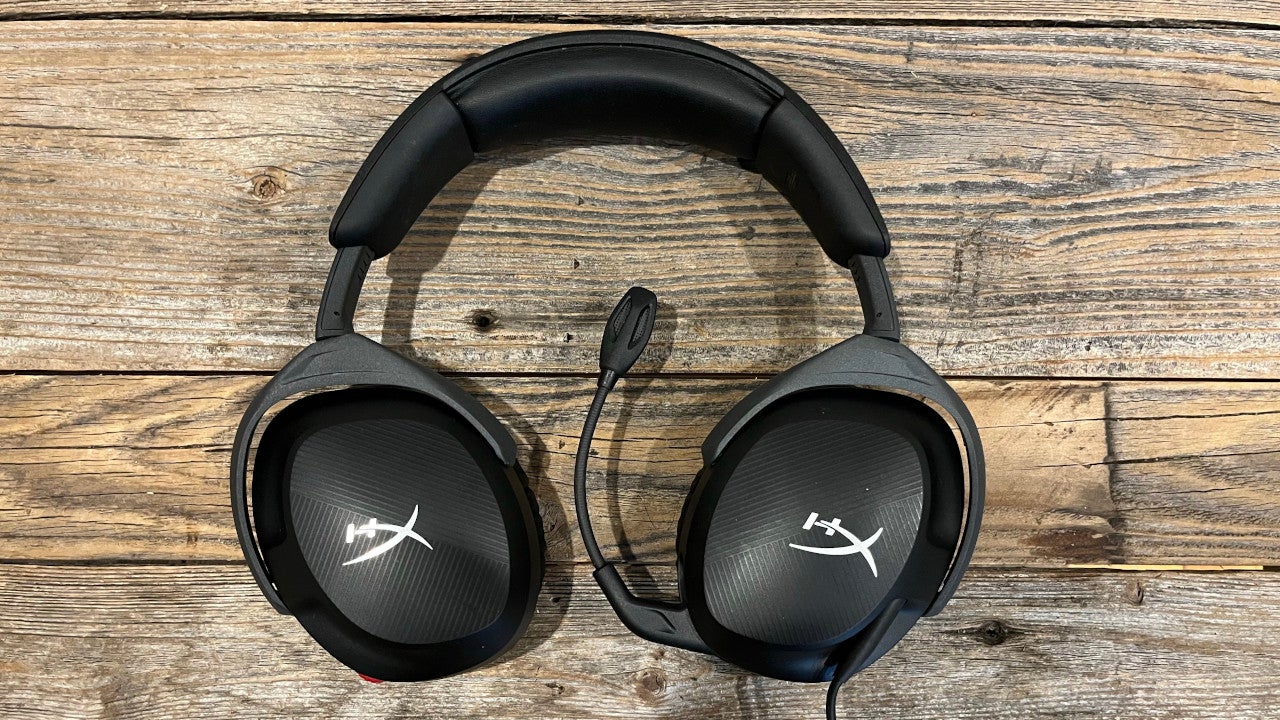
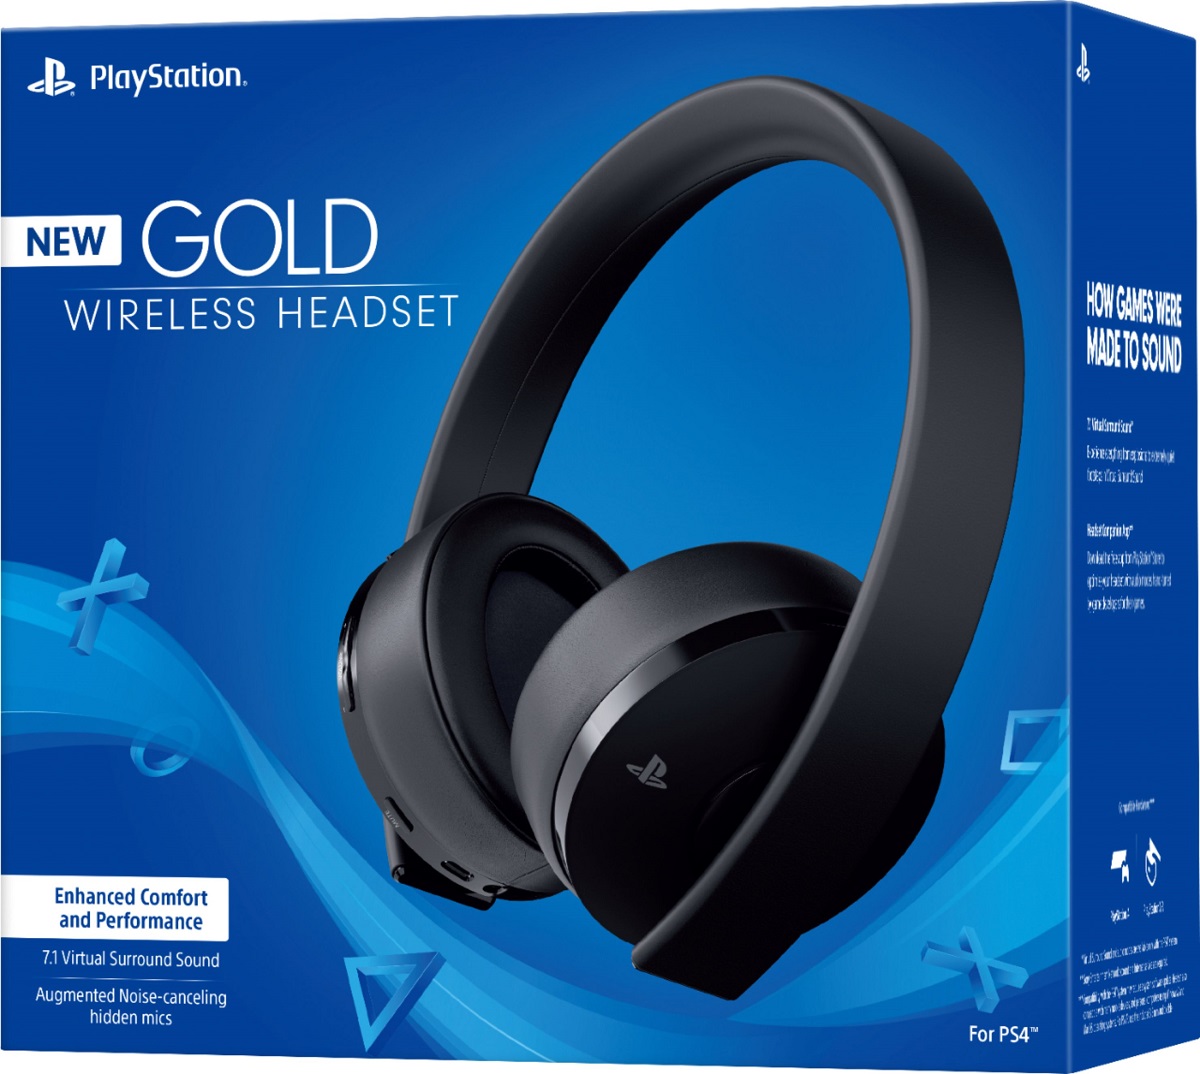
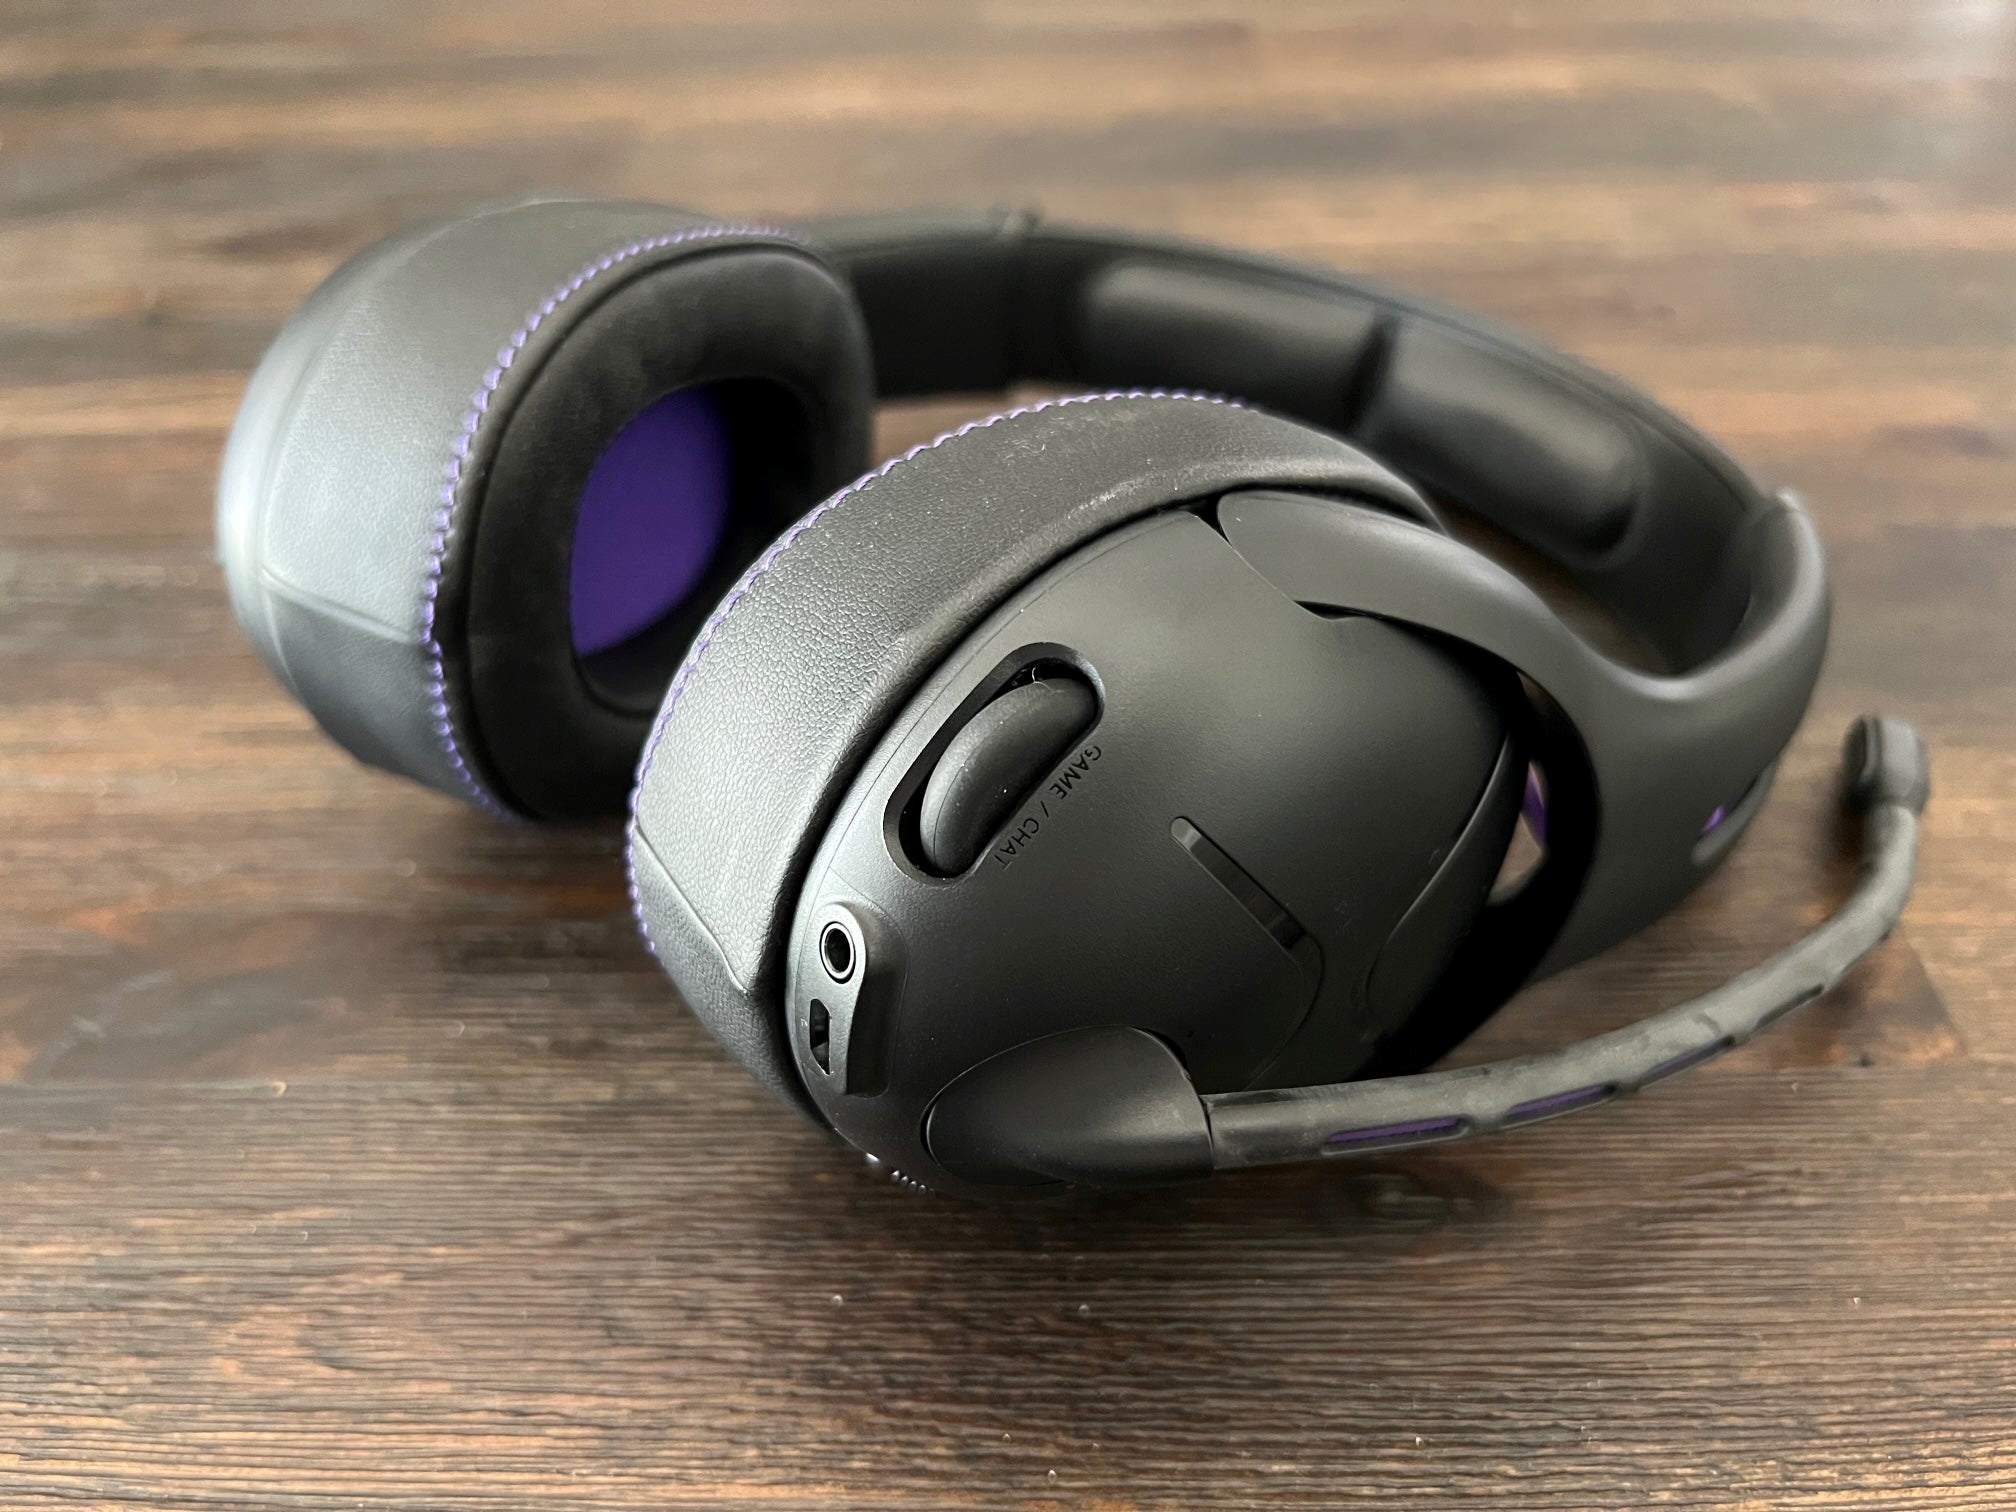
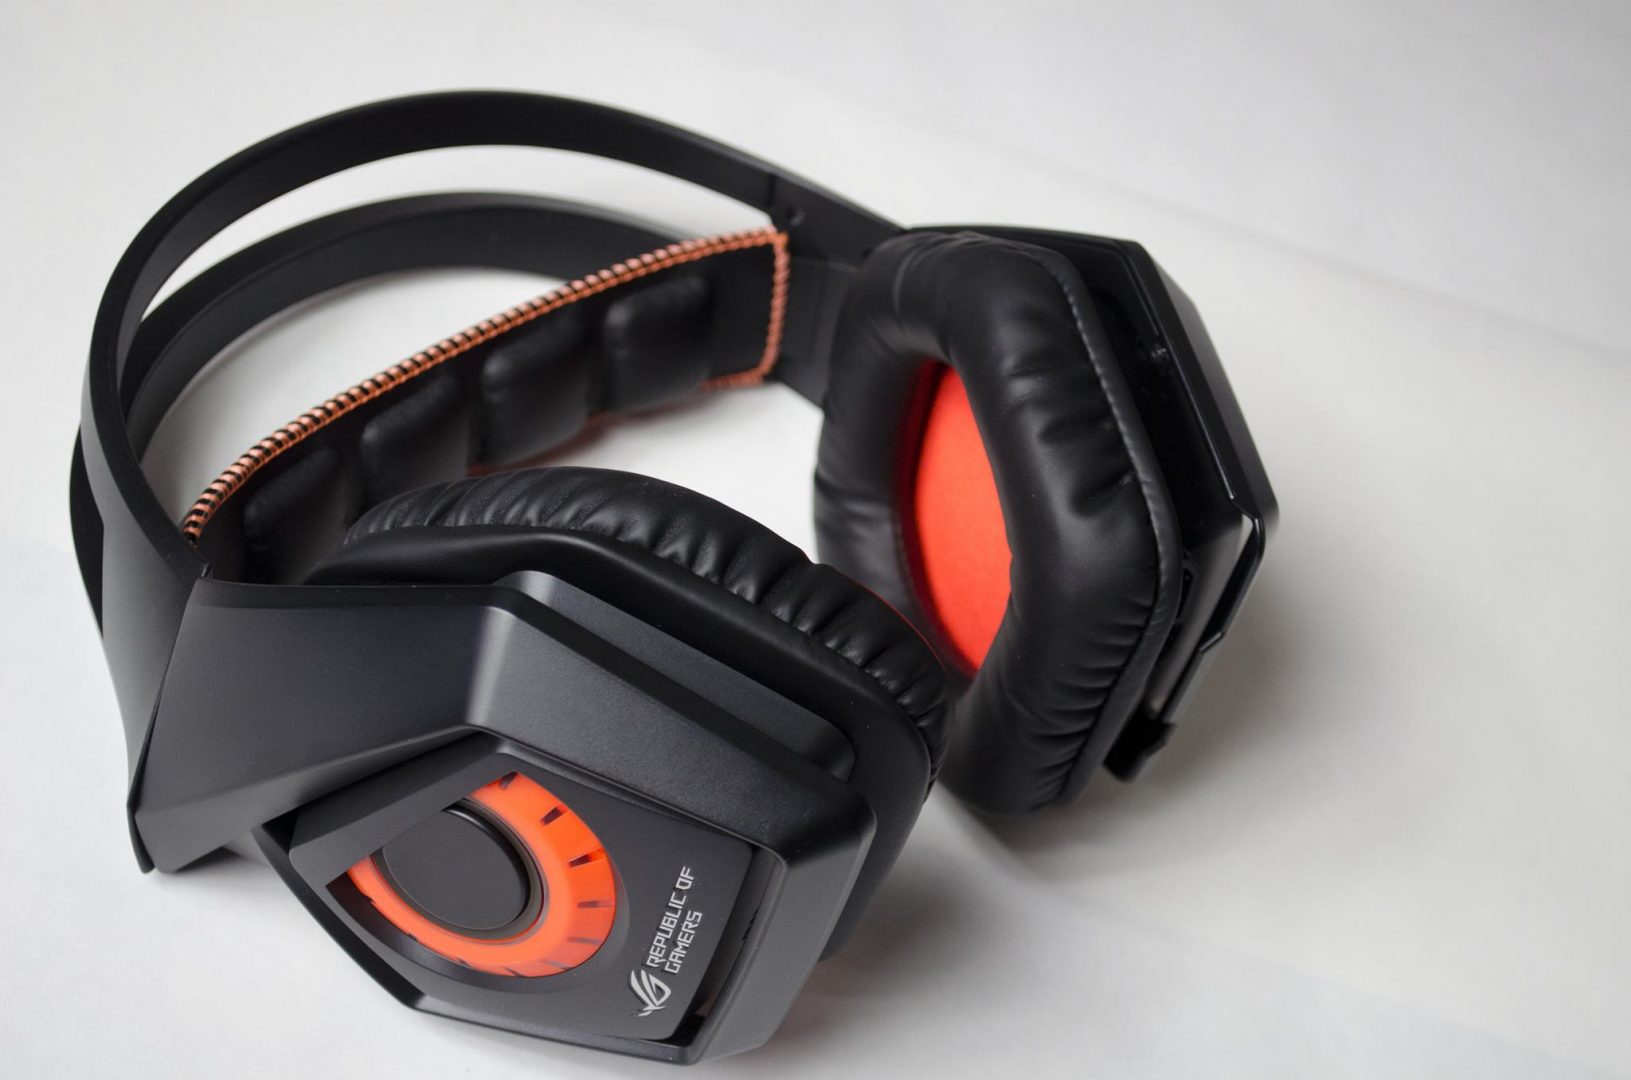
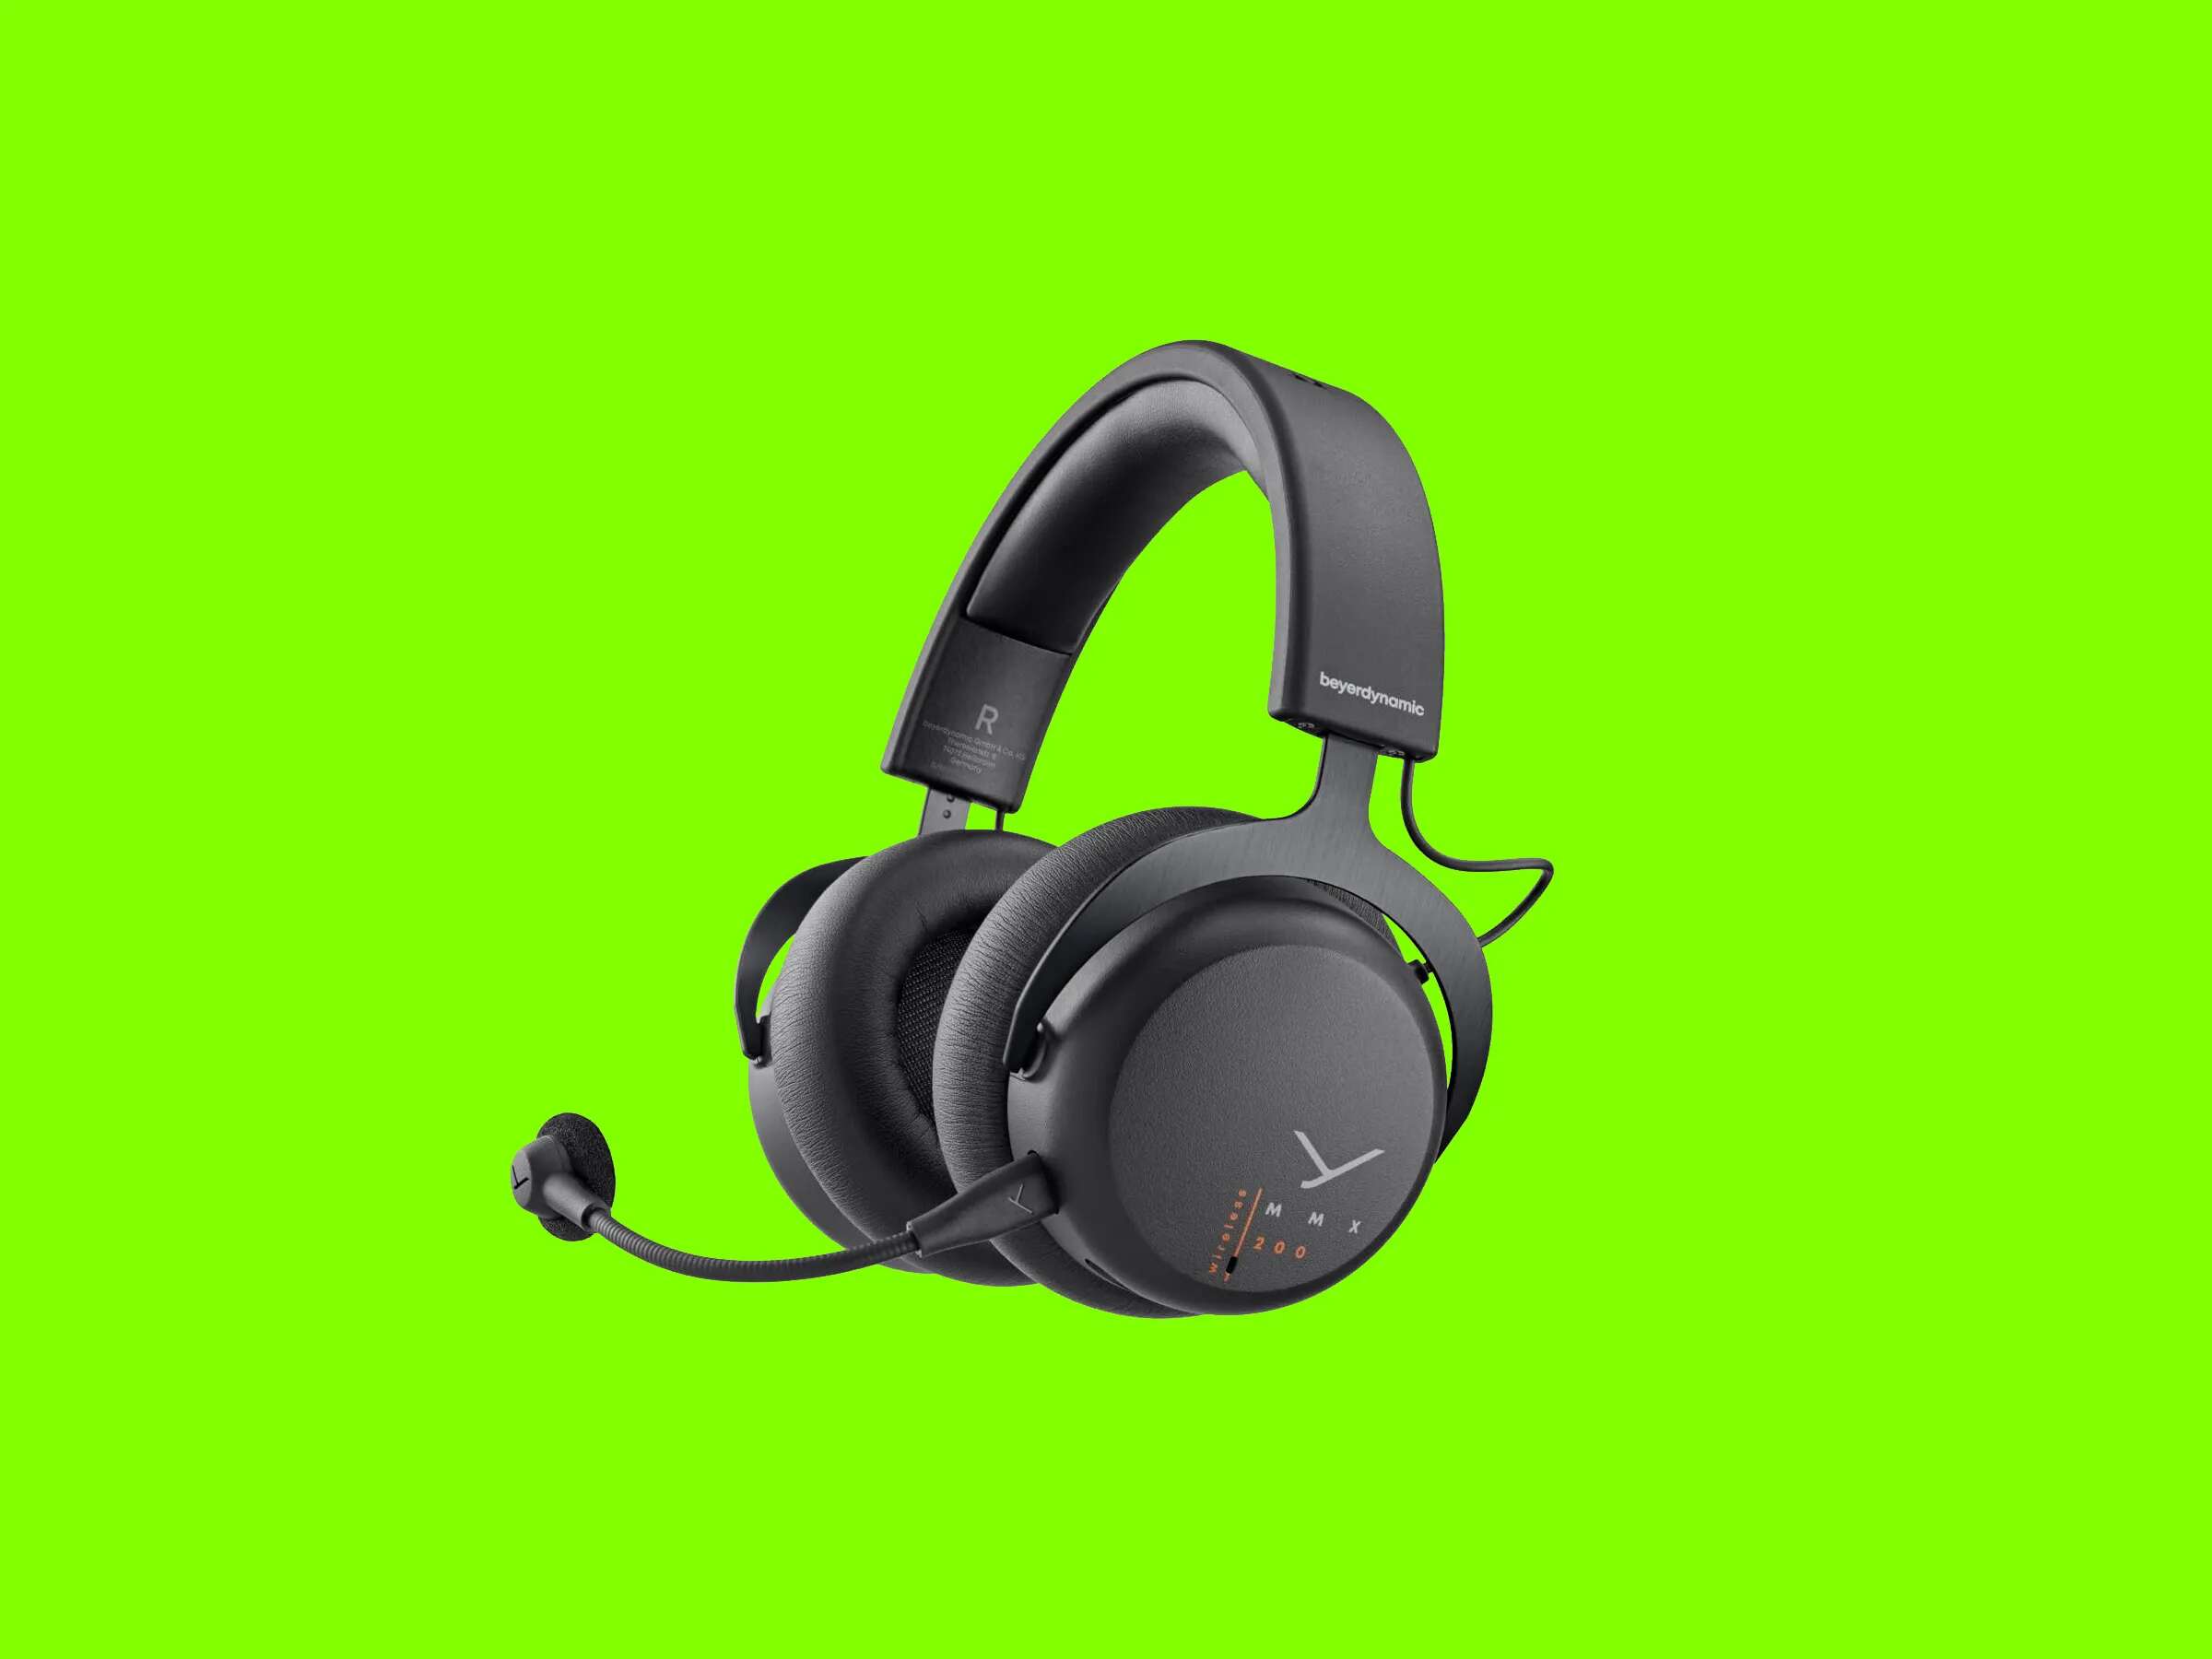
The gaming headset serves as the foundation for this project. It’s essential to select a headset that meets your audio preferences and comfort requirements. Whether you prefer over-ear, on-ear, or in-ear headphones, ensure that your chosen headset is suitable for long gaming sessions and delivers the audio quality you desire.
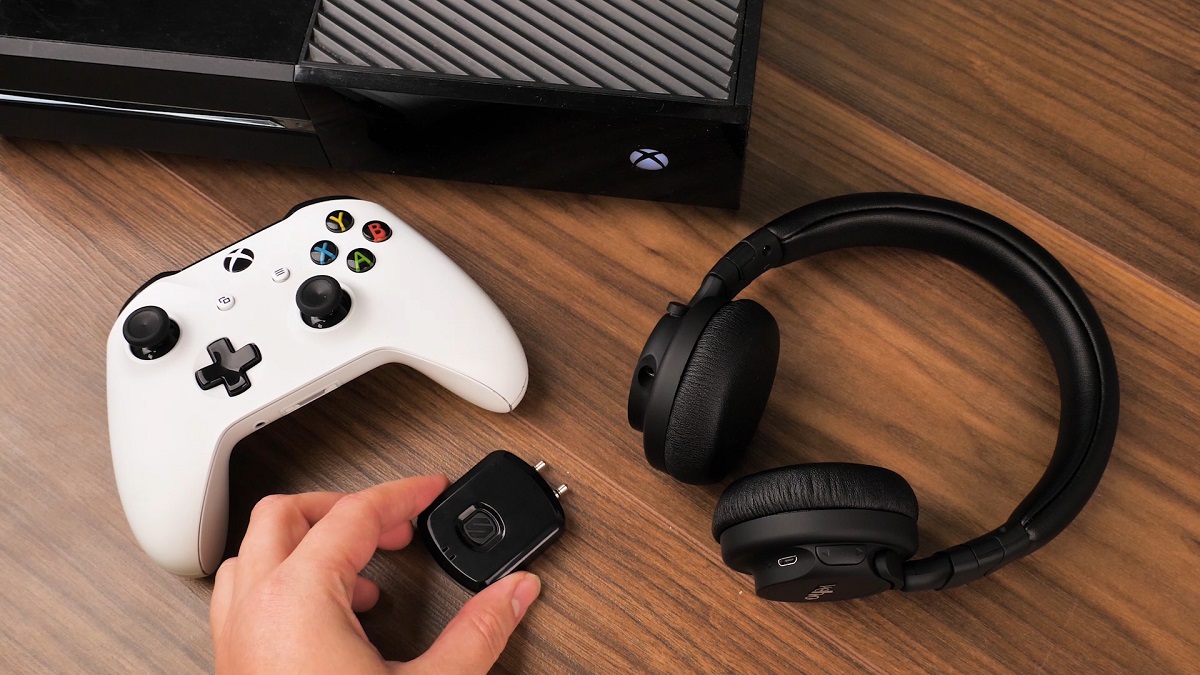
Next, the wireless adapter plays a pivotal role in enabling wireless connectivity for your headset. When selecting a wireless adapter, consider factors such as compatibility with your gaming platform, range, and battery life. Additionally, ensure that the adapter supports the audio input/output requirements of your headset to maintain optimal sound quality.
Depending on the design of your headset and the wireless adapter, you may need specific tools to disassemble the headset and install the adapter. These tools can include screwdrivers, prying tools, and adhesive materials. Familiarize yourself with the construction of your headset and the installation requirements of the wireless adapter to determine the necessary tools for the project.
By gaining a comprehensive understanding of these components, you’ll be well-prepared to proceed with the conversion process. This knowledge will empower you to make informed decisions when selecting a wireless adapter and ensure a seamless integration with your gaming headset.
Choosing the Right Wireless Adapter
When it comes to converting your gaming headset to wireless, the selection of the wireless adapter is a critical decision that directly impacts the performance and functionality of your headset. To make an informed choice, consider the following key factors:
- Compatibility: Ensure that the wireless adapter is compatible with your gaming platform, whether it’s a PC, PlayStation, Xbox, or other gaming consoles. Additionally, verify that the adapter supports the audio input/output specifications of your headset to maintain audio fidelity.
- Wireless Technology: Evaluate the wireless technology utilized by the adapter. Common options include Bluetooth and proprietary wireless protocols. Consider the range, latency, and interference resistance offered by the wireless technology to determine its suitability for gaming.
- Battery Life: Assess the battery life of the wireless adapter, especially if you engage in lengthy gaming sessions. A reliable battery ensures uninterrupted gameplay without frequent recharging.
- Audio Quality: Prioritize the preservation of audio quality during wireless transmission. Look for a wireless adapter that supports high-fidelity audio and minimizes latency to deliver an immersive gaming experience.
- Installation Method: Consider the installation process of the wireless adapter. Some adapters may require internal installation within the headset, while others offer external attachment options. Choose an installation method that aligns with your comfort level and technical expertise.
Additionally, reading user reviews and seeking recommendations from gaming communities can provide valuable insights into the performance and reliability of specific wireless adapters. By conducting thorough research and weighing these factors, you can confidently select a wireless adapter that seamlessly integrates with your gaming headset, enabling a smooth transition to a wireless setup.
Disassembling the Headset
Before installing the wireless adapter, it’s essential to disassemble your gaming headset to access the internal components and identify the suitable integration points for the adapter. While the disassembly process may vary based on the headset model, the following general steps can guide you through this phase:
- Refer to the User Manual: If available, refer to the user manual or online guides specific to your headset model. These resources often provide detailed disassembly instructions and highlight the components that can be safely removed for modification.
- Identify Access Points: Carefully examine the headset to identify access points or removable panels that allow internal components to be accessed. This may involve removing ear pads, headband cushioning, or detachable covers that conceal the internal hardware.
- Unscrewing and Detaching: Utilize appropriate screwdrivers and tools to unscrew and detach the components as indicated in the disassembly instructions. Exercise caution to avoid damaging delicate components and cables within the headset.
- Cable Management: As you disassemble the headset, pay attention to the cable routing and connections. Take note of the original configuration to facilitate the reassembly process and ensure that the wireless adapter’s installation does not interfere with the existing cables.
- Component Removal: Remove the necessary components to create space for installing the wireless adapter. This may involve exposing the audio input/output ports, identifying the power source for the adapter, and creating a secure mounting location within the headset’s housing.
Throughout the disassembly process, maintain an organized approach by labeling removed components and keeping track of the associated hardware, such as screws and fasteners. This meticulous approach will streamline the reassembly phase and minimize the risk of misplacing crucial components.
By methodically disassembling your gaming headset, you’ll lay the groundwork for a successful integration of the wireless adapter, setting the stage for the next phase of this transformative DIY project.
Installing the Wireless Adapter
With the headset disassembled and the wireless adapter selected, it’s time to proceed with the installation phase. This crucial step involves integrating the wireless adapter into the headset, ensuring a secure and functional connection while preserving the headset’s structural integrity and audio performance.
The specific installation process may vary based on the design of the wireless adapter and the internal layout of your gaming headset. However, the following general guidelines can serve as a roadmap for this installation endeavor:
- Identify Mounting Location: Assess the available space within the headset to determine the optimal mounting location for the wireless adapter. Consider factors such as accessibility, cable routing, and proximity to the audio input/output ports.
- Secure Attachment: Depending on the design of the wireless adapter, ensure a secure attachment method within the headset. This may involve utilizing adhesive materials, mounting brackets, or custom fabrication to create a stable and reliable connection point.
- Audio Connectivity: Establish the audio connectivity between the wireless adapter and the headset’s audio input/output ports. Ensure a snug and reliable connection to maintain audio fidelity and minimize signal interference.
- Power Integration: If the wireless adapter requires a power source, plan for the integration of the power supply within the headset. This may involve routing and concealing cables to maintain a tidy internal layout while providing the necessary power to the adapter.
- Functional Testing: Before finalizing the installation, conduct functional tests to ensure that the wireless adapter is securely installed and capable of establishing a reliable wireless connection. Verify the audio output and assess the signal strength to validate the successful integration of the wireless adapter.
Throughout the installation process, prioritize precision and attention to detail to ensure a seamless integration of the wireless adapter into your gaming headset. By methodically executing these installation steps, you’ll pave the way for the realization of a wireless gaming experience while preserving the audio quality and comfort of your trusted headset.
Testing the Wireless Connection
After successfully installing the wireless adapter into your gaming headset, it’s time to embark on the pivotal phase of testing the wireless connection. This crucial step ensures that the wireless setup functions seamlessly, delivering reliable audio transmission and the freedom of movement that wireless technology promises. The following steps outline the process of testing the wireless connection:
- Powering On: Activate the wireless adapter and ensure that it establishes a connection with the gaming platform or audio source. Verify that the adapter’s power indicators and connectivity signals align with the manufacturer’s specifications.
- Audio Playback: Initiate audio playback through the wireless headset. Evaluate the audio quality, ensuring that the wireless transmission maintains the fidelity and clarity of the audio output without noticeable latency or distortion.
- Range and Mobility: Test the wireless connection’s range and mobility by moving away from the source while maintaining audio reception. Assess the signal strength and stability as you navigate within the designated wireless range, ensuring consistent audio delivery without dropouts or signal degradation.
- Gaming Performance: Engage in gaming sessions to evaluate the wireless connection’s performance during dynamic audio scenarios, such as intense gameplay sequences and immersive sound effects. Assess the adapter’s ability to deliver real-time audio feedback without compromising the gaming experience.
- Interference and Reliability: Identify potential sources of wireless interference within your gaming environment, such as other wireless devices or electronic equipment. Verify that the wireless connection maintains reliability and immunity to interference, upholding consistent audio transmission under varying environmental conditions.
By meticulously testing the wireless connection, you can validate the successful integration of the wireless adapter and ensure that your gaming headset now operates as a reliable wireless solution. This comprehensive testing phase serves as the ultimate confirmation of a seamless transition to a wireless gaming experience, empowering you to enjoy gaming without the constraints of wired connectivity.
Reassembling the Headset
With the wireless adapter successfully installed and the wireless connection tested, the final phase involves reassembling your gaming headset. This process is essential for restoring the headset to its original form while incorporating the newly integrated wireless capabilities. Follow these steps to ensure a seamless reassembly:
- Component Alignment: Align the components and internal elements of the headset in accordance with their original configuration. Ensure that cables, drivers, and other internal components are positioned correctly to facilitate a smooth reassembly process.
- Secure Fastening: Utilize the appropriate fasteners, such as screws or clips, to secure the components back into place. Exercise care to avoid over-tightening screws and damaging delicate components while ensuring a secure fit for each element of the headset.
- Cable Routing: Organize and route the internal cables to prevent tangling and interference with moving parts or the newly installed wireless adapter. Maintain a tidy cable layout to optimize internal space and prevent potential cable damage during reassembly.
- Functional Checks: Before completing the reassembly, conduct functional checks to ensure that all components are securely fastened and that the wireless adapter’s installation does not impede the functionality of the headset’s original features, such as adjustable headbands and rotating ear cups.
- Cosmetic Restoration: Reattach any aesthetic elements, such as ear pads, headband cushioning, and external covers, to restore the headset’s visual appeal and comfort. Ensure that these components are firmly attached without compromising the functionality of the wireless integration.
By methodically reassembling your gaming headset, you’ll bring the DIY wireless conversion project to its culmination, presenting you with a fully functional wireless gaming headset that seamlessly integrates the benefits of wireless technology with the audio quality and comfort of your trusted headset.
Conclusion
Congratulations on successfully transforming your gaming headset into a wireless marvel! By embarking on this DIY project, you’ve unlocked the freedom of wireless connectivity without sacrificing the audio quality and comfort that your trusted headset provides. The journey from understanding the components to reassembling the headset has empowered you to elevate your gaming experience and embrace the convenience of a wireless setup.
As you reflect on this transformative endeavor, it’s essential to appreciate the meticulous attention to detail and the technical acumen required to seamlessly integrate the wireless adapter into your gaming headset. This project not only embodies your passion for gaming but also showcases your ingenuity in harnessing technology to enhance your gaming setup.
With the wireless adapter securely installed and the wireless connection rigorously tested, you can now immerse yourself in gaming experiences unencumbered by the limitations of wired connectivity. Whether you’re delving into intense gaming sessions or enjoying multimedia content, the newfound freedom of movement and the uncompromised audio fidelity will undoubtedly enrich your overall enjoyment.
Moreover, the knowledge and skills acquired throughout this project position you as a discerning enthusiast with a deep understanding of audio technology and DIY modifications. Your ability to navigate the intricacies of disassembling, installing, and reassembling the headset underscores your resourcefulness and adaptability in customizing your gaming peripherals to suit your preferences.
As you don your newly transformed wireless gaming headset, take pride in the craftsmanship and innovation that have culminated in a seamless integration of wireless technology with your beloved headset. Embrace the convenience, revel in the freedom, and savor the immersive audio experience that your DIY wireless gaming headset now offers.
May your gaming endeavors be enriched by the wireless freedom you’ve unlocked, and may your innovative spirit continue to propel you toward new frontiers of gaming excellence.