Introduction
The Samsung Galaxy S8 is a remarkable device, boasting cutting-edge features and powerful performance. However, there are instances when you may need to remove the SIM card from your Samsung S8, whether it's for troubleshooting, upgrading to a new device, or switching to a different carrier. While the process of removing a SIM card may seem straightforward, it's crucial to handle the delicate components of your device with care to avoid any damage.
In this comprehensive guide, we will walk you through the step-by-step process of safely removing the SIM card from your Samsung S8. By following these instructions, you can ensure that the SIM card removal process is smooth and stress-free, allowing you to maintain the integrity of your device while handling its internal components.
Whether you're a seasoned Samsung user or a newcomer to the world of mobile devices, this guide is designed to provide clear and concise instructions, accompanied by helpful tips to make the SIM card removal process a breeze. With the right guidance and a steady hand, you can confidently navigate the intricacies of your Samsung S8 and successfully remove the SIM card without any hiccups.
So, without further ado, let's dive into the step-by-step process of safely removing the SIM card from your Samsung S8. Whether you're preparing to switch to a new device or simply need to access the SIM card for any reason, this guide will equip you with the knowledge and confidence to tackle the task with ease.
Step 1: Power off the phone
Before initiating the process of removing the SIM card from your Samsung S8, it's crucial to power off the device. This step is essential to ensure the safety of both the device and the SIM card during the removal process.
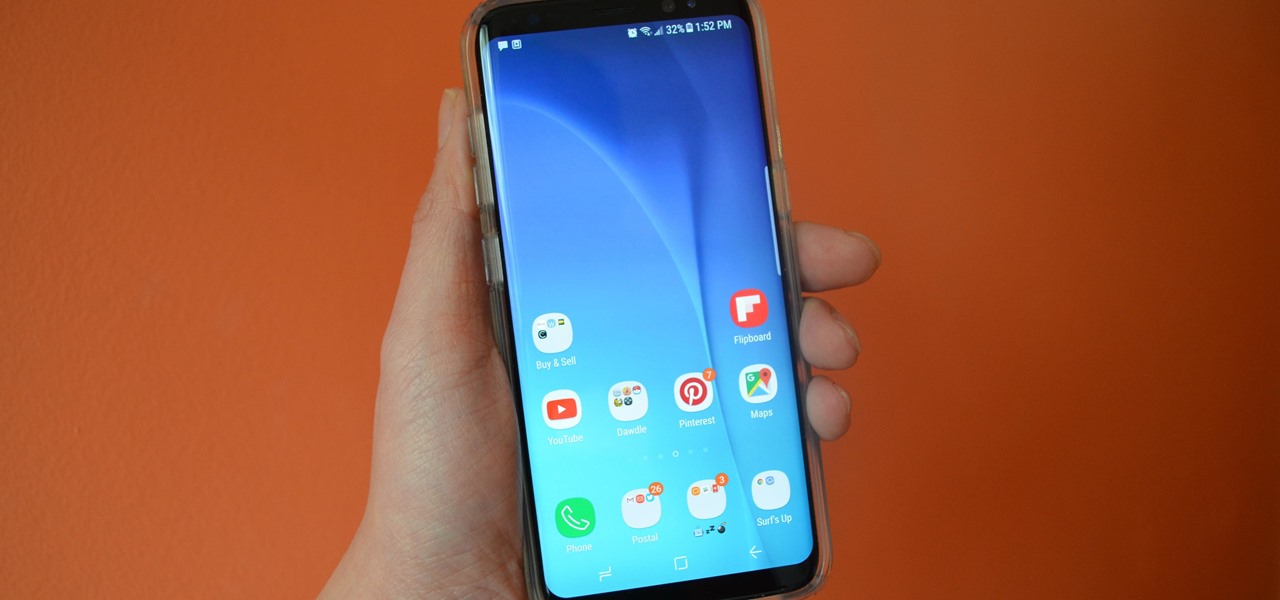
To power off your Samsung S8, simply press and hold the power button located on the right side of the device. After a few seconds, a menu will appear on the screen, prompting you to either power off or restart the phone. Slide the on-screen prompt to power off the device completely.
By powering off the phone, you minimize the risk of causing any damage to the SIM card or the internal components of the device. This precautionary measure also reduces the likelihood of encountering any technical issues during the SIM card removal process.
It's important to note that powering off the phone ensures that the SIM card is not in active use while being removed, preventing any potential data corruption or disruption to the network connection. Additionally, by turning off the device, you create a safer environment for handling the SIM card tray and the SIM card itself.
Once the phone is powered off, you can proceed with confidence to the next steps of the SIM card removal process, knowing that you have taken the necessary precautions to safeguard your Samsung S8 and the SIM card within it.
By following this initial step of powering off the phone, you set the stage for a smooth and secure SIM card removal experience. With the device safely powered down, you can proceed to the subsequent steps, knowing that you have laid the foundation for a successful SIM card removal process.
Step 2: Locate the SIM card tray
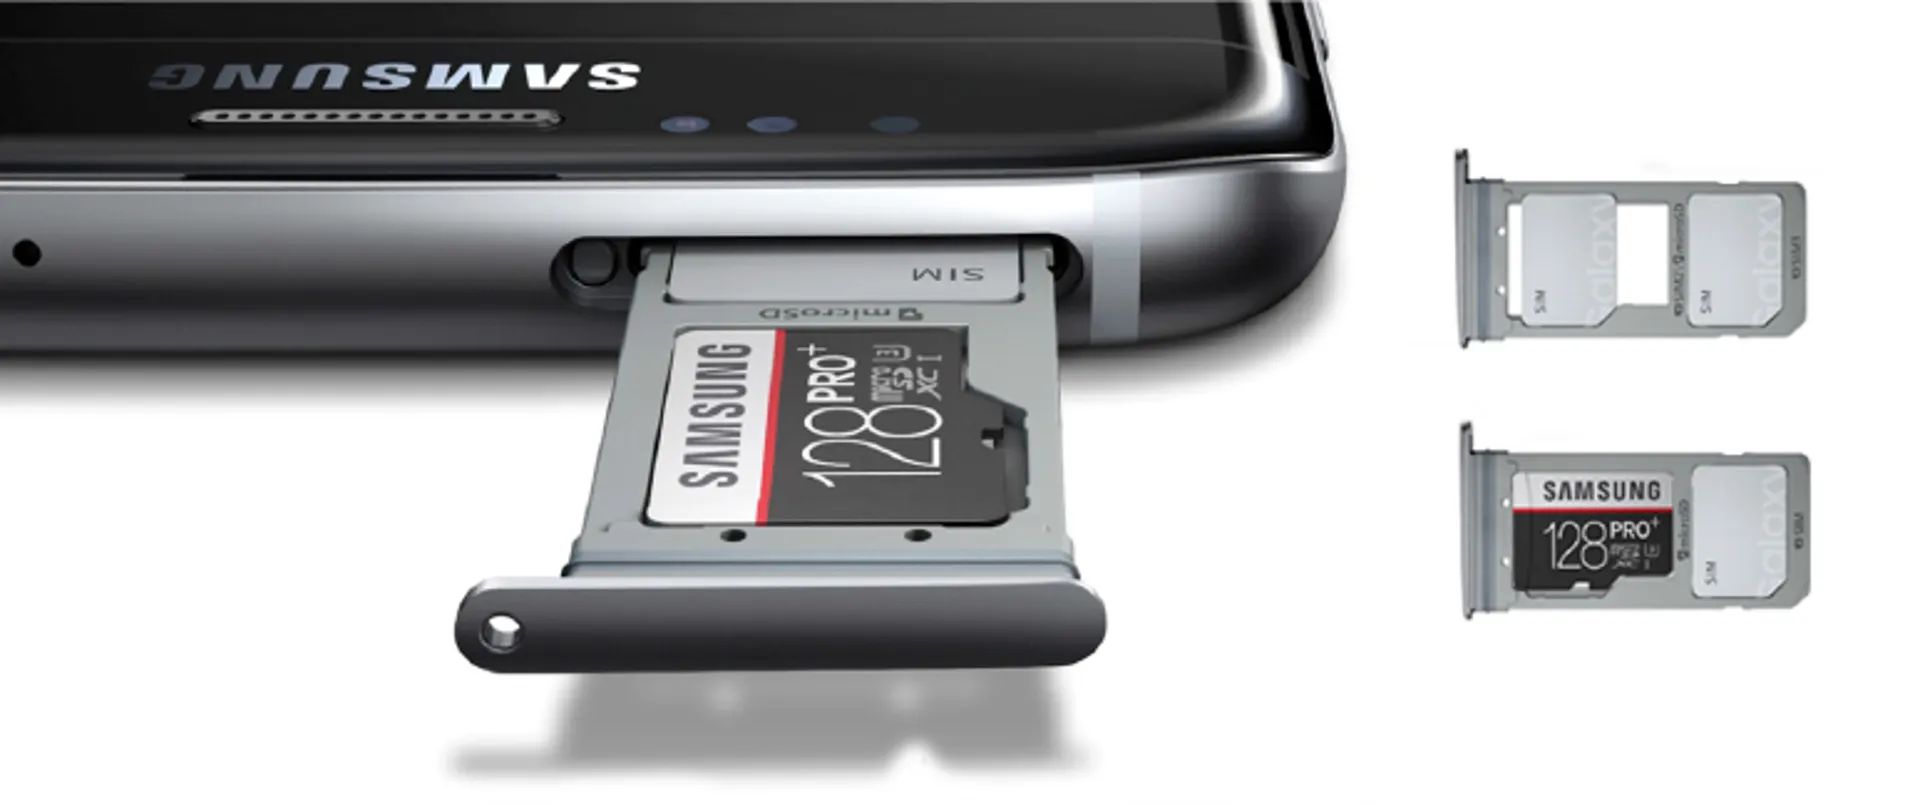
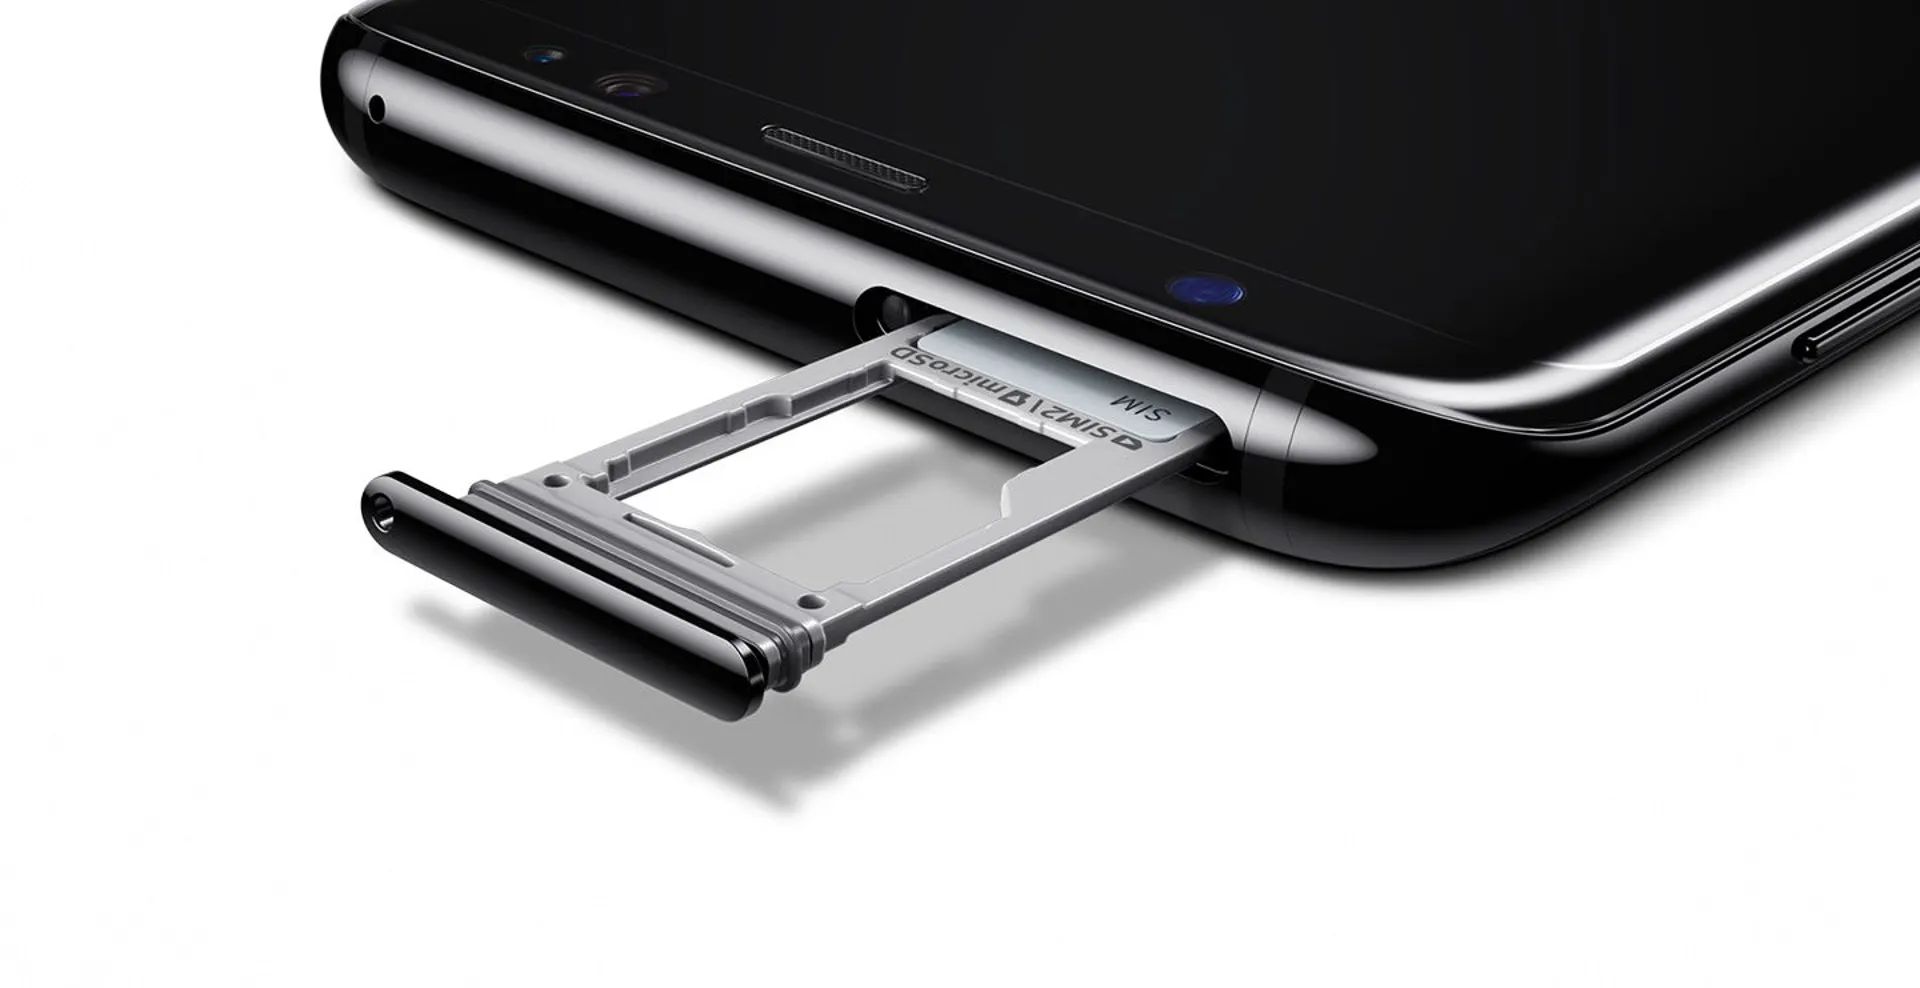
The next crucial step in safely removing the SIM card from your Samsung S8 is to locate the SIM card tray. The SIM card tray is a small, discreet component of the device that houses the SIM card and is designed to be easily accessible for removal and insertion.
To locate the SIM card tray, you will need to identify the specific placement of the tray on your Samsung S8. In most cases, the SIM card tray is located on the upper edge of the device. It can be distinguished by a small pinhole, indicating the entry point for the SIM eject tool. The location of the SIM card tray may vary slightly depending on the specific model of the Samsung S8, but it is typically positioned on the upper edge, adjacent to the power button.
Once you have identified the location of the SIM card tray, take a moment to familiarize yourself with its positioning and the surrounding features. This will ensure that you can approach the SIM card removal process with confidence and precision.
It's important to handle the device with care as you locate the SIM card tray, as the delicate nature of the components requires a gentle touch. By taking the time to identify the SIM card tray and understand its placement on the device, you set the stage for a seamless and successful SIM card removal process.
As you prepare to move on to the next steps, remember that locating the SIM card tray is a fundamental aspect of the SIM card removal process. By approaching this step with attentiveness and precision, you pave the way for a smooth transition to the subsequent stages of safely removing the SIM card from your Samsung S8.
Step 3: Insert the SIM eject tool
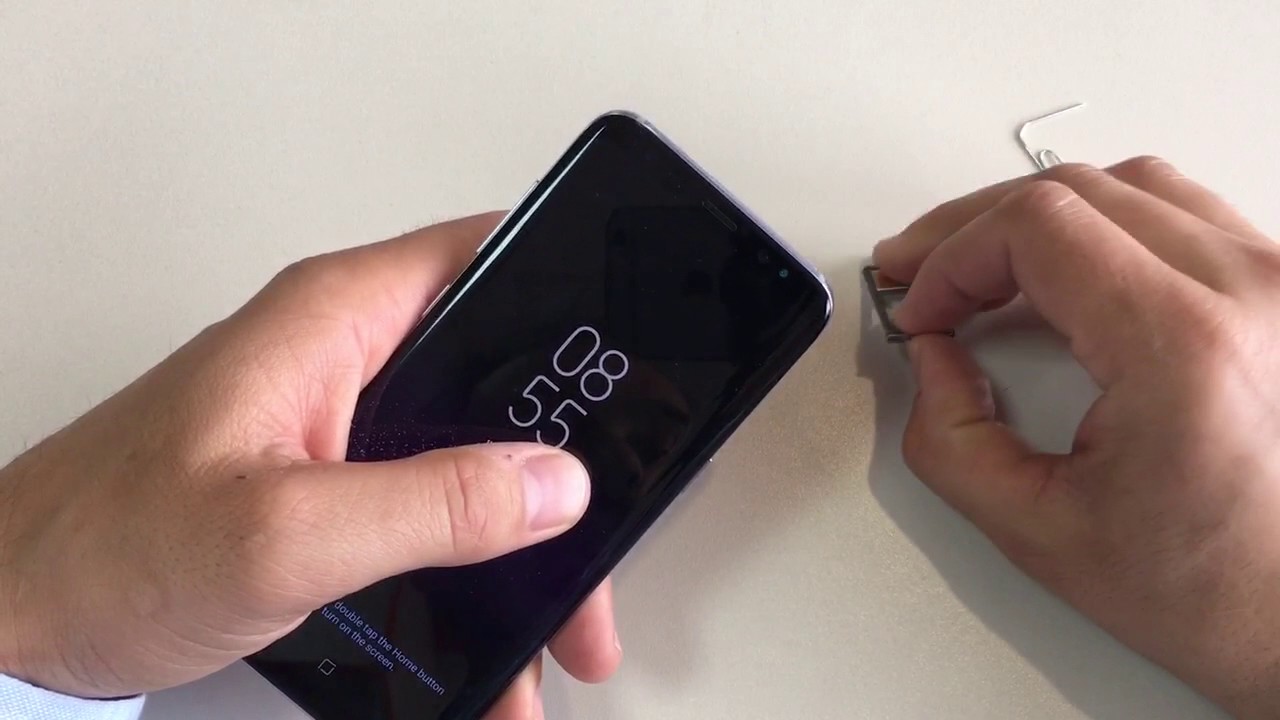
With the SIM card tray located, the next step in safely removing the SIM card from your Samsung S8 is to insert the SIM eject tool into the designated pinhole. The SIM eject tool is a small, specialized tool that is provided with your Samsung S8 or can be obtained separately. Its purpose is to safely and effectively release the SIM card tray from the device, allowing for the seamless removal of the SIM card.
To begin, take the SIM eject tool and carefully insert it into the pinhole located near the SIM card tray. Apply gentle pressure while pushing the tool into the pinhole, being mindful of the delicate nature of the device. As you insert the tool, you may feel a slight resistance, which is normal and indicates that the tool is engaging with the internal mechanism of the SIM card tray.
Once the SIM eject tool is inserted into the pinhole, exert a steady and even pressure to activate the release mechanism within the device. This action will cause the SIM card tray to disengage from its locked position, allowing it to protrude slightly from the device. It's important to exercise caution and avoid applying excessive force when using the SIM eject tool, as this can potentially cause damage to the internal components of the device.
As the SIM card tray is partially ejected from the device, carefully remove the SIM eject tool from the pinhole, ensuring that the tray remains accessible for the subsequent steps of the SIM card removal process. By successfully inserting the SIM eject tool and activating the release mechanism, you have set the stage for the smooth and controlled removal of the SIM card from your Samsung S8.
With the SIM eject tool effectively utilized, you have taken a significant step towards safely removing the SIM card from your Samsung S8. This careful and precise approach ensures that the internal components of the device remain intact, allowing for a seamless transition to the next steps of the SIM card removal process.
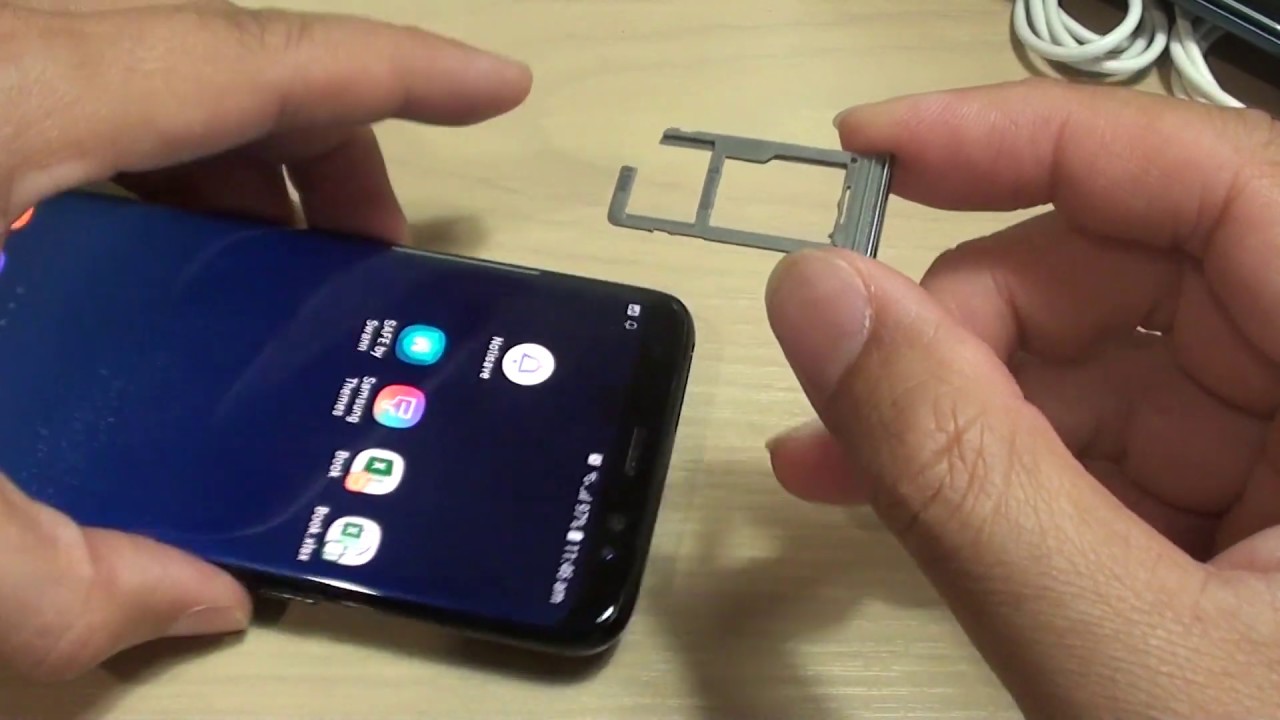
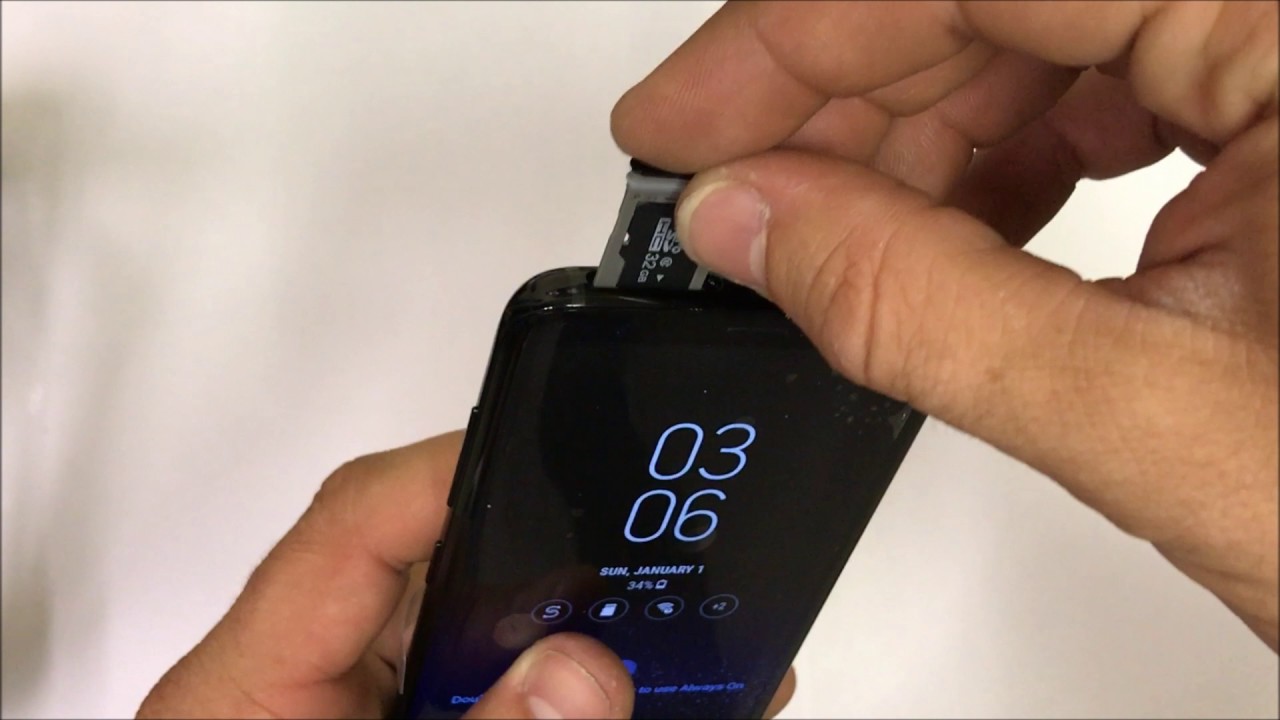
Step 4: Remove the SIM card tray
With the SIM card tray partially ejected from the device, gently grasp the protruding edge of the tray and carefully slide it out of the Samsung S8. It's essential to exercise caution and precision during this step to avoid any damage to the SIM card or the internal components of the device.
As you carefully remove the SIM card tray, take note of the position of the SIM card within the tray. The SIM card is securely placed within a designated slot, ensuring that it remains stable during normal usage. By maintaining awareness of the SIM card's positioning within the tray, you can handle the tray with the necessary care and attention, minimizing the risk of dislodging or damaging the SIM card during removal.
Once the SIM card tray is fully removed from the device, place it on a secure and stable surface, ensuring that it remains free from any potential obstructions or hazards. This precautionary measure provides a controlled environment for handling the SIM card and allows for a clear view of the SIM card's placement within the tray.
As you proceed to the next step of removing the SIM card from the tray, take a moment to assess the condition of the tray and ensure that it is free from any debris or obstructions. This brief inspection will help to maintain the integrity of the SIM card and the tray, setting the stage for a smooth and secure SIM card removal process.
By successfully removing the SIM card tray from your Samsung S8, you have reached a pivotal stage in the SIM card removal process. This careful and deliberate approach ensures that the SIM card and the internal components of the device remain safeguarded, allowing for a seamless transition to the subsequent steps of safely removing the SIM card.
Step 5: Remove the SIM card
With the SIM card tray securely removed from your Samsung S8, the next crucial step is to carefully extract the SIM card from its designated slot within the tray. The SIM card is a vital component that stores essential information related to your mobile network connectivity, making it imperative to handle it with precision and care.
Upon inspecting the SIM card tray, you will notice the designated slot where the SIM card is securely positioned. Gently examine the SIM card within the tray, noting its orientation and ensuring that it remains stable within the slot. It's important to approach this step with a steady hand and a keen eye, as the delicate nature of the SIM card requires a cautious and deliberate removal process.
To remove the SIM card from the tray, gently slide it out from the designated slot, ensuring a smooth and controlled extraction. It's crucial to avoid applying excessive force or causing any bending or damage to the SIM card during this process. By maintaining a gentle and methodical approach, you can safely extract the SIM card from the tray without compromising its integrity.
As the SIM card is carefully removed from the tray, take a moment to examine its condition and ensure that it remains free from any visible damage or deformities. This brief inspection allows you to verify the state of the SIM card before proceeding with any further steps, providing peace of mind regarding its overall condition.
Once the SIM card has been successfully removed from the tray, place it in a secure and accessible location, ensuring that it remains free from any potential obstructions or hazards. This precautionary measure provides a controlled environment for handling the SIM card and allows for a clear view of its condition and positioning.
By successfully completing the process of removing the SIM card from the tray, you have taken a significant step towards ensuring the safe and secure handling of this essential component. This careful and meticulous approach guarantees that the SIM card remains intact and undamaged, setting the stage for a seamless transition to the subsequent steps of safely removing the SIM card from your Samsung S8.
Step 6: Reinsert the SIM card tray
After safely removing the SIM card from your Samsung S8, the final step in this process is to reinsert the SIM card tray back into the device. This step is essential to ensure that the SIM card is securely placed within the device, allowing for seamless functionality and uninterrupted network connectivity.
To reinsert the SIM card tray, carefully align the tray with the designated slot on the device, ensuring that it is positioned correctly and without any resistance. The tray should fit snugly into the slot, allowing for a smooth and effortless insertion. It's crucial to approach this step with precision and attention to detail, as the proper alignment of the tray is essential for maintaining the integrity of the SIM card and the device itself.
Once the SIM card tray is aligned with the slot, gently slide it back into the device, exerting a controlled and even pressure to ensure a secure fit. It's important to avoid any abrupt or forceful movements during this process, as the delicate components of the device require a gentle touch to prevent any potential damage.
As the SIM card tray is fully reinserted into the device, take a moment to verify that it sits flush with the surrounding edges, indicating a proper and secure placement. This brief inspection ensures that the tray is securely positioned within the device, minimizing the risk of any disruptions to the SIM card or the device's functionality.
With the SIM card tray successfully reinserted into your Samsung S8, the SIM card removal process is complete, and the device is ready to be powered on. By following the steps outlined in this comprehensive guide, you have effectively navigated the intricacies of safely removing the SIM card from your Samsung S8, ensuring that the device and its components remain safeguarded throughout the process.
As you power on your Samsung S8 and resume regular usage, you can do so with the confidence that the SIM card has been handled with care and precision, allowing for uninterrupted access to your mobile network and the seamless functionality of your device. With the SIM card securely in place, you can continue to enjoy the impressive features and capabilities of your Samsung S8 without any concerns regarding the integrity of the SIM card or the device itself.
Conclusion
In conclusion, safely removing the SIM card from your Samsung S8 is a task that demands attention to detail, precision, and a gentle touch. By following the comprehensive guide outlined in this article, you have gained valuable insights into the step-by-step process of safely handling the delicate components of your device. From powering off the phone to reinserting the SIM card tray, each step plays a crucial role in ensuring the seamless removal and reinstallation of the SIM card, safeguarding both the device and the SIM card itself.
Throughout this guide, the emphasis has been placed on approaching the SIM card removal process with care and attentiveness. By powering off the phone before initiating the removal process, you minimize the risk of potential damage to the SIM card or the internal components of the device. Locating the SIM card tray and effectively utilizing the SIM eject tool further underscore the need for a methodical and deliberate approach to ensure the safe removal of the SIM card.
The careful removal of the SIM card from the tray and the subsequent reinsertion of the tray into the device serve as the final steps in this comprehensive process. By handling the SIM card with precision and care, you have maintained the integrity of this vital component, ensuring that it remains undamaged and ready for seamless functionality within your Samsung S8.
As you power on your device and resume regular usage, you can do so with the confidence that the SIM card removal process has been executed with the utmost care and attention to detail. The seamless transition from SIM card removal to reinstallation reflects the dedication to preserving the functionality and integrity of your Samsung S8.
By following this comprehensive guide, you have not only successfully navigated the process of safely removing the SIM card from your Samsung S8 but have also gained valuable insights into the meticulous care required when handling the internal components of a mobile device. This knowledge equips you with the confidence to address similar tasks in the future, knowing that you can approach them with the necessary precision and care to safeguard your device and its essential components.
In essence, the safe removal and reinstallation of the SIM card from your Samsung S8 exemplify the attention to detail and dedication to preserving the integrity of your device. With this guide as your companion, you can confidently navigate the intricacies of mobile device maintenance, ensuring that your Samsung S8 remains a reliable and resilient companion in your daily endeavors.