Introduction
The SIM card, or Subscriber Identity Module card, is a small but crucial component of your Google Pixel device. It stores essential information such as your phone number, contacts, and text messages, allowing you to stay connected with the world. Whether you're upgrading to a new Pixel model, switching carriers, or troubleshooting network issues, knowing how to safely extract the SIM card from your Pixel is a valuable skill every user should possess.
In this comprehensive guide, we will walk you through the step-by-step process of safely removing the SIM card from your Google Pixel. By following these instructions, you can ensure that the delicate SIM card and the SIM card slot remain undamaged throughout the extraction process. Whether you're a tech-savvy individual or a novice user, this guide will equip you with the knowledge and confidence to handle this task with ease.
Now, let's dive into the details of how to safely extract the SIM card from your Google Pixel, ensuring a smooth and hassle-free experience.
Step 1: Power off the Pixel
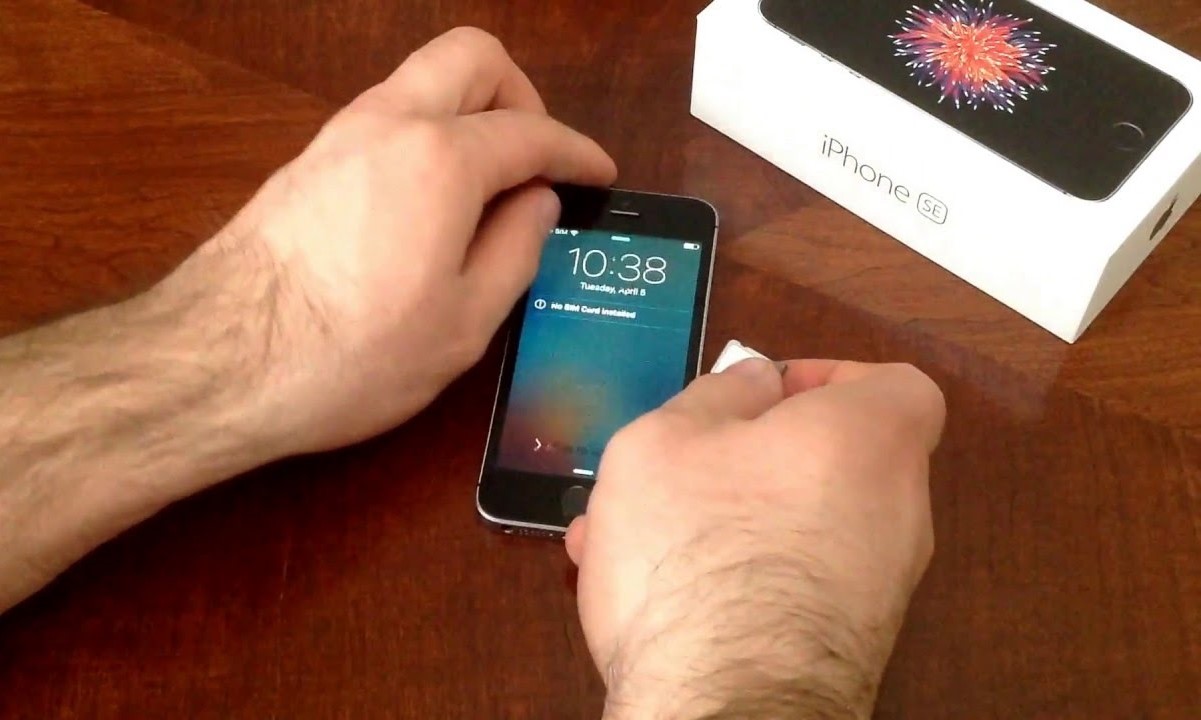
Before beginning the process of extracting the SIM card from your Google Pixel, it is essential to power off the device. This simple yet crucial step ensures the safety of both the device and the SIM card during the extraction process.
To power off your Google Pixel, follow these steps:
-
Hold down the power button located on the right side of the device. A menu will appear on the screen, prompting you to either power off, restart, or enter emergency mode.
-
Tap on the "Power off" option, which will initiate the shutdown process. Wait for a few seconds as the device powers down completely.
-
Once the screen turns black and the device is powered off, you can proceed with the next steps to safely extract the SIM card from your Google Pixel.
Powering off the Pixel is a fundamental precautionary measure that prevents any potential damage to the SIM card or the device itself. By ensuring that the Pixel is fully powered off, you minimize the risk of disrupting any ongoing processes or causing unintended system errors during the SIM card extraction.
Taking the time to power off your Pixel demonstrates a mindful approach to handling the device and its components. This simple act of shutting down the device sets the stage for a smooth and trouble-free SIM card extraction process, allowing you to proceed with confidence and peace of mind.
With the Pixel powered off, you are now ready to move on to the next step in safely extracting the SIM card from your Google Pixel.
Step 2: Locate the SIM card slot
After ensuring that your Google Pixel is powered off, the next step in safely extracting the SIM card is to locate the SIM card slot. The SIM card slot on the Google Pixel is typically located on the side of the device. However, the exact placement may vary depending on the specific model of the Pixel.
To locate the SIM card slot on your Google Pixel, follow these steps:
-
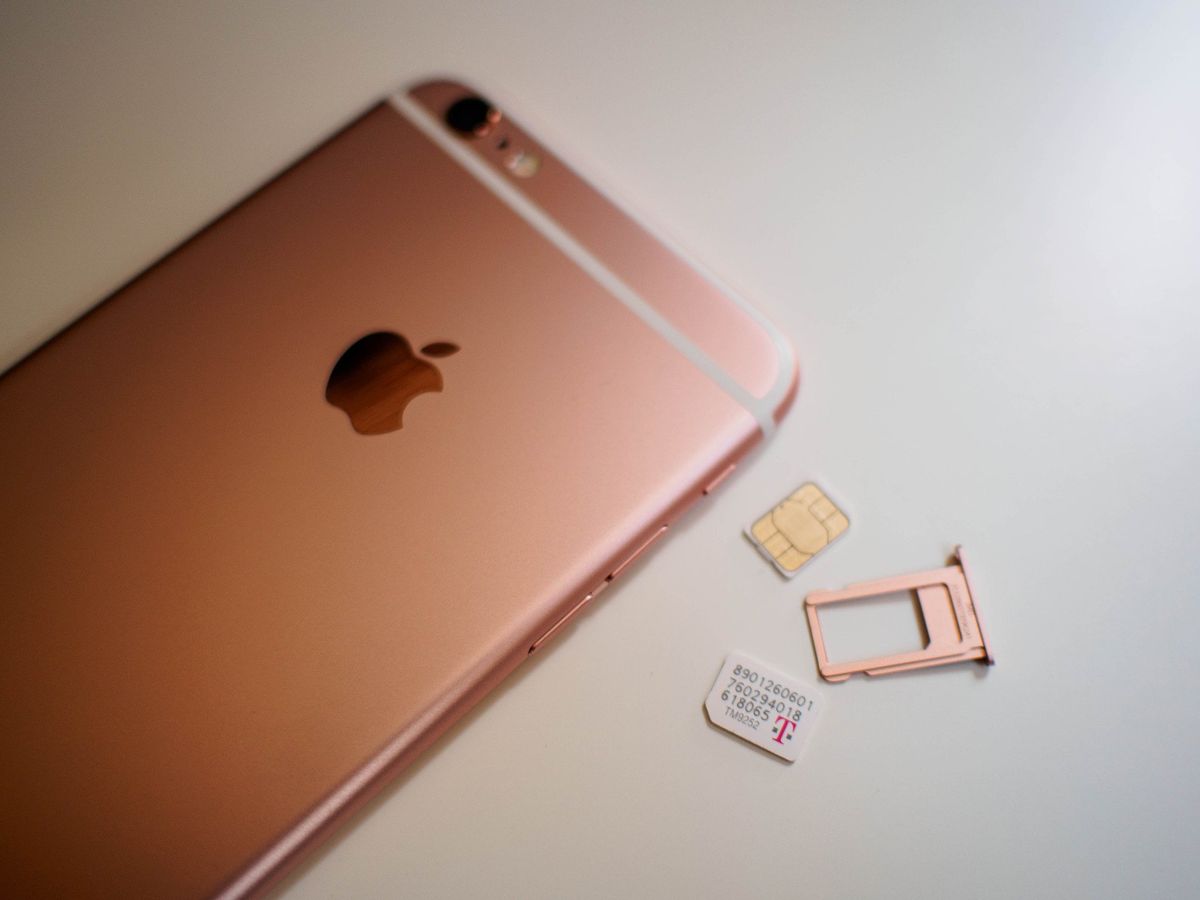
Identify the SIM Tray: The SIM card slot is usually housed within a small tray that can be accessed using a SIM card eject tool or a paperclip. Examine the sides of your Pixel device to locate the tray. On most Pixel models, the SIM tray is positioned on the left side of the device, near the top edge. It is important to handle the device gently and with care during this process.
-
Inspect the Tray Opening: Once you have identified the general location of the SIM tray, look for a small pinhole or indentation near the tray. This pinhole is where you will insert the SIM card eject tool or a paperclip to release the SIM tray from its slot.
-
Use Adequate Lighting: If you are having difficulty locating the SIM card slot, it can be helpful to move to a well-lit area or use a flashlight to illuminate the edges of the device. This will allow you to clearly identify the SIM tray and the adjacent pinhole for insertion of the eject tool.
-
Refer to the User Manual: If you are unable to locate the SIM card slot based on the physical appearance of the device, you can refer to the user manual or online resources provided by Google for specific instructions related to your Pixel model.
Locating the SIM card slot is a crucial initial step in the process of safely extracting the SIM card from your Google Pixel. By carefully identifying the slot and associated components, you set the stage for a smooth and successful SIM card removal process. With the SIM card slot located, you are now prepared to proceed to the next step in safely extracting the SIM card from your Google Pixel.
Step 3: Use the SIM card eject tool
With the SIM card slot on your Google Pixel located, the next step is to utilize the SIM card eject tool to safely release the SIM tray from its slot. The SIM card eject tool is a small, pointed instrument provided by the device manufacturer, designed specifically for this purpose. If the original SIM card eject tool is not available, a straightened paperclip can serve as a suitable alternative.
To use the SIM card eject tool to access the SIM tray, follow these steps:
-
Retrieve the SIM Card Eject Tool: Locate the SIM card eject tool that was included in the original packaging of your Google Pixel. If the tool is not readily available, a straightened paperclip of similar dimensions can be used effectively.
-
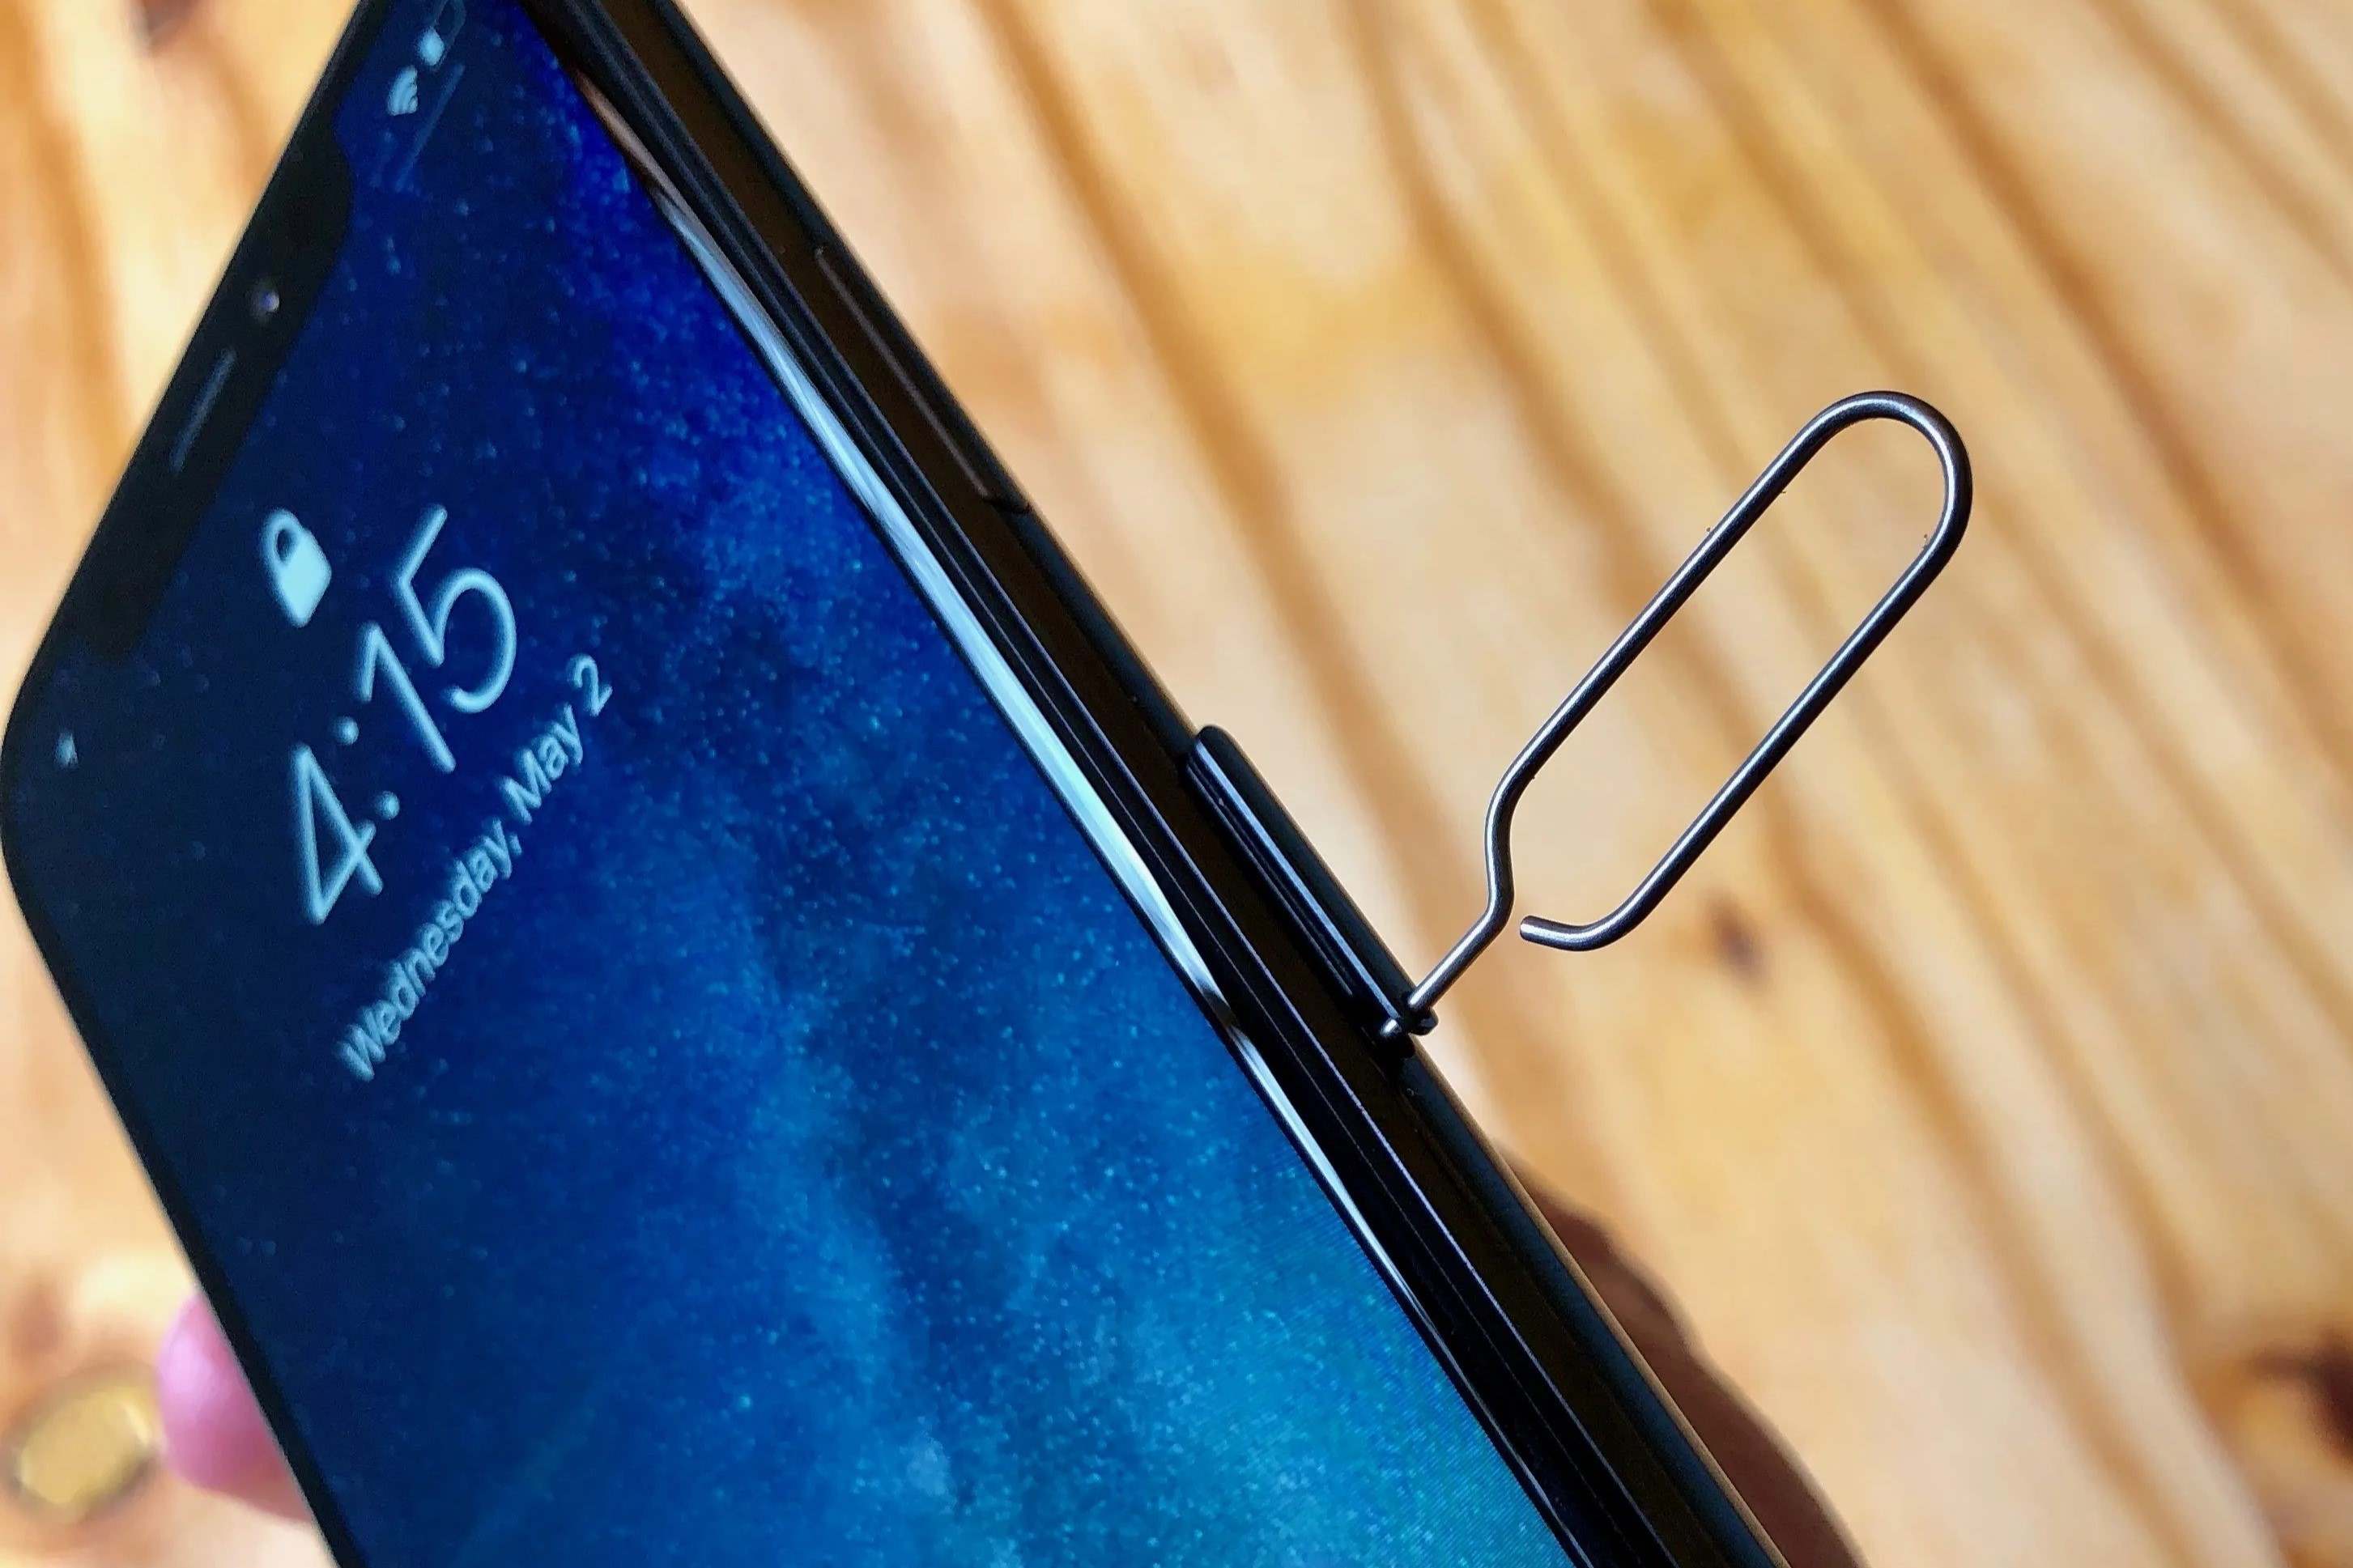
Insert the Tool into the Pinhole: Hold the Google Pixel securely in one hand and take the SIM card eject tool in the other. Align the pointed end of the tool with the small pinhole adjacent to the SIM tray. Gently but firmly insert the tool into the pinhole until you feel a slight resistance.
-
Apply Even Pressure: Once the tool is inserted into the pinhole, apply even pressure to the tool, exerting a gentle force to trigger the release mechanism. It is important to exercise caution and avoid using excessive force, as this may cause damage to the SIM tray or the surrounding components.
-
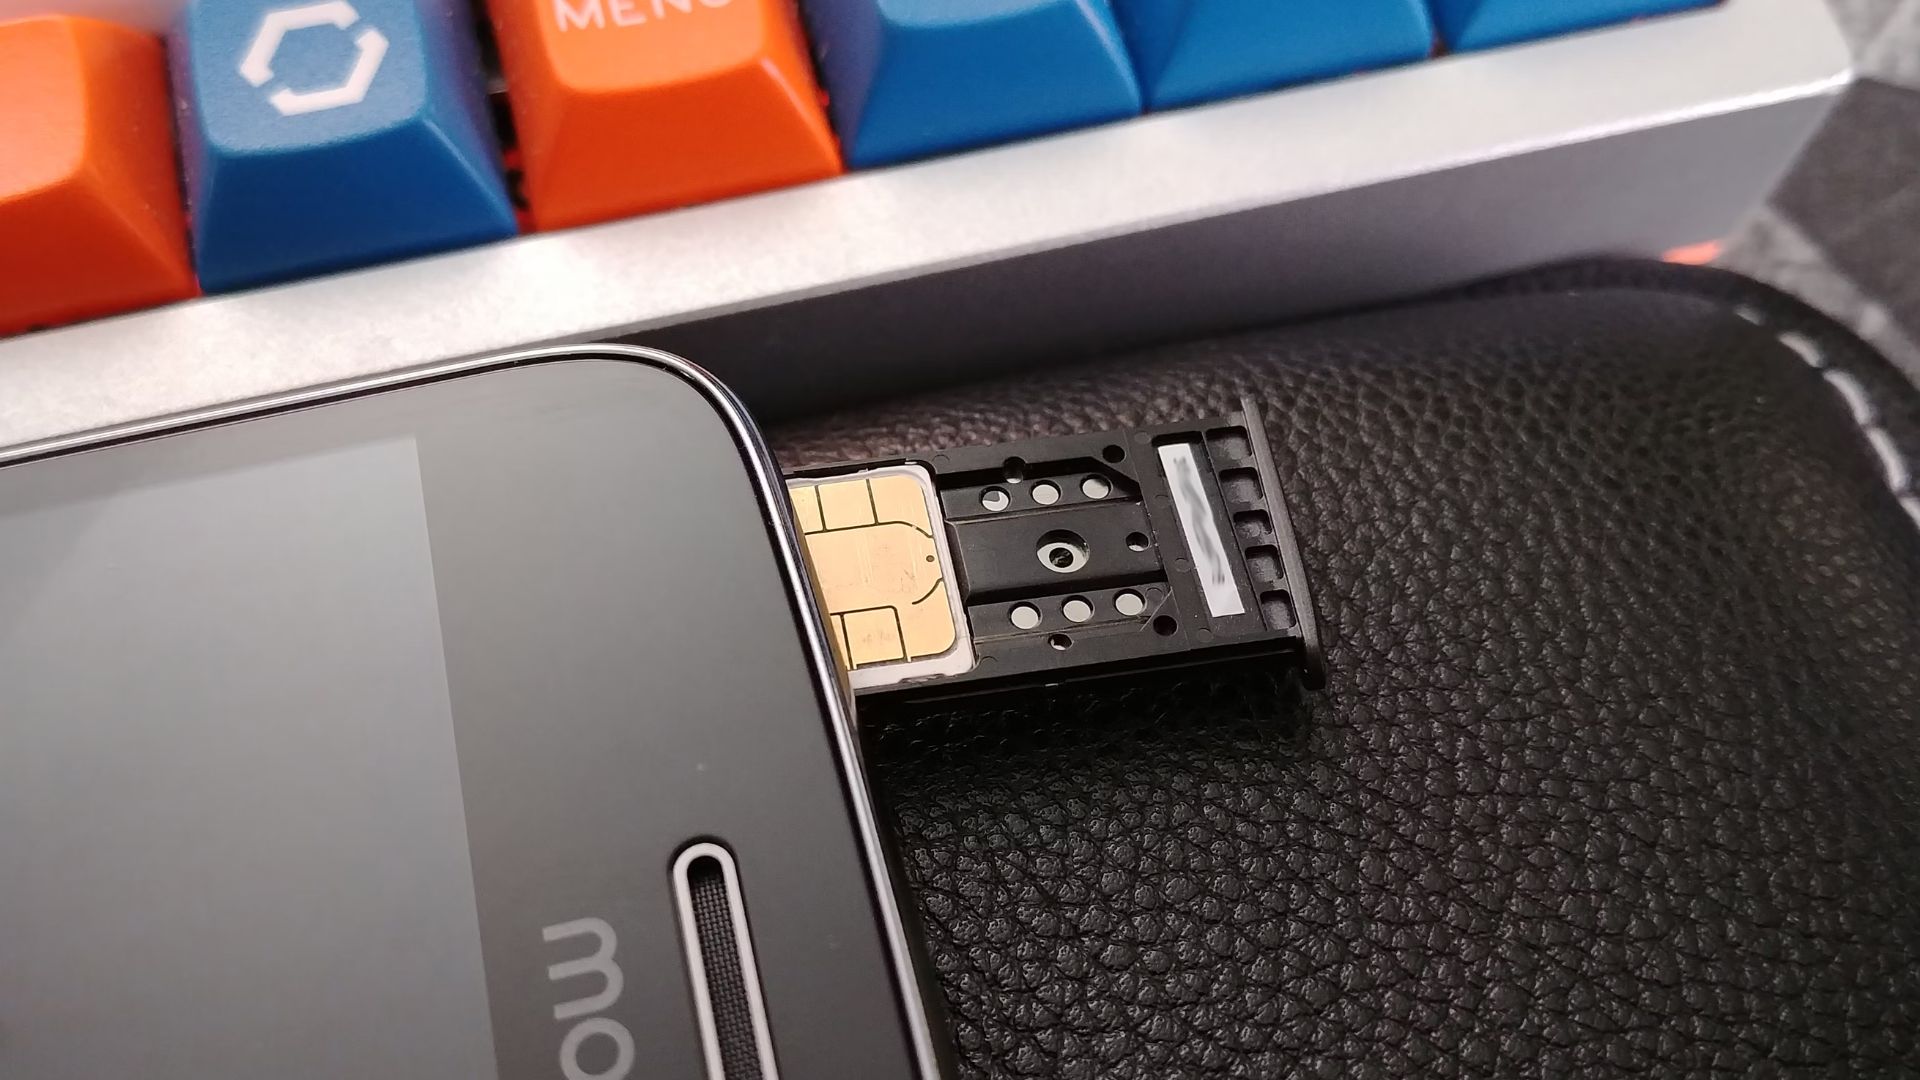
Release the SIM Tray: As you apply pressure to the tool, you will feel the SIM tray start to disengage from its slot within the device. Continue to apply gentle pressure until the SIM tray pops out slightly, allowing you to grasp and remove it from the device.
-
Carefully Remove the SIM Tray: With the SIM tray partially released, carefully pull it out from the device using your fingers. Take care to handle the SIM tray and the enclosed SIM card with delicacy, ensuring that no undue stress is placed on the components.
Using the SIM card eject tool in a deliberate and controlled manner is essential to the safe extraction of the SIM card from your Google Pixel. By following these steps with precision and care, you can successfully access the SIM tray without causing any damage to the device or the SIM card itself.
With the SIM tray now accessible, you are ready to proceed to the next step in safely removing the SIM card from your Google Pixel.
Step 4: Gently remove the SIM card
After successfully accessing the SIM tray using the SIM card eject tool, the next crucial step is to gently remove the SIM card from the tray. The SIM card is a delicate component that stores vital information, and it is essential to handle it with care to prevent any damage during the extraction process.
To gently remove the SIM card from the tray, follow these precise steps:
-
Inspect the SIM Card: Before proceeding with the removal, take a moment to examine the SIM card within the tray. Note the orientation of the card and any markings that indicate the correct positioning. It is important to ensure that you maintain the proper alignment when handling the SIM card.
-
Use Fingertips: With a steady hand, gently slide the SIM card out of the tray using your fingertips. Apply even pressure to avoid bending or damaging the card. If the SIM card is firmly seated within the tray, use minimal force to ease it out gradually.
-
Avoid Bending or Flexing: As you remove the SIM card, be mindful of its flexibility and refrain from bending or flexing it. SIM cards are designed to be resilient, but excessive force or improper handling can lead to damage. By exercising caution and patience, you can safely extract the SIM card without compromising its integrity.
-
Place the SIM Card in a Safe Location: Once the SIM card is removed from the tray, place it in a secure and easily accessible location. It is advisable to keep the SIM card in a designated holder or a protective case to prevent it from being misplaced or damaged.
-
Inspect the Tray and Slot: After removing the SIM card, take a moment to inspect the SIM tray and the slot within the device. Ensure that there are no obstructions or debris that could interfere with the reinsertion of the SIM card or cause damage to the components.
By following these meticulous steps, you can gently remove the SIM card from your Google Pixel without encountering any issues. Handling the SIM card with precision and care is essential to maintaining its functionality and safeguarding the information it contains.
With the SIM card safely removed, you have successfully completed the process of extracting the SIM card from your Google Pixel. This meticulous approach ensures that both the device and the SIM card remain unharmed, allowing for seamless reinstallation or transfer to another device when needed.
Conclusion
Congratulations! You have successfully completed the process of safely extracting the SIM card from your Google Pixel. By following the step-by-step instructions outlined in this guide, you have demonstrated a mindful and meticulous approach to handling your device's components. The careful execution of each step ensures that both the SIM card and the Pixel device remain unharmed throughout the extraction process.
As you reflect on the journey of safely removing the SIM card, it's important to acknowledge the significance of attention to detail and precision. From powering off the Pixel to delicately removing the SIM card from the tray, every action taken reflects a commitment to preserving the integrity of the device and its components.
By adhering to best practices and exercising caution, you have not only safeguarded the SIM card's vital information but also maintained the functionality of the Google Pixel itself. This conscientious approach sets a positive precedent for future interactions with your device and reinforces the importance of responsible device maintenance.
Furthermore, the knowledge and confidence gained from successfully extracting the SIM card empower you to handle similar tasks with ease in the future. Whether it's transferring the SIM card to a new device, troubleshooting network issues, or upgrading to a different Pixel model, you now possess the expertise to navigate such scenarios effectively.
As you reassemble your Google Pixel and power it back on, take a moment to appreciate the sense of accomplishment that comes with mastering a fundamental aspect of device management. Your commitment to learning and implementing proper procedures for SIM card extraction reflects a proactive and responsible approach to device ownership.
Remember, the skills acquired through this process extend beyond the realm of SIM card extraction. They embody a mindset of conscientious device management and serve as a foundation for future endeavors in device maintenance and optimization.
With the SIM card safely in your possession and the Pixel ready to resume its functions, you can proceed with confidence, knowing that you have successfully completed the task at hand. Your commitment to precision and care has ensured a seamless and trouble-free experience, setting the stage for continued enjoyment and utility of your Google Pixel device.