Introduction
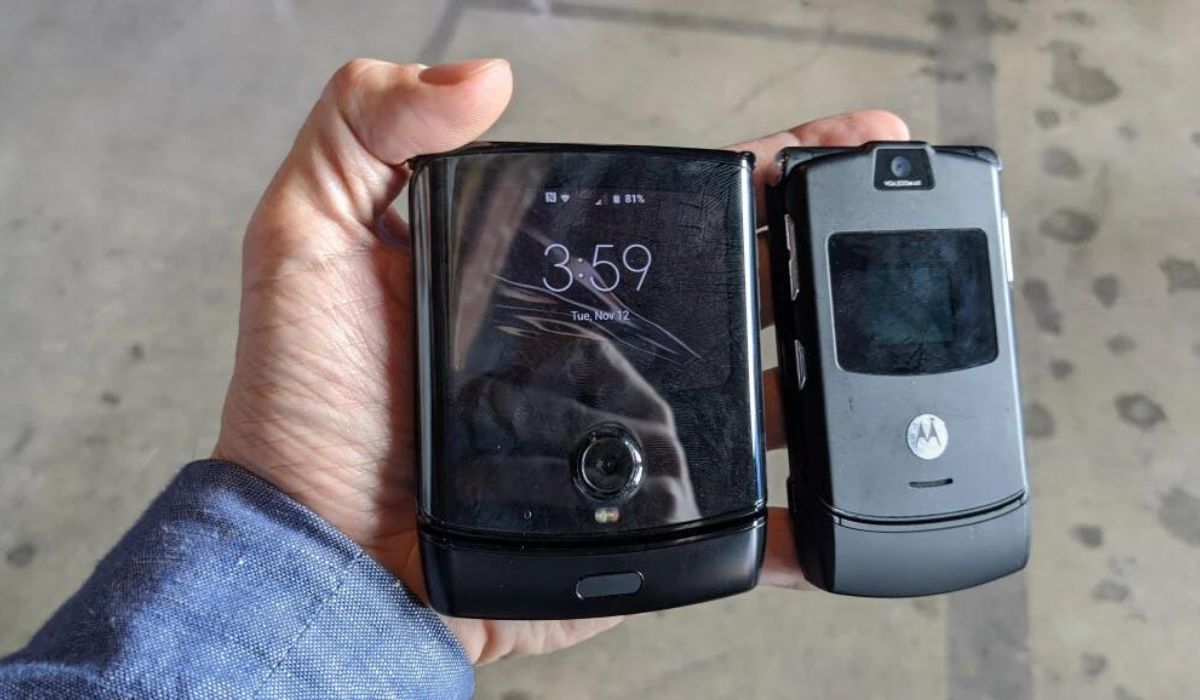
When it comes to capturing life's precious moments, our smartphones have become indispensable tools. The Motorola Razr Maxx, with its impressive camera capabilities, allows users to effortlessly capture stunning photos. However, the process of transferring these cherished images between the phone and a computer can sometimes be a daunting task. Whether you're looking to free up storage space on your device or simply want to back up your photos, knowing how to transfer pictures from your Motorola Razr Maxx is essential.
In this comprehensive guide, we will walk you through the step-by-step process of transferring photos to and from your Motorola Razr Maxx. By the end of this tutorial, you will have a clear understanding of how to seamlessly manage your photo collection, ensuring that your memories are safely preserved and easily accessible.
Let's dive into the world of photo transfer, where we'll unravel the mysteries of connecting your Motorola Razr Maxx to your computer, enabling USB file transfer mode, and effortlessly moving your photos between devices. Whether you're a photography enthusiast, a casual snap-happy user, or someone who simply wants to organize their digital photo library, this guide is designed to empower you with the knowledge and skills to master photo transfer with ease.
Step 1: Connect your Motorola Razr Maxx to your computer
Connecting your Motorola Razr Maxx to your computer is the first crucial step in the photo transfer process. This connection allows for seamless communication between your phone and computer, enabling the transfer of photos and other media files. Here's how to establish this vital link:
-
USB Cable: Begin by locating the USB cable that came with your Motorola Razr Maxx. This cable serves as the physical bridge between your phone and computer, facilitating data transfer. Ensure that the USB cable is in good condition, with no visible damage to the connectors or the cable itself.
-
USB Port: Identify an available USB port on your computer. Most modern computers feature multiple USB ports, typically located on the front, back, or sides of the device. Choose a port that is easily accessible and allows for a stable connection.
-
Phone Connection: With the USB cable in hand, locate the charging port on your Motorola Razr Maxx. Insert one end of the USB cable into the charging port, ensuring a secure fit. The other end of the cable should be inserted into the USB port on your computer.
-
Phone Settings: Once the physical connection is established, your phone may prompt you to select a USB connection type. Depending on your device's settings, you may be presented with options such as "Charging only," "Transfer files," or "Transfer photos (PTP)." Select the "Transfer files" or "Transfer photos" option to enable file transfer mode.
-
Computer Recognition: After connecting your Motorola Razr Maxx to your computer and configuring the USB connection type, your computer should recognize the device. This recognition may trigger the installation of necessary drivers or software to facilitate communication between the two devices.
-
Verification: To ensure that the connection is successful, navigate to the file explorer on your computer and look for your Motorola Razr Maxx under the list of connected devices. If your phone is visible in the file explorer, the connection has been established successfully.
By following these steps, you can confidently connect your Motorola Razr Maxx to your computer, laying the foundation for seamless photo transfer. With the physical and digital connection in place, you are now ready to proceed to the next step and delve into the world of photo management and transfer.
Step 2: Enable USB file transfer mode on your phone
Enabling USB file transfer mode on your Motorola Razr Maxx is a pivotal step that allows for seamless communication between your phone and computer. This mode essentially transforms your phone into a storage device that can be accessed by your computer, enabling the transfer of photos and other media files. Here's a detailed guide on how to enable USB file transfer mode on your phone:
-
Unlock Your Phone: Begin by unlocking your Motorola Razr Maxx to access the home screen. If your phone is secured with a PIN, pattern, or fingerprint, ensure that you authenticate and unlock the device.
-
Notification Panel: Swipe down from the top of your phone's screen to reveal the notification panel. This panel contains quick access settings and notifications, providing convenient access to essential phone functions.
-
USB Options: Look for the USB options in the notification panel. When you connect your phone to the computer via USB, a notification related to the USB connection will appear. Tap on this notification to expand the USB options menu.
-
Select File Transfer Mode: Within the USB options menu, you will typically find various USB connection modes such as "Charging only," "Transfer files," or "Transfer photos (PTP)." To enable USB file transfer mode, tap on the "Transfer files" or "Transfer photos" option. This action configures your phone to function as a storage device when connected to the computer.
-
Confirmation: Once you have selected the appropriate USB file transfer mode, your phone will confirm the selection. This confirmation may appear as a notification or a brief on-screen message, indicating that the USB connection mode has been successfully changed to enable file transfer.
-
Verify Connection: After enabling USB file transfer mode, you can verify the connection by checking your phone's screen for any additional prompts or notifications related to the USB connection. Additionally, you can glance at your computer to ensure that the phone is recognized as a connected device.
By following these steps, you can effectively enable USB file transfer mode on your Motorola Razr Maxx, paving the way for seamless photo transfer and media management. With this mode activated, your phone transforms into a versatile storage device, allowing you to effortlessly transfer photos and other files between your phone and computer. This essential functionality empowers you to take full control of your digital media, ensuring that your cherished photos are safely backed up and readily accessible.
Step 3: Transfer photos from your phone to your computer
Transferring photos from your Motorola Razr Maxx to your computer is a straightforward process that allows you to safeguard your precious memories and free up valuable space on your phone. Whether you're looking to create backups of your photos or simply want to edit them on a larger screen, the ability to transfer photos to your computer is a valuable skill. Here's a detailed guide on how to seamlessly transfer your photos:
-
Navigate to Photos: Begin by unlocking your Motorola Razr Maxx and accessing the photo gallery. This is where all your captured memories are stored, waiting to be transferred to your computer. Once in the photo gallery, you can browse through your collection and select the photos you wish to transfer.
-
Select Photos: With the photo gallery open, tap and hold on a photo to initiate the selection process. You can then proceed to tap on additional photos to select them individually. Alternatively, many phones offer the option to select multiple photos at once by tapping on a dedicated selection icon or using a swipe gesture to choose multiple photos at once.
-
Access the Options Menu: After selecting the desired photos, look for the options menu within the photo gallery. This menu typically contains various actions that can be performed on the selected photos, including the option to share or transfer them. Look for the "Share" or "Transfer" option to initiate the transfer process.
-
Choose Transfer Method: Upon selecting the "Share" or "Transfer" option, your phone will present you with various transfer methods. Look for the option to transfer the selected photos via USB. This action will prompt your phone to establish a connection with your computer, allowing for the seamless transfer of photos.
-
Confirm Transfer: Once you've chosen the USB transfer method, your phone will seek confirmation to proceed with the transfer. Confirm the action, and your phone will initiate the transfer process, preparing the selected photos for transfer to your computer.
-
Computer Recognition: Switch your attention to your computer, where you should see a notification or prompt indicating that a device has been connected. This notification signifies that your Motorola Razr Maxx is ready to transfer the selected photos. Click on the notification to access the photos and complete the transfer process.
By following these steps, you can effortlessly transfer your cherished photos from your Motorola Razr Maxx to your computer, ensuring that your memories are securely backed up and easily accessible for editing, sharing, or safekeeping. This process empowers you to take full control of your digital photo collection, allowing you to manage and organize your memories with ease.
Step 4: Transfer photos from your computer to your phone
Transferring photos from your computer to your Motorola Razr Maxx is a convenient way to enrich your phone's photo library with new memories, wallpapers, or personalized images. Whether you've edited photos on your computer and want to sync them with your phone or simply wish to add new visuals to your device, the process of transferring photos from your computer to your phone is straightforward and empowering. Here's a detailed guide on how to seamlessly transfer photos from your computer to your Motorola Razr Maxx:
-
Connect Your Phone: Begin by connecting your Motorola Razr Maxx to your computer using the USB cable. Ensure that the connection is secure and that your computer recognizes the phone as a connected device.
-
Access Your Phone's Storage: Once your phone is connected, navigate to the file explorer on your computer and locate your Motorola Razr Maxx among the list of connected devices. Click on the phone's icon to access its storage and explore the existing folders.
-
Create a New Folder: To organize the photos you're about to transfer, consider creating a new folder within your phone's storage. This folder can be named according to the content of the photos you intend to transfer, making it easier to locate and manage the images on your phone.
-
Select Photos on Your Computer: Navigate to the location on your computer where the photos you wish to transfer are stored. Select the desired photos by clicking and dragging to highlight them or using the Ctrl or Command key to select multiple photos individually.
-
Transfer Photos to Your Phone: With the selected photos on your computer, drag and drop them into the newly created folder within your Motorola Razr Maxx's storage. Alternatively, you can use the copy and paste function to transfer the photos from your computer to your phone.
-
Verification: After transferring the photos, navigate to the newly created folder on your phone to verify that the photos have been successfully transferred. You can open each photo to ensure that the transfer process was completed without any issues.
By following these steps, you can effortlessly transfer photos from your computer to your Motorola Razr Maxx, enhancing your phone's visual content and personalizing your device with new and meaningful images. This process empowers you to curate your phone's photo collection, ensuring that it reflects your unique style and captures the moments that matter most to you.
Conclusion
In conclusion, mastering the art of photo transfer between your Motorola Razr Maxx and your computer opens up a world of possibilities for managing and preserving your cherished memories. By following the step-by-step process outlined in this guide, you have gained the knowledge and skills to seamlessly connect your devices, enable USB file transfer mode, and effortlessly move your photos between your phone and computer.
The ability to connect your Motorola Razr Maxx to your computer serves as the foundation for efficient photo transfer. Establishing this physical link allows for seamless communication between your devices, laying the groundwork for the secure transfer of your precious photos.
Enabling USB file transfer mode on your phone transforms it into a versatile storage device, empowering you to effortlessly transfer photos and other media files to and from your computer. This essential functionality ensures that your Motorola Razr Maxx seamlessly integrates with your digital workspace, allowing you to manage your photo collection with ease.
Transferring photos from your phone to your computer is a vital skill that enables you to safeguard your memories, create backups, and free up valuable space on your device. Whether you're looking to edit your photos on a larger screen or organize them into a comprehensive digital library, the ability to transfer photos from your Motorola Razr Maxx to your computer puts you in control of your digital media.
Conversely, transferring photos from your computer to your Motorola Razr Maxx enriches your phone's visual content, allowing you to personalize your device with new and meaningful images. This process empowers you to curate your phone's photo collection, ensuring that it reflects your unique style and captures the moments that matter most to you.
By mastering the art of photo transfer, you have unlocked the potential to seamlessly manage and preserve your digital memories. Whether you're a photography enthusiast, a casual user, or someone who simply values the preservation of precious moments, the skills acquired in this guide empower you to take full control of your photo collection, ensuring that your memories are safely backed up and readily accessible.
In the digital age, where our smartphones serve as repositories of our most cherished memories, the ability to effortlessly transfer photos between devices is a valuable skill that empowers us to safeguard and celebrate the moments that define our lives. With the knowledge and skills gained from this guide, you are well-equipped to navigate the world of photo transfer with confidence and ease.