Introduction
Welcome to the world of cryptocurrency! If you’ve been keeping an eye on the exciting developments in the digital currency space, you’ve likely heard of Ethereum. As one of the leading cryptocurrencies, Ethereum offers a decentralized platform for creating and executing smart contracts. Whether you’re an investor or a technology enthusiast, buying Ethereum can be a great opportunity to be a part of this growing ecosystem.
When it comes to purchasing Ethereum, there are various options available. While traditional methods, like bank transfers and credit cards, are commonly used, buying Ethereum with Paypal offers a convenient and secure alternative. In this guide, we will walk you through the steps of buying Ethereum on Paypal, enabling you to participate in this digital revolution.
Before we dive into the process, it’s essential to note that buying and investing in cryptocurrency carries inherent risks. Prices can be volatile, and the market is subject to regulatory changes. It’s important to do your research and understand the potential risks before making any investment decisions. With that said, let’s begin our journey of buying Ethereum with Paypal!
Step 1: Create a Paypal Account
The first step in buying Ethereum with Paypal is to create a Paypal account if you don’t already have one. Paypal is a widely accepted online payment platform that allows you to send and receive money securely.
To create a Paypal account, follow these simple steps:
- Go to the official Paypal website (www.paypal.com) and click on the “Sign Up” button.
- Select the type of account you want to create. Paypal offers two options: personal and business. Choose the one that best suits your needs.
- Provide your personal information, including your name, email address, and password. Make sure to choose a strong password that includes a combination of lowercase and uppercase letters, numbers, and special characters.
- Agree to the terms and conditions of Paypal by checking the box. It’s important to carefully read and understand the terms before proceeding.
- Click on the “Next” button to continue.
- On the next page, you will be asked to link a bank account or credit card to your Paypal account. This step is optional but highly recommended, as it will enable you to fund your Paypal account and make purchases without any hassle.
- Follow the instructions to link your bank account or credit card securely. Paypal may require you to verify your account by confirming small deposits or providing additional documents.
- Once your Paypal account is created and verified, you’re ready to proceed to the next step of buying Ethereum with Paypal.
Creating a Paypal account is straightforward and only takes a few minutes. It provides a secure and reliable method for buying Ethereum, as Paypal offers buyer protection and dispute resolution services. Once you have your Paypal account set up, you can move on to verifying the account to unlock additional features.
Step 2: Verify your Paypal Account
Verifying your Paypal account is an important step to unlock additional benefits and increase your account limits. Verification helps ensure the security of your account and builds trust with sellers and cryptocurrency exchanges when you’re buying Ethereum with Paypal.
To verify your Paypal account, follow these steps:
- Login to your Paypal account using your email address and password.
- Click on the “Settings” icon located in the upper-right corner of the screen.
- From the dropdown menu, select “Account Settings”.
- On the Account Settings page, you will see a section called “Getting the Most out of PayPal”. Under that, click on “See how much you can send with PayPal”.
- On the next page, you will see your account limits. To remove the limits, you need to verify your account.
- Click on the “Verify” button next to the “Get Verified” section.
- You will be directed to a page where you can choose between verifying through your bank account or credit card. Choose the option that works best for you.
- Follow the instructions provided by Paypal to complete the verification process. This may involve confirming small deposits, linking your bank account, or providing additional documentation.
- Once you have completed the verification process, your Paypal account will be verified, and you will have access to higher transaction limits and additional features.
Verifying your Paypal account not only provides you with more flexibility and security but also enhances your buying experience when purchasing Ethereum with Paypal. It allows you to transfer larger amounts of money and transact with confidence on cryptocurrency exchanges.
Now that you have successfully verified your Paypal account, it’s time to move on to the next step of the process, which involves finding a reputable cryptocurrency exchange platform.
Step 3: Find a Reputable Cryptocurrency Exchange Platform
When it comes to buying Ethereum with Paypal, you’ll need to find a reputable cryptocurrency exchange platform that supports Paypal as a payment method. An exchange platform acts as an intermediary where buyers and sellers can trade cryptocurrencies.
To find a reputable cryptocurrency exchange platform that accepts Paypal, consider the following factors:
- Security: Look for an exchange platform that has robust security measures in place, such as two-factor authentication (2FA) and cold storage for funds.
- Reputation: Research the reputation of the exchange platform by reading reviews, checking forums, and looking for any reported security breaches or user complaints.
- Liquidity: Ensure that the exchange platform has sufficient liquidity, meaning there are enough buyers and sellers to ensure smooth transactions.
- Fees: Pay attention to the fees charged by the exchange platform. Compare the fees with other platforms to ensure you’re getting competitive rates.
- Supported countries: Check if the exchange platform supports users from your country, as not all platforms are available worldwide.
- User experience: Consider the user experience offered by the platform. Look for an intuitive and easy-to-use interface that makes buying Ethereum with Paypal a seamless process.
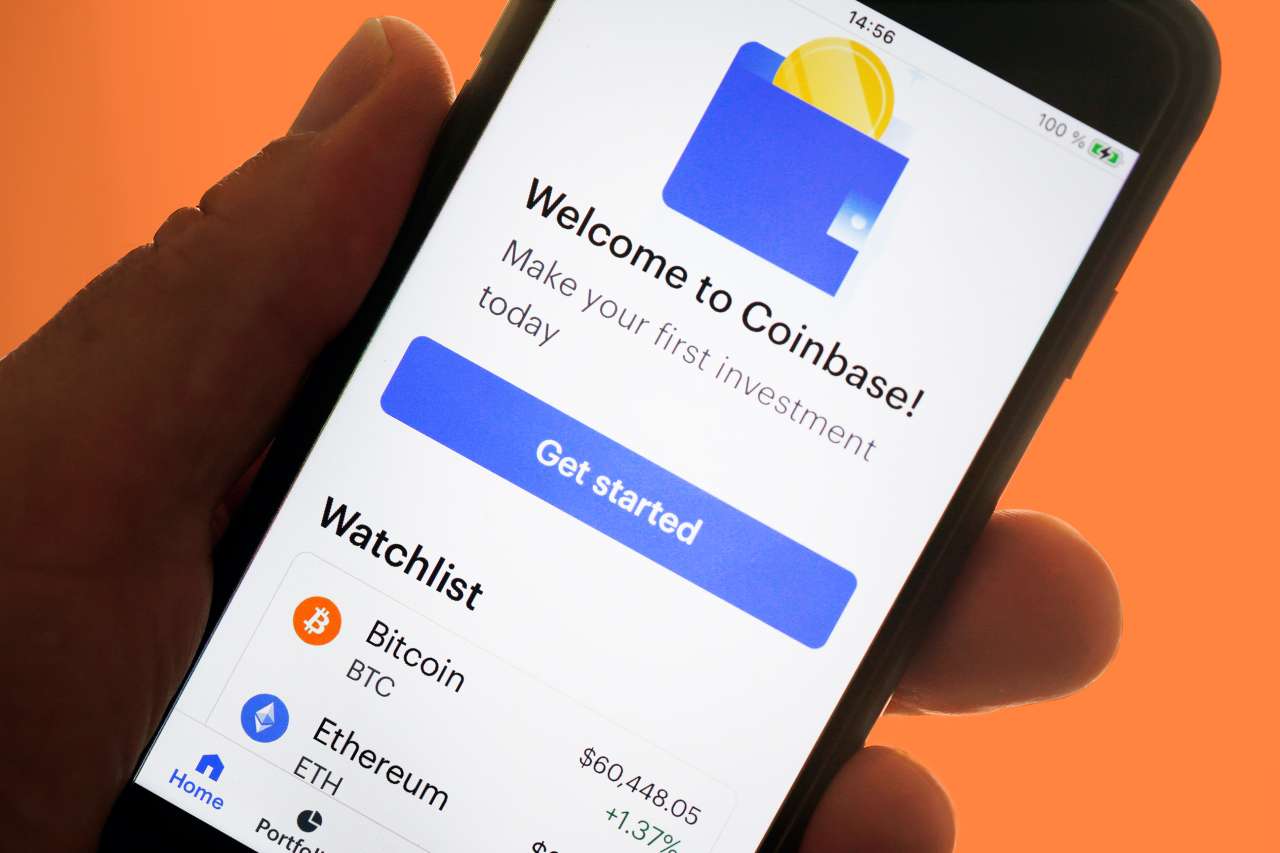
Some popular cryptocurrency exchange platforms that support Paypal include eToro, Coinbase, and Bitpanda. Take the time to compare the features and benefits of each platform to find the one that best suits your needs.
It’s also worth noting that not all cryptocurrency exchanges support the direct purchase of Ethereum with Paypal. In some cases, you may need to use Paypal to buy Bitcoin or another cryptocurrency first and then trade it for Ethereum on the exchange platform. Make sure to understand the specific process of buying Ethereum on the exchange platform you choose.
Once you’ve found a reputable exchange platform that accepts Paypal, you’re ready to set up your exchange account and initiate the buying process. In the next step, we’ll guide you through the process of setting up your exchange account.
Step 4: Set up Your Exchange Account
Now that you’ve chosen a reputable cryptocurrency exchange platform that supports Paypal, it’s time to set up your exchange account. The account setup process may vary slightly depending on the platform you choose, but the general steps are as follows:
- Go to the website of the cryptocurrency exchange platform you’ve selected.
- Click on the “Sign Up” or “Get Started” button to create a new account.
- Provide the required information, including your name, email address, and a secure password. Some platforms may also require you to verify your email.
- Accept the terms and conditions of the exchange platform, and if applicable, agree to their privacy policy.
- Complete any additional steps that may be required for security purposes, such as enabling two-factor authentication (2FA) to secure your account.
- Once you’ve completed the registration process, you may need to verify your identity by providing additional documentation, such as a copy of your ID or proof of address.
- Follow the instructions provided by the exchange platform to complete the verification process. This step is crucial as it helps ensure compliance with Know Your Customer (KYC) and Anti-Money Laundering (AML) regulations.
- After your account is verified, you will gain access to your exchange account dashboard, where you can manage your transactions and funds.
It’s important to remember that the account setup process may take some time, particularly during peak periods when there may be a high volume of new users. However, it’s crucial to go through the necessary security measures to protect your funds and ensure a smooth buying experience.
Once you’ve successfully set up your exchange account, the next step is to link your Paypal account to the exchange platform. This will allow you to deposit funds and start buying Ethereum with Paypal. We’ll cover this in detail in the next step.
Step 5: Link your Paypal Account to the Exchange
After setting up your exchange account, the next step in buying Ethereum with Paypal is to link your Paypal account to the exchange. This will enable you to deposit funds from your Paypal account directly into your exchange account.
To link your Paypal account to the exchange, follow these steps:
- Log in to your exchange account using your credentials.
- Navigate to the account settings or profile section of the exchange platform.
- Look for the option to add a payment method or link your Paypal account.
- Select Paypal as the payment method and provide your Paypal account details when prompted.
- Follow the instructions provided by the exchange platform to authenticate and verify your Paypal account.
- Once your Paypal account is successfully linked, you will be able to see it in your exchange account settings.
Linking your Paypal account to the exchange not only allows you to deposit funds easily but also provides a secure way to initiate your Ethereum purchase transactions. It’s important to note that different exchanges may have varying procedures and requirements for linking Paypal accounts, so make sure to follow the specific instructions provided by the exchange platform you’re using.
After successfully linking your Paypal account, you can move on to the next step: depositing funds into your exchange account via Paypal. This will allow you to have the necessary funds to buy Ethereum and take advantage of the price movements in the cryptocurrency market.
Step 6: Deposit Funds into Your Exchange Account via Paypal
Now that your Paypal account is linked to the exchange platform, it’s time to deposit funds into your exchange account to start buying Ethereum. Follow these steps to deposit funds via Paypal:
- Log in to your exchange account using your credentials.
- Navigate to the “Deposit” or “Funds” section of the exchange platform.
- Select Paypal as the deposit method.
- Enter the amount of funds you wish to deposit into your exchange account.
- Review the transaction details to ensure accuracy.
- Click on the “Deposit” or “Submit” button to initiate the transaction.
- You will be directed to the Paypal login page to authenticate the transaction.
- Log in to your Paypal account to confirm the transaction and authorize the deposit.
- Once the deposit is confirmed, the funds will be credited to your exchange account.
It’s important to note that some exchanges may charge a deposit fee for using Paypal, so consider this factor when deciding the amount to deposit. Additionally, the processing time for the deposit may vary depending on the exchange platform, but it usually takes a few minutes to a few hours.
After successfully depositing funds into your exchange account via Paypal, you’re now ready to buy Ethereum on the exchange using Paypal. In the next step, we’ll guide you through the process of purchasing Ethereum.
Step 7: Buy Ethereum on the Exchange using Paypal
With funds successfully deposited into your exchange account, you’re now ready to buy Ethereum using Paypal. Follow these steps to make your Ethereum purchase:
- Log in to your exchange account.
- Navigate to the trading or buy/sell section of the exchange platform.
- Select Ethereum (ETH) as the cryptocurrency you want to buy.
- Choose the payment method as Paypal.
- Enter the amount of Ethereum you wish to purchase or the amount of funds you want to spend.
- Review the transaction details, including the exchange rate and any applicable fees.
- Click on the “Buy” or “Place Order” button to initiate the transaction.
- Confirm the purchase and review the transaction summary.
- If prompted, provide any additional verification or authentication required by the exchange platform.
- Once the purchase is complete, the Ethereum will be credited to your exchange account.
It’s important to note that the availability of Ethereum and the price may vary depending on market conditions and the exchange platform you’re using. Make sure to monitor the current market prices and review the transaction details carefully before finalizing your purchase.
After making your Ethereum purchase, you may choose to keep your Ethereum stored in your exchange account. However, for enhanced security, it’s highly recommended to transfer your Ethereum to a personal wallet. This will give you full control over your digital assets and reduce the risk of potential exchange hacks or security breaches.
Congratulations! You have successfully bought Ethereum on the exchange using Paypal. In the next step, we’ll discuss how to safely store your Ethereum in a wallet.
Step 8: Safely Store Your Ethereum in a Wallet
After purchasing Ethereum on the exchange using Paypal, it is crucial to store your digital assets safely in a wallet. This ensures that you have full control over your Ethereum and minimizes the risk of losing your funds due to exchange hacks or security breaches. Follow these steps to securely store your Ethereum in a wallet:
- Research and choose a suitable Ethereum wallet. There are various types of wallets available, including hardware wallets, software wallets, and online wallets. Each type offers different levels of security and accessibility.
- Download and install a software wallet or set up a hardware wallet, depending on your chosen type of wallet. Follow the instructions provided by the wallet provider.
- Generate a new Ethereum wallet address within the wallet. This will serve as your unique identifier for receiving and storing Ethereum.
- Once your wallet is set up and the address is generated, initiate a withdrawal from your exchange account to send your Ethereum to your wallet address. Provide the correct wallet address during the withdrawal process to ensure the Ethereum is sent to your wallet and not to any other address.
- Confirm the withdrawal on the exchange and wait for the transaction to be processed. The time required for the transaction to be completed may vary depending on network congestion and other factors.
- Once the Ethereum is successfully transferred to your wallet, securely back up your wallet’s private keys or seed phrase. This is crucial for recovering your funds in case of loss, theft, or damage to your wallet.
- Store your private keys or seed phrase in a safe and offline location, such as a hardware wallet or a piece of paper stored in a secure place.
- Regularly update your wallet software and take necessary security precautions, such as using strong passwords and enabling additional security features offered by the wallet.
By securely storing your Ethereum in a wallet, you have full control over your funds and minimize the risk of unauthorized access or loss. It’s important to remember that losing access to your wallet’s private keys or seed phrase may result in permanent loss of your Ethereum, so it’s crucial to keep these backup details safe and secure.
Congratulations! You have completed all the steps to safely buy and store Ethereum using Paypal. Remember to stay informed about the latest developments in the cryptocurrency space and practice responsible investing.
Conclusion
Congratulations on successfully purchasing Ethereum using Paypal! In this guide, we have walked you through the step-by-step process of buying Ethereum with Paypal, from creating a Paypal account to securely storing your Ethereum in a wallet. By following these steps, you have become a part of the exciting world of cryptocurrency.
It’s important to remember that buying and investing in Ethereum, or any other cryptocurrency, carries risks. Prices can be volatile, and the market is subject to regulatory changes. It’s essential to conduct thorough research, understand the risks involved, and make informed investment decisions.
Throughout the process, it’s crucial to choose reputable cryptocurrency exchange platforms and secure wallet solutions to protect your funds. Take the time to review the security measures offered by these platforms and wallets and implement best practices to keep your digital assets safe.
As the cryptocurrency market continues to evolve and grow, it’s recommended to stay updated with the latest news and developments in the industry. Monitor the market trends, explore new investment opportunities, and consider diversifying your portfolio beyond Ethereum.
Remember that the world of cryptocurrency is dynamic and ever-changing. Take the time to educate yourself, stay informed, and be prepared to adapt to new developments. By doing so, you will be well-equipped to navigate the exciting and potentially lucrative world of digital currencies.
Thank you for joining us on this journey, and we wish you success in your Ethereum investment and future endeavors in the cryptocurrency space!


