Introduction
Welcome to the world of external hard drives – the portable storage devices that have become an essential part of our lives. These compact wonders allow us to store and carry our valuable data, whether it’s important documents, precious memories, or multimedia files. However, just like any piece of technology, external hard drives can encounter issues and require repair.
If you’re facing problems with your external hard drive and need to repair the Windows operating system on it, you’ve come to the right place. In this article, we’ll guide you through the steps to get your external hard drive up and running again, ensuring that your files are safe and accessible.
Before we delve into the repair process, it’s important to understand that external hard drives can face software and hardware-related issues. Software issues usually involve errors within the Windows operating system on the external hard drive, while hardware issues refer to potential problems with the physical components of the drive. By diagnosing the root cause of the problem, you’ll be better equipped to find an appropriate solution.
In the following sections, we’ll explore various methods to repair Windows on your external hard drive. This includes troubleshooting hardware issues, running disk error checking, repairing file system errors, performing a system restore, using the command prompt to repair Windows, and reinstalling Windows on the external hard drive.
It’s worth mentioning that the methods discussed in this article are applicable to Windows-based external hard drives. If you’re using a different operating system, the steps may vary. Additionally, it’s always a good idea to backup your important files before attempting any repairs, as they may get affected during the process.
Now that you’re familiar with the basics, let’s dive into the world of external hard drive repair and help you get your device back in working order.
Understanding the Problem
Before proceeding with the repair process, it’s essential to gain a clear understanding of the problem you’re facing with your external hard drive. By identifying the symptoms, you can pinpoint the root cause and choose the appropriate solution for repair.
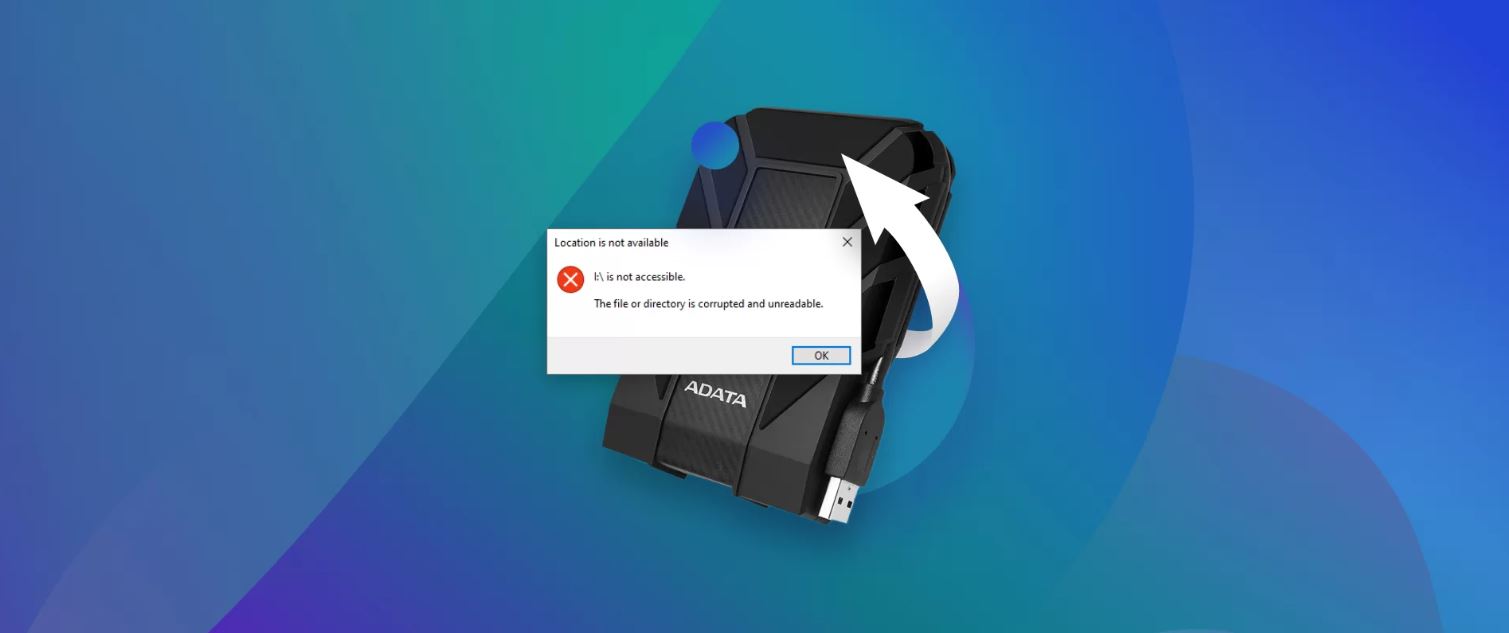
One common issue with external hard drives is the inability to access files or folders. This can occur due to file system errors, corrupted partitions, or even a faulty USB cable. If you’re experiencing this problem, it’s crucial to determine whether it’s specific to a particular file or affects the entire drive.
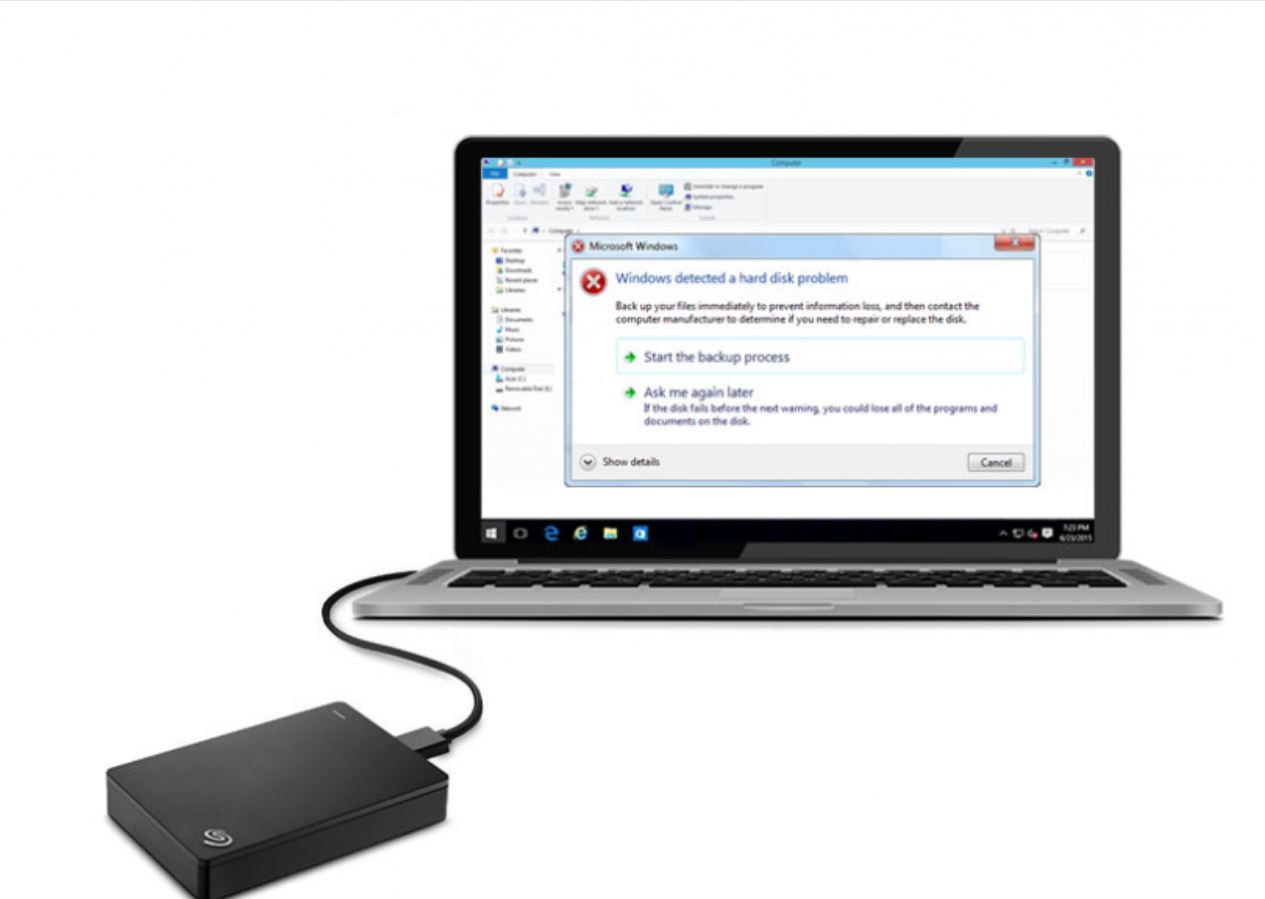
Another problem that users may encounter is the “Blue Screen of Death” (BSOD) when connecting the external hard drive to a computer. This indicates a more severe issue, such as a driver conflict or hardware malfunction. If you’re seeing the BSOD upon connection, it’s important to take note of the error code displayed.
Occasionally, a damaged or corrupted Master Boot Record (MBR) can lead to the inability to boot from the external hard drive. The MBR is responsible for initializing the operating system on the drive, and any issues with it may prevent the drive from functioning correctly.
Furthermore, if you notice unusual clicking or grinding noises coming from your external hard drive, it could indicate a mechanical failure. This could be caused by a faulty spindle or damaged read/write heads, requiring professional intervention to repair.
By closely observing the symptoms and understanding the problem, you can determine whether the issue is software-related or a result of hardware malfunction. This knowledge will be valuable in choosing the appropriate repair method and ensuring the best chances of successfully restoring your external hard drive.
Checking for Hardware Issues
If you suspect that your external hard drive is experiencing hardware problems, it’s important to perform some basic checks to rule out any physical issues. Here are a few steps you can take to identify and potentially resolve hardware-related problems:
- Check the physical connections: Ensure that the USB cables connecting your external hard drive to the computer are securely plugged in. Try using a different USB port or cable to determine if the problem lies with the connection.
- Test on a different computer: Connect the external hard drive to another computer to see if it is recognized and accessible. If it works fine on another system, it may indicate compatibility or driver issues on your original computer.
- Inspect for physical damage: Examine the external hard drive for any physical damage, such as dents, scratches, or loose components. If you find any, it could be impacting the drive’s functionality and may require professional repair.
- Listen for unusual sounds: Power on the external hard drive and listen for any abnormal clicking or grinding noises. These sounds may indicate a mechanical malfunction and will require assistance from a data recovery specialist.
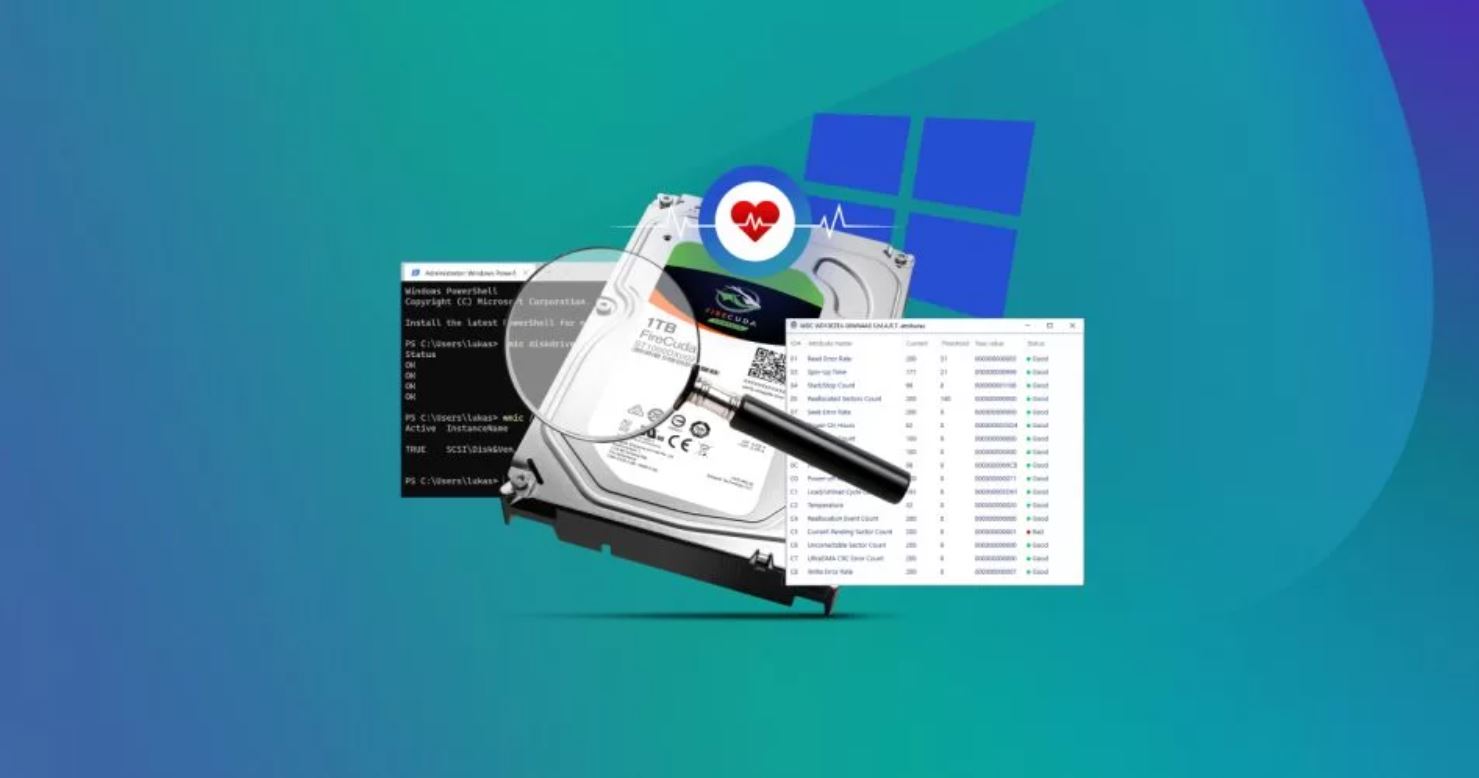
- Perform a SMART test: SMART (Self-Monitoring, Analysis, and Reporting Technology) is a built-in diagnostic tool that can assess the overall health of the hard drive. You can use third-party software to run a SMART test and check for any errors or warnings.
By conducting these hardware checks, you can determine if the issue lies with the physical components of the external hard drive. If you encounter any notable hardware issues or suspect that your drive requires professional attention, it is advisable to seek assistance from a qualified data recovery specialist or contact the manufacturer for further guidance.
Running Disk Error Checking
If you suspect that your external hard drive is encountering software-related issues, such as file system errors or corrupted data, running a disk error checking utility can help diagnose and fix these problems. Here’s how you can perform disk error checking:
- Connect the external hard drive: Ensure that your external hard drive is properly connected to your computer.
- Open File Explorer: Navigate to “This PC” or “My Computer” and locate the external hard drive.
- Right-click the drive: Right-click on the external hard drive and select “Properties” from the context menu.
- Navigate to the Tools tab: In the Properties window, navigate to the “Tools” tab.
- Click the “Check” button: Under the “Error checking” section, click on the “Check” button.
- Scan the drive: The disk error checking utility will scan the external hard drive for errors. It will automatically fix any file system issues and attempt to recover corrupted data.
- Wait for the process to complete: Depending on the size of your external hard drive and the extent of the errors, the scanning process may take some time. Be patient and let the utility complete its task.
- Review the scan results: Once the disk error checking is complete, you’ll receive a summary of the scan results. Take note of any errors or issues that were repaired.
By running disk error checking, you can identify and repair file system errors that may be causing problems on your external hard drive. This process can often resolve common software-related issues and restore the functionality of your drive.
Repairing File System Errors
If the disk error checking utility detects file system errors on your external hard drive, it’s crucial to repair these errors to ensure the proper functioning of your drive and the accessibility of your files. Here’s how you can repair file system errors:
- Open Command Prompt: Search for “Command Prompt” in the Windows Start menu, right-click on it, and select “Run as administrator.”
- Type the command: In the Command Prompt window, type the command
chkdsk [drive letter]: /f, replacing “[drive letter]” with the appropriate letter assigned to your external hard drive. - Press Enter: Hit the Enter key to execute the command.
- Confirm the process: Depending on the size of your external hard drive and the number of errors detected, you’ll be prompted to confirm whether you want to schedule the repair process for the next system restart. Type “Y” and press Enter to proceed.
- Restart your computer: Close all open applications and restart your computer. The repair process will initiate during the boot-up sequence.
- Wait for the repair process to complete: During the boot-up, the file system errors on your external hard drive will be repaired. This can take some time, so be patient and allow the process to finish.
- Log in and check the drive: Once your computer has restarted, log in and check the accessibility of your external hard drive. The file system errors should now be repaired.
By performing the necessary steps to repair file system errors, you can improve the overall stability and reliability of your external hard drive. This process will help ensure that your files are accessible and that any potential data corruption is addressed.
Performing a System Restore
If you’re still experiencing issues with your external hard drive after trying the previous methods, performing a system restore can potentially resolve any software-related problems that may be affecting the drive. System restore allows you to rollback your computer to a previous point in time, effectively undoing any changes that may have caused the issues. Here’s how you can perform a system restore:
- Open the System Restore window: Go to the Start menu, type “System Restore” in the search bar, and select “Create a restore point” from the results.
- Click on “System Restore”: In the System Properties window, under the System Protection tab, click on the “System Restore” button.
- Select a restore point: In the System Restore window, you’ll see a list of available restore points. Choose a restore point that predates the issues you’re experiencing with your external hard drive.
- Start the system restore: Click on “Next” and then “Finish” to initiate the system restore process. Your computer will restart, and the restore process will commence.
- Wait for the restore process to complete: The system restore process may take some time to complete. Your computer will restart again, and the changes will be applied.
- Check the functionality of the external hard drive: Once your computer has restarted, check to see if the issues with your external hard drive have been resolved. The system restore should have reverted your system to a state where the drive was functioning correctly.
System restore is a powerful tool that can help roll back your computer’s settings and configurations to a previous working state. By performing a system restore, you can potentially eliminate any software-related issues that were affecting the functionality of your external hard drive.
Using Command Prompt to Repair Windows
If your external hard drive is still encountering issues and other methods have not resolved the problem, using the Command Prompt can be an effective way to repair the Windows operating system. Here’s how you can utilize the Command Prompt to repair Windows on your external hard drive:
- Connect the external hard drive: Ensure that the external hard drive is properly connected to your computer.
- Open Command Prompt as administrator: Search for “Command Prompt” in the Windows Start menu, right-click on it, and select “Run as administrator.”
- Type the command: In the Command Prompt window, type the command
sfc /scannow /offbootdir=[drive letter]:\ /offwindir=[drive letter]:\windows, replacing “[drive letter]” with the appropriate letter assigned to your external hard drive. - Press Enter: Hit the Enter key to execute the command.
- Wait for the scanning process to complete: The System File Checker (SFC) utility will scan your external hard drive for corrupted or missing system files. This process may take some time, so be patient and let it complete.
- Review the scan results: Once the scanning process is finished, you will receive a summary of the scan results. Take note of any errors or issues that were detected and repaired.
- Restart your computer: Close all open applications and restart your computer. This will ensure that any changes made by the SFC utility are applied correctly.
- Check the functionality of the external hard drive: Once your computer has restarted, confirm whether the issues with your external hard drive have been resolved. The Command Prompt repair process may have fixed any Windows-related problems affecting the drive.
Using Command Prompt to repair Windows on your external hard drive can help resolve software-related issues that may be impacting its functionality. By following these steps, you can potentially restore the Windows operating system and ensure the proper operation of your external hard drive.
Reinstalling Windows on the External Hard Drive
If all other methods have failed to resolve the issues with your external hard drive, reinstalling the Windows operating system on the drive can provide a fresh start and potentially fix any software-related problems. Here’s how you can reinstall Windows on your external hard drive:
- Backup your important files: Before proceeding with a Windows reinstallation, it’s crucial to backup any important files stored on your external hard drive. This will ensure that you don’t lose any valuable data during the process.
- Obtain a Windows installation media: You’ll need a Windows installation media, such as a USB flash drive or DVD, that contains the Windows installation files. This can be created using the Windows Media Creation Tool or obtained from your original Windows installation disc.
- Connect the installation media: Connect the Windows installation media to your computer and ensure that your external hard drive is also connected.
- Boot from the installation media: Restart your computer and access the boot menu to select the installation media as the boot device. This process may vary depending on your computer’s manufacturer, so refer to the user manual or perform an internet search for the specific instructions.
- Follow the on-screen prompts: Once the computer boots from the installation media, follow the on-screen instructions to reinstall Windows. When prompted to select the installation location, choose your external hard drive as the destination.
- Wait for the installation to complete: The Windows reinstallation process may take some time. Be patient and let the installation complete.
- Configure Windows settings: Once the installation is finished, follow the on-screen prompts to configure Windows settings, such as language, region, and user accounts.
- Restore your files: After reinstalling Windows, you can restore your important files from the backup you created earlier. Ensure that your external hard drive is properly connected and use a backup or file transfer utility to restore your files to their original locations.
Reinstalling Windows on your external hard drive can be a more advanced troubleshooting step, but it can effectively resolve stubborn software-related issues. By following these steps, you can give your external hard drive a fresh installation of Windows and potentially resolve any lingering problems.
Conclusion
Repairing Windows on your external hard drive might seem like a daunting task, but with the right knowledge and steps, you can successfully resolve many software and hardware-related issues. By understanding the problem, checking for hardware issues, running disk error checking, repairing file system errors, performing a system restore, using the Command Prompt, or even reinstalling Windows, you can revive your external hard drive and ensure the accessibility of your valuable data.
Remember to start by identifying the symptoms and determining whether the problem is software or hardware-related. Performing basic checks, such as inspecting physical connections, testing on a different computer, and listening for unusual sounds, can help rule out any hardware issues. If software-related problems persist, running disk error checking and repairing file system errors can often fix common issues and restore functionality.
In some cases, more advanced troubleshooting steps, such as performing a system restore or using the Command Prompt to repair Windows, may be necessary. These methods allow you to roll back settings, scan for corrupted files, and repair system issues that may be causing problems on your external hard drive.
If all else fails, reinstalling Windows on your external hard drive can provide a fresh start and eliminate any lingering software-related issues. Be sure to back up your important files before proceeding with the reinstallation process and restore them once the Windows installation is complete.
By following the appropriate steps and selecting the right method based on the specific situation, you can repair Windows on your external hard drive and regain access to your files. If you encounter any difficulties or if the issues persist, it is advisable to seek professional assistance from data recovery specialists or contact the manufacturer of your external hard drive for further support.