Introduction
Streaming media has become an integral part of our entertainment routines, and Kodi has emerged as a popular software application for accessing and enjoying a wide range of digital content. Kodi is a versatile media player that can be installed on various devices, including smartphones, tablets, and PCs. One of the most convenient ways to enjoy the entertainment provided by Kodi is by streaming it from your PC to your smart TV.
Kodi offers a vast library of movies, TV shows, music, and even live TV streams. By streaming Kodi from your PC to your smart TV, you can enjoy all this content on a larger screen, enhancing the viewing experience for yourself and your family. Whether it’s binge-watching your favorite TV series or immersing yourself in a cinematic adventure, streaming Kodi to your smart TV offers a whole new level of entertainment.
Not only does streaming Kodi to your smart TV provide a better viewing experience, but it also allows you to access a wider range of content and features. Some smart TVs come with built-in apps, but they might not have the same flexibility and extensive library of Kodi. Streaming Kodi from your PC ensures that you have access to all the add-ons, skins, and customization options that Kodi offers.
Before you get started with streaming Kodi from your PC to your smart TV, it’s important to check the compatibility between your PC and your smart TV. Make sure that both devices support the required connectivity options, such as DLNA or Chromecast. Additionally, ensure that your smart TV is connected to the same network as your PC for seamless streaming.
In this guide, we will walk you through the step-by-step process of streaming Kodi from your PC to your smart TV. We will cover everything from installing Kodi on your PC and smart TV to connecting them using DLNA or Chromecast. We’ll also provide troubleshooting tips to help you overcome any issues you may encounter along the way. So, let’s dive in and unlock the full potential of Kodi on your smart TV!
What is Kodi?
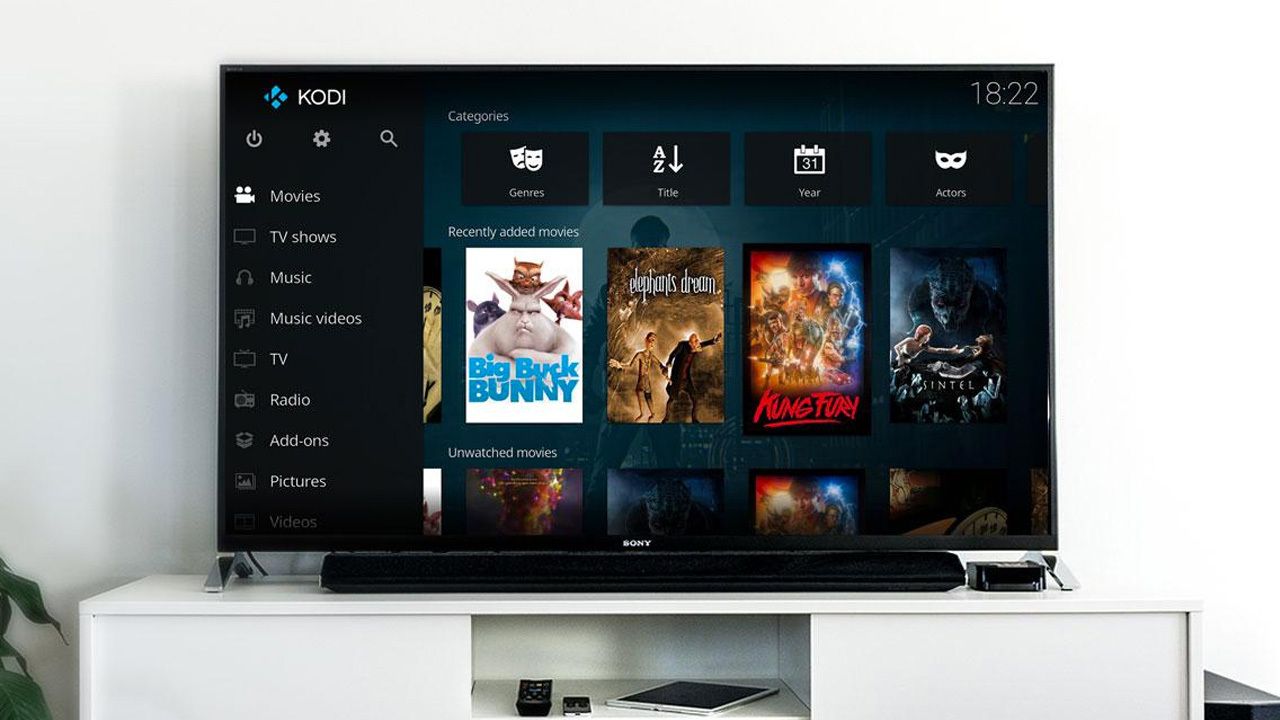
Kodi is a powerful open-source media player software that allows you to access and stream various types of digital media content on multiple devices. Formerly known as XBMC (Xbox Media Center), Kodi has evolved into a versatile entertainment hub that can be installed on various platforms, including Windows, Mac, Linux, Android, and iOS.
With Kodi, you can organize and play your personal media files, such as movies, TV shows, music, and photos, from your local storage. Additionally, Kodi supports a wide array of add-ons that expand its capabilities, allowing you to stream content from online sources and access features such as live TV, sports, podcasts, and more.
One of the key advantages of Kodi is its user-friendly interface and customizable skins, enabling you to personalize the appearance and layout according to your preferences. Whether you prefer a sleek and minimalist design or a vibrant and feature-rich interface, Kodi offers a wide range of options to suit your style.
Kodi supports a multitude of popular file formats, making it compatible with a vast library of media content. It also includes powerful audio and video playback features, including support for high-definition and 4K resolution, audio passthrough, subtitles, and chapter navigation.
Beyond its media playback capabilities, Kodi offers features such as smart playlists, which automatically organize your media based on criteria you define, and a robust remote control interface that allows you to control Kodi from your smartphone or tablet for added convenience.
One of the standout features of Kodi is its extensive collection of add-ons, which greatly enhance its functionality. These add-ons provide access to a wide range of streaming services, including popular platforms like Netflix, Amazon Prime Video, Hulu, and more. They also allow for integration with external devices and services, such as IPTV providers, home automation systems, and even gaming consoles.
In summary, Kodi is a versatile and feature-rich media player software that brings together your personal media collection and access to online content in one convenient platform. Whether you’re a movie buff, music lover, or avid TV show watcher, Kodi provides a flexible and customizable solution to meet your entertainment needs.
Why stream Kodi from PC to Smart TV?
Streaming Kodi from your PC to your smart TV offers several advantages that can enhance your entertainment experience and give you access to a wider range of content and features.
Firstly, streaming Kodi to your smart TV allows you to enjoy your favorite movies, TV shows, and music on a larger screen. While watching media on a PC might be convenient at times, nothing beats the immersive experience of watching content on a big screen in the comfort of your living room. By streaming Kodi to your smart TV, you can transform your television into a powerful media center.
Another benefit of streaming Kodi to your smart TV is the ability to access a vast library of add-ons and content. Smart TVs often come with pre-installed apps, but they may not offer the same level of customization and variety as Kodi. Kodi’s extensive add-on ecosystem gives you access to a wide range of streaming services, live TV channels, sports events, podcasts, and much more. You can customize Kodi according to your preferences and access the content you love, all from the convenience of your smart TV.
Streaming Kodi to your smart TV also eliminates the need for multiple devices and simplifies your entertainment setup. Instead of connecting your PC to the TV with cables or using additional streaming devices, you can directly stream Kodi from your PC to your smart TV. This reduces clutter and makes it more convenient to switch between different streaming services and media sources.
Moreover, streaming Kodi to your smart TV opens up possibilities for multi-room audio and video setups. If you have multiple smart TVs or compatible devices, you can stream Kodi simultaneously to different rooms, providing a synchronized entertainment experience throughout your home. This is especially useful for parties or when family members want to watch different shows or movies in separate rooms.
Lastly, streaming Kodi to your smart TV allows you to take advantage of the smart features of your television. Smart TVs come with built-in apps, internet connectivity, and advanced features such as voice control or gesture recognition. By streaming Kodi to your smart TV, you can combine the functionality of a smart TV with the versatility and customization options of Kodi, creating an all-in-one entertainment solution.
In summary, streaming Kodi from your PC to your smart TV offers a larger screen viewing experience, access to a wide range of content and add-ons, simplifies your entertainment setup, enables multi-room streaming, and combines the features of a smart TV with the capabilities of Kodi. So, why limit yourself to a small PC screen when you can unleash the full potential of Kodi on your smart TV?
Check compatibility between PC and Smart TV
Before you can start streaming Kodi from your PC to your smart TV, it’s important to check the compatibility between your devices. Ensuring that both your PC and smart TV support the necessary connectivity options will help you achieve a seamless streaming experience. Here are the key factors to consider when checking compatibility:
1. Operating System: Verify that your PC and smart TV have compatible operating systems. Kodi is available for major operating systems such as Windows, macOS, Linux, Android, and iOS. Make sure your PC is running a compatible operating system, and check if your smart TV supports the installation of Kodi.
2. Connectivity Options: Determine the available connectivity options on both your PC and smart TV. Two common methods for streaming Kodi to a smart TV are DLNA (Digital Living Network Alliance) and Chromecast. DLNA allows you to share media between devices connected to the same network, while Chromecast lets you cast media from your PC to your TV.
3. DLNA Support: If you plan to use DLNA for streaming Kodi to your smart TV, ensure that both devices support DLNA. Check your PC’s specifications and look for DLNA certification or media sharing capabilities. For your smart TV, check if it has built-in support for DLNA or if it requires an external device, such as a set-top box or media player, to enable DLNA functionality.
4. Chromecast Support: If you prefer to use Chromecast, verify that both your PC and smart TV support Chromecast. Your PC should have Google Chrome installed, as the Chromecast functionality relies on the Chrome browser. Check if your smart TV has built-in support for Chromecast or if you need an external Chromecast dongle to connect to it.
5. Network Connectivity: To seamlessly stream Kodi from your PC to your smart TV, ensure that both devices are connected to the same network. This can be a wired or wireless connection, depending on the capabilities of your devices and your network setup. Make sure your PC and smart TV are connected to the same Wi-Fi network or connected via Ethernet.
6. Hardware Specifications: Consider the hardware specifications of your PC and smart TV, especially if you plan to stream high-quality or 4K content. Ensure that your PC has sufficient processing power, memory, and a compatible graphics card to handle streaming and playback smoothly. Check if your smart TV supports the necessary audio and video formats for a seamless viewing experience.
By checking the compatibility between your PC and smart TV, you can identify any potential limitations or requirements before proceeding with the streaming setup. This will help you avoid any compatibility issues and ensure a smooth streaming experience when accessing Kodi on your smart TV.
Connect the PC and Smart TV to the same network
To stream Kodi from your PC to your smart TV, it is crucial to connect both devices to the same network. This ensures that they can communicate and share media seamlessly. Here’s a step-by-step guide on how to connect your PC and smart TV to the same network:
1. Check your Wi-Fi network: Make sure your Wi-Fi network is up and running. Ensure that your PC and smart TV are within range of the Wi-Fi signal and can connect to it. You may need to consult your router’s manual for instructions on connecting devices to your specific network.
2. Connect your PC to the Wi-Fi network: On your PC, click on the Wi-Fi icon in the system tray (usually found in the bottom-right corner of the screen) and select your Wi-Fi network from the list. Enter the network password if prompted. Once connected, your PC will have access to the network.
3. Connect your smart TV to the Wi-Fi network: Use your smart TV’s remote control or on-screen menu to navigate to the network settings. Select your Wi-Fi network from the list of available networks and enter the network password if required. Once connected, your smart TV will be connected to the same Wi-Fi network as your PC.
4. Verify the connection: To confirm that both your PC and smart TV are on the same network, you can check their network settings. On your PC, go to the network settings or control panel and locate the connections or network section. Look for the Wi-Fi network name and note it down. On your smart TV, navigate to the network settings and find the network name. Ensure that both devices display the same Wi-Fi network name.
5. Test connectivity: To ensure that the PC and smart TV can communicate with each other, you can perform a simple network connectivity test. Open a web browser on your PC and try accessing a website. If the webpage loads successfully, it indicates that your PC has an active internet connection. Similarly, on your smart TV, try opening a pre-installed app or accessing an online service. If the app launches or the service loads, it confirms that your smart TV is also connected to the internet.
By following these steps and confirming that both your PC and smart TV are connected to the same Wi-Fi network, you have established the necessary network connection for streaming Kodi. Keep in mind that if you’re using a wired Ethernet connection instead of Wi-Fi, ensure that both devices are connected to the same router or switch using Ethernet cables.
Now that your PC and smart TV are connected to the same network, you’re ready to proceed with the next steps of installing Kodi and configuring it for streaming on both devices.
Install Kodi on your PC
Before you can begin streaming Kodi from your PC to your smart TV, you need to install Kodi on your PC. Follow these steps to install Kodi:
1. Go to the Kodi website: Open a web browser on your PC and navigate to the official Kodi website at www.kodi.tv.
2. Select the Downloads section: On the Kodi website, click on the “Downloads” tab located in the top menu bar.
3. Choose your operating system: In the Downloads section, you will see a list of different operating systems. Select the one that matches your PC’s operating system, such as Windows, macOS, or Linux.
4. Select the stable release: Within the operating system section, choose the stable release of Kodi. This is the recommended version for most users.
5. Download Kodi: Click on the download link for the stable release of Kodi for your operating system. The download will usually start automatically, but if it doesn’t, click on the provided download link.
6. Run the installer: Once the download is complete, locate the downloaded installer file and run it. Follow the on-screen instructions to install Kodi on your PC. Accept any necessary terms and conditions and choose the installation location if prompted.
7. Complete the installation: Wait for the installation process to complete. Depending on your system, it may take a few minutes to complete the installation. Once finished, you will see a confirmation message.
8. Launch Kodi: After the installation is complete, you can launch Kodi by clicking on the Kodi icon on your desktop or by searching for Kodi in the Start menu (Windows) or Applications folder (macOS).
Congratulations! You have successfully installed Kodi on your PC. Now you can proceed with configuring Kodi and preparing it for streaming to your smart TV. Configuring Kodi involves setting up your media library, adding add-ons, and customizing the settings according to your preferences. This will ensure a personalized and optimized streaming experience when accessing Kodi on your smart TV.
In the next sections, we will guide you through the process of configuring Kodi on your PC and installing Kodi on your smart TV.
Configure Kodi on your PC
After installing Kodi on your PC, the next step is to configure it to ensure the best streaming experience. Here are the essential steps to configure Kodi on your PC:
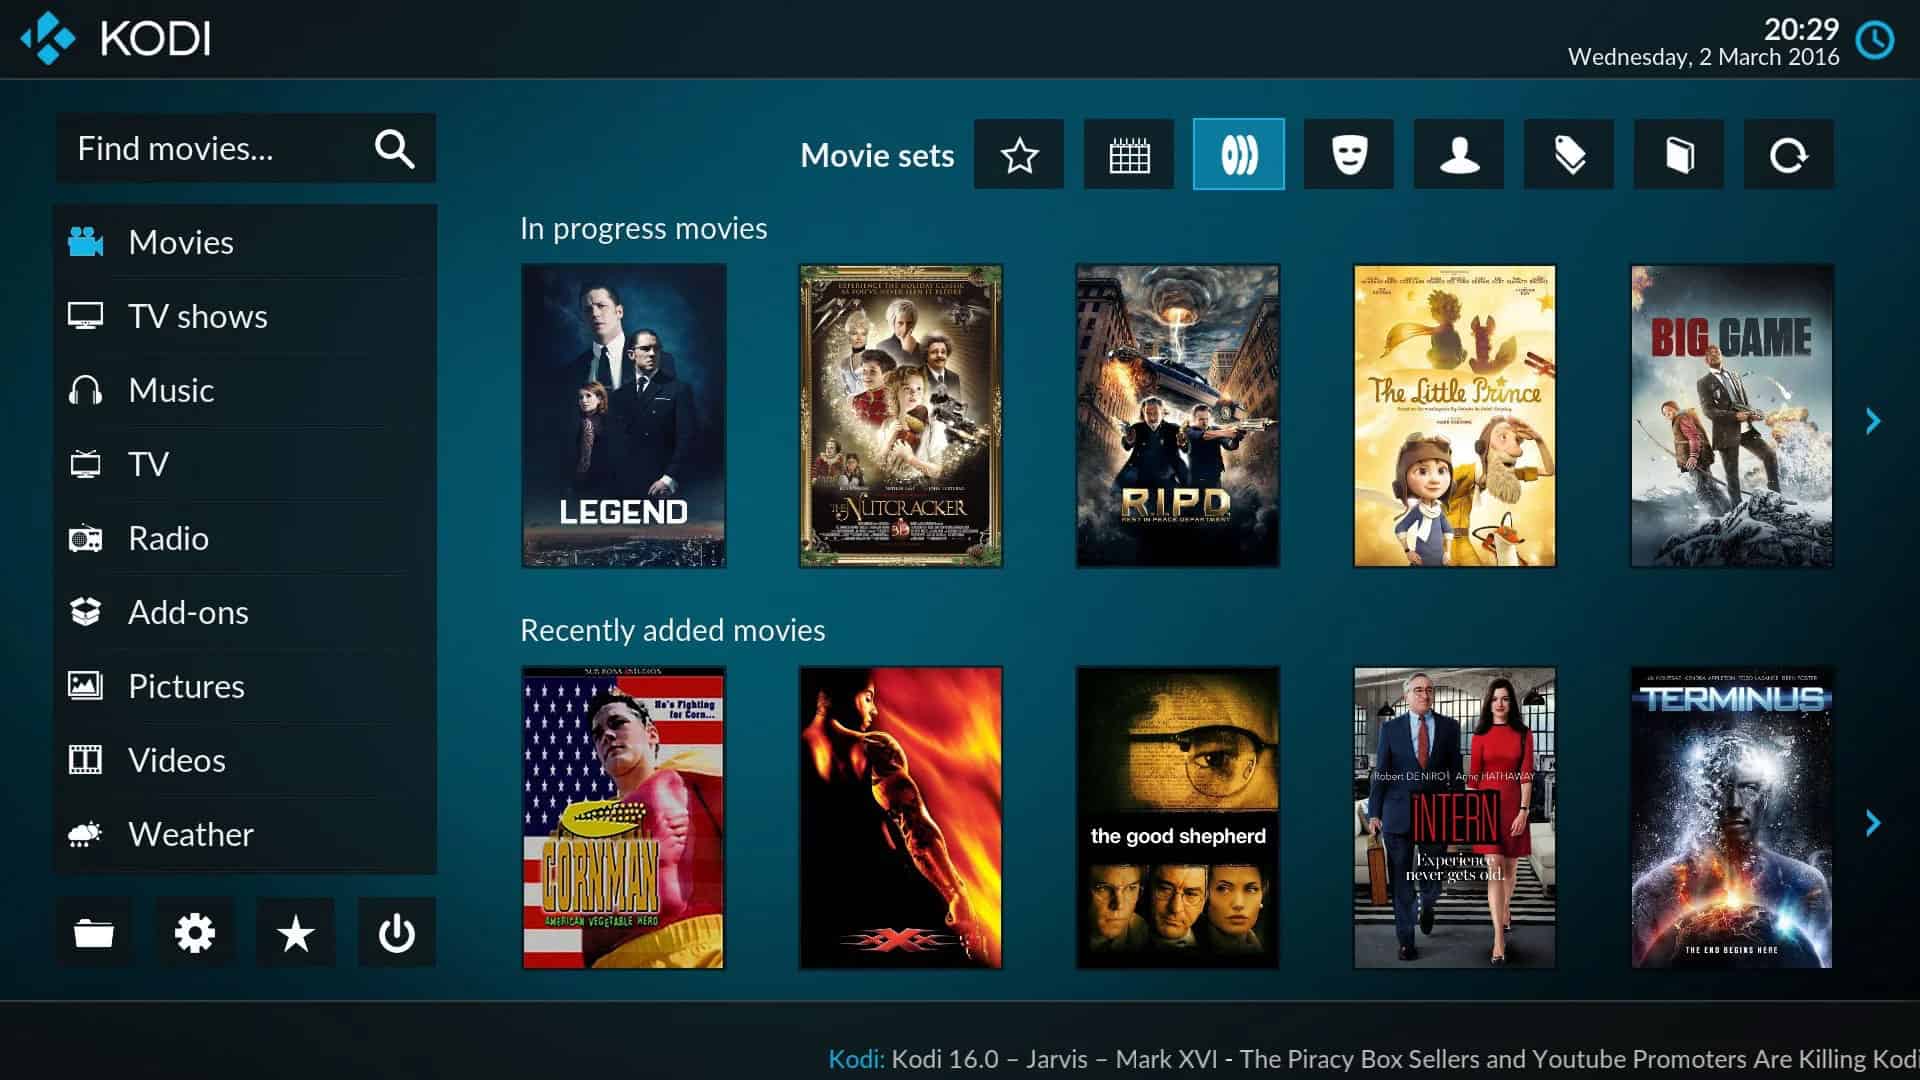
1. Set up your media library: Launch Kodi on your PC and go to the main menu. Select “Settings” and then “Media settings.” Choose the “Library” tab and click on “Video” or “Music,” depending on the type of media you want to add. Click on “Add videos” or “Add music” and follow the prompts to select the folders or network locations where your media files are stored. Kodi will scan and add the media to its library for easy access.
2. Add add-ons to Kodi: Kodi’s add-ons allow you to expand its capabilities and access a wide variety of streaming content. From the main menu, select “Add-ons” and then click on the package icon in the top-left corner. Choose “Install from repository” and browse through the available repositories to find add-ons that interest you. Once you find an add-on, select it, and click on “Install” to add it to Kodi.
3. Customize Kodi settings: Kodi offers a range of settings to personalize your experience. To access the settings, go to the main menu and select “Settings.” From here, you can customize various aspects such as the appearance and behavior of Kodi, audio and video settings, network settings, and more. Take some time to explore the settings and adjust them according to your preferences.
4. Enable remote control: If you have a smartphone or tablet, you can use it as a remote control for Kodi. From the main menu, go to “Settings” and select “Services.” Choose “Control” and enable the options for remote control via HTTP and remote control via UPnP. This will allow you to control Kodi from your mobile device using a compatible remote control app.
5. Set up your preferred add-ons: Once you have installed add-ons, you may want to customize their settings. From the main menu, go to “Add-ons” and select “My add-ons.” Choose the desired add-on and access its settings. Depending on the add-on, you may be able to configure options such as authentication, auto-play, subtitles, and more.
6. Organize Kodi with skins: Kodi offers a variety of skins that can change the look and feel of the interface. From the main menu, go to “Settings” and select “Interface settings.” Choose “Skin” and browse through the available skins. Select a skin, click on “Apply” or “OK,” and Kodi will automatically apply the selected skin.
By following these configuration steps, you can optimize Kodi on your PC for a seamless streaming experience. Set up your media library, add the desired add-ons, customize the settings, and personalize the appearance with different skins. Once you have configured Kodi on your PC, you’re ready to proceed with enabling sharing on your PC and installing Kodi on your smart TV to start streaming Kodi content on the big screen.
Enable sharing on your PC
To stream Kodi from your PC to your smart TV, it’s important to enable media sharing on your PC. This allows Kodi on your smart TV to access and stream media files from your PC’s library. Here’s how you can enable sharing on your PC:
1. Open the Control Panel: On your PC, click on the Windows Start button and search for “Control Panel”. Click on the Control Panel app to open it.
2. Select Network and Sharing Center: In the Control Panel window, navigate to the “Network and Internet” section and click on “Network and Sharing Center.”
3. Turn on network discovery: Within the Network and Sharing Center, locate and click on the “Change advanced sharing settings” link on the left side of the window. In the Advanced Sharing Settings window, expand the “Private” network profile if it is not already expanded. Under the “Network discovery” section, select the option for “Turn on network discovery” and click “Save changes.”
4. Enable file and printer sharing: While still in the Advanced Sharing Settings window, find the “File and printer sharing” section under the “Private” network profile. Select the option for “Turn on file and printer sharing” and click “Save changes.”
5. Share your media folders: Now, you need to share the folders that contain your media files with Kodi on your smart TV. Locate the folders on your PC where your media files are stored. Right-click on a folder and select “Properties.” In the Properties window, go to the “Sharing” tab and click on the “Advanced Sharing” button. Check the box for “Share this folder” and give it a share name. Click on “Permissions” to set the access permissions for the shared folder. Confirm the changes and repeat this process for all the folders you want to share with Kodi.
6. Note down your PC’s network address: To access the shared folders on your PC from your smart TV, you will need to know your PC’s network address. On your PC, click on the Windows Start button and search for “Command Prompt.” Open the Command Prompt app and type “ipconfig” without quotation marks. Look for the “IPv4 Address” under your network adapter (usually labeled as “Ethernet adapter” or “Wi-Fi adapter”) and note down the corresponding IP address.
By enabling sharing on your PC and sharing specific folders containing your media files, you have set up the foundation for streaming Kodi from your PC to your smart TV. Now, you can proceed with installing Kodi on your smart TV and establishing the connection between your PC and smart TV using DLNA or another compatible method.
Install Kodi on your Smart TV
To enjoy the benefits of streaming Kodi from your PC to your smart TV, you need to install Kodi on your smart TV. While some smart TVs come with Kodi pre-installed, others may require manual installation. Here’s a guide on how to install Kodi on your smart TV:
1. Check your smart TV model: Verify if your smart TV supports the installation of Kodi. Look for the manufacturer’s website or user manual for information on compatible apps and software.
2. Find the app store on your smart TV: Most smart TVs have an app store where you can download and install various applications. Use your TV’s remote control to navigate to the app store app. The app store may have different names depending on the brand of your smart TV, such as LG Content Store, Samsung Smart Hub, or Android TV Play Store.
3. Search for Kodi: In the app store, use the search function to find the Kodi app. Type in “Kodi” and look for the official Kodi app in the search results.
4. Install Kodi: Once you’ve found the Kodi app, select it and click on the “Install” or “Download” button. Follow the on-screen prompts to download and install Kodi on your smart TV. The installation process may take a few minutes, depending on the speed of your internet connection and the size of the app.
5. Launch Kodi: After the installation is complete, you can launch Kodi from your smart TV’s app list or home screen. Look for the Kodi app icon and click on it to open Kodi.
Note: If you cannot find the Kodi app in your smart TV’s app store, it might not be officially available for your specific smart TV model. In such cases, you could look into alternative methods for installing Kodi on your smart TV, such as sideloading the app using a USB drive or using external streaming devices such as Amazon Fire TV Stick or Roku that support Kodi installation.
Once you have successfully installed Kodi on your smart TV, you can proceed with setting up and configuring Kodi to access your media library and add-ons. The next step will involve connecting your PC and smart TV to establish a streaming connection so that you can start enjoying the Kodi content on your big screen.
Connect PC and Smart TV using DLNA
DLNA (Digital Living Network Alliance) is a technology that allows devices to share media files over a local network. By connecting your PC and smart TV using DLNA, you can easily stream Kodi content from your PC to your smart TV. Here’s how to connect your PC and smart TV using DLNA:
1. Ensure DLNA is enabled on your PC: On your PC, open the Control Panel, and navigate to “Network and Sharing Center.” Click on “Change advanced sharing settings” and make sure “Network discovery” and “File and printer sharing” are turned on under the “Private” network profile. These settings enable your PC to be discovered and accessed through DLNA.
2. Check DLNA support on your smart TV: On your smart TV, go to the settings menu and look for the network or connectivity options. Make sure DLNA or Media Sharing is enabled. Depending on your smart TV’s brand and model, the exact terminology and location of this setting may vary. Refer to your smart TV’s user manual for more specific instructions.
3. Connect your PC and smart TV to the same network: Ensure that both your PC and smart TV are connected to the same Wi-Fi network or are connected using an Ethernet cable to the same router or switch. This is essential for the devices to communicate with each other over the network.
4. Launch Kodi on your PC: Open Kodi on your PC and ensure that your media library is properly set up with the desired content you want to stream to your smart TV.
5. Access Kodi on your smart TV: On your smart TV, navigate to the home screen or main menu and look for the DLNA or media sharing option. Select it to search for available devices on the network.
6. Select your PC on your smart TV: Your smart TV should detect your PC as a DLNA-compatible device. From the list of available devices, select your PC’s name or media library to establish the connection. This will allow your smart TV to access and stream media files from Kodi on your PC.
7. Navigate and play content: Once the connection is established, you can browse through your media library on your smart TV and select the desired media files to play. Use your smart TV’s remote control or on-screen controls to navigate through Kodi and enjoy your favorite movies, TV shows, music, and more on the big screen.
By connecting your PC and smart TV using DLNA, you can effortlessly stream Kodi content from your PC to your smart TV without needing any additional devices or cables. This method allows for a convenient and wire-free streaming experience, enabling you to enjoy the full capabilities of Kodi on your smart TV.
Stream Kodi from PC to Smart TV using Plex
If you prefer an alternative method to stream Kodi from your PC to your smart TV, you can use Plex as a media server. Plex is a popular media management platform that allows you to organize, stream, and access your media files across different devices. Here’s a step-by-step guide on how to stream Kodi from your PC to your smart TV using Plex:
1. Install Plex on your PC: Go to the Plex website (www.plex.tv) and download the Plex Media Server to your PC. Follow the installation wizard and configure the media server settings as desired. Add the folders containing your media files to Plex to create your media library.
2. Sign up for a Plex account: To access your media library from your smart TV, you’ll need to create a Plex account. Visit the Plex website and sign up for a free account with your email address.
3. Install the Plex app on your smart TV: Depending on your smart TV’s operating system, search for the Plex app in the app store or marketplace on your smart TV. Download and install the Plex app.
4. Launch Plex on your smart TV: Once the Plex app is installed, open it on your smart TV. You’ll be prompted to log in with your Plex account credentials. Enter your login details to access your media library.
5. Link your Plex account to your media server: On your smart TV, the Plex app will search for available Plex media servers on your network. Select your PC’s Plex media server from the list of detected servers and link it to your Plex account.
6. Access and stream Kodi content: After linking your Plex account to your media server, you’ll have access to your Kodi content through the Plex app on your smart TV. Browse through your media library, select the desired Kodi media file, and begin streaming it on your smart TV.
By using Plex as an intermediary media server, you can easily stream Kodi content from your PC to your smart TV. Plex makes it convenient to manage and access your media files across devices, offering a user-friendly interface on your smart TV for seamless playback of Kodi content.
Make sure you keep your Plex media server on your PC running and connected to your network for uninterrupted access to your Kodi content from your smart TV.
Stream Kodi from PC to Smart TV using Chromecast
Chromecast is a popular streaming device that allows you to cast media from your PC or mobile device to your smart TV. By using Chromecast, you can easily stream Kodi from your PC to your smart TV. Here’s a step-by-step guide on how to stream Kodi from your PC to your smart TV using Chromecast:
1. Ensure Chromecast is set up: Set up your Chromecast device by plugging it into an available HDMI port on your smart TV and following the instructions provided in the Chromecast manual or setup app.
2. Install the Google Chrome browser: If you don’t already have it, download and install the Google Chrome browser on your PC. Chromecast requires the Chrome browser for streaming.
3. Install the Google Cast extension: Open the Chrome browser on your PC and install the Google Cast extension from the Chrome Web Store. This extension allows you to cast media from your browser to your smart TV.
4. Launch Kodi on your PC: Open Kodi on your PC and ensure that your media library and desired content are set up and ready for streaming.
5. Open Chrome and cast your browser tab: Open a new tab in the Chrome browser and click on the Google Cast extension icon. From the dropdown menu, select “Cast this tab” and choose your Chromecast device from the list of available devices.
6. Start streaming Kodi: With your browser tab cast to your Chromecast device, navigate to the Kodi window/tab on your PC. Your Kodi content will be mirrored and displayed on your smart TV.
7. Control playback: Use your PC to control playback in Kodi, including selecting movies, TV shows, or music. The audio and video will be played on your smart TV while being controlled from your PC.
By using Chromecast, you can easily stream Kodi content from your PC to your smart TV. The Google Cast extension allows for seamless casting of your Chrome browser tab, including the Kodi window, to your smart TV. This method eliminates the need for a physical connection between your PC and smart TV, providing a convenient and wireless streaming solution.
Make sure your PC and Chromecast device are connected to the same Wi-Fi network for successful casting. Enjoy streaming Kodi on your big screen with the power and flexibility of Chromecast.
Troubleshooting tips
While streaming Kodi from your PC to your smart TV can be a straightforward process, you may encounter some issues along the way. Here are some troubleshooting tips to help you overcome common problems and ensure a smooth streaming experience:
1. Check network connectivity: Make sure both your PC and smart TV are connected to the same Wi-Fi network. If you’re using an Ethernet connection, ensure that both devices are connected to the same router or switch.
2. Restart devices: Sometimes, restarting your PC, smart TV, and router can resolve temporary connection issues. Power off each device, wait for a few seconds, and then power them back on.
3. Update software: Ensure that your PC and smart TV’s operating systems, Kodi, and streaming apps are up to date. Newer versions often contain bug fixes and improvements that can resolve issues.
4. Check firewall and antivirus settings: Verify that your firewall or antivirus software is not blocking the necessary network traffic for streaming. Temporarily disabling them can help pinpoint the issue.
5. Reinstall Kodi: If Kodi is not functioning properly, consider reinstalling it on your PC. Uninstall Kodi, restart your PC, and then reinstall the latest version from the official Kodi website.
6. Restart Kodi: If you encounter any issues within Kodi, try restarting the application. Close Kodi, wait a few seconds, and reopen it to see if the problem persists.
7. Check DLNA or Chromecast settings: Review the settings on your smart TV for DLNA or Chromecast. Ensure that they are enabled and properly configured. Refer to your smart TV’s user manual or online resources for specific instructions.
8. Verify media format compatibility: Some smart TVs or streaming devices may have limitations on supported video or audio formats. Check the media format and codec of your content to ensure it is compatible with your smart TV.
9. Check internet speed: Slow or unstable internet connections can affect the quality of streaming. Check your internet speed and consider upgrading your plan if needed. You can use online speed test tools to measure your internet speed.
10. Reset your smart TV: If all else fails, you can try performing a factory reset on your smart TV. This will restore the default settings, potentially resolving any configuration issues affecting the streaming process. Note that a factory reset will erase any personal settings and data on your smart TV, so make sure to back up any important information first.
By following these troubleshooting tips, you can overcome common issues encountered when streaming Kodi from your PC to your smart TV. Remember to be patient and methodical when addressing any problems, and don’t hesitate to seek additional help from online forums or support communities dedicated to Kodi and smart TV streaming.
Conclusion
Streaming Kodi from your PC to your smart TV opens up a world of entertainment possibilities. With the ability to access a vast library of content, customize your viewing experience, and enjoy media on a larger screen, streaming Kodi enhances your entertainment experience. Whether you choose to connect using DLNA, Plex, or Chromecast, the process can be easily accomplished with the right steps and troubleshooting techniques.
Throughout this guide, we covered the necessary steps to stream Kodi from your PC to your smart TV. We started by introducing Kodi and discussing its features, highlighting the reasons for streaming Kodi from your PC to your smart TV. We then delved into checking compatibility between devices, connecting the PC and smart TV to the same network, installing Kodi on your PC and smart TV, and configuring Kodi for optimal performance.
For those using DLNA, we explained how to enable sharing on your PC and connect your PC and smart TV using DLNA. We also explored alternative methods such as streaming Kodi using Plex as a media server and casting Kodi to your smart TV using Chromecast. Additionally, we provided troubleshooting tips to help you address any potential issues that may arise during the streaming process.
With the information provided in this guide, you can now enjoy streaming Kodi from your PC to your smart TV. Remember to ensure compatibility, establish a stable network connection, and configure your devices properly. By doing so, you’ll have a smooth streaming experience and be able to enjoy your favorite movies, TV shows, music, and more on the big screen of your smart TV through Kodi.
Embrace the versatility of Kodi and the convenience of your smart TV, and unlock a world of entertainment options in the comfort of your own home.