Introduction
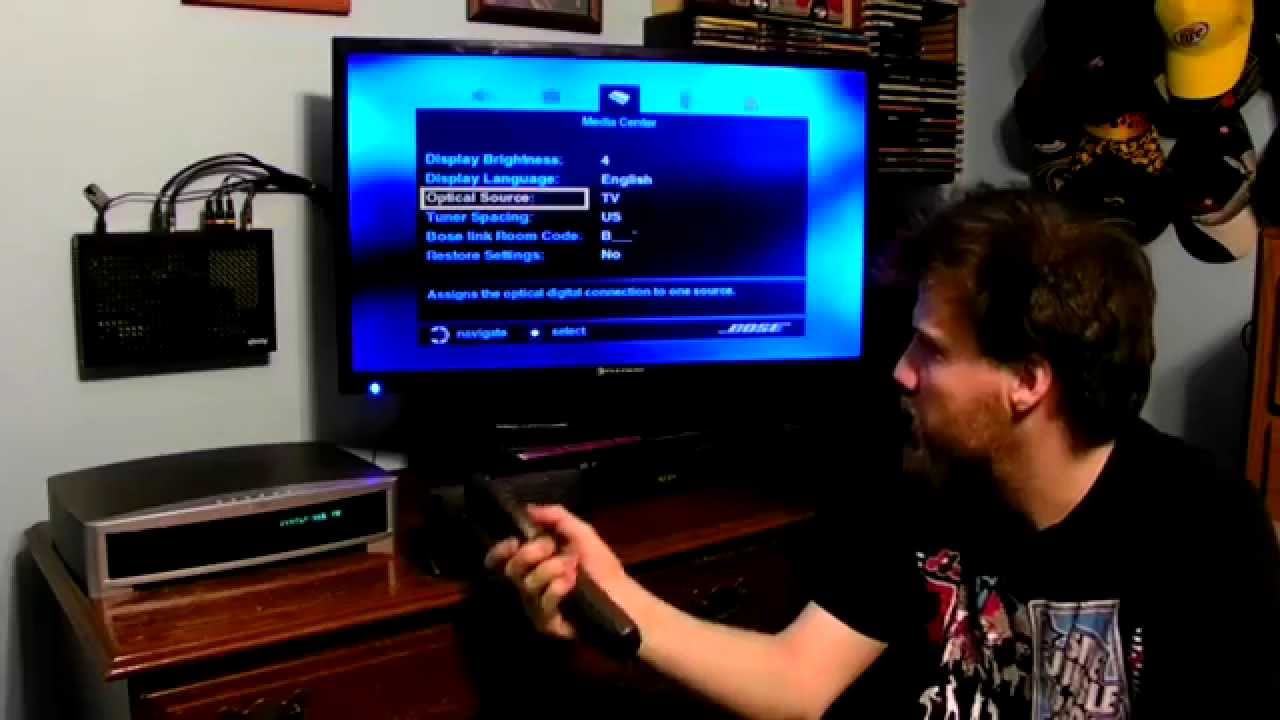
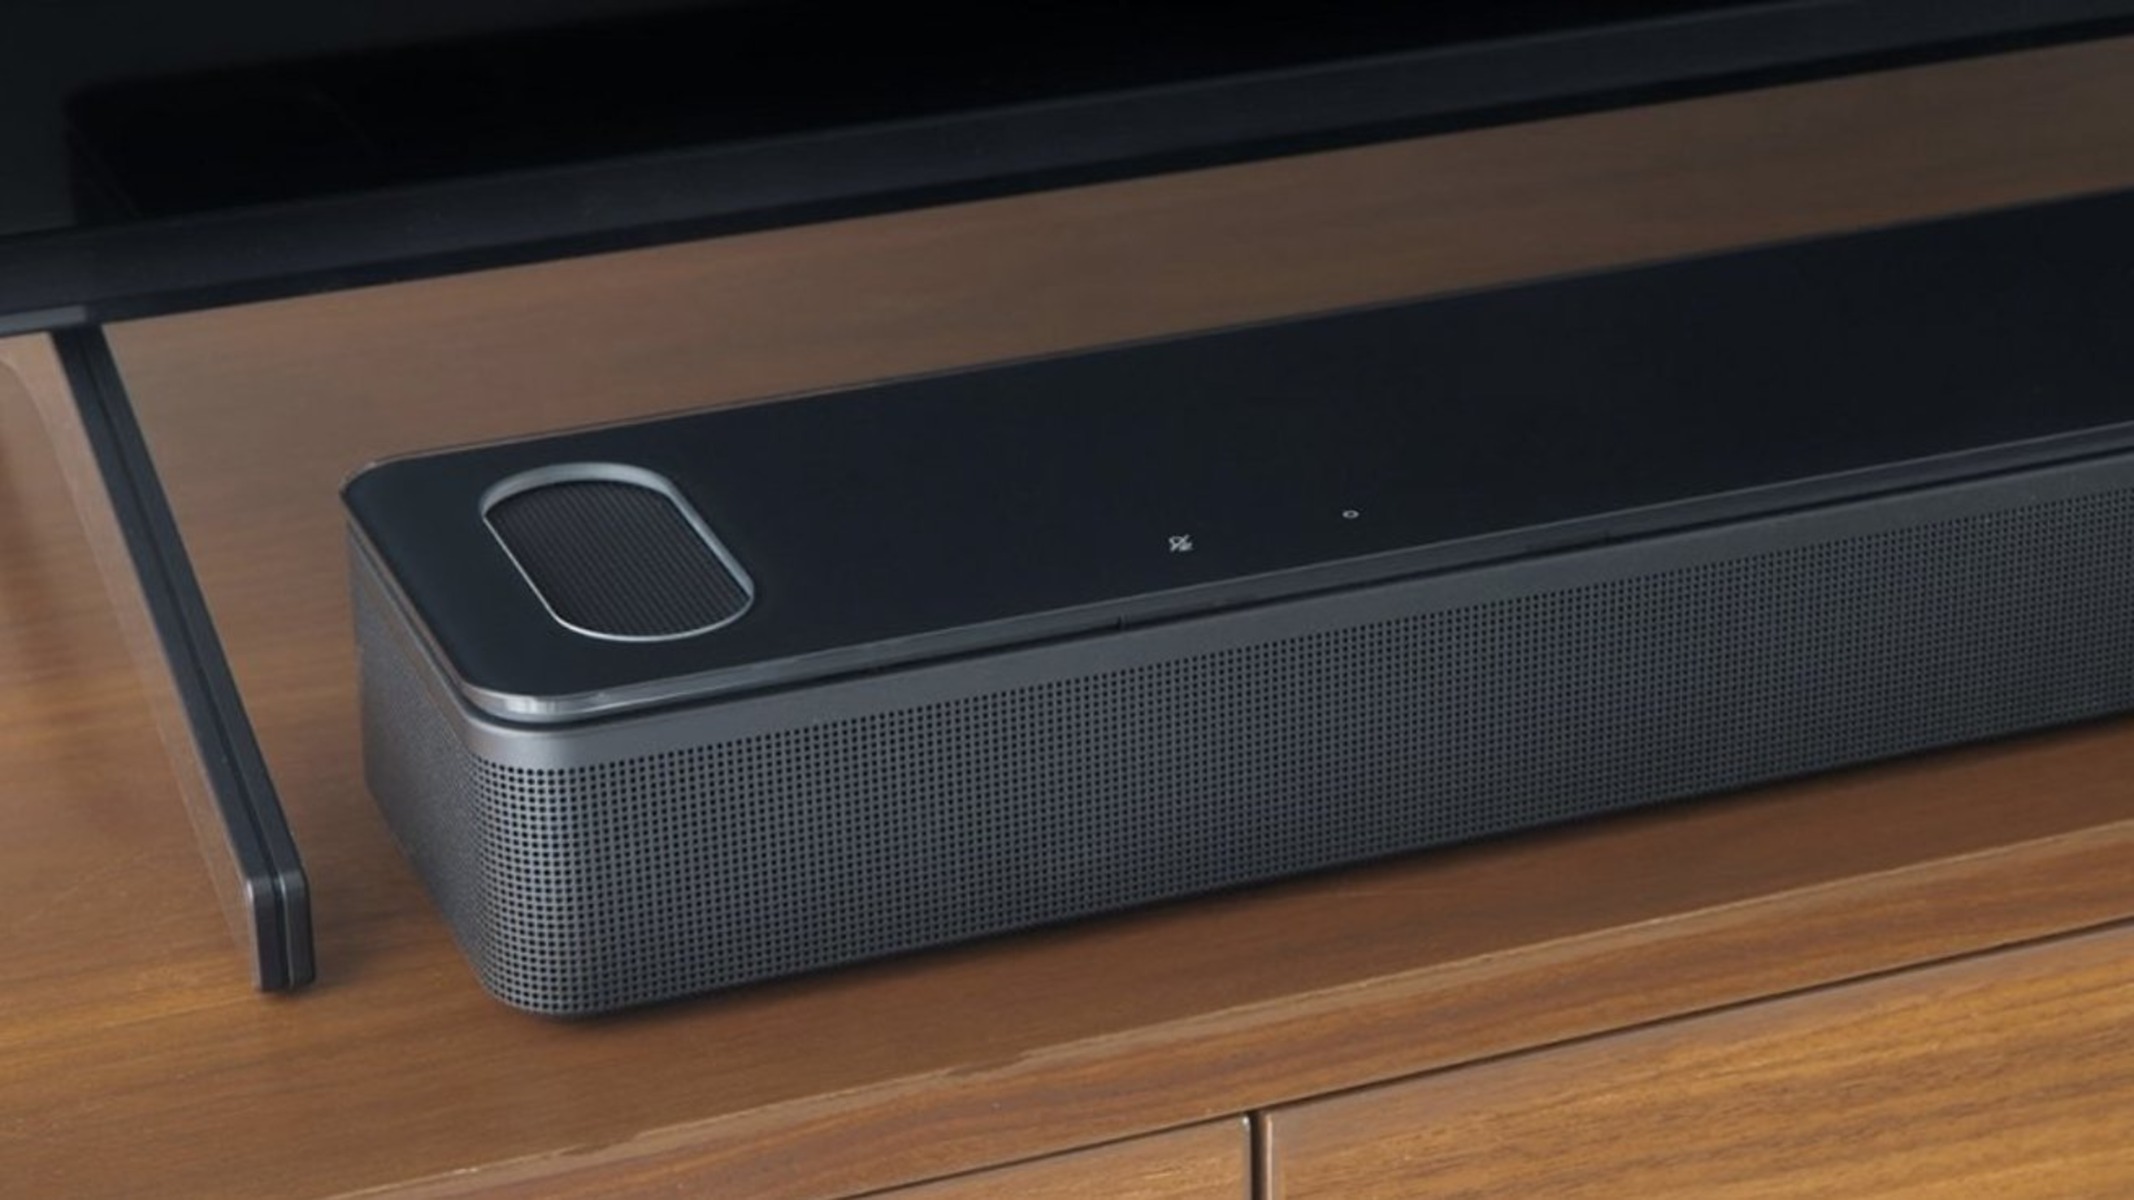
Are you looking to connect your old Bose system to a modern smart TV? If so, you’re in the right place! While your Bose system may not have all the fancy features of a new soundbar, it can still provide excellent audio quality if properly connected to your TV.
One of the challenges you may encounter during this process is the compatibility between your old Bose system and the newer TV models. However, with the right cables and connections, you can still enjoy the immersive experience that your Bose system offers while watching your favorite shows and movies on a smart TV.
In this guide, we will walk you through the steps to connect your old Bose system to a smart TV. We will discuss the different types of ports available on both your Bose system and the TV, and guide you on how to make the necessary connections. By the end of this guide, you’ll be all set to enjoy the superior sound quality of your Bose system with your smart TV.
Before we dive into the step-by-step instructions, it’s important to note that the availability of ports and connection options may vary depending on the specific models of your Bose system and smart TV. It’s always recommended to consult the user manuals of both devices to ensure compatibility and get the most accurate instructions for your particular setup.
No matter what type of connection you end up using, rest assured that you’re making the most out of your old Bose system and enjoying a seamless audio experience with your smart TV.
Step 1: Check the available ports on your old Bose system
Before you can connect your old Bose system to your smart TV, you need to identify the available ports on your Bose system. This will help you determine which type of cable or connection you can use. The port options on your Bose system may vary depending on the model, so it’s important to refer to the user manual for specific details.
Here are some commonly found ports on old Bose systems:
- HDMI ports: Some newer Bose systems may have HDMI ports, allowing for a direct connection with your smart TV. HDMI ports provide high-quality audio and video transmission in a single cable.
- Optical ports: Optical ports, also known as TOSLINK or S/PDIF ports, are another common option. These ports can transmit digital audio signals and are generally found on older Bose systems.
- RCA ports: RCA ports, also known as composite or analog ports, use red and white connectors for audio signals. These ports are the most basic option and can be found on both old and new Bose systems.
- 3.5mm headphone jack: Some Bose systems may have a 3.5mm headphone jack, which allows you to connect your TV using an audio cable with 3.5mm connectors on both ends.
Once you have identified the available ports on your Bose system, you can move on to the next step of connecting it to your smart TV. Keep in mind that the type of connection you choose may depend on the available ports on your TV as well, which we will discuss in the following steps.
It’s important to note that not all Bose systems have the same port options. For example, older models may not have HDMI ports, while newer models may lack RCA or optical ports. Therefore, it’s crucial to understand the ports available on your specific Bose system to ensure compatibility with your smart TV.
Step 2: Check the available ports on your smart TV
After identifying the available ports on your old Bose system, the next step is to check the ports on your smart TV. This will enable you to determine which connection method you can use to connect your Bose system to the TV. The port options on your smart TV may vary depending on the model, so it’s recommended to consult the TV’s user manual for specific details.
Here are some commonly found ports on smart TVs:
- HDMI ports: Most modern smart TVs come equipped with HDMI ports. HDMI ports provide high-definition audio and video transmission in a single cable. They are the preferred option for connecting external devices like your Bose system.
- Optical ports: Optical ports, also known as TOSLINK or S/PDIF ports, are widely available on smart TVs. These ports allow for the transmission of digital audio signals and are compatible with many audio devices, including Bose systems.
- RCA ports: Some smart TVs still feature RCA ports, which use red and white connectors for audio signals. These ports are the most basic option and can be used if your Bose system and TV both have RCA ports available.
- 3.5mm headphone jack: Many smart TVs also include a 3.5mm headphone jack, which can be used for audio output. If your Bose system has a 3.5mm headphone jack or supports this connection type, you can use an audio cable with 3.5mm connectors on both ends.
- USB ports: While not typically used for audio connections, some smart TVs include USB ports that can be used for firmware updates or playing media files. Ensure you refer to your TV’s user manual to confirm the functionality of any USB ports.
By checking the available ports on your smart TV, you will have a clearer understanding of the connection options available to you. The next steps will guide you through the process of connecting your old Bose system to your smart TV using the appropriate cables based on the available ports on both devices.
Remember, the port options on your smart TV and Bose system might not be identical, so it’s essential to find a compatible connection method for optimal audio performance.
Step 3: Connect the Bose system to the TV using an HDMI cable
If both your old Bose system and smart TV have HDMI ports available, connecting them using an HDMI cable is typically the easiest and best option. HDMI cables transmit both audio and video signals in high quality, ensuring a seamless audio-visual experience.
Here’s how you can connect your Bose system to the TV using an HDMI cable:
- Locate the HDMI port on your Bose system. It is usually labeled as “HDMI” or marked with an HDMI icon.
- Connect one end of the HDMI cable to the HDMI port on your Bose system.
- Locate the HDMI port on your smart TV. It is usually labeled as “HDMI” or marked with an HDMI icon.
- Connect the other end of the HDMI cable to the HDMI port on your smart TV.
- Ensure both the Bose system and the TV are powered on.
- Use your TV’s remote control to navigate to the input/source settings. Select the HDMI input to which you connected the Bose system.
- You should now be able to hear the audio coming from your Bose system speakers while watching content on your smart TV.
By connecting your Bose system to the TV using an HDMI cable, you can enjoy high-quality audio without the need for any additional cables or complicated settings. It simplifies the setup process and ensures a reliable and robust audio connection.
However, if your Bose system lacks an HDMI port or your smart TV doesn’t have an available HDMI input, don’t worry. There are alternative connection options available, which we will discuss in the following steps.
Step 4: Connect the Bose system to the TV using an optical cable
If your old Bose system or smart TV lacks HDMI ports or if you prefer to use an alternative connection method, you can connect them using an optical cable. Optical cables, also known as TOSLINK or S/PDIF cables, transmit digital audio signals between devices.
To connect your Bose system to the TV using an optical cable, follow these steps:
- Locate the optical port on your Bose system. It is usually labeled as “OPTICAL” or marked with a square-shaped icon that resembles a window.
- Insert one end of the optical cable into the optical port on your Bose system, ensuring a secure connection.
- Locate the optical port on your smart TV. It is typically labeled as “OPTICAL” or marked with a square-shaped icon.
- Insert the other end of the optical cable into the optical port on your smart TV.
- Ensure both your Bose system and TV are powered on.
- Using your TV’s remote control, navigate to the audio settings or sound output settings. Select the optical input as the audio output source.
- You should now be able to hear the audio from your smart TV playing through your Bose system.
Connecting your Bose system to the TV using an optical cable offers high-quality digital audio transmission. However, keep in mind that optical cables only transmit audio and do not carry video signals. Therefore, you will need a separate video connection, such as an HDMI or component cable, to transmit the video signal from your TV to the display device.
If your Bose system or TV does not have an optical port, don’t worry. There are still alternative connection options available, which we will cover in the following steps.
Step 5: Connect the Bose system to the TV using RCA cables
If your old Bose system lacks HDMI or optical ports, or if your smart TV does not have compatibility with these connection types, you can still connect them using RCA cables. RCA cables, also known as composite cables, transmit analog audio signals using red and white connectors.
To connect your Bose system to the TV using RCA cables, follow these steps:
- Locate the RCA output ports on your smart TV. They are usually labeled as “AUDIO OUT” or “LINE OUT” and are color-coded with red and white connectors.
- Insert the red and white connectors of the RCA cable into the corresponding RCA output ports on your smart TV.
- On your Bose system, locate the RCA input ports. They are typically labeled as “AUDIO IN” or “LINE IN” and are also color-coded with red and white connectors.
- Insert the other end of the RCA cable into the corresponding RCA input ports on your Bose system.
- Ensure that both your Bose system and TV are powered on.
- Using your TV’s remote control, navigate to the audio settings or sound output settings. Select the RCA output as the audio source.
- You should now be able to hear the TV audio through your Bose system speakers.
Connecting your Bose system to the TV using RCA cables is a basic analog connection method. While it may not provide the highest quality audio compared to digital connections, it can still deliver satisfactory sound output.
Keep in mind that RCA cables only transmit audio signals, and you will need a separate video connection, such as an HDMI or component cable, to transmit the video signal from your TV to the display device.
If your Bose system lacks RCA input ports or your smart TV does not have RCA output ports, there are other alternative connection options available, which we will discuss in the following steps.
Step 6: Set up the audio output on your smart TV
After connecting your old Bose system to your smart TV using the appropriate cable, the next step is to set up the audio output on your TV. This ensures that the sound is directed to your Bose system for an enhanced audio experience.
Follow these steps to set up the audio output on your smart TV:
- Using your TV’s remote control, navigate to the settings menu.
- Look for the audio or sound settings option and select it.
- Within the audio settings, find the audio output option. This may be labeled as “Audio Output,” “Sound Output,” or similar.
- Choose the appropriate output option based on the connection method you used. For example, if you connected your Bose system using an HDMI cable, select HDMI as the audio output source. If you connected it using an optical or RCA cable, select the corresponding option.
- Check that the volume is set to an appropriate level and adjust it if necessary.
- Test the audio by playing something on your smart TV to ensure that the sound is coming through your Bose system speakers.
Setting up the audio output on your smart TV is crucial to ensure that the audio signal is correctly routed to your connected Bose system. By selecting the right audio output source, you can enjoy the full potential of your Bose system’s audio capabilities while watching TV shows, movies, or playing games on your smart TV.
If you encounter any issues with the sound output or are not getting the desired audio experience, double-check that all the connections between your Bose system and smart TV are secure and correctly plugged in. You may also need to consult the user manuals of your Bose system and TV for additional troubleshooting guidance.
Once you have successfully set up the audio output on your smart TV, you can sit back, relax, and enjoy immersive sound from your Bose system while enjoying your favorite content.
Conclusion
Connecting your old Bose system to a smart TV can significantly enhance your audio experience while watching TV shows, movies, or playing games. By following the step-by-step instructions in this guide, you can easily connect your Bose system to your smart TV using various connection options.
First, check the available ports on your Bose system and smart TV to determine which cables and connections you can use. HDMI cables are the most convenient option, providing both audio and video transmission in a single cable. If HDMI is not available, you can use optical cables or RCA cables as alternatives.
Once you have made the necessary connections, ensure that you set up the audio output on your smart TV correctly. This ensures that the audio signal is directed to your Bose system for optimal sound quality.
Remember, compatibility may vary depending on the specific models of your Bose system and smart TV, so always consult the user manuals for accurate instructions. Additionally, troubleshoot any issues you encounter with the connections or audio settings by double-checking the cable connections and referring to the user manuals.
By connecting your old Bose system to a smart TV, you can revitalize your audio setup and enjoy immersive sound without the need to purchase a new soundbar or speaker system. Elevate your TV viewing experience with rich, high-quality audio through your trusted Bose system.
Now that you have successfully connected your Bose system to your smart TV, grab your popcorn, sit back, and enjoy an incredible audio experience while immersing yourself in your favorite movies, TV shows, and games.


