Introduction
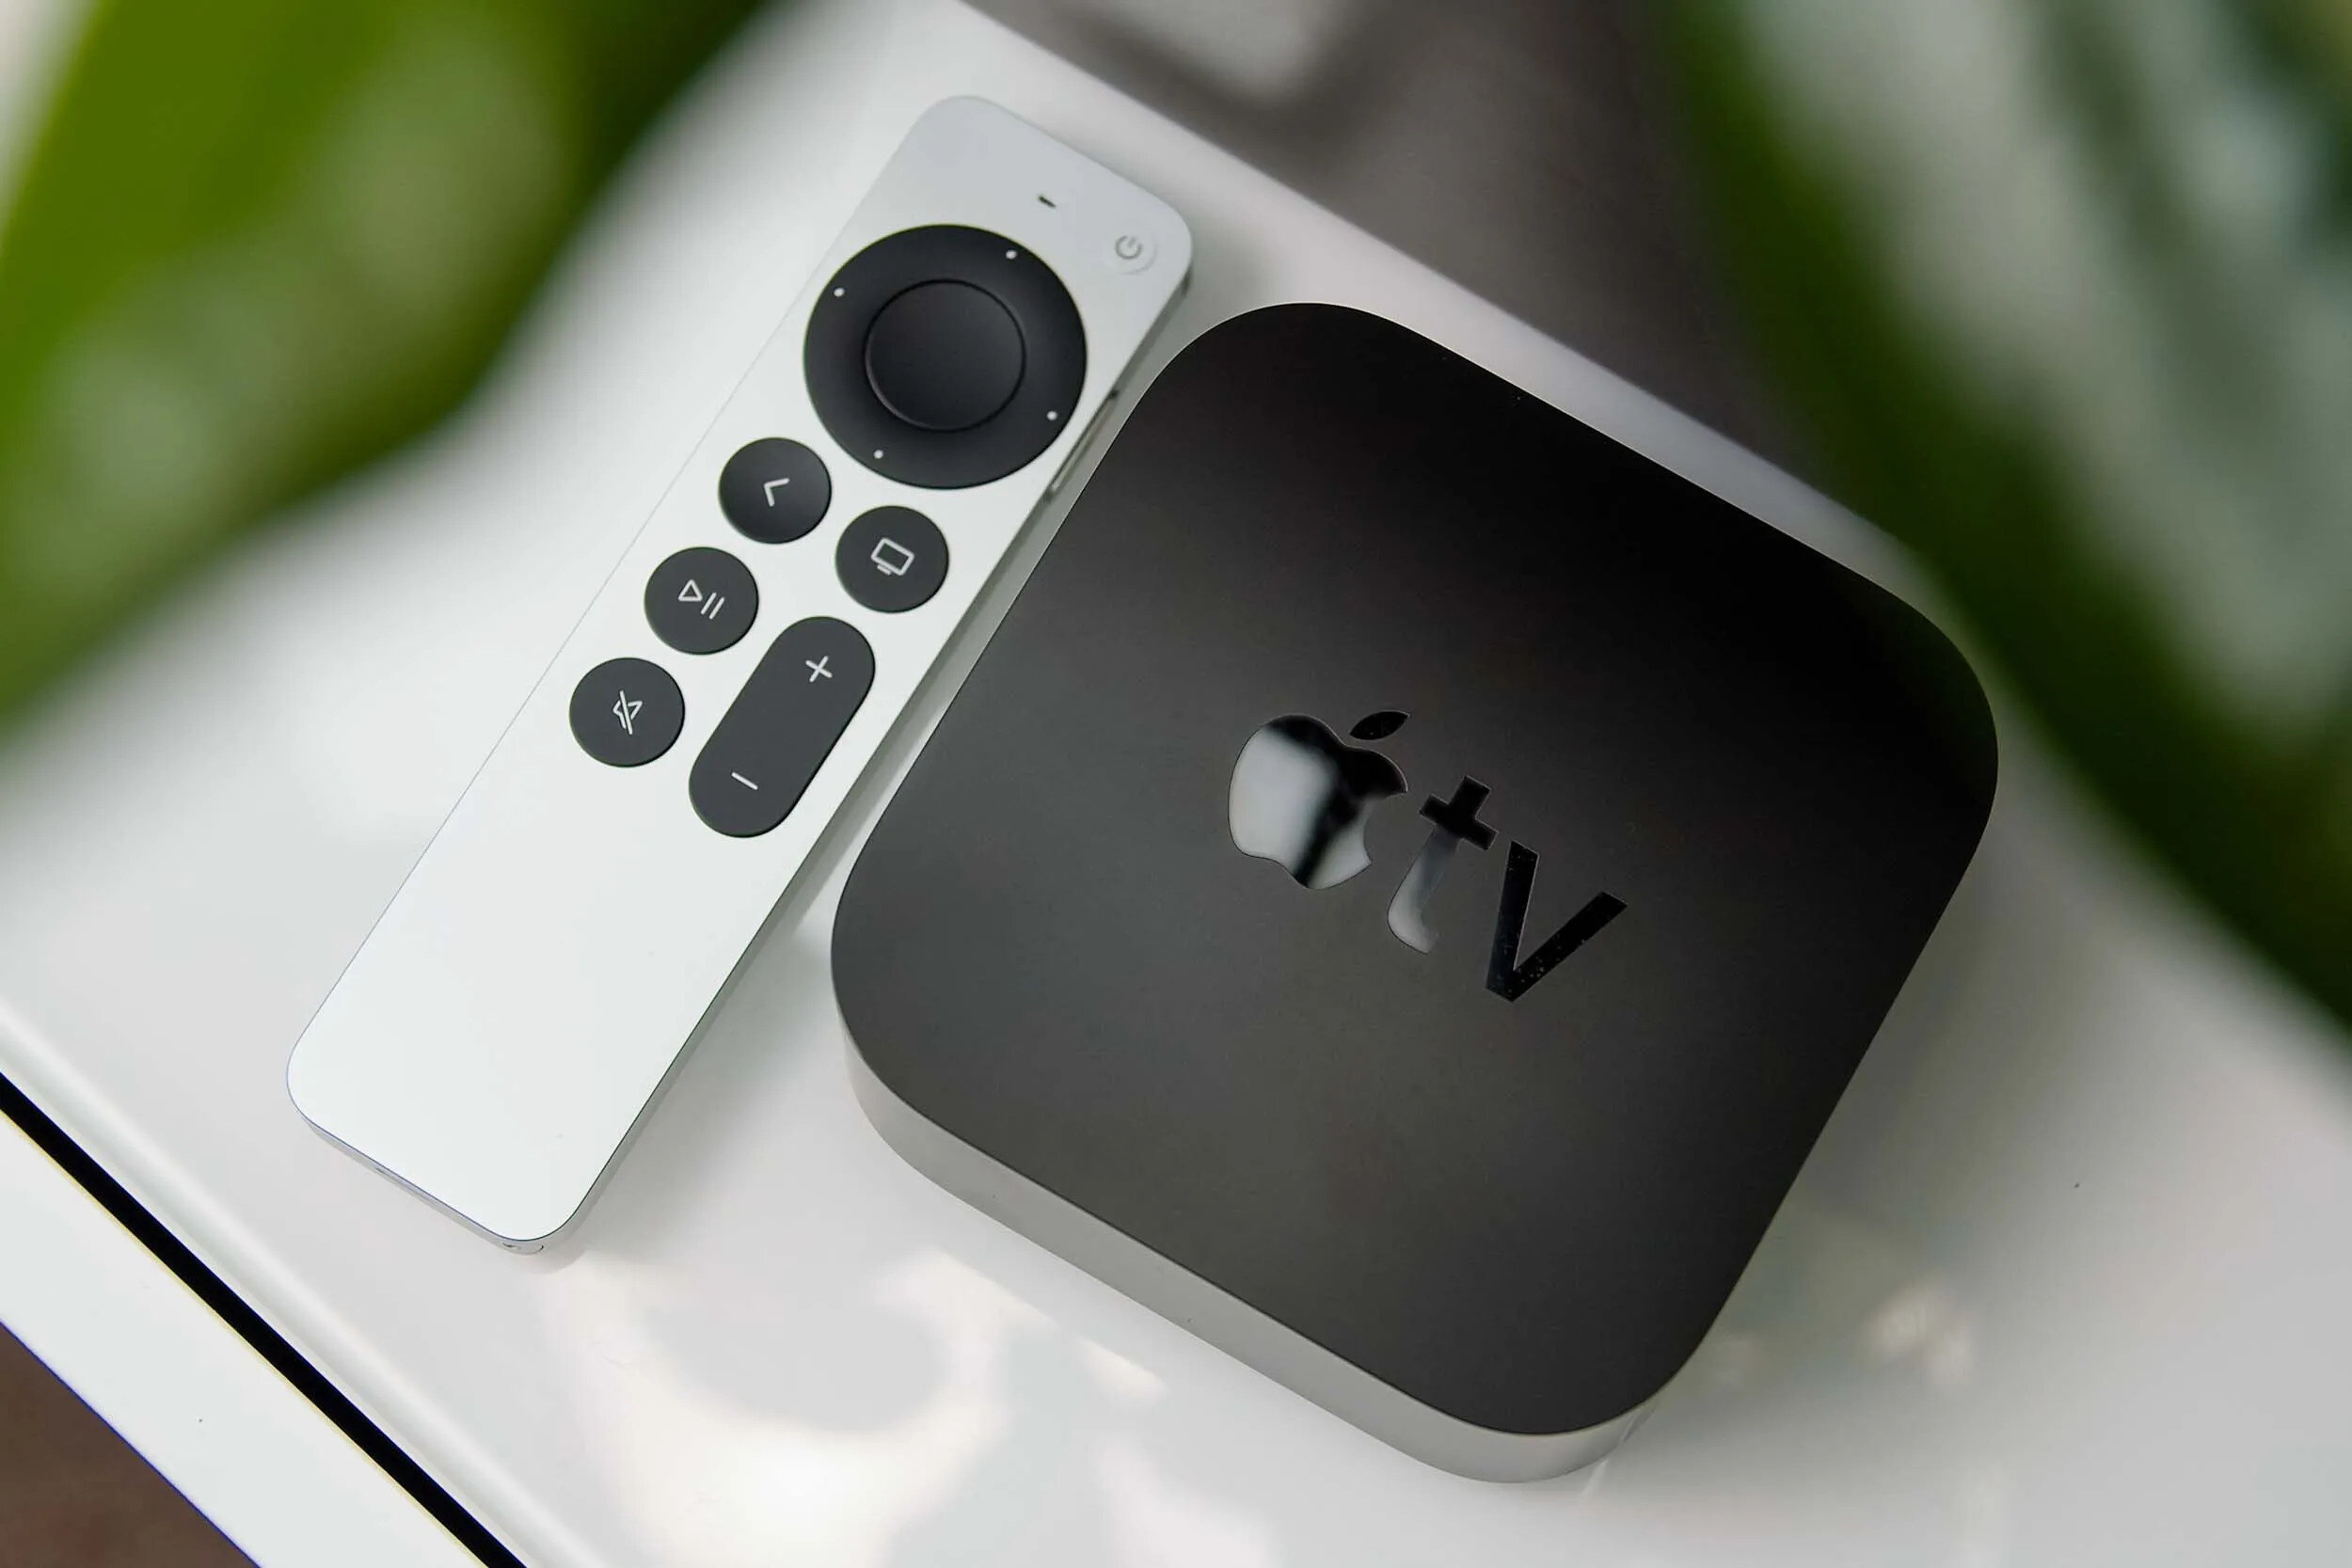
Welcome to the world of Apple TV, where you can stream your favorite movies, TV shows, and music right on your television. Connecting your Apple TV to your Wi-Fi network is essential to unlock all the amazing features and access the content you love. In this guide, we will walk you through the step-by-step process of connecting your Apple TV to Wi-Fi using your iPhone as a remote control.
With the convenience of the Apple TV Remote app on your iPhone, you can easily navigate through the settings and connect your Apple TV to your preferred Wi-Fi network. Whether you are setting up a new Apple TV or need to change your Wi-Fi network, this guide will ensure a seamless connection process. So, grab your iPhone and let’s get started on connecting your Apple TV to Wi-Fi.
Before we dive into the step-by-step instructions, it’s important to ensure that both your Apple TV and iPhone are up to date. Updating your devices to the latest software versions allows for better compatibility and enhances the overall performance. So, let’s make sure everything is up to date before we proceed to connect your Apple TV to Wi-Fi.
Now that we have set the stage, let’s move on to the first step, where we will check the software updates for both your Apple TV and iPhone.
Step 1: Ensure that your Apple TV and iPhone are up to date
Before proceeding with the Wi-Fi connection, it is important to ensure that both your Apple TV and iPhone have the latest software updates. Updating your devices to the latest software versions not only brings new features and improvements but also enhances the compatibility between your devices.
To check for updates on your Apple TV, follow these steps:
- Using your Apple TV remote, navigate to the Settings app on your Apple TV.
- In the Settings menu, select “System”.
- Under “System”, choose “Software Updates”.
- If an update is available, select “Download and Install”. Follow the on-screen instructions to complete the update process.
Once you have updated your Apple TV, it’s time to check for updates on your iPhone using the App Store. Here’s how to do it:
- On your iPhone, locate the App Store icon on your home screen and tap on it.
- In the App Store, select the “Updates” tab at the bottom right corner of the screen.
- If an update is available for the Apple TV Remote app, you will find it listed here. Tap on the “Update” button next to the app to install the update.
After updating both your Apple TV and iPhone, you can be confident that you have the latest software versions installed. This ensures a smoother connection process and enhances the overall performance of your devices. Now that your devices are up to date, let’s proceed to the next step and connect your Apple TV to your TV.
Step 2: Connect your Apple TV to your TV and turn it on
Now that your Apple TV and iPhone are up to date, it’s time to connect your Apple TV to your TV and power it on. Follow these steps to ensure a successful connection:
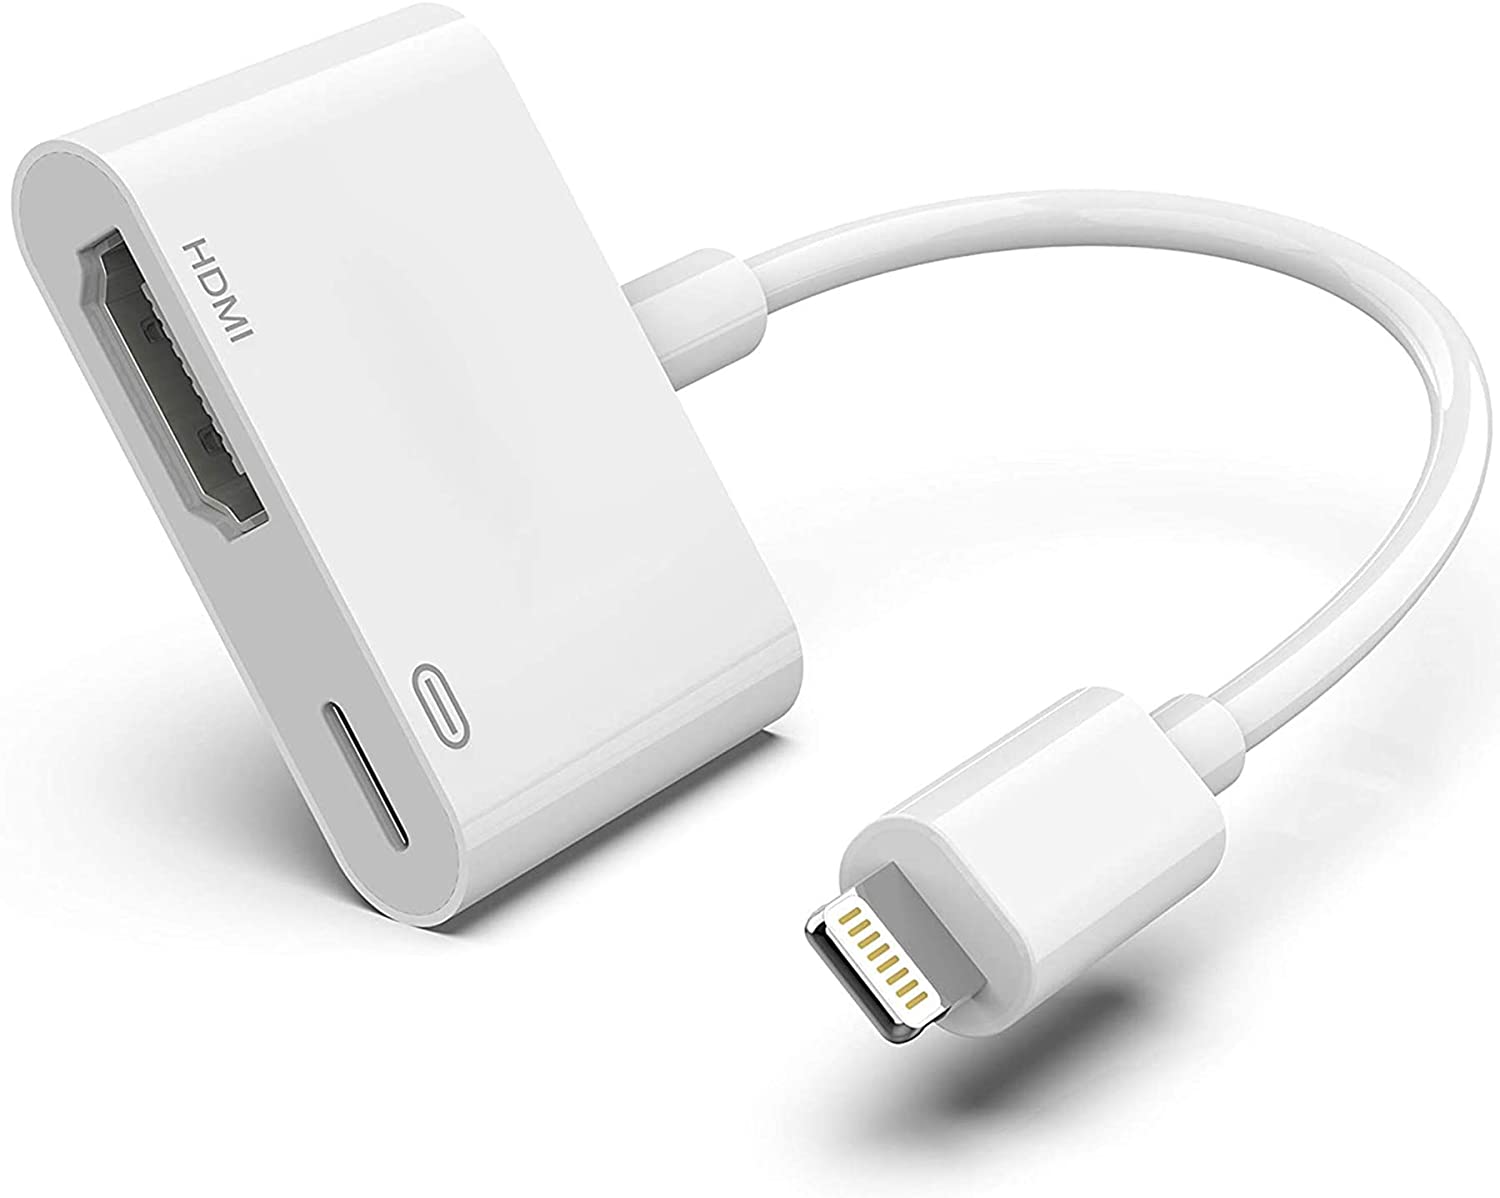
- Locate the HDMI port on your TV and plug in one end of the HDMI cable.
- Connect the other end of the HDMI cable to the HDMI port on the back of your Apple TV.
- Next, connect the power cord to the back of your Apple TV.
- Plug the other end of the power cord into a power outlet.
- Make sure your TV is turned on and set to the correct HDMI input channel to which your Apple TV is connected.
- Using your TV remote, switch the input source to the corresponding HDMI input channel.
- On your Apple TV, press the power button on the remote to turn it on.
Once your Apple TV is powered on and connected to your TV, you should see the Apple TV setup screen displayed on your TV. Now, it’s time to connect your iPhone to the same Wi-Fi network as your Apple TV. Let’s move on to the next step to learn how.
Step 3: Connect your iPhone to the same Wi-Fi network
In order to control your Apple TV using your iPhone, both devices must be connected to the same Wi-Fi network. Here are the steps to connect your iPhone to the Wi-Fi network:
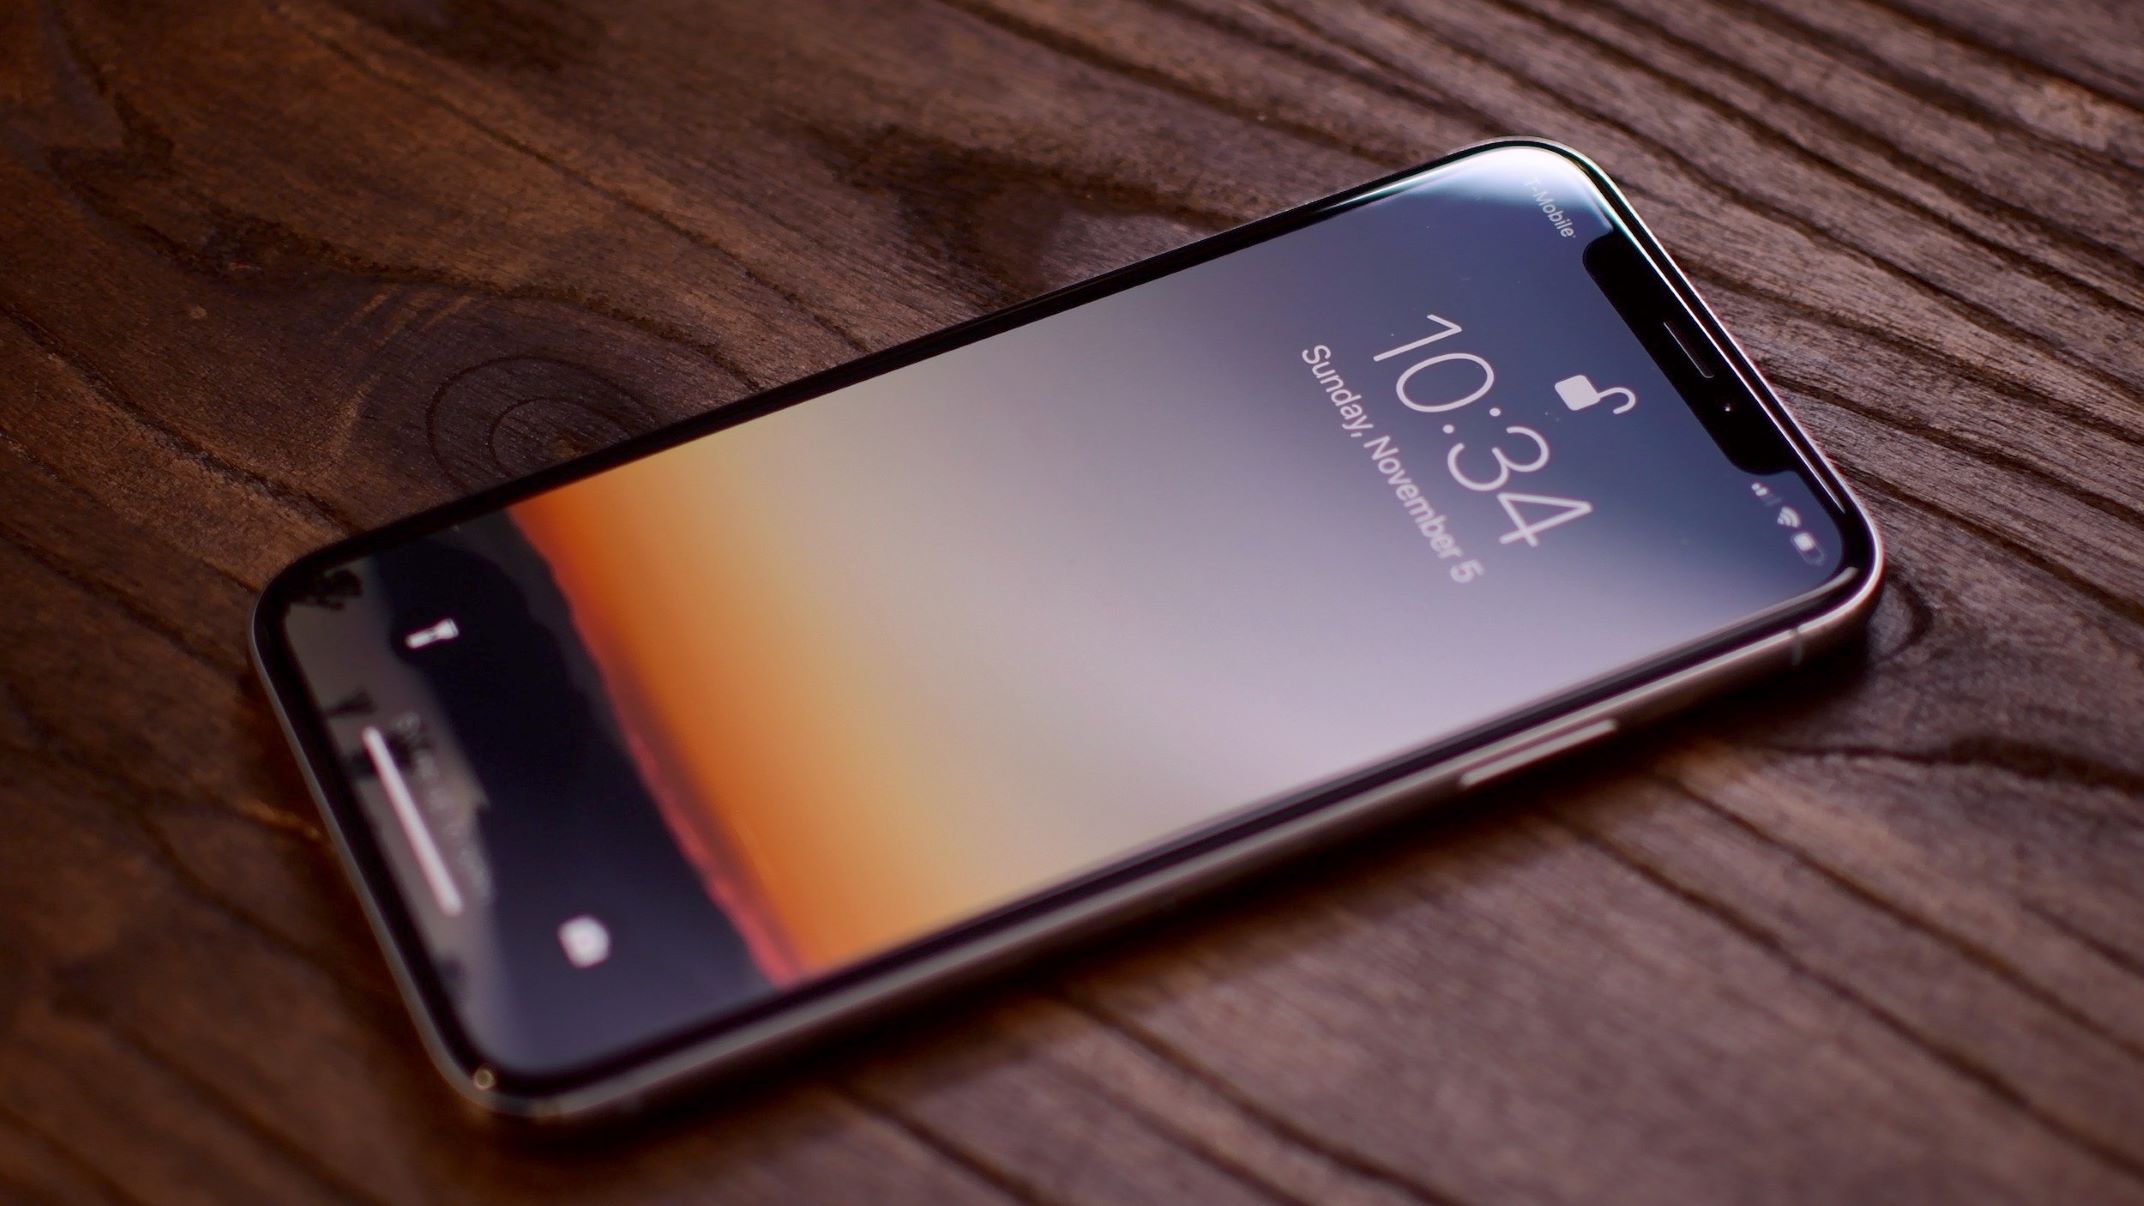
- Unlock your iPhone and go to the home screen.
- Tap on the “Settings” app to open the settings menu.
- Scroll down and select “Wi-Fi” from the list of options.
- Ensure that the Wi-Fi toggle switch is turned on.
- Your iPhone will automatically scan for available Wi-Fi networks.
- Select the same Wi-Fi network that your Apple TV is connected to.
- If prompted, enter the password for the Wi-Fi network and tap “Join”.
- Wait for your iPhone to connect to the Wi-Fi network.
Once your iPhone is connected to the same Wi-Fi network as your Apple TV, you are ready to use your iPhone as a remote control for your Apple TV. The next step involves opening the Apple TV Remote app on your iPhone, allowing you to navigate through the settings menu on your Apple TV. Let’s move on to the next step to learn how.
Step 4: Open the Apple TV Remote app on your iPhone
Now that your iPhone is connected to the same Wi-Fi network as your Apple TV, it’s time to open the Apple TV Remote app, which will transform your iPhone into a powerful remote control. Here’s how to open the app:
- Locate the “Apple TV Remote” app on your iPhone’s home screen.
- Tap on the app icon to launch it.
Once the Apple TV Remote app is launched, it will automatically search for available Apple TV devices on the same Wi-Fi network. If your Apple TV is detected, it will be displayed on the app’s interface. Now, you are ready to navigate through the settings menu on your Apple TV using your iPhone as a remote control.
With the Apple TV Remote app, you can easily navigate, select, and play content on your Apple TV. The app provides a user-friendly interface with intuitive controls, making it convenient to control your Apple TV from your iPhone. You can swipe on the touchscreen to navigate through the menus, use the virtual trackpad for precise control, and even use the keyboard function to enter text on your Apple TV.
Now that you have opened the Apple TV Remote app on your iPhone, let’s move on to the next step, where we will use the app to navigate to the Settings menu on your Apple TV.
Step 5: Use the Remote app to navigate to the Settings menu on your Apple TV
Now that you have opened the Apple TV Remote app on your iPhone, it’s time to use it to navigate to the Settings menu on your Apple TV. Here’s how to do it:
- In the Apple TV Remote app, locate the Apple TV device that you want to control.
- Tap on your Apple TV device to select it.
- The app’s interface will now display the Apple TV’s main menu.
- Swipe on the touchscreen of your iPhone to navigate through the menu options.
- Move your finger to highlight the “Settings” option and tap on it to select it.
By using the remote app, you can easily navigate through the settings menu on your Apple TV, just like you would with a traditional physical remote control. Moving your finger on the touchscreen will move the on-screen cursor, and tapping on the touchscreen will select the highlighted option.
Once you have successfully selected the “Settings” option using the Apple TV Remote app, you will be taken to the settings menu on your Apple TV. From here, you can further customize and configure various settings for your Apple TV, including the network settings that we will be dealing with next.
Now that you have navigated to the Settings menu on your Apple TV using the Apple TV Remote app, let’s move on to the next step, where we will select the “Network” option within the Settings menu.
Step 6: Select Network in the Settings menu
Now that you have successfully navigated to the Settings menu on your Apple TV using the Apple TV Remote app, it’s time to select the “Network” option. By selecting the “Network” option, you will be able to configure and connect your Apple TV to the desired Wi-Fi network. Here’s how to do it:
- In the Settings menu, use the swipe or trackpad function on the Apple TV Remote app to highlight the “Network” option.
- Once the “Network” option is highlighted, tap on the touchpad or select the option using the tap function on the Apple TV Remote app.
By selecting the “Network” option, you will be taken to the network settings screen on your Apple TV. This screen will display the available Wi-Fi networks in range, allowing you to choose the network you want to connect to. To proceed with connecting your Apple TV to the Wi-Fi network, we will cover the necessary steps in the next section.
Now that you have selected the “Network” option within the Settings menu, you are one step closer to connecting your Apple TV to the Wi-Fi network. In the upcoming step, we will guide you through the process of choosing your Wi-Fi network from the available options. Let’s move on to the next step and get your Apple TV connected to Wi-Fi.
Step 7: Choose your Wi-Fi network from the available options
With the network settings screen now displayed on your Apple TV, it’s time to choose your Wi-Fi network from the available options. Here’s how to do it:
- On the network settings screen, you will see a list of available Wi-Fi networks.
- Using the swipe, trackpad, or tap function on the Apple TV Remote app, navigate through the list of networks to find your desired Wi-Fi network.
- Once you have found your Wi-Fi network, highlight it and select it using the appropriate function on the Apple TV Remote app.
After selecting your Wi-Fi network, your Apple TV will attempt to establish a connection to the selected network. If the network requires a password, you will be prompted to enter it in the next step. Make sure you have the correct Wi-Fi network password ready before proceeding.
This step is crucial as it determines the network your Apple TV will connect to. By choosing the correct Wi-Fi network, you ensure that your Apple TV has the necessary access to the internet for streaming content, downloading updates, and accessing various online services.
Now that you have chosen your Wi-Fi network, it’s time to move on to the next step and enter the Wi-Fi password, if required. Let’s proceed and successfully connect your Apple TV to the selected Wi-Fi network.
Step 8: Enter the Wi-Fi password, if required
After choosing your preferred Wi-Fi network in the previous step, it’s time to enter the Wi-Fi password, if required. Some Wi-Fi networks are password-protected for security reasons. If you are connecting to a password-protected network, follow these steps:
- If the selected Wi-Fi network requires a password, a prompt will appear on your Apple TV.
- Using the on-screen keyboard that appears on your TV, enter the password for your Wi-Fi network.
- Move the on-screen cursor to each letter or character using the swipe or trackpad function on the Apple TV Remote app.
- Once you have entered the password, select “Done” or press the appropriate button on the Apple TV Remote app to confirm.
The Wi-Fi password is case-sensitive, so make sure to enter it correctly. If you make a mistake, you can use the delete or backspace button on the on-screen keyboard to correct it.
Entering the correct Wi-Fi password is crucial to establishing a successful connection between your Apple TV and the chosen Wi-Fi network. This password ensures that only authorized devices can access the network and provides an additional layer of security for your internet connection.
Now that you have entered the Wi-Fi password, your Apple TV will proceed to connect to the chosen Wi-Fi network. In the next step, we will wait for the Apple TV to establish a connection to the network and confirm the successful connection using your iPhone. Let’s move on.
Step 9: Wait for your Apple TV to connect to the Wi-Fi network
After entering the Wi-Fi password, if required, it’s time to wait for your Apple TV to establish a connection to the chosen Wi-Fi network. This process may take a few moments as your Apple TV configures the network settings and establishes the connection. Here’s what you should do:
- Allow your Apple TV to search for and connect to the Wi-Fi network.
- A loading or connecting screen may appear on your TV during this process, indicating that your Apple TV is establishing the connection.
- Be patient and wait for your Apple TV to successfully connect to the Wi-Fi network.
It is important not to interrupt this process, as interrupting the connection setup may result in an incomplete or unstable connection. So, sit back, relax, and let your Apple TV do its job in connecting to the chosen Wi-Fi network.
Once the connection is successfully established, you will be able to enjoy all the features and content available on your Apple TV. However, before we conclude, let’s move on to the next step, where we will confirm the successful connection on your iPhone.
Step 10: Confirm the successful connection on your iPhone
After your Apple TV has connected to the Wi-Fi network, it’s time to confirm the successful connection on your iPhone. By doing this, you can ensure that your iPhone and Apple TV are properly synced and ready to be controlled using the Apple TV Remote app. Here’s how to confirm the connection:
- On your iPhone, open the Apple TV Remote app if it isn’t already open.
- Tap on your Apple TV device in the app interface to select it, if it isn’t already selected.
- If your Apple TV is successfully connected to the Wi-Fi network, you should see the main menu of your Apple TV displayed on your iPhone screen.
Seeing the main menu of your Apple TV on your iPhone confirms that the connection was successful and that your iPhone is now paired and ready to control your Apple TV. You can now navigate through the menus, select content, adjust settings, and enjoy the full functionality of your Apple TV directly from your iPhone.
With the Apple TV Remote app, you have the convenience of a virtual remote control at your fingertips, making it easy to control your Apple TV from the comfort of your sofa. Control playback, adjust volume, enter text, and more, all with the touch of your finger on your iPhone screen.
Now that you have confirmed the successful connection on your iPhone, you are all set to enjoy the vast array of content and features that your Apple TV has to offer. Take some time to explore and personalize your Apple TV settings to suit your preferences.
Congratulations! You have successfully connected your Apple TV to your Wi-Fi network using your iPhone as a remote control. Enjoy your Apple TV and happy streaming!
Conclusion
Connecting your Apple TV to Wi-Fi using your iPhone as a remote control is a straightforward process that allows you to enjoy an immersive entertainment experience. By following the step-by-step guide outlined in this article, you can easily set up and connect your Apple TV to your Wi-Fi network.
We began by ensuring that both your Apple TV and iPhone are up to date with the latest software versions. This ensures optimal performance and compatibility between the two devices. Then, we covered the process of connecting your Apple TV to your TV and powering it on.
Next, we guided you through connecting your iPhone to the same Wi-Fi network as your Apple TV, using the settings menu on your iPhone. Once both devices were connected to the same network, you were able to open the Apple TV Remote app on your iPhone and navigate to the settings menu on your Apple TV.
We then moved on to selecting the network in the settings menu and choosing your Wi-Fi network from the available options. If required, we covered entering the Wi-Fi password to establish a secure connection. After entering the password, we waited for the Apple TV to connect to the Wi-Fi network.
Finally, we confirmed the successful connection on your iPhone, ensuring that your iPhone and Apple TV were properly synced and ready for remote control functionality using the Apple TV Remote app.
You are now ready to enjoy the full range of features and content on your Apple TV. Take advantage of the convenient interface of the Apple TV Remote app on your iPhone to navigate through menus, select content, and control your Apple TV from the palm of your hand.
Thank you for following this guide, and we hope that connecting your Apple TV to Wi-Fi using your iPhone has been a seamless and enjoyable experience. Happy streaming!