Introduction
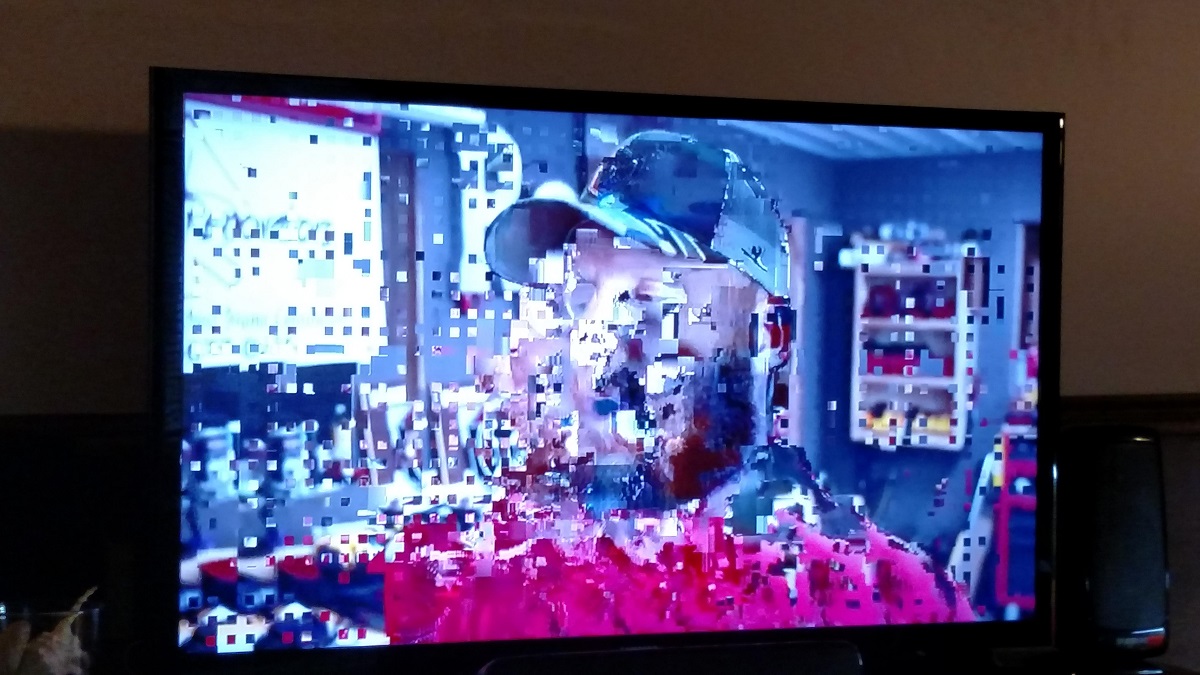
Having a grainy picture quality on your smart TV can be quite frustrating, especially when you’re trying to enjoy your favorite shows or movies. The presence of grain or noise in the image can significantly impact your viewing experience, making the picture appear less sharp and clear.
There could be several factors contributing to the grainy picture quality on your smart TV. In this article, we will explore the most common causes and offer potential solutions to help you resolve the issue.
Understanding these factors will empower you to troubleshoot the problem and enjoy a better viewing experience on your smart TV.
Whether you’ve recently purchased a new smart TV or have been using it for a while, it’s important to identify the root cause of the problem before attempting any fixes. By addressing the underlying issue, you can restore the picture quality to its optimal state and enjoy your favorite content without any distractions.
Common Factors that Cause Grainy Picture Quality
1. Resolution Settings:
One of the most common reasons for a grainy picture on your smart TV is incorrect resolution settings. Make sure that your TV is set to the native resolution recommended by the manufacturer. Adjusting the resolution too high or too low can result in a pixelated or grainy image.
2. Internet Connectivity Issues:
A poor or unstable internet connection can also lead to a grainy picture on your smart TV. Ensure that your TV is connected to a stable and high-speed internet network. If the problem persists, try resetting your router or contacting your internet service provider.
3. Streaming or Broadcasting Quality:
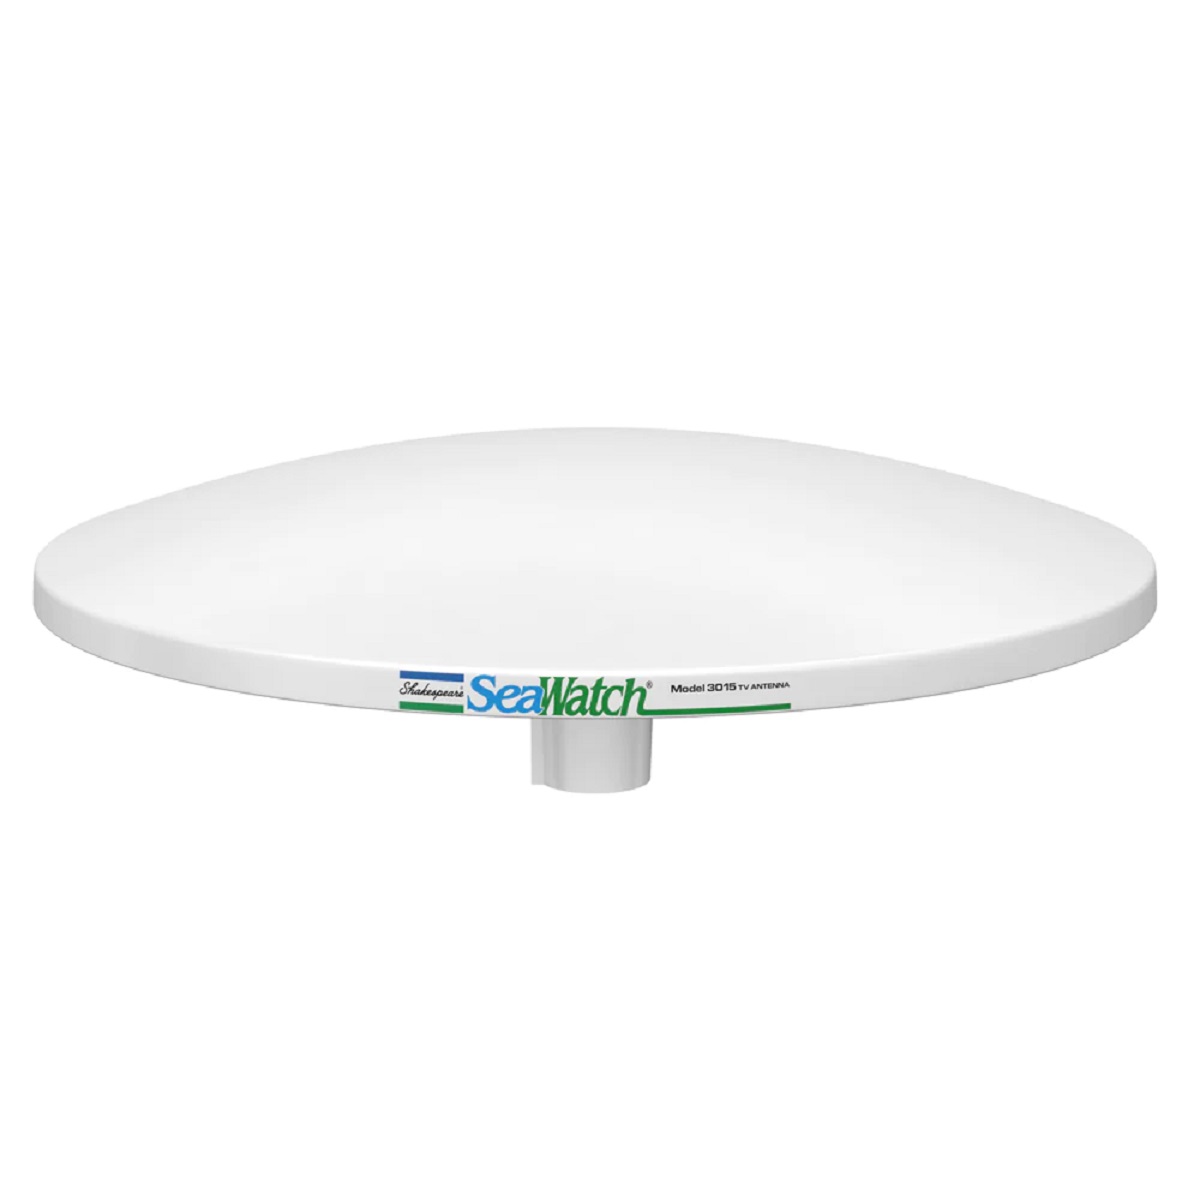
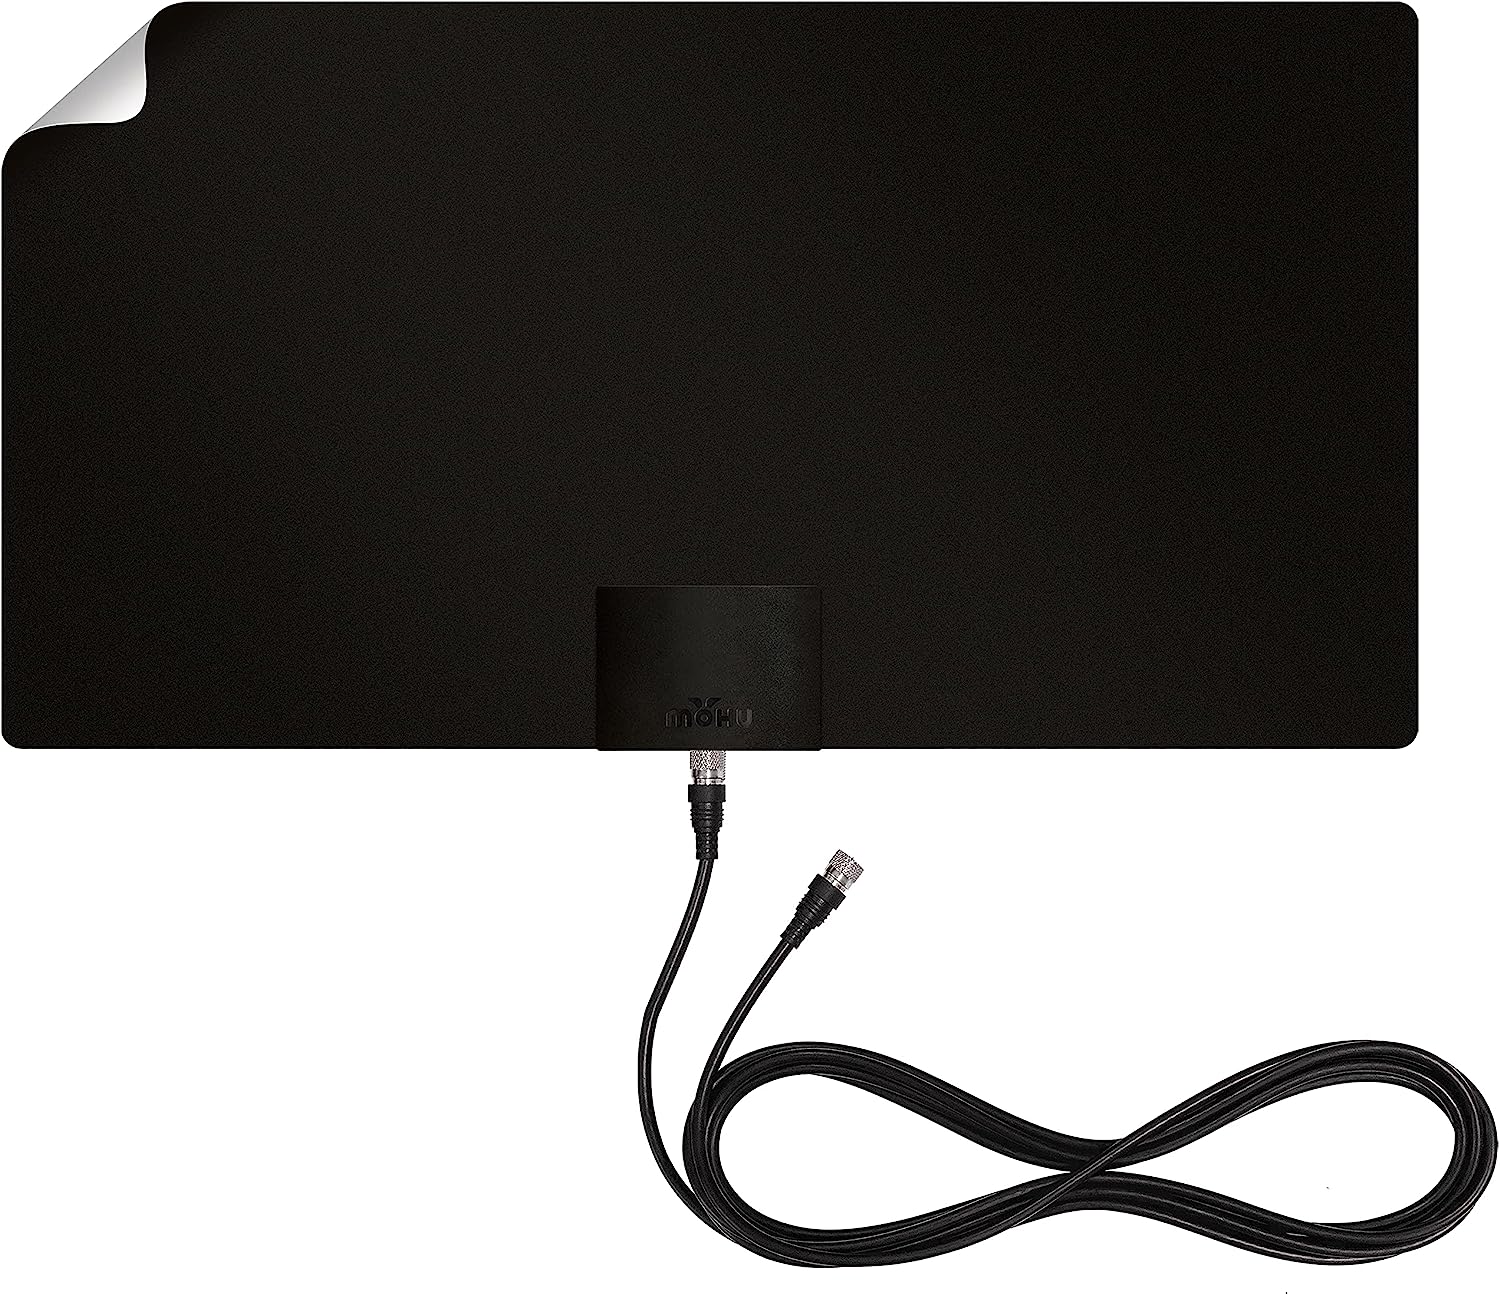
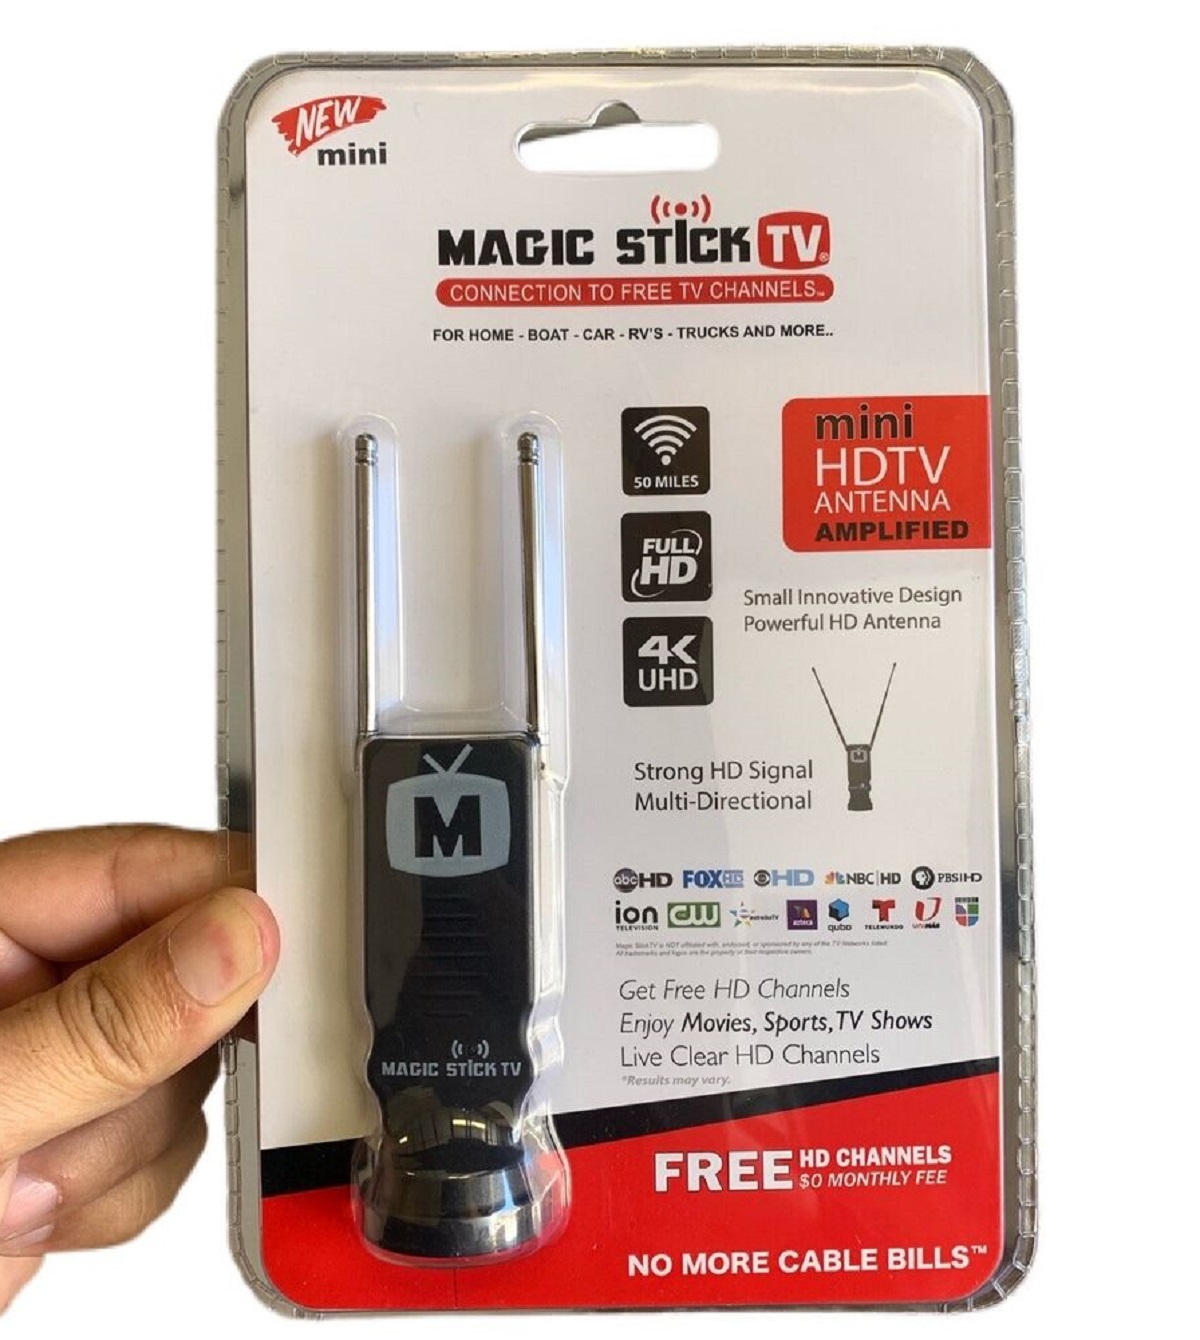
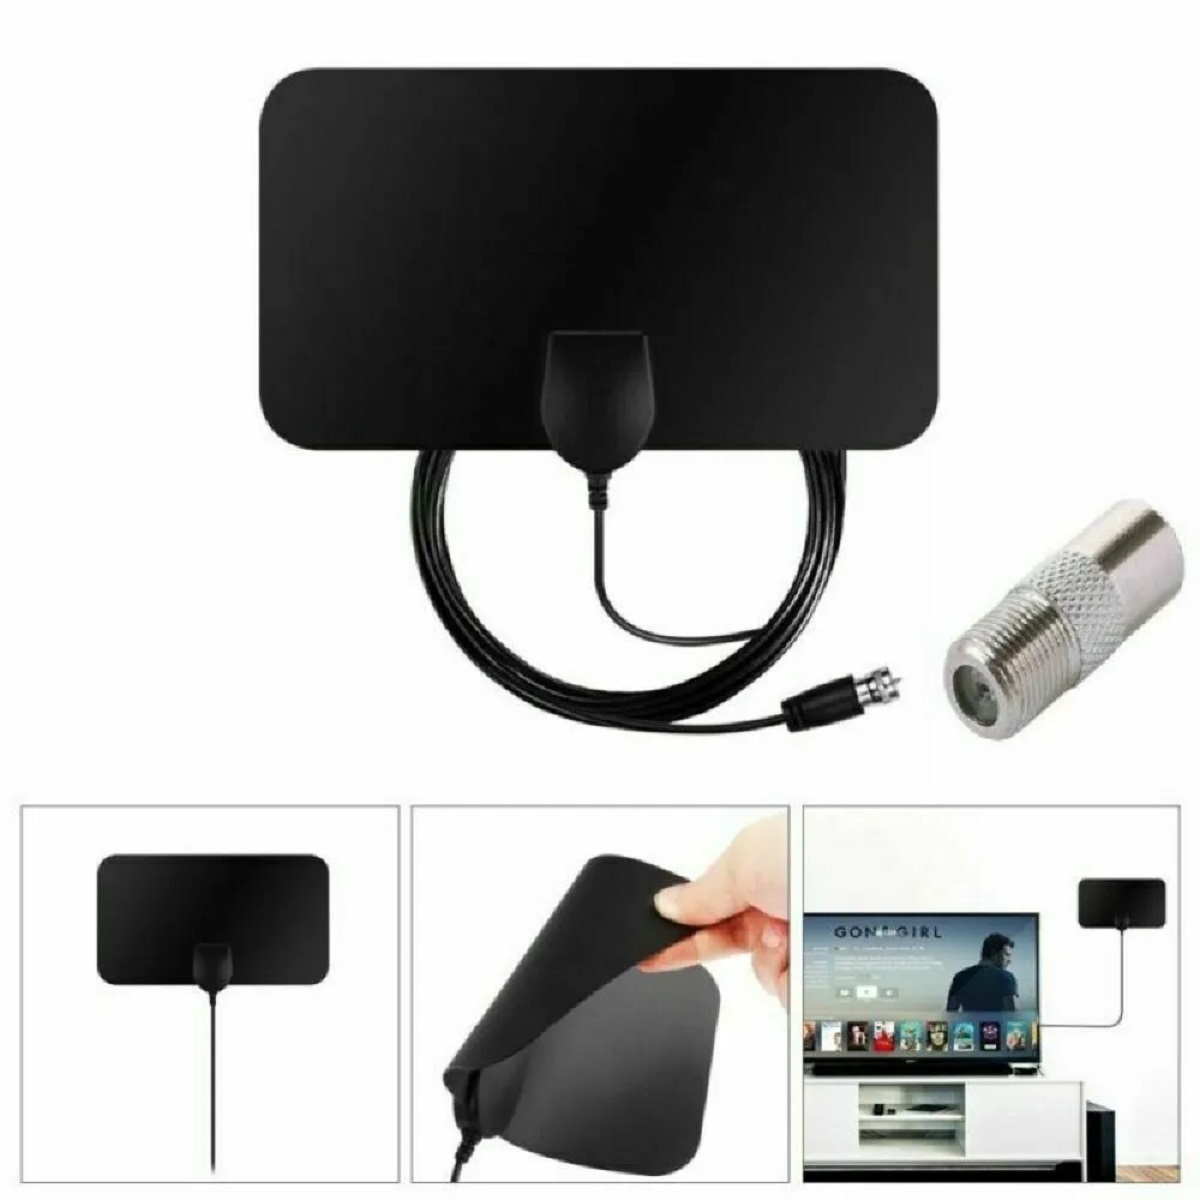
If you are streaming content from online platforms or using an antenna to receive broadcasts, the quality of the source material can impact the picture quality. Check the video quality settings in your streaming app or consider upgrading your antenna to receive a stronger signal.
4. Dirty or Damaged TV Screen:
A dirty or damaged TV screen can also contribute to a grainy picture. Regularly clean your TV screen using a soft, lint-free cloth. If the screen is damaged, consider getting it repaired or replaced.
5. Problems with Cable or Satellite Connection:
If you’re using a cable or satellite connection, check the cables and connections for any damage. A faulty cable or loose connection can degrade the picture quality. Try using different cables or contacting your cable/satellite provider for assistance.
6. Outdated Software or Firmware:
Outdated software or firmware on your smart TV can cause various performance issues, including a grainy picture. Check for available software updates in the settings menu of your TV and install them if necessary.
By identifying and addressing these common factors, you can improve the picture quality on your smart TV. Let’s move on to the next section where we will delve deeper into resolution settings and how they can impact the picture quality.
Resolution Settings
The resolution settings on your smart TV play a crucial role in determining the quality of the displayed image. A misconfigured resolution can result in a grainy or pixelated picture. Here are a few things to consider when adjusting your resolution settings:
1. Native Resolution: Ensure that your TV is set to its native resolution, which is the optimal resolution recommended by the manufacturer. You can usually find this information in the user manual or the settings menu of your TV. Changing the resolution to a lower or higher setting can lead to a loss of picture quality.
2. HDMI Inputs: If you’re using HDMI cables to connect external devices to your smart TV, make sure that they support the desired resolution. Using low-quality or outdated HDMI cables might not be able to handle high-resolution signals, resulting in a degraded picture quality.
3. Upscaling: Some smart TVs have built-in upscaling technology that can enhance the picture quality for lower-resolution content. However, this process is not perfect and can sometimes introduce artifacts or graininess. Experiment with different upscaling settings to find the best balance between sharpness and smoothness.
4. Overscan: Overscan is a feature that zooms in on the image to ensure that no part of it is cut off. However, it can also lead to a reduction in picture quality. If you notice a grainy or distorted image, check if your TV has an overscan option enabled and try disabling it to see if it improves the picture quality.
5. Testing Different Resolutions: If you’re still experiencing grainy picture quality, try experimenting with different resolution settings to find the one that works best for your particular TV and content. Keep in mind that higher resolutions require more bandwidth, so make sure that your internet connection can handle it.
By correctly configuring the resolution settings on your smart TV, you can significantly improve the picture quality and enjoy a clearer and more immersive viewing experience.
Internet Connectivity Issues
A stable and high-speed internet connection is essential for streaming content on your smart TV without experiencing grainy picture quality. If you’re facing internet connectivity issues, consider the following solutions:
1. Router Placement: Ensure that your router is placed in a central location and is not obstructed by walls or other objects. This will help improve the Wi-Fi signal strength and minimize interference.
2. Bandwidth: Check if other devices on your network are using a significant amount of bandwidth. If so, try limiting their usage or upgrading to a higher bandwidth plan with your internet service provider.
3. Wi-Fi Signal Strength: If your smart TV is far away from the router, the Wi-Fi signal strength may be weak, leading to buffering and lower picture quality. Consider using a Wi-Fi range extender or a wired connection for a more stable connection.
4. Restart Devices: Sometimes, simply restarting your smart TV and router can resolve connectivity issues. Turn off both devices, wait for a few seconds, and then turn them back on.
5. Update Firmware: Check if there are any firmware updates available for your smart TV and router. Keeping the firmware up to date can improve the overall performance and stability of your devices.
6. Network Troubleshooting: If the above steps don’t resolve the issue, try troubleshooting your network. This may involve resetting network settings on your smart TV, reconnecting to your Wi-Fi network, or performing a factory reset on your router.
Remember that even with a stable internet connection, the picture quality may still vary depending on the streaming service or app you are using. Some platforms may compress the video quality to conserve bandwidth, resulting in a slight loss of clarity.
By addressing internet connectivity issues, you can ensure a smoother and high-quality streaming experience on your smart TV without any grainy picture distractions.
Streaming or Broadcasting Quality
The quality of the content you are streaming or broadcasting can have a significant impact on the picture quality of your smart TV. Here are a few factors to consider:
1. Video Quality Settings: Many streaming platforms allow you to adjust the video quality settings based on your internet connection speed and preferences. If you’re experiencing grainy picture quality, check the settings within the streaming app and select a higher resolution if available.
2. Internet Speed: Insufficient internet speed can result in buffering and a degradation in picture quality. Ensure that you have a stable and high-speed internet connection to support the streaming of high-quality content.
3. Compression and Bitrate: Streaming services often utilize compression techniques to reduce bandwidth usage. This compression can sometimes result in a loss of image quality, including graininess or pixelation. Consider subscribing to higher-tier plans that offer higher bitrates to improve the streaming quality.
4. Broadcast Signal Strength: If you’re using an antenna for over-the-air broadcasting, check the signal strength and quality in your area. A weak signal can lead to a poor-quality picture with graining. Consider repositioning your antenna or using a signal amplifier to improve the reception.
5. Source Content Quality: The quality of the original content being streamed or broadcasted can also impact the picture quality. Some older or low-resolution content may inherently have a grainy appearance, even on high-quality TVs. This is particularly noticeable when upscaling lower-resolution content to a higher resolution display.
While some factors are beyond your control, optimizing your streaming or broadcasting settings and ensuring a stable internet connection can help improve the overall picture quality on your smart TV.
In the next section, we will explore another possible cause of grainy picture quality, which is a dirty or damaged TV screen.
Dirty or Damaged TV Screen
A dirty or damaged TV screen can contribute to a grainy picture quality on your smart TV. Here are a few factors to consider:
1. Cleaning the Screen: Over time, dust, fingerprints, and smudges can accumulate on your TV screen, affecting the picture quality. Use a soft, lint-free cloth to gently clean the screen. Avoid using abrasive materials or harsh chemicals that can damage the screen surface.
2. Screen Reflectivity: Excessive glare or reflections on the TV screen can also make the picture appear grainy. Ensure that your TV is positioned away from direct light sources or windows. You can also try adjusting the room lighting to minimize reflections.
3. Damaged Screen: Physical damage to the TV screen, such as scratches or cracks, can distort the image and lead to a grainy appearance. If you notice any visible damage, it may be necessary to repair or replace the screen.
4. Protective Films or Filters: Some TVs come with protective films or filters applied to the screen. Check if your TV has such a film and ensure that it is properly installed and clean. Improperly applied or dirty films can impact the picture quality.
Regularly cleaning and maintaining your TV screen will not only improve the picture quality but also prolong the lifespan of your smart TV. Taking the necessary precautions to avoid screen damage will ensure a clearer and more enjoyable viewing experience.
In the next section, we will discuss problems related to cable or satellite connections that can cause a grainy picture on your smart TV.
Problems with Cable or Satellite Connection
A faulty cable or satellite connection can be a common cause of grainy picture quality on your smart TV. Here are a few factors to consider:
1. Cable Quality: If you’re using an HDMI or other type of cable to connect your TV to a cable box or satellite receiver, make sure the cable is in good condition. Damaged or low-quality cables can result in signal degradation, leading to a grainy picture. Try using a different cable to see if it improves the picture quality.
2. Proper Cable Connection: Ensure that the cables are securely plugged into the appropriate ports on both the TV and the cable box or satellite receiver. Loose connections can cause interference and result in a fuzzy or grainy image.
3. Check for Interference: Make sure that there are no nearby electronic devices or appliances that may interfere with your cable or satellite signal. Electrical interference can disrupt the transmission and affect the picture quality. Consider relocating or shielding any potential sources of interference.
4. Signal Strength: Check the signal strength and quality of your cable or satellite connection. Weak signals or poor reception can lead to a degraded picture quality, including graininess. Contact your cable or satellite provider to check if there are any known signal issues in your area.
5. Cable or Satellite Service Issues: Occasionally, cable or satellite service providers may experience technical difficulties or perform maintenance that can affect the picture quality. Visit their website or contact customer support to check for any service updates or known issues.
Ensuring a reliable and high-quality cable or satellite connection is essential for a clear and crisp picture on your smart TV. Troubleshooting and addressing any issues with your cable or satellite setup can help eliminate the grainy picture problem.
In the next section, we will explore the possibility of outdated software or firmware causing the grainy picture on your smart TV.
Outdated Software or Firmware
Outdated software or firmware on your smart TV can contribute to a grainy picture quality. It’s important to keep your TV’s software and firmware up to date to ensure optimal performance. Here are a few things to consider:
1. Software Updates: Check if there are any software updates available for your smart TV. Manufacturers often release updates to fix bugs, improve performance, and enhance the picture quality. Access the settings menu on your TV and look for the option to update the software.
2. Firmware Updates: In addition to software updates, some smart TVs may also require firmware updates. Firmware is the software embedded in the TV’s hardware. Check the manufacturer’s website or user manual for instructions on how to update the firmware, if necessary.
3. Automatic Updates: Some smart TVs have the option to enable automatic software updates. By enabling this feature, your TV will automatically check for and install available updates. This ensures that your TV stays up to date without manual intervention.
4. Resetting the TV: If you’re still experiencing grainy picture quality after updating the software and firmware, you can try performing a factory reset on your TV. This will restore the TV to its default settings and may resolve any underlying software-related issues.
It’s important to note that the process of updating software or performing a factory reset may vary depending on the make and model of your smart TV. Always refer to the manufacturer’s instructions or consult their support resources for guidance.
By keeping your smart TV’s software and firmware up to date, you can ensure that any software-related issues that may be causing the grainy picture quality are addressed, resulting in an improved viewing experience.
In the next section, we will summarize the main points discussed and provide helpful tips to troubleshoot and resolve the grainy picture issue on your smart TV.
Conclusion
A grainy picture quality on your smart TV can be frustrating, but identifying the underlying factors and taking appropriate steps can help resolve the issue. In this article, we explored some common causes of grainy picture quality and discussed potential solutions.
Starting with the resolution settings, ensuring that your TV is set to its native resolution and using high-quality HDMI cables can make a significant difference. We also highlighted the importance of a stable internet connection and how it can impact the streaming or broadcasting quality. Additionally, we discussed the role of a clean and undamaged TV screen in maintaining a clear image.
Problems with cable or satellite connections can also contribute to a grainy picture, so it’s crucial to check for cable quality, proper connections, and signal strength. Lastly, we emphasized the significance of keeping your smart TV’s software and firmware up to date to address any software-related issues.
By following these steps and troubleshooting potential issues, you can improve the picture quality on your smart TV and enjoy a clearer and more enjoyable viewing experience.
If you have tried all the suggested solutions and are still experiencing problems, it might be helpful to consult the manufacturer’s support resources or get in touch with a professional technician for further assistance.
Remember to regularly maintain your TV, keep your software and firmware updated, and ensure a stable internet connection to prevent future occurrences of grainy picture quality.
We hope that this article has provided you with valuable insights and guidance to address the grainy picture issue on your smart TV. Get ready to enjoy your favorite shows and movies in beautiful, crisp quality!


