Introduction
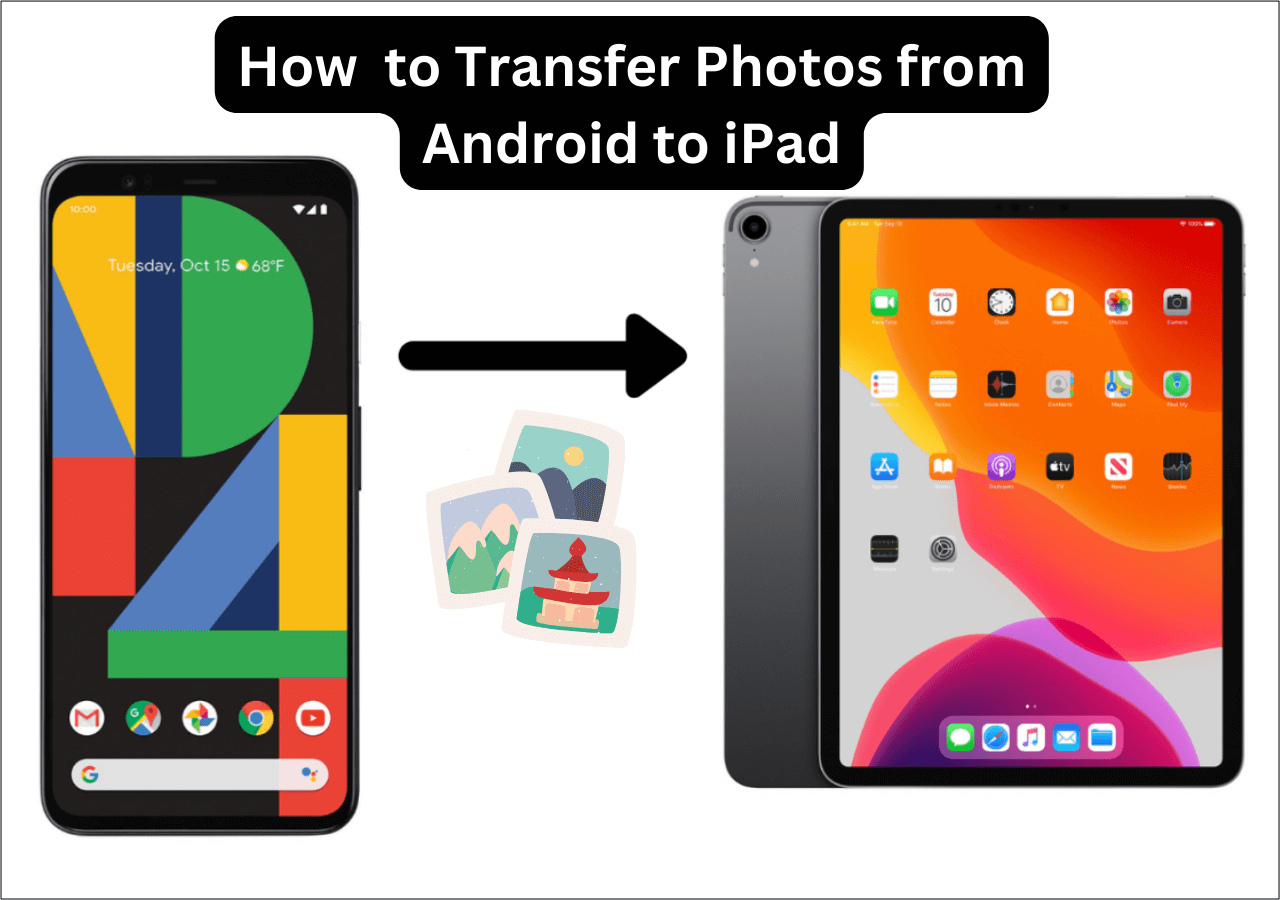
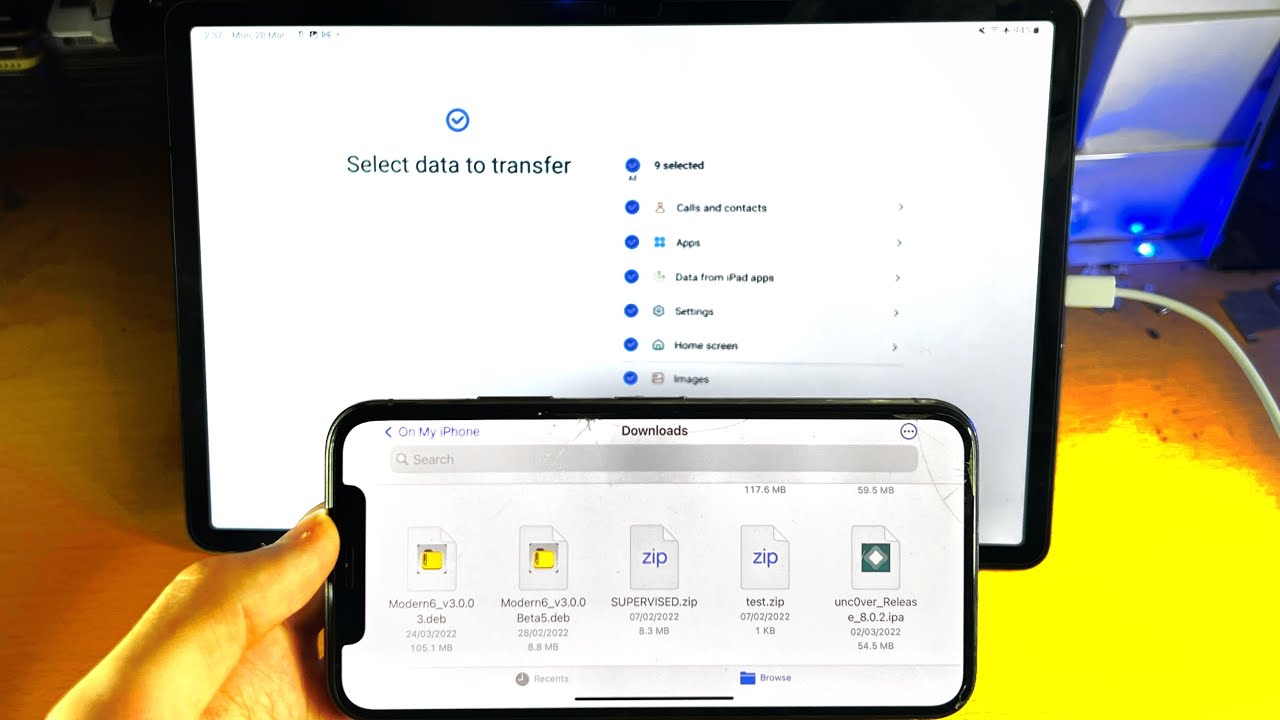
Transferring pictures from your Android phone to a tablet can be a convenient way to view and share your favorite photos on a larger screen. Whether you want to show off your vacation pictures to friends or simply enjoy a slideshow of memories, there are several methods you can use to transfer photos from your Android phone to a tablet.
In this article, we will explore four different methods that allow you to transfer pictures between Android devices. These methods include using a USB cable, using Bluetooth, using Google Photos, and using a cloud storage service. Each method offers its own advantages and is suitable for different situations, so you can choose the one that best fits your needs.
Before we delve into the details of each method, make sure that both your Android phone and tablet are charged and connected to the internet. Additionally, it’s a good idea to have the necessary cables or apps installed on both devices for a smooth transfer process.
Now, let’s take a closer look at each method to transfer pictures from your Android phone to a tablet.
Method 1: Using a USB Cable
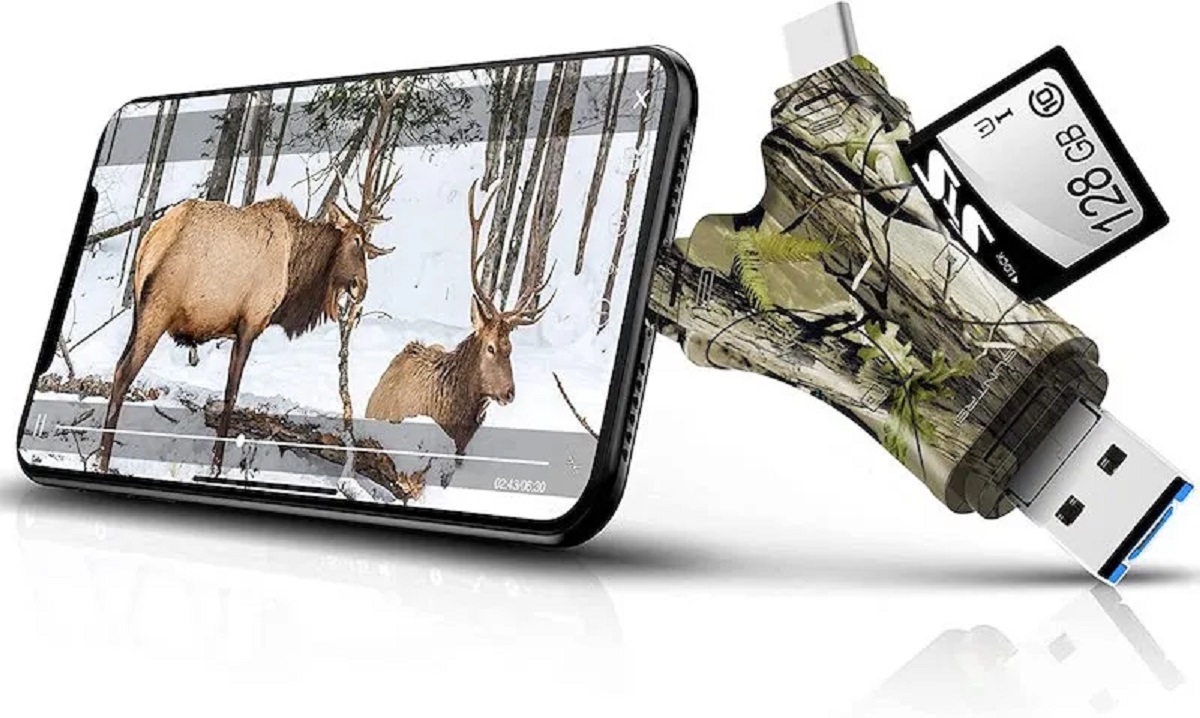
One of the easiest and most straightforward ways to transfer pictures from your Android phone to a tablet is by using a USB cable. Here are the steps to follow:
- Connect your Android phone to your tablet using a compatible USB cable.
- On your Android phone, swipe down from the top of the screen to access the notification panel, and tap on the USB connection option.
- Select the “File Transfer” or “Media Transfer” option to allow your phone to be recognized as a media device by your tablet.
- On your tablet, open the file manager app, which is usually pre-installed on the device.
- Navigate to the folder on your phone where the pictures are located. This is typically the “DCIM” or “Pictures” folder.
- Select the photos you want to transfer by tapping and holding on one photo, then selecting the others.
- Tap on the “Copy” or “Move” option to transfer the selected photos to your tablet.
Once the transfer is complete, you can disconnect the USB cable and access the photos on your tablet’s gallery app or any other photo-viewing app of your choice. This method ensures a direct and fast transfer of pictures, without the need for an internet connection.
However, it’s important to note that the steps mentioned above may vary slightly depending on the make and model of your Android phone and tablet. Additionally, some devices may require you to enable the “USB Debugging” option in the developer settings for the transfer to work.
Using a USB cable to transfer pictures from your Android phone to a tablet is a convenient option, especially if you have a large number of photos or if your internet connection is slow or unreliable. It provides a secure and efficient way to transfer your pictures without the need for any additional apps or cloud services.
Method 2: Using Bluetooth
If your Android phone and tablet have Bluetooth capabilities, you can easily transfer pictures between the two devices wirelessly. Follow these steps:
- Ensure that Bluetooth is turned on and visible on both your phone and tablet.
- On your Android phone, go to the gallery app and select the pictures you want to transfer.
- Tap on the share icon, usually represented by a set of interconnected dots or lines.
- From the sharing options, choose Bluetooth as the method of transfer.
- On your tablet, go to the Bluetooth settings and scan for available devices.
- Select your Android phone from the list of available devices.
- Confirm the connection and accept any pairing requests that may appear.
- Once connected, the transfer will begin, and you will see a progress bar indicating the status.
Once the transfer is complete, you will find the transferred pictures in the gallery app or storage location on your tablet.
It’s important to note that Bluetooth transfers can be slower compared to other methods, especially when transferring large-sized files or a large number of pictures. Therefore, it’s recommended to use this method for smaller transfers or when you have a decent amount of time to spare.
Using Bluetooth to transfer pictures from your Android phone to a tablet offers the advantage of wireless transfer, eliminating the need for cables or an internet connection. However, keep in mind that Bluetooth has a limited range, so ensure that your devices are within close proximity for a successful transfer.
Method 3: Using Google Photos
If you have a Google account, using Google Photos is an excellent way to transfer pictures from your Android phone to a tablet. Google Photos provides a seamless and cloud-based solution for storing and accessing your photos across multiple devices. Here’s how to use it:
- On your Android phone, open the Google Photos app, which is usually pre-installed on most Android devices. If not, you can download it from the Google Play Store.
- Sign in to your Google account or create a new one if you don’t have an account already.
- Sync your photos to Google Photos by enabling the backup and sync option in the app’s settings.
- Once your photos are uploaded to Google Photos, they will be accessible from any device with the same Google account.
- On your tablet, open the Google Photos app and sign in with the same Google account used on your phone.
- Wait for the photos to sync and appear in the app. This may take a few moments depending on the size of your photo library and your internet connection speed.
- Once the photos are visible on your tablet, you can view, edit, or download them to your device’s local storage if desired.
Google Photos offers numerous features, such as automatic backups, intelligent photo organization, and advanced editing tools. Additionally, the app allows you to easily share photos with others via direct links or shared albums.
It’s worth mentioning that Google Photos provides unlimited free storage for photos with reduced file sizes. However, if you prefer to retain the original quality of your pictures, it will count against your Google account storage limit.
Using Google Photos to transfer pictures from your Android phone to a tablet is a convenient and effortless method. It offers the advantage of secure cloud storage and accessibility from any device with an internet connection.
Method 4: Using a Cloud Storage Service
Using a cloud storage service is another popular method to transfer pictures from your Android phone to a tablet. Cloud storage services allow you to store your photos securely in the cloud and access them from any device with an internet connection. Here’s how to use this method:
- Choose a cloud storage service that suits your needs. Popular options include Google Drive, Dropbox, OneDrive, and iCloud.
- Install the cloud storage app on both your Android phone and tablet. You can find these apps on the Google Play Store or the respective app stores for your tablet’s operating system.
- Sign in to the cloud storage app using the same account on both devices.
- On your Android phone, open the app and upload the pictures you want to transfer to the cloud storage. This process may vary slightly depending on the service you choose, but it typically involves selecting the photos and tapping on the upload or share option.
- Once the photos are uploaded, they will be stored securely on the cloud storage service.
- On your tablet, open the cloud storage app, and you will find the uploaded photos in your account.
- You can then download the photos from the cloud storage to your tablet’s local storage or view them directly from the app.
Cloud storage services offer a convenient and flexible solution for transferring pictures between devices. They not only provide a secure backup for your photos but also allow you to access them from anywhere with an internet connection.
It’s important to ensure that you have a stable and reliable internet connection when using cloud storage services to transfer pictures. Additionally, consider the storage limitations of your chosen service, as there may be restrictions on the amount of data you can store for free.
Using a cloud storage service to transfer pictures from your Android phone to a tablet is a versatile and accessible method. It enables you to keep your photos organized, easily share them with others, and free up space on your devices without the need for physical connections.
Conclusion
Transferring pictures from your Android phone to a tablet opens up new possibilities for viewing, sharing, and organizing your photo collection. In this article, we explored four different methods to accomplish this: using a USB cable, using Bluetooth, using Google Photos, and using a cloud storage service.
Using a USB cable provides a direct and fast transfer without the need for an internet connection, making it ideal for larger transfers or when internet access is limited. Bluetooth offers a wireless solution, although it may be slower for transferring large files. Google Photos and cloud storage services provide the convenience of storing your photos in the cloud, ensuring accessibility across various devices whenever you have an internet connection.
When selecting the method that suits you best, it’s important to consider factors such as file size, the number of pictures, internet connectivity, and the storage capacity of your devices and chosen services. Each method has its own advantages and caters to different preferences and scenarios.
Whether you choose the ease of a USB cable, the convenience of Bluetooth, the versatility of Google Photos, or the flexibility of a cloud storage service, transferring pictures from your Android phone to a tablet is a straightforward process. Simply follow the steps outlined in each method to successfully transfer your photos and enjoy them on a larger screen.
Remember to keep your devices charged, ensure they are connected to the internet, and have the necessary cables or apps installed for a smooth transfer process. With these methods at your disposal, you can effortlessly transfer your favorite pictures and relish in the joy of sharing your cherished memories on a bigger display.


