Introduction
Welcome to the world of gaming laptops! Whether you’re a casual gamer or a dedicated enthusiast, having a gaming laptop opens up a whole new realm of entertainment and immersive gameplay. But before you dive into your favorite games, you need to set up your gaming laptop correctly to ensure optimal performance and longevity.
In this guide, we will walk you through the essential steps to set up your gaming laptop. From unboxing and initial setup to configuring power settings and installing antivirus software, we will cover everything you need to know to get your gaming laptop up and running smoothly.
A gaming laptop is not just an ordinary laptop; it is specifically designed to handle the demanding requirements of modern games. With powerful processors, dedicated graphics cards, and high-resolution displays, these laptops provide an immersive gaming experience that rivals that of a desktop gaming setup.
Properly setting up your gaming laptop is crucial to ensure that you can fully unleash its potential. By following the steps outlined in this guide, you can optimize your laptop’s performance, protect it from potential security threats, and personalize it according to your preferences.
So, without further ado, let’s get started with the step-by-step guide to setting up your gaming laptop. By the end of this journey, you will be ready to embark on thrilling gaming adventures and make the most out of your gaming laptop.
Step 1: Unboxing and Initial Setup
Excitement fills the air as you unbox your brand new gaming laptop. But before you can start gaming, there are a few essential steps to follow for the initial setup.
First, carefully remove the laptop from its packaging, taking care not to damage any cables or accessories. Lay out all the contents, including the power adapter, user manuals, and any additional peripherals that may have come with your laptop.
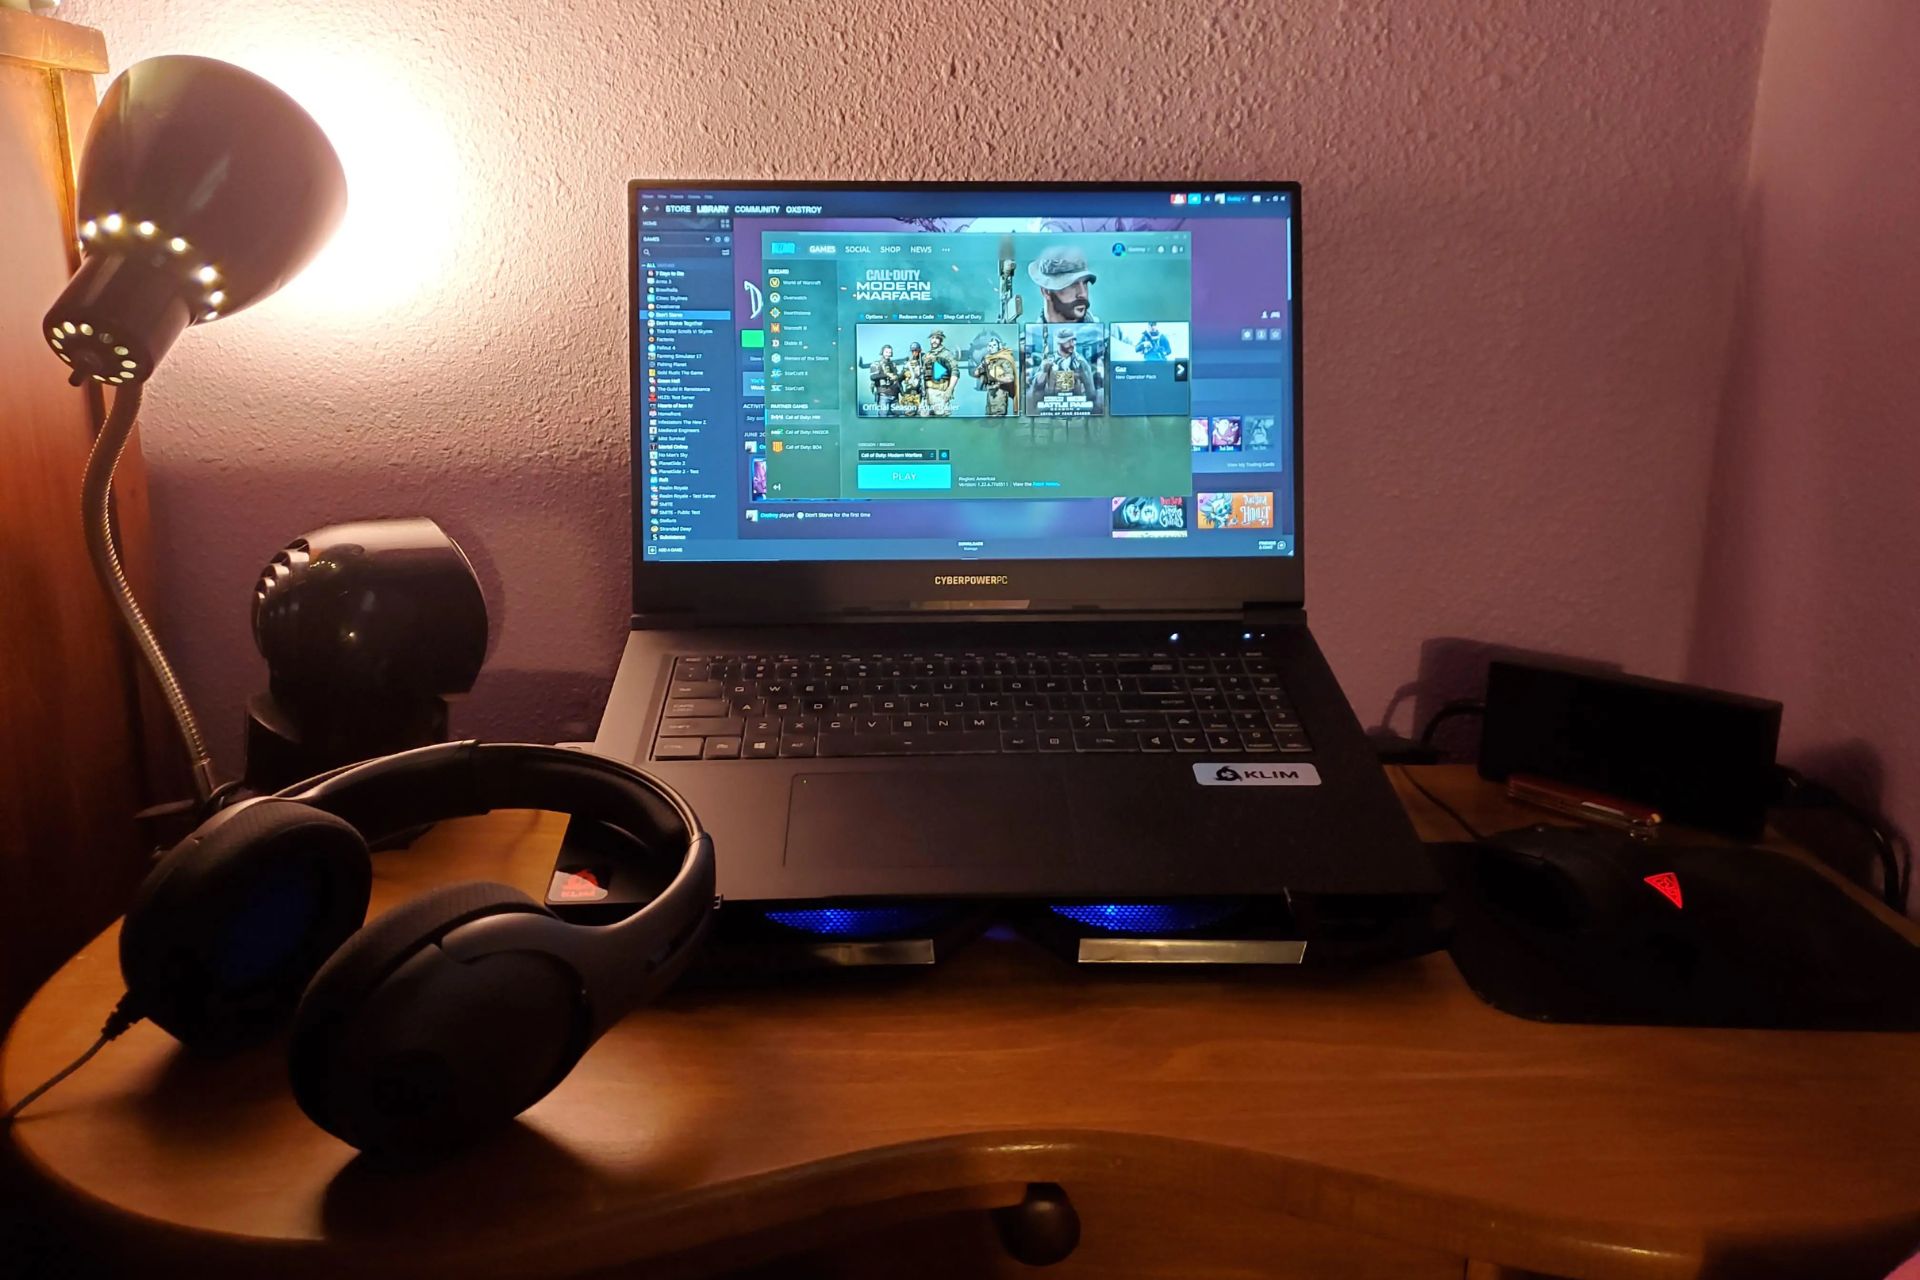
Next, find a suitable location to set up your gaming laptop. Ideally, choose a well-ventilated area with ample space to ensure proper airflow and prevent overheating.
Once you’ve found the perfect spot, connect your laptop to a power source using the provided charger. Ensure that the power outlet is in good condition and meets the voltage requirements of your laptop.
As you power on your gaming laptop for the first time, you will be guided through the initial setup process. This typically involves selecting your language preferences, setting up a user account, and configuring basic system settings.
During the setup, you may also be prompted to connect your laptop to a Wi-Fi network. Ensure that you have a stable internet connection to facilitate software updates and installations.
Once you’ve completed the initial setup, take some time to familiarize yourself with the layout of the laptop. Locate the different ports and connectors, such as USB and HDMI ports, headphone jacks, and SD card slots. This will come in handy when connecting external devices later.
With the unboxing and initial setup complete, you’re now ready to move on to the next step: connecting the charger.
Step 2: Connecting the Charger
Now that your gaming laptop is unboxed and the initial setup is complete, it’s time to connect the charger. Properly connecting the charger is crucial for ensuring your laptop has sufficient power during gameplay and prevents any sudden shutdowns.
Locate the power port on your gaming laptop. It is usually located on the sides or the back of the laptop. The power port is typically a small, round opening with a corresponding power symbol.
Next, take the charger and carefully insert the connector into the power port. Ensure that it is inserted fully and securely to establish a stable connection. You may hear a click or feel a slight tug when the connector locks into place.
Now, plug the other end of the charger into a nearby power outlet. Make sure the outlet is easily accessible and not obstructed by any objects.
When connected, the charger’s LED indicator should light up, indicating that the laptop is receiving power. It’s essential to use the charger that came with your gaming laptop, as using a different charger may not provide the necessary power or could potentially damage the laptop’s hardware.
Once connected, give your laptop some time to charge. This will ensure that the battery is adequately charged before you start gaming. Refer to the user manual or the manufacturer’s guidelines for the recommended charging time, as this can vary depending on the laptop model.
Remember to handle the charger and power cable with care to avoid any damage or fraying. Avoid placing heavy objects on the cable and never forcefully bend or kink the cable.
Now that your gaming laptop is connected to the charger, it’s time to move on to the next step: installing the battery.
Step 3: Installing the Battery
Installing the battery is an important step in setting up your gaming laptop. The battery allows you to use your laptop on the go without being tethered to a power source. Here’s how to install the battery:
First, locate the battery compartment on your gaming laptop. The battery compartment is usually located on the bottom of the laptop. It may have a latch or a release button that you need to slide or press to open.
Once you have access to the battery compartment, carefully insert the battery into the designated slot. Make sure the battery aligns with the connectors and slides in smoothly. Depending on your laptop model, the battery may have visible indicators or markings to help with the correct orientation.
Gently press the battery down until you hear a click or feel that it is securely in place. This indicates that the battery is properly installed and won’t accidentally detach while you’re using your laptop.
After installing the battery, close the battery compartment cover or latch it securely to ensure it stays in place. This provides additional protection and stability to the battery.
It’s important to note that some gaming laptops have built-in batteries that are not user-replaceable. In such cases, the battery is already installed by the manufacturer, and you can skip this step.
Once the battery is installed, your gaming laptop can now run on battery power. However, it’s recommended to fully charge the battery before using it without the charger for extended periods. This will ensure that you have sufficient battery life for uninterrupted gaming sessions.
Now that you’ve successfully installed the battery, you can move on to the next step: connecting external devices.
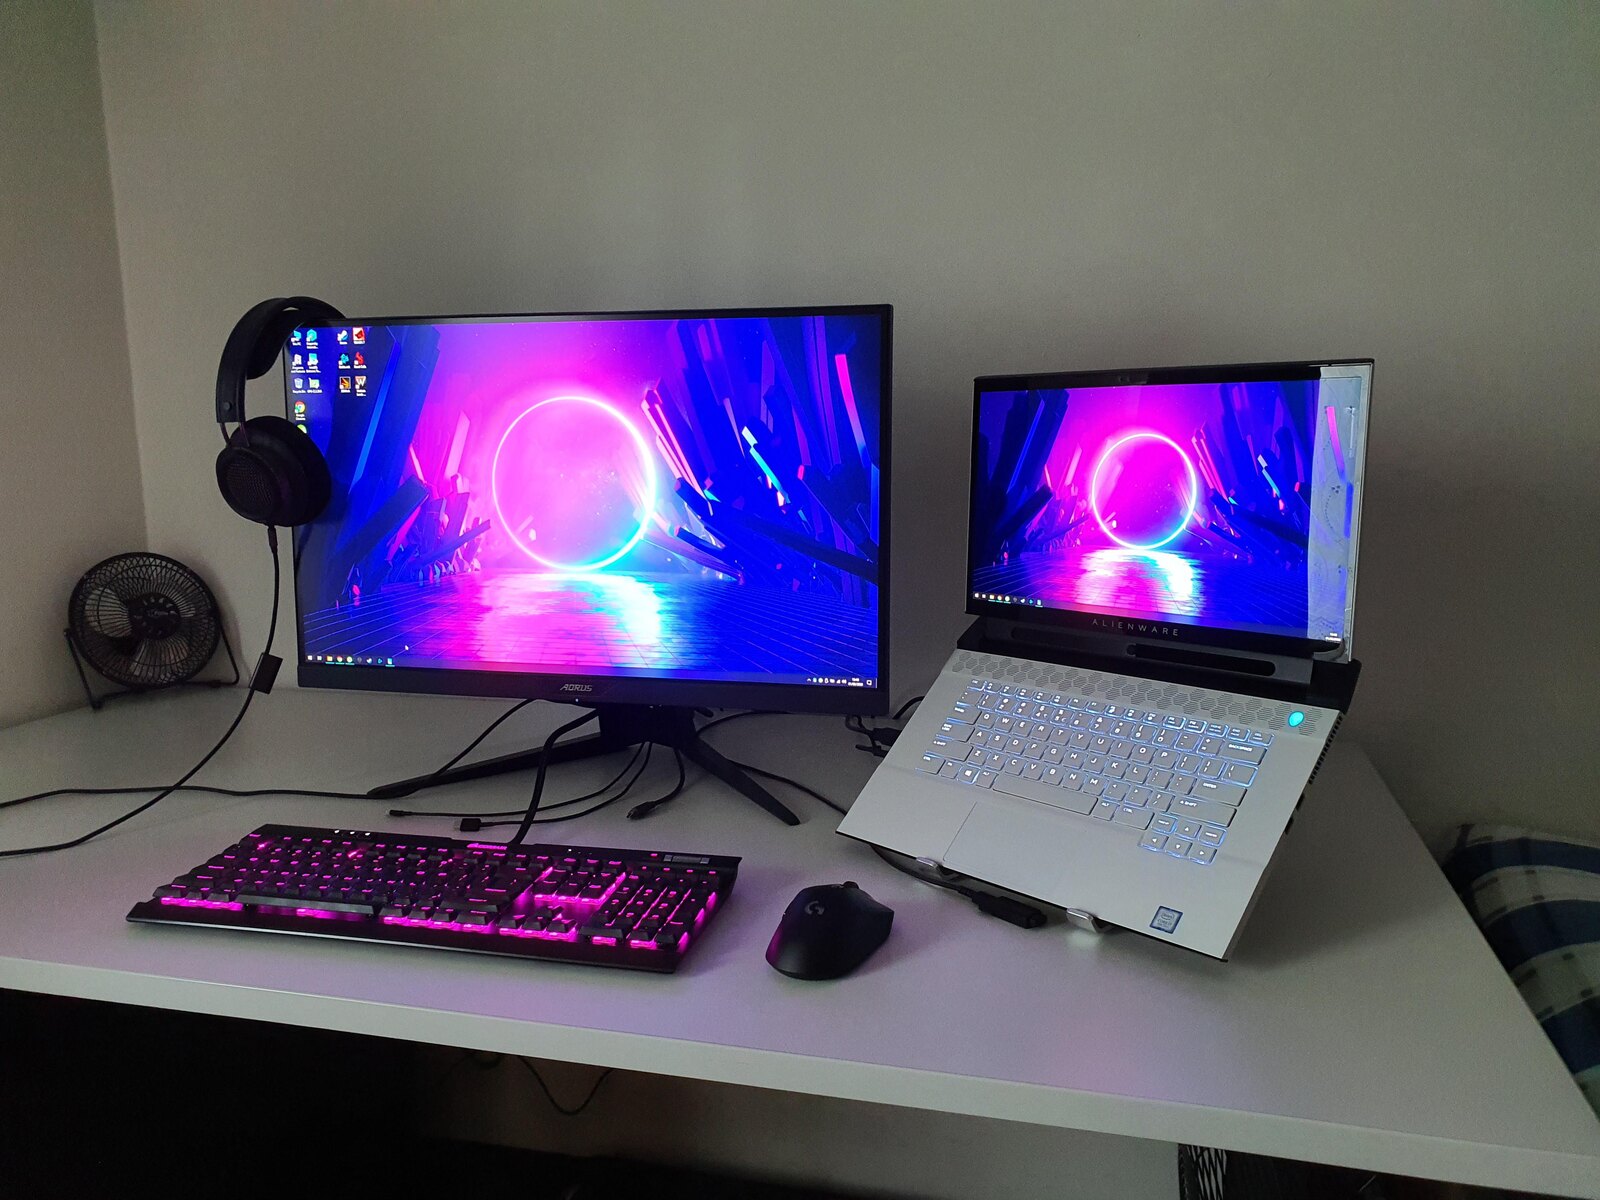
Step 4: Connecting External Devices
Connecting external devices to your gaming laptop allows you to expand its capabilities and enhance your gaming experience. Whether it’s a gaming mouse, keyboard, monitor, or external speakers, here’s how to connect them:
1. Gaming Mouse: Connect the USB cable of the gaming mouse to one of the USB ports on your laptop. The mouse should be recognized automatically, but you may need to install the mouse’s software or drivers for additional customization options.
2. Gaming Keyboard: Similar to the gaming mouse, connect the keyboard to a USB port on your laptop. The keyboard will be recognized, and you can begin using it right away. Some gaming keyboards may have additional software or drivers for advanced features.
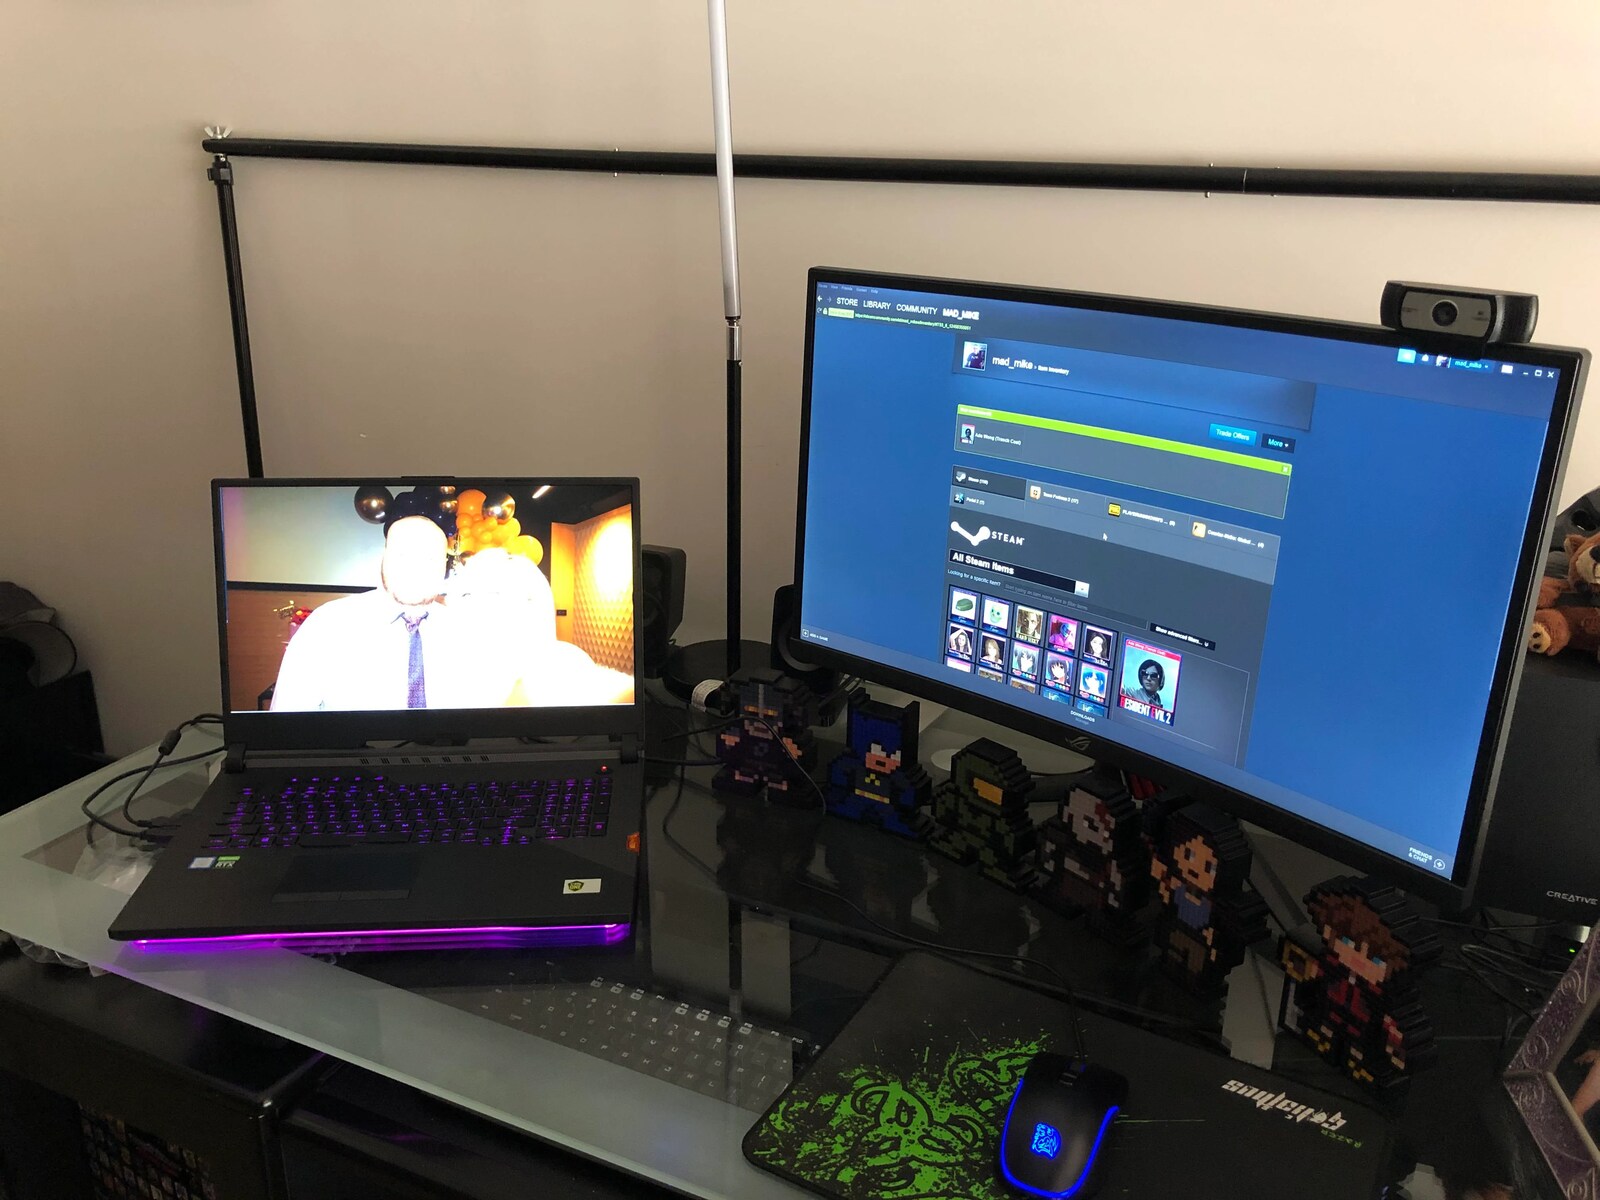
3. External Monitor: If you prefer a larger display or want to set up dual monitors, connect the HDMI or DisplayPort cable from the external monitor to the corresponding port on your laptop. Once connected, go to your laptop’s display settings to extend or mirror the display as desired.
4. External Speakers: To enhance the audio experience, connect the speakers to the audio output port on your laptop. This can be a headphone jack or a dedicated audio output port. Once connected, adjust the volume settings on your laptop and speakers for optimal sound quality.
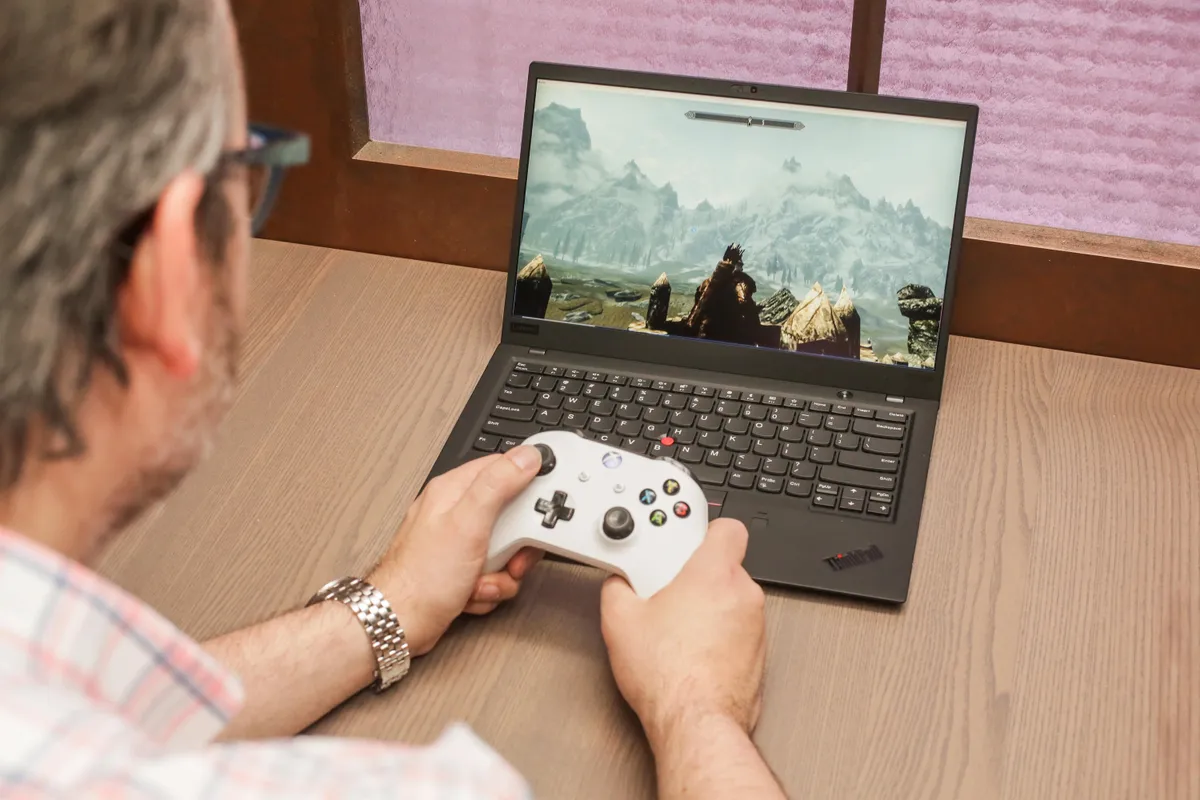
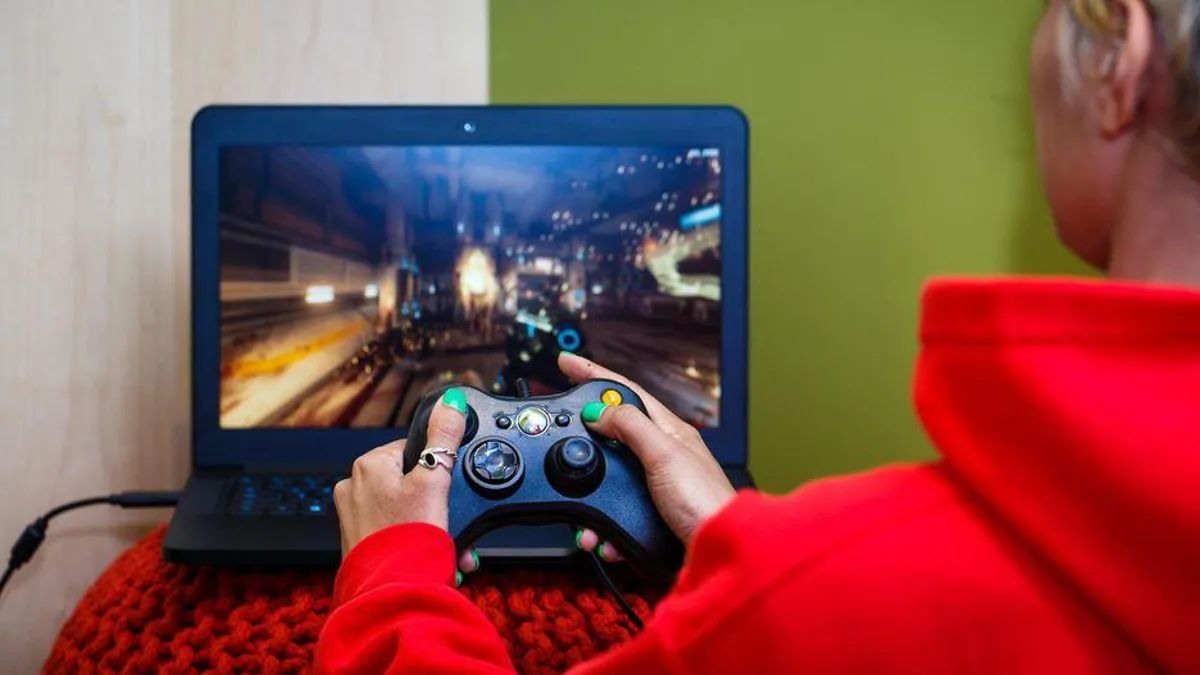
5. Other External Devices: Depending on your needs, you can connect other external devices such as headphones, microphones, game controllers, or even virtual reality headsets. Simply connect them to the appropriate ports on your laptop, and they should be recognized for immediate use.
Make sure to check the manufacturer’s instructions for any specific configuration requirements or additional software needed for specific devices.
By connecting external devices, you can customize your gaming setup to suit your preferences and maximize your gaming experience.
Now that you’ve successfully connected external devices, it’s time to move on to the next step: checking for software updates.
Step 5: Checking for Software Updates
Keeping your gaming laptop’s software up to date is essential for optimal performance, security, and compatibility with the latest games and applications. Here’s how to check for software updates:
1. Operating System Updates: Start by checking for updates to your operating system (OS). For Windows laptops, go to the Start menu, click on Settings, then select Update & Security. Click on Windows Update and check for any available updates. For macOS laptops, go to the Apple menu, click on System Preferences, then select Software Update.
2. Graphics Card Updates: The graphics card is crucial for gaming performance, so it’s essential to keep its drivers up to date. For NVIDIA graphics cards, you can use the GeForce Experience software to automatically check for and install updates. For AMD graphics cards, visit the AMD website and search for the latest drivers suitable for your specific card.
3. Other Hardware Updates: Some gaming laptops may have additional hardware components that require updates, such as audio drivers, network drivers, or chipset drivers. Check the manufacturer’s website or use their provided software to identify and install any necessary updates.
4. Game Launchers and Software: If you use game launchers like Steam or Epic Games, regularly check for updates within those platforms. These updates often include bug fixes, performance enhancements, and new features. Additionally, ensure that other software on your laptop, such as antivirus programs or productivity tools, are also up to date.
When installing updates, it’s important to follow the instructions provided by the software or driver installer. Some updates may require a restart, while others may require closing certain programs.
Regularly checking for software updates helps ensure that your gaming laptop is running the latest versions of essential components, leading to a smoother gaming experience with improved performance and reduced security risks.
Now that you’ve checked for software updates, it’s time to move on to the next step: installing and updating drivers.
Step 6: Installing and Updating Drivers
Installing and updating drivers is vital for ensuring that all the hardware components of your gaming laptop function optimally. Drivers act as bridges between the hardware and the operating system, allowing them to work together seamlessly. Here’s how to install and update drivers:
1. Graphics Drivers: Start with the graphics drivers, as they play a crucial role in gaming performance. Visit the website of your laptop’s graphics card manufacturer, such as NVIDIA or AMD, and search for the latest drivers for your specific model. Download and install the drivers following the instructions provided.
2. Network Drivers: To ensure a stable and reliable internet connection, it’s important to have the latest network drivers. Visit the website of your laptop’s manufacturer or the website of the network hardware manufacturer, such as Intel or Realtek, to download and install the latest network drivers.
3. Audio Drivers: For an immersive gaming experience, make sure to have the most up-to-date audio drivers. You can visit the manufacturer’s website or use driver management software to check for and install the latest audio drivers for your laptop.
4. Other Drivers: Depending on your laptop’s components, there may be other drivers that require installation or updates. These can include drivers for the touchpad, keyboard, USB ports, and more. Check the manufacturer’s website or use driver management software to identify and update any missing or outdated drivers.
When installing drivers, it’s important to follow the instructions provided by the manufacturer. Some drivers may require a restart to complete the installation process.
Updating drivers ensures that your gaming laptop’s hardware is fully optimized, leading to improved performance, stability, and compatibility with the latest games and applications.
Now that you have installed and updated the necessary drivers, it’s time to move on to the next step: configuring power and performance settings.
Step 7: Configuring Power and Performance Settings
Configuring power and performance settings is crucial for optimizing the balance between performance and battery life on your gaming laptop. By adjusting these settings, you can ensure that your laptop delivers the best possible gaming experience. Here’s how to configure power and performance settings:
1. Power Plans: Windows laptops offer different power plans, such as Balanced, Power Saver, and High Performance. To access power plans, go to the Start menu, click on Settings, then select System. Choose Power & Sleep from the left sidebar and click on Additional Power Settings. Select the power plan that best suits your needs.
2. Display Settings: Adjusting display settings can enhance your gaming experience. Go to the Start menu, click on Settings, then select System. Choose Display from the left sidebar and adjust the screen brightness, resolution, and other display settings according to your preferences.
3. Graphics Settings: Graphics settings can significantly impact gaming performance. If your laptop has dual graphics cards (integrated and dedicated), you can customize graphics settings for individual games. Open the graphics settings from the control panel of your graphics card software and tweak the settings to optimize performance for each game.
4. Performance Mode: Some gaming laptops have dedicated performance modes or gaming profiles that prioritize performance over battery life. Check your laptop’s manufacturer software or the laptop’s keyboard shortcuts for special gaming modes. Activating these modes can enhance gaming performance by maximizing system resources.
5. Cooling and Fan Control: To prevent overheating during intense gaming sessions, make sure your laptop’s cooling system and fans are working optimally. Use third-party software or manufacturer-provided utility tools to monitor and control fan speed for efficient cooling.
Configuring power and performance settings based on your preferences and gaming requirements allows you to maximize gaming performance while balancing power consumption.
Now that you have configured power and performance settings, it’s time to move on to the next step: installing antivirus software.
Step 8: Installing Antivirus Software
Protecting your gaming laptop from viruses, malware, and other security threats is crucial to ensure the safety of your data and the smooth functioning of your system. Installing antivirus software adds an extra layer of protection to your laptop. Here’s how to install antivirus software:
1. Research and Choose an Antivirus: There are numerous antivirus software options available in the market. Research and read reviews to find the best antivirus software that suits your needs and offers real-time protection against known and emerging threats.
2. Download and Install: Visit the official website of the antivirus software you’ve chosen and download the installer. Run the installer and follow the on-screen instructions to complete the installation process.
3. Update and Scan: Once the antivirus software is installed, ensure that it is up to date with the latest virus definitions. Launch the antivirus software and perform a full system scan to check for any existing threats or malware.
4. Real-Time Protection: Enable real-time protection in your antivirus software settings. This feature continuously monitors your laptop for any suspicious activities and prevents malware from executing.
5. Scheduled Scans and Updates: Set up scheduled scans and updates in your antivirus software. Regularly scanning your laptop and keeping the software up to date ensures that you’re protected against the latest threats.
Additionally, practice safe browsing habits and avoid downloading files or visiting websites from untrusted sources. Be cautious while downloading and installing games or applications from the internet, as they may contain malicious software.
Installing reliable antivirus software ensures that your gaming laptop remains secure from malware, viruses, and online threats, allowing you to enjoy worry-free gaming sessions.
Now that you’ve installed antivirus software, it’s time to move on to the next step: personalizing your gaming laptop.
Step 9: Personalizing Your Gaming Laptop
Personalizing your gaming laptop not only adds a touch of individuality but also enhances your overall gaming experience. From customizing the desktop background to optimizing the keyboard lighting, here’s how to personalize your gaming laptop:
1. Desktop Background: Choose a wallpaper that reflects your gaming style or showcases your favorite game. Right-click on the desktop, select Personalize, and browse through the available wallpapers. You can also use your own images as the background.
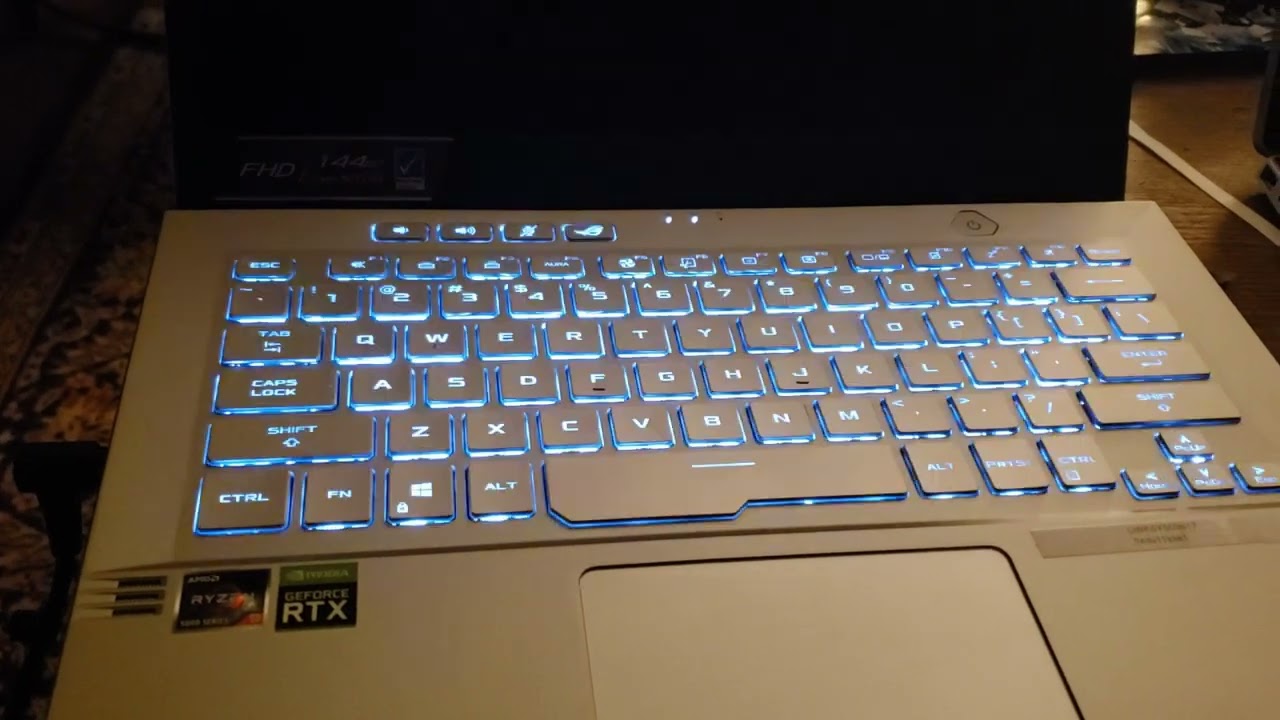
2. Keyboard Lighting: If your gaming laptop has customizable RGB lighting, use the provided software to select your desired lighting effects, colors, and patterns. Experiment with different combinations to create a unique lighting setup that matches your gaming setup or personal preference.
3. Icons and Themes: Customize your desktop icons and explore themes offered by your operating system or third-party software. Themes can change the overall appearance of your laptop, including the taskbar, icons, and system sounds.
4. Game Launchers and Customizations: Customize game launchers like Steam or Epic Games by creating personalized profiles, adding game covers, and organizing your game library. Many game launchers also allow you to customize in-game settings, such as graphics, controls, and audio.
5. Software Customizations: Explore customization options provided by software specific to your gaming laptop. Some laptops come with software that allows you to control fan speed, monitor system performance, and tweak gaming preferences.
Remember to install and use legitimate customization software and themes from trusted sources to ensure your laptop’s security.
Personalizing your gaming laptop not only adds a personal touch but also creates a visually appealing and immersive gaming environment that reflects your unique style.
Now that you’ve personalized your gaming laptop, it’s time to move on to the final step: testing the performance.
Step 10: Testing the Performance
After completing all the previous steps, it’s time to put your gaming laptop to the test and ensure that it is performing optimally. Testing the performance of your laptop allows you to gauge its capabilities and make any necessary adjustments. Here’s how to test the performance:
1. Benchmarking Tools: Use benchmarking software, such as 3DMark or PCMark, to assess your laptop’s overall performance. These tools stress test the CPU, GPU, and other hardware components, providing valuable insights into the system’s capabilities.
2. Game Performance Testing: Play a variety of demanding games to observe how your laptop handles different titles. Monitor the frame rates, graphics settings, and overall smoothness of gameplay. Adjust graphics settings as needed to strike a balance between performance and visual quality.
3. Temperature Monitoring: During performance testing, use temperature monitoring software to keep an eye on your laptop’s internal temperatures. Excessive heat can affect performance and potentially damage hardware. Ensure that your laptop remains within safe temperature limits by adjusting fan speeds or using cooling pads if necessary.
4. Battery Performance: If you plan to use your gaming laptop on the go, test its battery performance by running games or other resource-intensive applications while unplugged. Monitor how long the battery lasts under different usage scenarios and adjust power settings to maximize battery life without compromising performance.
By thoroughly testing the performance of your gaming laptop, you can identify any areas that need improvement or adjustment. Use the results of the tests to fine-tune your laptop’s settings, upgrade hardware if needed, and ensure an optimal gaming experience.
Congratulations! You have successfully set up and tested your gaming laptop. Now you can enjoy endless gaming adventures and immerse yourself in the world of incredible gaming experiences.
Conclusion
Setting up a gaming laptop may seem like a daunting task, but by following these ten steps, you can ensure that your gaming laptop is properly configured for optimal performance and a seamless gaming experience.
From the initial unboxing and setup to installing antivirus software and personalizing your laptop, each step plays a crucial role in creating a gaming environment tailored to your preferences.
By connecting the charger, installing the battery, and connecting external devices, you ensure that your gaming laptop is ready for action at any time. Checking for software updates and updating drivers keep your laptop’s software and hardware up to date, ensuring compatibility with the latest games and applications.
Configuring power and performance settings and installing antivirus software help maximize both performance and security. Personalizing your gaming laptop adds a personal touch and makes it truly yours.
Finally, testing the performance allows you to evaluate your laptop’s capabilities and make any necessary adjustments, ensuring that you have the best gaming experience possible.
Remember to continue maintaining your gaming laptop by regularly updating software, scanning for viruses, and keeping an eye on the system’s performance.
Now that you are equipped with the knowledge to set up and optimize your gaming laptop, it’s time to embark on incredible gaming adventures and explore the vast possibilities that await you.
Happy gaming!