Introduction
Welcome to this guide on how to send delayed emails in Microsoft Outlook. Have you ever found yourself in a situation where you needed to send an email at a specific time, but you couldn’t be available to hit the send button? Whether it’s a birthday greeting, a meeting reminder, or an important announcement, being able to schedule emails for future delivery can be incredibly convenient and efficient.
Microsoft Outlook, one of the most widely used email clients, offers a built-in feature that allows you to schedule the delivery of your emails at a later time. This feature, known as delayed email sending or delayed delivery, gives you the flexibility to compose messages in advance and have them automatically sent at a specified date and time.
In this guide, we will explore the step-by-step process of setting up delayed email sending in Outlook, as well as the benefits it offers. Whether you’re an individual looking to manage your personal emails or a professional aiming to streamline your business communication, this feature can greatly improve your productivity and organization.
If you’re ready to take control of your email scheduling and make your life easier, let’s dive into the process of setting up delayed email sending in Microsoft Outlook. Whether you’re using Outlook for Windows, Outlook for Mac, or Outlook on the web, the steps are quite similar. We’ll provide instructions for each platform so you can follow along regardless of the device you’re using.
Now, let’s move on to the next section and learn how to access the delay delivery options in Outlook.
Setting Up Delayed Email Sending in Outlook
In order to send delayed emails in Microsoft Outlook, you’ll need to follow a few simple steps to access and configure the delay delivery options. Whether you’re using Outlook for Windows, Outlook for Mac, or Outlook on the web, the process is relatively straightforward. Let’s walk through the steps for each platform:
- Outlook for Windows: To begin, open Outlook on your Windows computer and click on the “New Email” button to create a new message. Once you’ve composed your email, look for the “Options” tab in the ribbon at the top of the screen. In the “More Options” group, you’ll find a button labeled “Delay Delivery.” Click on this button to access the delay delivery settings.
- Outlook for Mac: If you’re using Outlook on a Mac, start by opening the application and clicking on “New Email” to create a new message. Once you’ve composed your email, go to the “Message” menu at the top of the screen and select “Delay Delivery.” This will open the delay delivery settings, allowing you to configure the desired options for your delayed email.
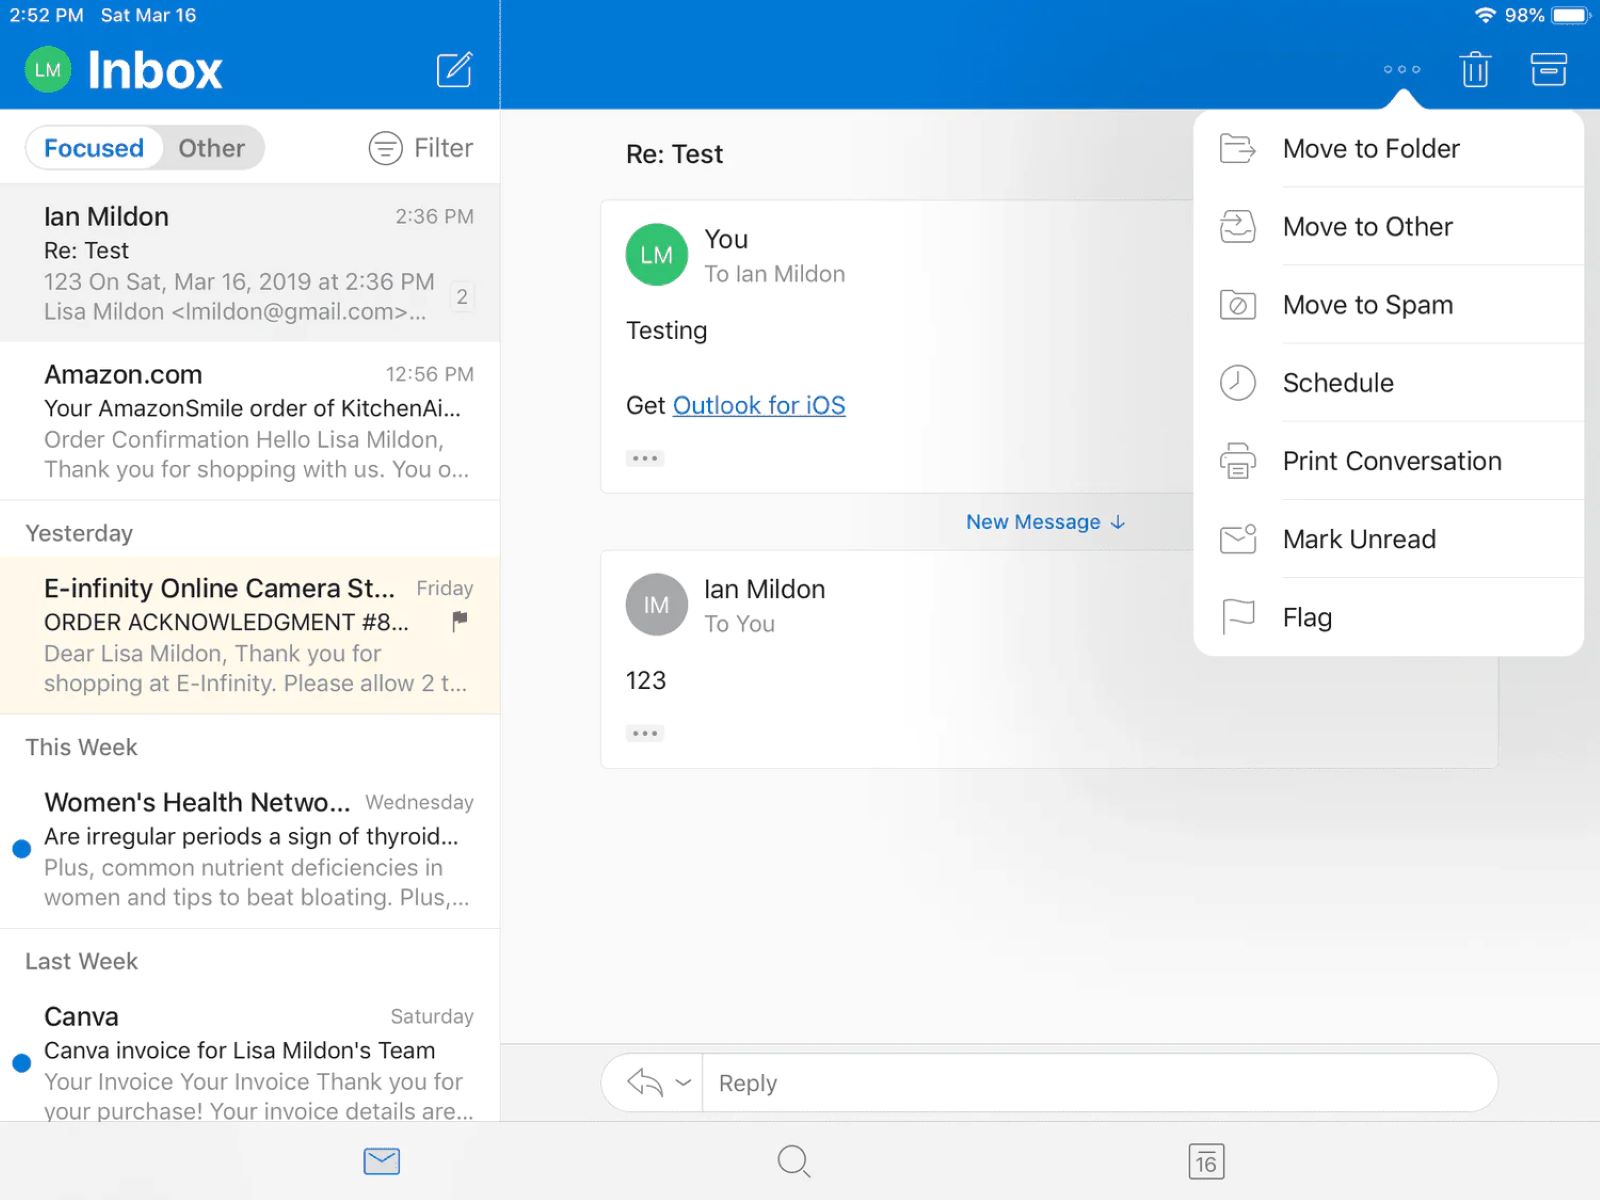
- Outlook on the web: For those using Outlook webmail, log in to your account and click on the “New Email” button to compose a new message. Once you’ve finished writing your email, click on the three-dot menu icon in the email composition toolbar, and then select “Delay Delivery” from the dropdown menu. This will open the delay delivery settings, where you can customize the timing of your email.
Now that you know how to access the delay delivery options, let’s move on to the next step and configure the settings for your delayed email in Outlook.
Step 1: Accessing the Delay Delivery Options
The first step in setting up delayed email sending in Outlook is accessing the delay delivery options. This step may vary slightly depending on whether you’re using Outlook for Windows, Outlook for Mac, or Outlook on the web. Let’s explore the process for each platform:
- Outlook for Windows: After opening Outlook on your Windows computer, click on the “New Email” button to create a new message. Once you’ve composed your email, navigate to the “Options” tab in the ribbon at the top of the screen. Look for the “More Options” group, where you’ll find a button labeled “Delay Delivery.” Click on this button to access the delay delivery settings.
- Outlook for Mac: If you’re using Outlook on a Mac, start by opening the application and clicking on “New Email” to create a new message. After composing your email, go to the “Message” menu at the top of the screen and select “Delay Delivery.” This will open the delay delivery settings, allowing you to configure the options for your delayed email.
- Outlook on the web: For Outlook webmail users, log in to your account and click on the “New Email” button to compose a new message. Once you’ve finished writing your email, click on the three-dot menu icon in the email composition toolbar, and then select “Delay Delivery” from the dropdown menu. This will open the delay delivery settings where you can customize the timing of your email.
Regardless of the platform you’re using, accessing the delay delivery options is the first step towards sending delayed emails in Outlook. Once you have accessed the settings, you can move on to the next step and configure the specific options for your delayed email. We will explore the configuration process in the next section.
Step 2: Configuring the Delay Delivery Settings
After accessing the delay delivery options in Microsoft Outlook, the next step is to configure the settings for your delayed email. The configuration process allows you to specify the exact date and time when the email should be sent. Let’s go through the steps for configuring the delay delivery settings:
- Setting the delivery date and time: In the delay delivery settings, you will find a section where you can set the date and time for the email to be sent. Select the desired date and enter the exact time when you want the email to be delivered. Take note that the time should be entered in the 24-hour format.
- Request a read receipt: You can choose to request a read receipt for the email by checking the appropriate box in the delay delivery settings. With a read receipt, you will be notified when the recipient opens the email, providing you with confirmation that your message has been received and read.
- Modify importance and sensitivity: If necessary, you can adjust the importance and sensitivity of the email in the delay delivery settings. Select the appropriate options to convey the importance and sensitivity level of your message to the recipient.
- Save a copy of the email in the Sent Items folder: By default, Outlook saves a copy of sent items in the Sent Items folder. However, you can choose to disable this feature by unchecking the corresponding box in the delay delivery settings, if desired.
- Customize delivery options: Depending on your version of Outlook, you may have additional options available in the delay delivery settings. These options can include delivery exceptions, which allow you to specify certain conditions under which the email should not be sent.
Once you have configured the desired settings in the delay delivery options, you are ready to compose and schedule your delayed email. We will cover this process in the next section. Take your time to ensure that the settings are accurately configured to meet your specific needs.
Step 3: Composing and Scheduling the Delayed Email
After configuring the delay delivery settings in Microsoft Outlook, the next step is to compose your email and schedule it for delayed delivery. Follow these steps to compose and schedule your delayed email:
- Compose your email: Start by creating a new email message in Outlook. Enter the recipient’s email address, a subject line, and compose the body of your email as you normally would. Take your time to ensure that your email is accurate and conveys the intended message.
- Review your email: Before scheduling the delayed delivery, it’s a good idea to review your email for any errors or formatting issues. Double-check the recipient’s email address, subject, and content to ensure everything is correct. Proofread your email for any spelling or grammatical mistakes.
- Schedule the delayed delivery: In the email composition window, look for the “Options” or “Message Options” tab, depending on your version of Outlook. Within this tab, locate the “Delay Delivery” or “Send Later” button. Click on this button to open the delay delivery settings.
- Confirm the delivery date and time: In the delay delivery settings, verify that the date and time for the delayed delivery are accurately set. Confirm that all other settings, such as read receipts or importance levels, are configured as desired.
- Click “Send”: Once you are satisfied with your email and the delay delivery settings, click the “Send” button. Your email will be saved and scheduled for delivery at the specified date and time. After clicking “Send,” the email will move to the Outbox folder until the scheduled delivery time is reached.
Congratulations! You have successfully composed and scheduled a delayed email in Microsoft Outlook. It’s important to note that you should keep your Outlook application open and connected to the internet until the scheduled delivery time to ensure the email is sent as planned.
Now that you understand how to compose and schedule delayed emails in Outlook, let’s move on to the next section, where we will explore how to modify or cancel a scheduled delayed email if needed.
Step 4: Modifying or Cancelling a Scheduled Delayed Email
After scheduling a delayed email in Microsoft Outlook, you may find the need to modify or cancel the scheduled delivery. Luckily, Outlook provides options to make changes or cancel a scheduled email. Follow these steps to modify or cancel a scheduled delayed email:
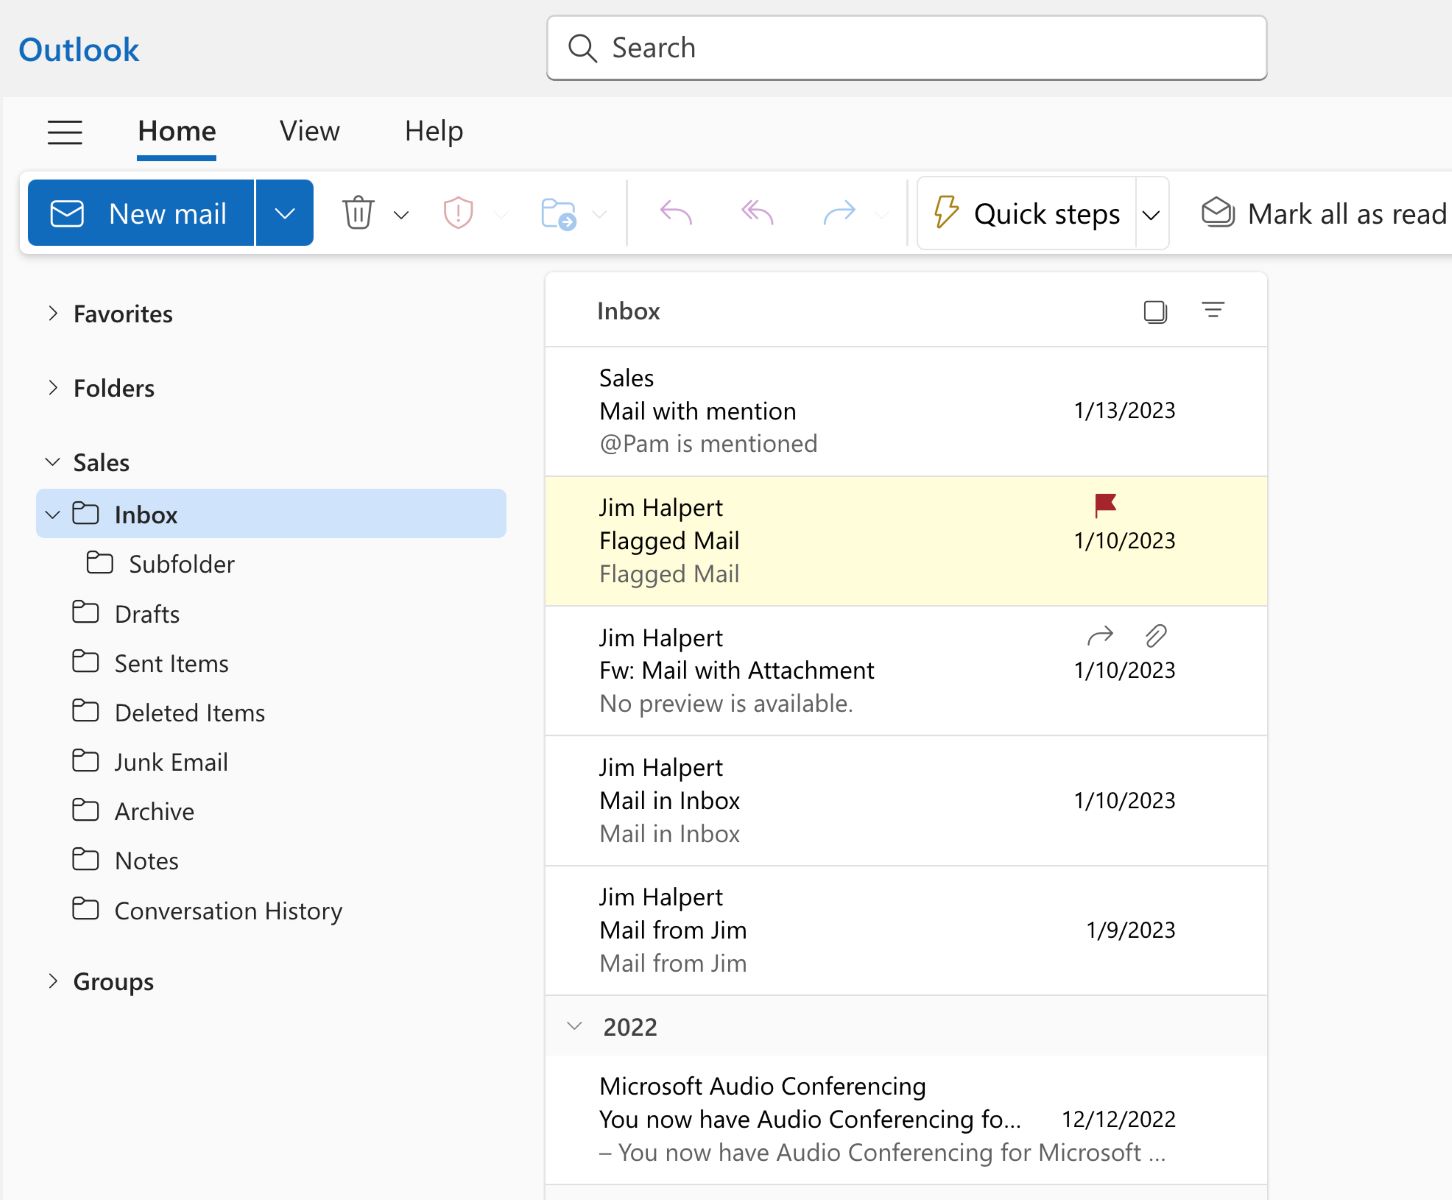
- Access the Outbox folder: To make changes or cancel a scheduled email, you need to locate the Outbox folder in Outlook. The Outbox is where all the emails that are pending to be sent are stored. Find the Outbox folder either in the navigation pane or by clicking on the “Folders” tab at the bottom of the Outlook window.
- Open the email: Once you have located the Outbox folder, you will see a list of all the emails waiting to be sent. Find the scheduled delayed email that you want to modify or cancel and double-click on it to open the email.
- Make changes: If you want to modify the content or settings of the scheduled delayed email, make the necessary changes in the email composition window. Edit the recipient, subject, body, or any other aspect of the email as desired.
- Reschedule or cancel: If you want to reschedule the delivery of the email, update the date and time settings in the delay delivery options. Adjust the settings to the new desired delivery date and time. Alternatively, if you want to cancel the scheduled email altogether, simply delete the email from the Outbox folder.
- Click “Send”: After making the necessary changes or canceling the scheduled email, click the “Send” button to save the modifications or remove the email from the Outbox folder. The email will be either sent at the new specified time or removed from the sending queue, depending on your actions.
By following these steps, you can easily modify or cancel a scheduled delayed email in Microsoft Outlook. Whether you need to update the content, change the delivery time, or cancel the email entirely, Outlook provides the flexibility to make these adjustments.
Now that you have learned how to modify or cancel a scheduled delayed email, let’s explore the benefits of using delayed email sending in Outlook in the next section.
Benefits of Delayed Email Sending
Delayed email sending offers numerous benefits for individuals and businesses, enhancing productivity, organization, and communication. Let’s explore some of the key advantages of using delayed email sending in Microsoft Outlook:
- Time management: With delayed email sending, you can compose and schedule your emails in advance, allowing you to better manage your time. You can write emails when it’s convenient for you and have them delivered at the most appropriate times, ensuring important messages reach recipients at the right moment.
- Improved accuracy: By scheduling emails for delayed delivery, you can take the time to review and edit them before they are sent. This helps to minimize errors and improve the accuracy of your messages. You can double-check the content, correct any mistakes, and ensure that the information presented is clear and concise.
- Efficient communication: Delayed email sending enables you to plan and coordinate your communication effectively. You can schedule reminder emails for meetings or deadlines, ensuring that recipients receive the information in a timely manner. This helps to streamline communication and avoid last-minute rushes or missed opportunities.
- Flexibility and convenience: By utilizing delayed email sending, you can work on your email communication when it’s convenient for you and schedule delivery for later. This offers flexibility and convenience, especially if you work across different time zones or have a busy schedule. You can compose emails in advance and have them sent automatically at appropriate times, without the need for manual intervention.
- Professionalism: Sending delayed emails can enhance your professionalism by allowing you to schedule and send emails during business hours, even if you’re not available at that exact time. This ensures that your emails are received during typical working hours, which may be more suitable and appropriate for professional communication.
- Ensured delivery: With delayed email sending, you can have peace of mind knowing that your emails will be delivered, even if unexpected circumstances or technical issues arise. Emails scheduled for delayed delivery are stored in the Outbox folder until the specified time, guaranteeing that they will be sent when conditions are optimal.
These are just a few of the benefits offered by delayed email sending in Microsoft Outlook. By utilizing this feature, you can enhance your email management, improve communication efficiency, and simplify your daily workflow.
Now that we’ve explored the benefits, let’s conclude by summarizing what we’ve covered in this guide to sending delayed emails in Outlook.
Conclusion
In this guide, we have explored how to send delayed emails in Microsoft Outlook. By following the step-by-step process of accessing the delay delivery options, configuring the settings, composing and scheduling the delayed email, and modifying or canceling a scheduled email, you can take control of your email communication and streamline your workflow.
The ability to schedule emails for delayed delivery offers numerous benefits, including improved time management, enhanced accuracy, efficient communication, flexibility, professionalism, and ensured delivery. Whether you’re an individual looking to better manage your personal emails or a professional aiming to optimize your business communication, delayed email sending can be a valuable tool in your arsenal.
Remember to take advantage of the tailored features available in Outlook for Windows, Outlook for Mac, and Outlook on the web, as they offer similar functionality but may have slight differences in the user interface.
By utilizing delayed email sending in Outlook, you can boost your productivity, organize your communication, and ensure that your messages are delivered at the most opportune moments. So, take the time to set up and experiment with this feature to discover how it can benefit your specific needs.
Now that you have a comprehensive understanding of how to send delayed emails in Outlook, it’s time to put this knowledge into practice. Start leveraging this powerful feature and enjoy the convenience, efficiency, and control it brings to your email workflow.