Introduction
Backing up your important files and data is crucial to ensuring their safety and preventing loss. While Google Drive provides a reliable cloud storage solution, it’s always a good idea to have an additional backup on an external hard drive. This will give you an extra layer of protection against accidental deletions, device failures, and other unforeseen events.
In this article, we will guide you through the process of backing up your Google Drive to an external hard drive. By following these steps, you can have your files safely stored in both the cloud and a physical device, offering you peace of mind and easy access to your data, no matter the situation.
Whether you’re a business professional storing important documents, a student with years’ worth of research papers, or someone who values precious memories captured in photos and videos, taking the time to back up your Google Drive is a wise investment of your time and effort.
Before we dive into the step-by-step process, there are a few prerequisites you need to have:
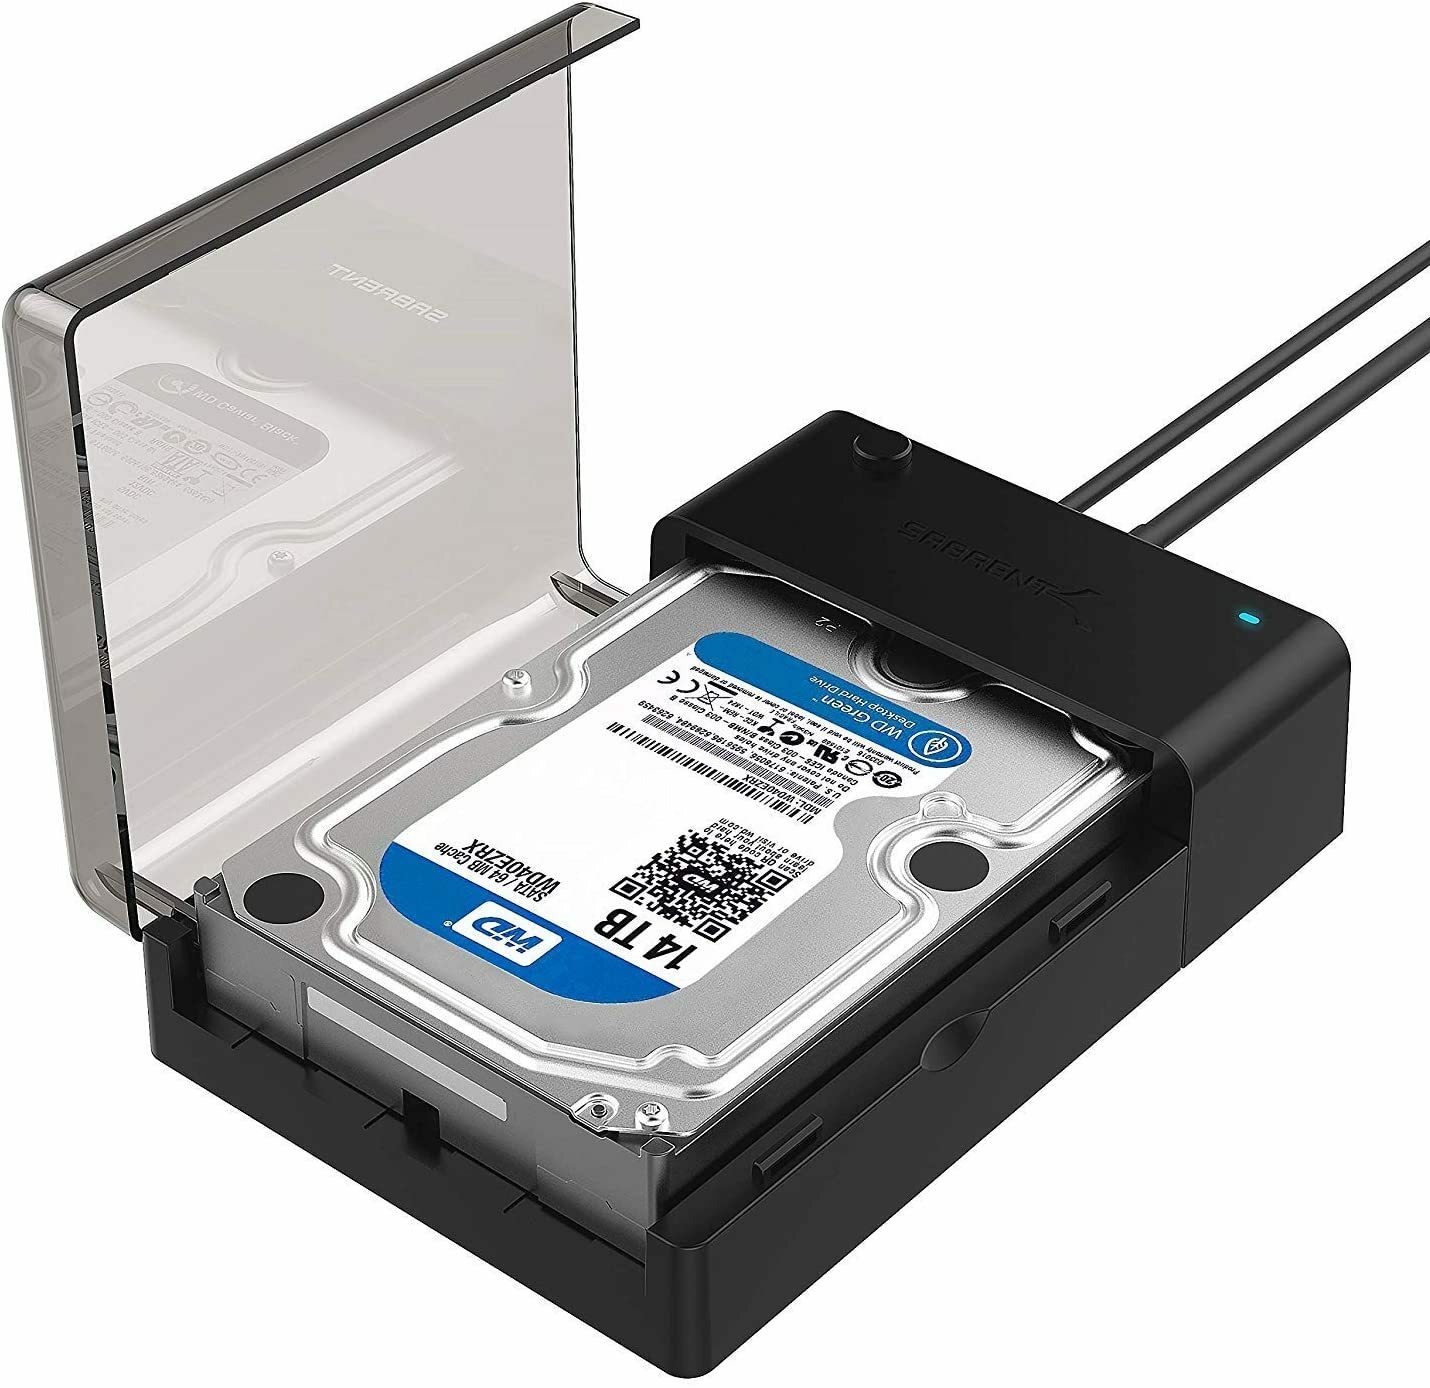
- An external hard drive with sufficient storage capacity to hold your Google Drive contents.
- A computer with an available USB port to connect the external hard drive.
- A stable internet connection to download the necessary software.
- A Google account with Google Drive installed and set up on your computer.
With these essentials in place, you’re all set to embark on the journey of backing up your Google Drive to an external hard drive. So, let’s get started!
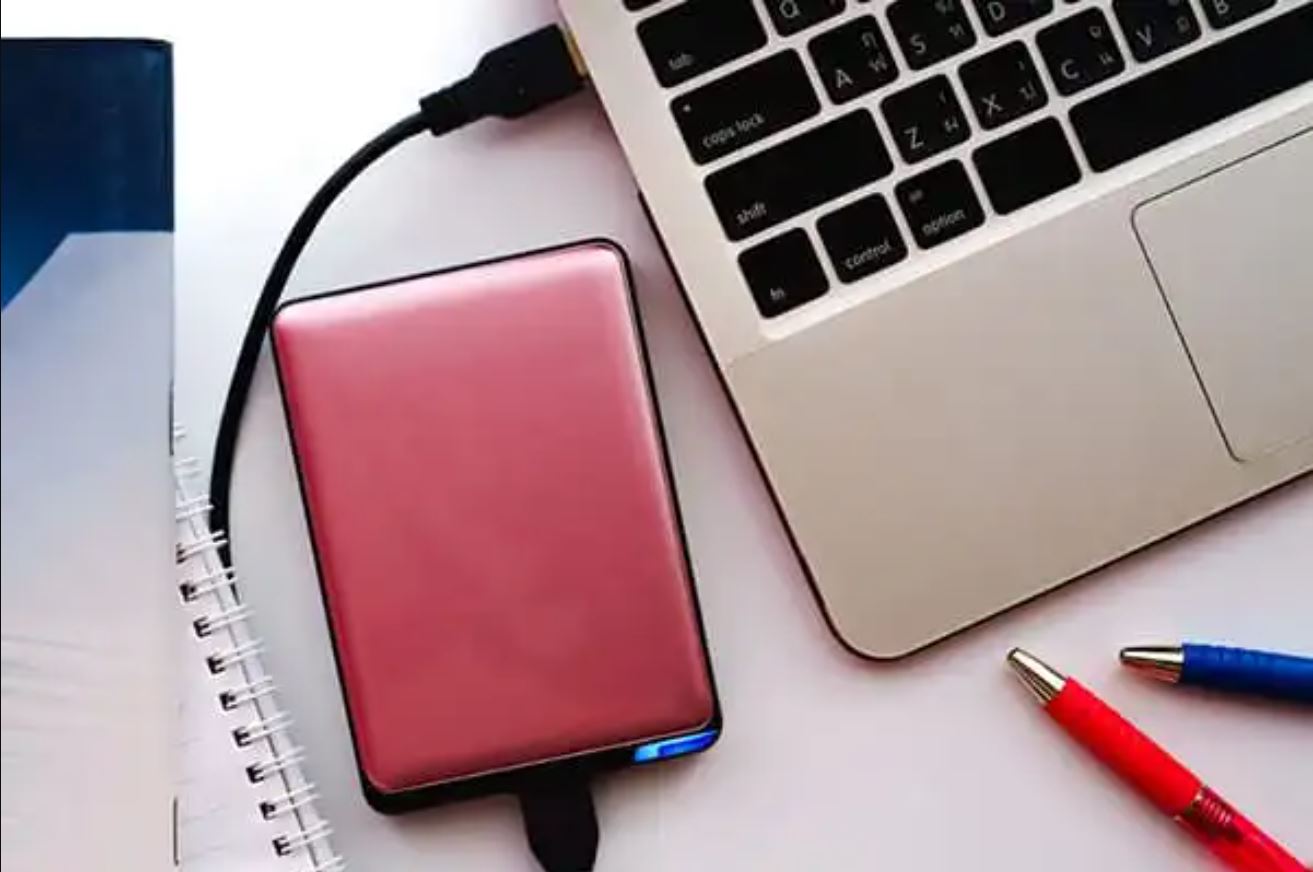
Step 1: Connect the External Hard Drive to Your Computer
The first step in backing up your Google Drive to an external hard drive is to establish a physical connection between the two devices. Follow these simple instructions:
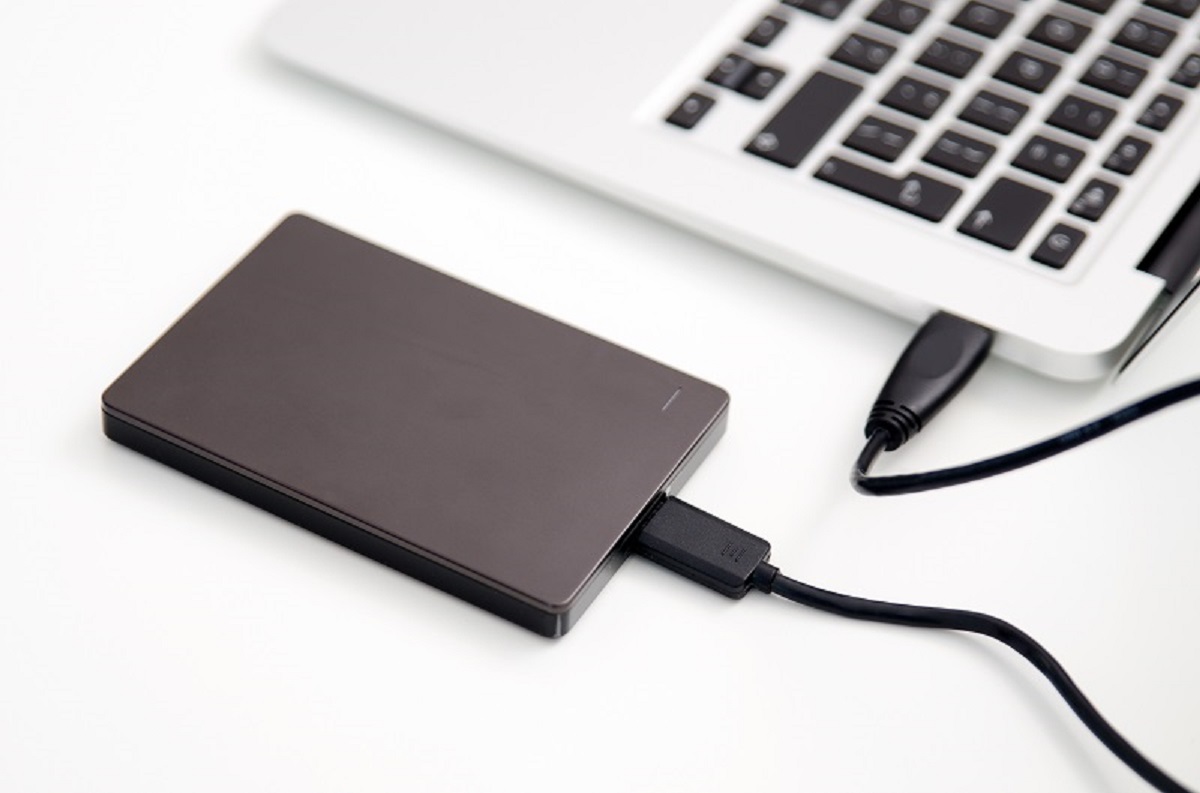
- Locate an available USB port on your computer.
- Take your external hard drive and plug in one end of the USB cable into the hard drive’s USB port.
- Insert the other end of the USB cable into the USB port on your computer.
- Wait for your computer to recognize the external hard drive. You may hear a sound or see a notification confirming the connection.
Once the connection is established, your computer will treat the external hard drive as an additional storage device. This means you can access and transfer files between your computer and the external hard drive.
It’s important to note that different external hard drive models may have varying connection methods. Some may require additional power adapters, while others may use alternative ports like Thunderbolt or USB-C. Make sure to consult the manufacturer’s instructions specific to your external hard drive for precise connection details.
Now that your external hard drive is successfully connected to your computer, we can move on to the next step of configuring your Google Drive sync settings to start the backup process.
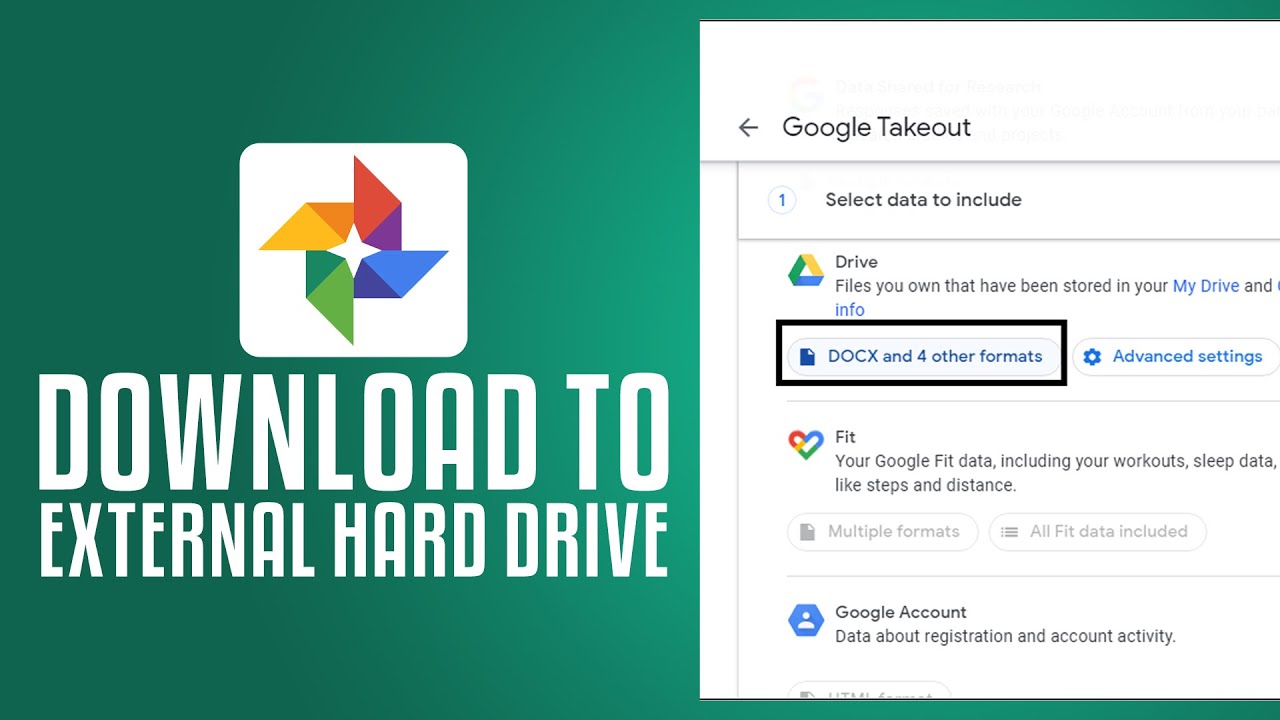
Step 2: Download and Install Google Drive Sync Tool
In order to sync your Google Drive files with your external hard drive, you’ll need to download and install the Google Drive sync tool. This tool will allow you to easily manage and transfer your files between the cloud storage and the external hard drive. Follow these steps to get started:
- Open your preferred web browser and navigate to the official Google Drive website (drive.google.com).
- Sign in with your Google account credentials. If you don’t have a Google account, you can create one for free.
- On the Google Drive homepage, locate and click on the “Settings” icon (gear-shaped) on the top right corner of the screen. A drop-down menu will appear.
- In the drop-down menu, select “Settings” to access the settings page.
- On the settings page, scroll down until you find the “Desktop Settings” section.
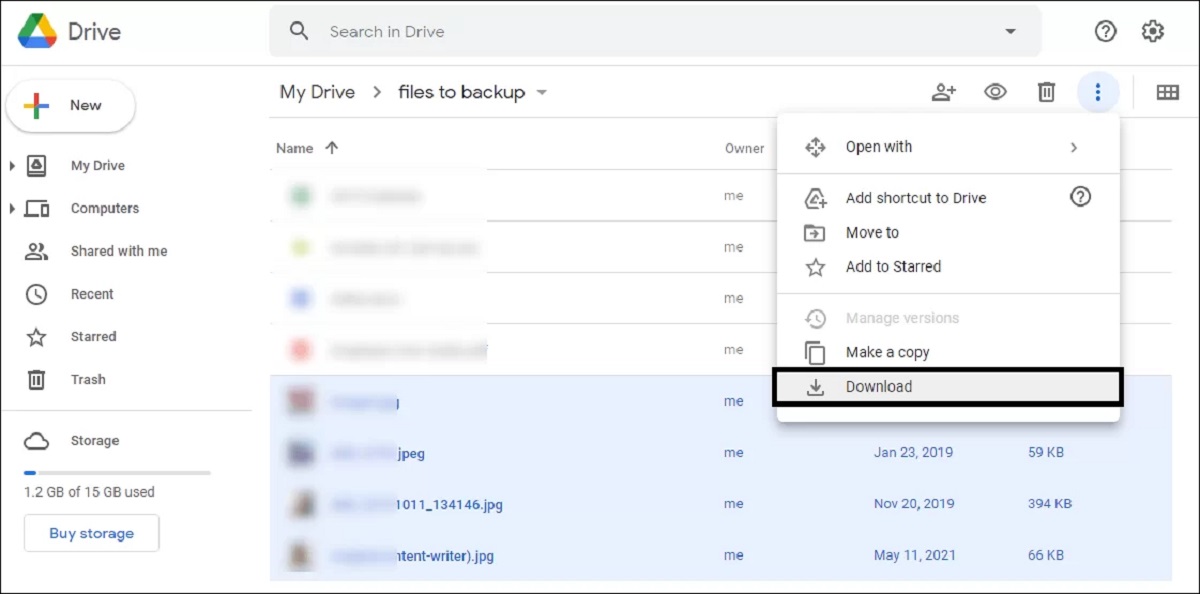
- Under the “Desktop Settings” section, click on the “Download” button next to the “Backup and Sync” option. This will initiate the download of the Google Drive sync tool installer.
- Once the download is complete, locate the installer file in your computer’s default download location.
- Double-click on the installer file to launch the installation wizard.
- Follow the on-screen instructions to complete the installation of the Google Drive sync tool. Accept the terms and conditions, choose the installation location if prompted, and click on the “Install” button.
- Wait for the installation process to finish. This may take a few minutes depending on your computer’s speed.
- Once the installation is complete, you will be prompted to sign in to your Google account again. Enter your credentials and click on the “Sign In” button.
- After signing in, you will be asked to choose the sync options for Google Drive. Make sure to select the folders and files you want to sync with your external hard drive.
- Click on the “Next” button to proceed.
- On the next screen, choose the sync options for photos and videos, if applicable. You can choose to include or exclude specific folders or enable automatic photo and video upload.
- Click on the “Start” button to begin the synchronization process.
Once the sync tool is installed and configured, you will have seamless integration between your Google Drive and the external hard drive. In the next step, we will go over how to select specific folders to sync with the external hard drive.
Step 3: Configure Google Drive Sync Settings
Now that you have installed the Google Drive sync tool, it’s time to configure the sync settings to ensure an efficient and organized backup process. The sync settings allow you to choose which folders and files from your Google Drive you want to synchronize with your external hard drive. Follow these steps to configure the sync settings:
- Locate the Google Drive icon in your computer’s system tray or taskbar. It should be a small cloud-shaped icon.
- Right-click on the Google Drive icon to open the context menu.
- In the context menu, select “Preferences” or “Settings” to access the sync settings.
- A new window will appear, presenting you with several tabs.
- In the “My Drive” tab, you will see a list of folders and files available in your Google Drive. Check the boxes next to the folders and files you want to sync with your external hard drive.
- If you want to sync all files and folders, simply check the box next to “Sync everything in My Drive.”
- For more advanced options, click on the “Sync Options” button.
- In the “Sync Options” window, you can choose to sync subfolders, exclude specific folders or file types, and set up bandwidth limitations.
- Adjust the sync options according to your preferences.
- Click on the “Apply” or “Save” button to save your changes.
By selecting specific folders or files to sync, you can ensure that only the necessary data is transferred to your external hard drive, saving storage space and reducing the backup time. It’s important to periodically review and update these settings as your Google Drive contents may change over time.
Once you have configured the sync settings, you’re ready to move on to the next step: selecting the specific folders you want to sync with your external hard drive.
Step 4: Select Folders to Sync with External Hard Drive
With the Google Drive sync tool installed and the sync settings configured, you can now choose the specific folders you want to sync with your external hard drive. This step allows you to customize your backup process according to your needs and preferences. Follow these steps to select the folders:
- Open the Google Drive folder on your computer. It should be located in your file explorer or Finder, depending on your operating system.
- Within the Google Drive folder, you will find a list of the folders and files that are being synced with your computer.
- Review the folders and identify the ones you want to sync with your external hard drive.
- Right-click on a folder you want to sync and select “Google Drive” from the context menu.
- A sub-menu will appear, presenting you with two options: “Sync this folder” and “Don’t sync this folder.”
- Select “Sync this folder” to include it in the backup process.
- Repeat this process for each folder you want to sync with your external hard drive.
By selecting specific folders to sync, you have more control over which files are backed up to your external hard drive. This can be particularly useful if you have limited storage space on your hard drive or only need certain folders to be readily accessible offline.
Once you have chosen the folders you want to sync, the Google Drive sync tool will automatically start the synchronization process. It will continuously monitor any changes made to the selected folders and keep them synchronized with your external hard drive.
In the next step, we will discuss how to start the backup process and ensure that your files are securely transferred to the external hard drive.
Step 5: Start the Backup Process
Now that you have selected the folders to sync with your external hard drive, it’s time to initiate the backup process. The Google Drive sync tool will automatically start syncing the chosen folders, transferring the files from your Google Drive to the external hard drive. Follow these steps to start the backup process:
- Ensure that your computer is connected to the internet and that the Google Drive sync tool is running in the background. You should see the Google Drive icon in your system tray or taskbar.
- Open the Google Drive folder on your computer.
- Verify that the selected folders are marked with a green checkmark, indicating that they are being synced.
- If any folders are not being synced, right-click on the folder and select “Google Drive” from the context menu. Then choose “Sync this folder” to initiate the synchronization.
- The sync tool will now start transferring the files from your Google Drive to the external hard drive. The time it takes to complete the backup process will depend on the size of your files and the speed of your internet connection.
- Ensure that your computer remains connected to the internet and powered on during the backup process to ensure uninterrupted synchronization.
- Monitor the progress of the synchronization by checking the Google Drive icon in your system tray or taskbar. It will display a small arrow or syncing animation to indicate the ongoing process.
- You can continue to work on your computer while the backup process is running, as it operates in the background.
- Once the backup is complete, all the selected folders and files will be safely backed up on your external hard drive.
It’s important to note that the initial backup process may take longer if you have a large number of files or a slow internet connection. However, subsequent backups will be much faster as only new or modified files will be synced to the external hard drive.
In the next step, we will discuss how to monitor the backup progress and troubleshoot any potential issues that may arise during the synchronization process.
Step 6: Monitor Backup Progress and Troubleshoot Issues
As the backup process is underway, it’s important to monitor its progress and be prepared to address any issues that may arise. Here are some steps to help you monitor the backup process and troubleshoot any potential issues:
- Keep an eye on the Google Drive icon in your system tray or taskbar. It will show a syncing animation or a small arrow indicating that files are being transferred.
- If you notice that the syncing process is taking longer than expected, check your internet connection. A slow or unstable connection may cause delays in the backup process.
- If the sync tool encounters any errors or conflicts, it may display a notification or an error message. Take note of the message and try to address the issue accordingly.
- If you encounter any errors during the backup process, try restarting the sync tool or restarting your computer. This can often resolve minor issues.
- If the backup process stalls or gets stuck, you can pause and resume the synchronization by right-clicking on the Google Drive icon and selecting the appropriate option from the context menu.
- If you encounter persistent issues or errors, consult the official Google Drive support documentation or reach out to their support team for assistance.
- Periodically check the backup status to ensure that the synchronization is ongoing and that files are being transferred successfully.
- Once the backup process is complete, verify that all the selected folders and files are successfully synced to your external hard drive.
- Consider scheduling regular backups to ensure that your data stays up-to-date on both Google Drive and the external hard drive.
By actively monitoring the backup process and addressing any issues promptly, you can ensure a smooth and successful synchronization of your Google Drive with the external hard drive.
Now that you have a backup of your Google Drive on the external hard drive, you can have peace of mind knowing that your important files are protected and easily accessible. In the next step, we will discuss the safe removal of the external hard drive.
Step 7: Safe Removal of External Hard Drive
After successfully backing up your Google Drive to the external hard drive, it’s important to follow the proper procedure for safely removing the device to avoid data corruption or loss. Here are the steps to safely remove the external hard drive:
- Close any open files or applications that are stored on or accessed from the external hard drive. This ensures that there are no active processes that may disrupt the removal process.
- Save any changes you have made to the files stored on the external hard drive and ensure that they are properly synced before proceeding.
- Locate the external hard drive icon on your computer’s desktop or in the file explorer.
- If you are using Windows, right-click on the external hard drive icon and select “Eject” or “Safely Remove Hardware and Eject Media” from the context menu. Wait for a notification confirming that it is safe to remove the device.
- If you are using macOS, click and hold the external hard drive icon, then drag it to the Trash bin or the eject icon in the macOS menu bar. Once the icon disappears, it is safe to disconnect the device.
- Disconnect the USB cable from the computer’s USB port and gently remove the external hard drive from the computer.
- Store the external hard drive in a safe place, protected from extreme temperatures, humidity, and physical damage. Consider using a protective case or cover to ensure its longevity.
It is essential to follow these steps to prevent data corruption and maintain the integrity of your backup. Abruptly removing the external hard drive without properly ejecting it may result in the loss or corruption of data.
By safely removing the external hard drive, you can ensure that your backup is intact and readily accessible whenever you need it. You can repeat these steps whenever you need to connect or disconnect the external hard drive from your computer.
Congratulations! You have now successfully backed up your Google Drive to an external hard drive and learned the steps to safely remove it. Your important files are now safely stored in two locations, giving you added peace of mind and protection against data loss.
Conclusion
Backing up your Google Drive to an external hard drive is a valuable practice that ensures the safety and accessibility of your important files. By following the steps outlined in this guide, you have learned how to create a reliable backup system that combines the convenience of cloud storage with the security of physical storage.
Through the process of connecting the external hard drive to your computer, downloading and installing the Google Drive sync tool, configuring the sync settings, selecting specific folders to sync, starting the backup process, monitoring the progress, troubleshooting any issues, and safely removing the external hard drive, you have gained the knowledge and skills to effectively manage your backup system.
Remember to regularly review and update your sync settings to adapt to changing file structures and storage needs. Additionally, schedule periodic backups to ensure that your data stays up-to-date on both Google Drive and the external hard drive.
By maintaining a consistent backup routine, you can protect yourself against accidental file deletions, device failures, and other unforeseen events. With your files safely stored in both the cloud and a physical device, you have added peace of mind knowing that your important data is secure and accessible.
Now that you have completed the process of backing up your Google Drive to an external hard drive, take a moment to appreciate the effort you’ve invested in safeguarding your valuable files. With this robust backup system in place, you can confidently navigate the digital landscape, knowing that your data is protected and ready for whatever the future brings.