Introduction
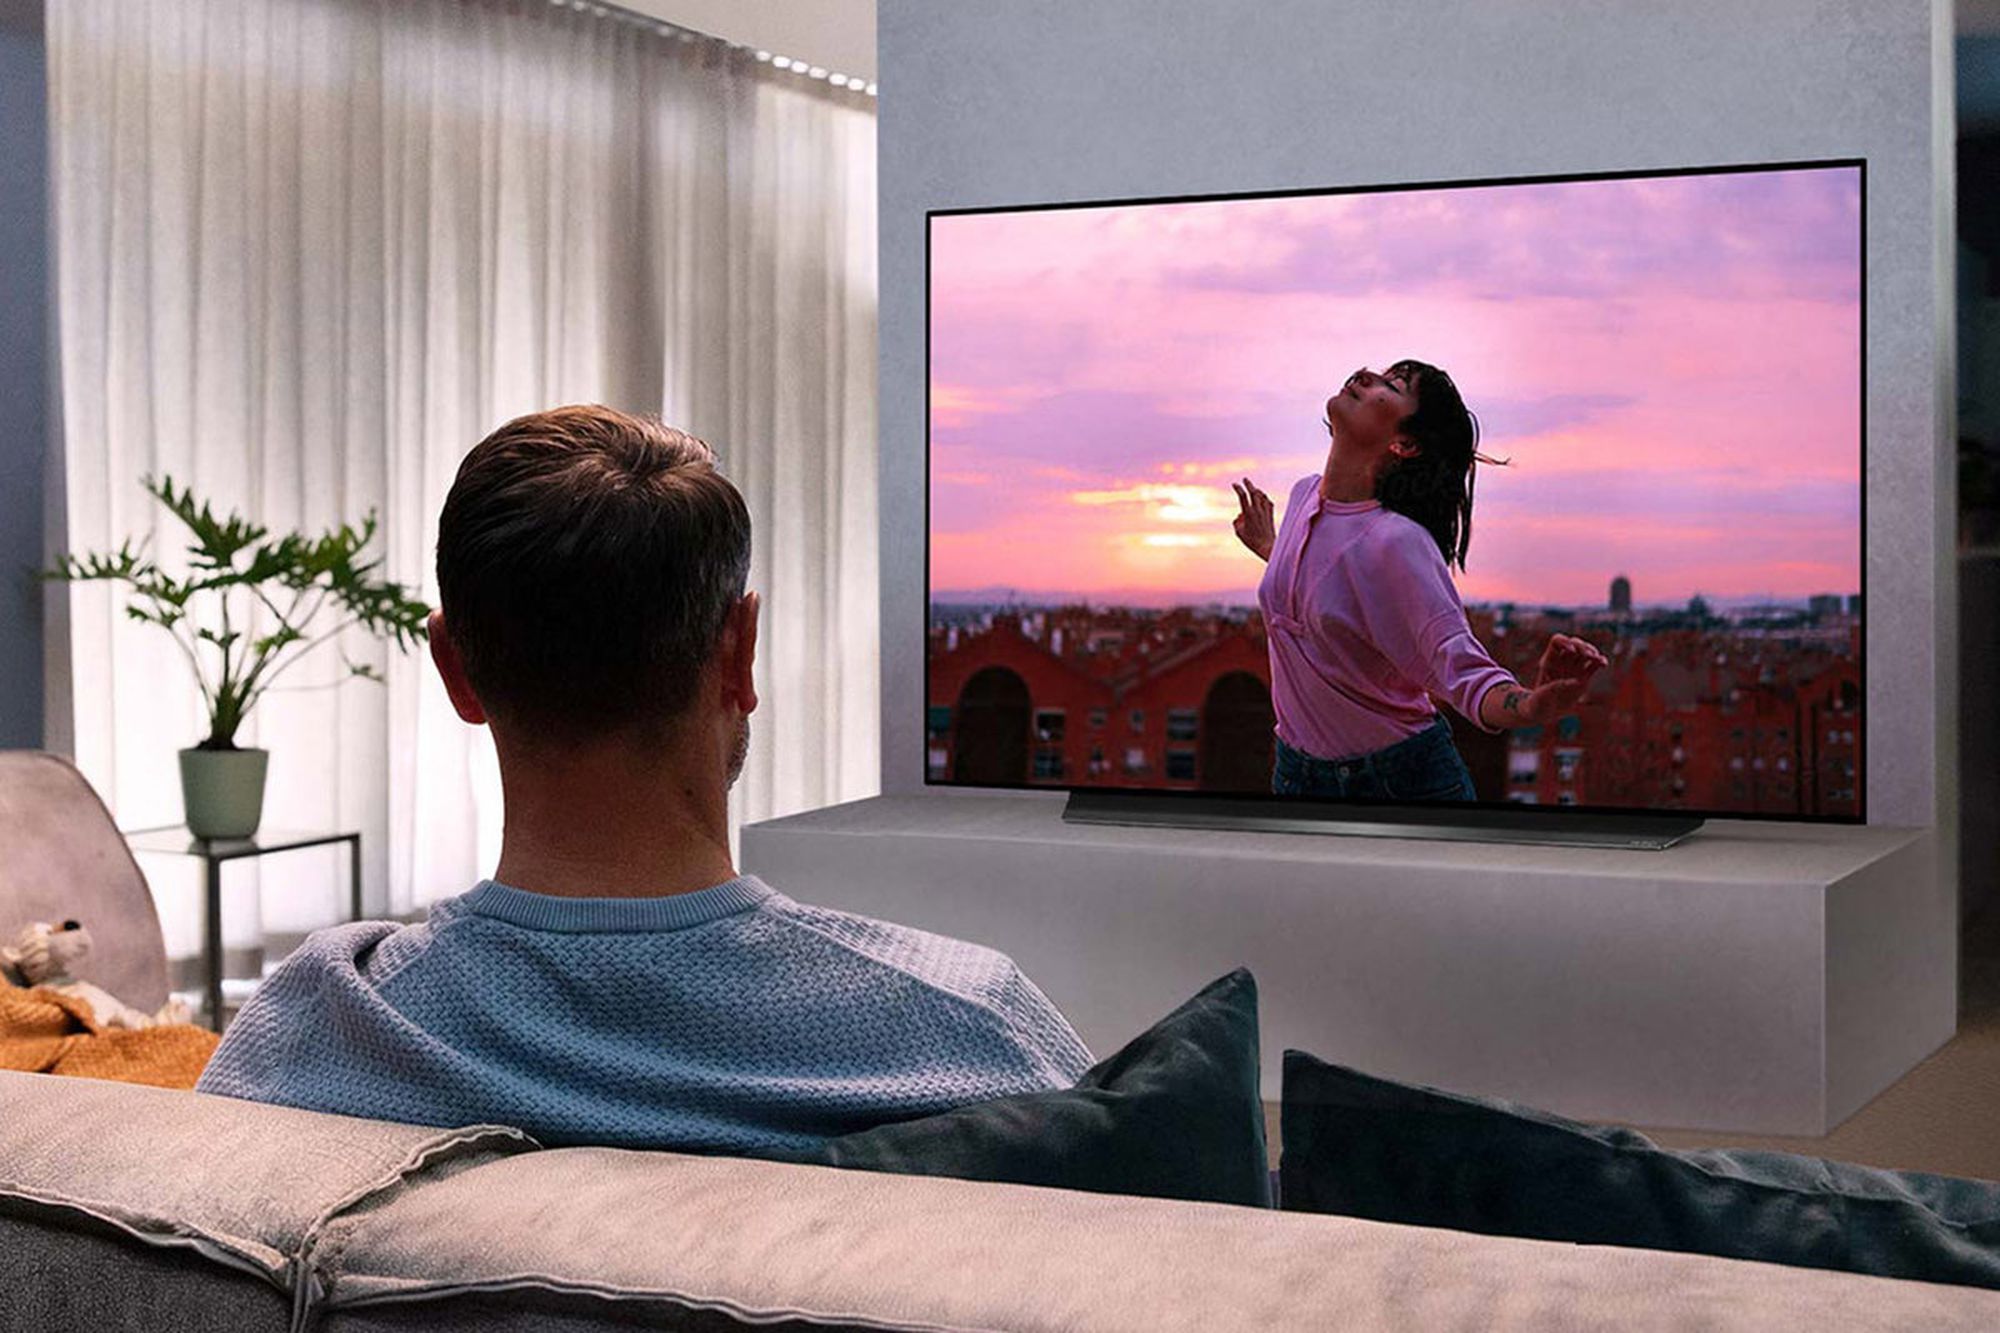
Smart TVs have become an integral part of our homes, offering a world of entertainment at our fingertips. From streaming movies and TV shows to browsing the web and playing games, these versatile devices have revolutionized the way we consume media. But what if you want to record your favorite shows or movies for later viewing? Can you actually record on your smart TV?
The answer is both yes and no. While some smart TVs come equipped with built-in recording capabilities, not all models have this feature. However, even if your TV doesn’t have a built-in recording function, there are alternative ways to capture and store your favorite content.
In this article, we will explore various methods of recording on your smart TV, whether it has a built-in recording feature or not. We’ll cover everything from connecting external devices to using external recording equipment, and we’ll also address common troubleshooting issues that you may encounter along the way.
So, if you’ve ever wondered how to record on your smart TV, you’ve come to the right place. Whether you want to save that epic sports event or binge-watch an entire season of your favorite show, we’ve got you covered. Let’s dive in and explore the different ways to capture and enjoy your content!
Understanding the Basics
Before we delve into the various methods of recording on your smart TV, it’s important to understand the basic concepts behind the process. Recording on a smart TV involves capturing the audio and video signals from the selected content and saving it in a format that can be played back later.
Most smart TVs use a feature called “time shifting” to facilitate recording. Time shifting allows you to pause, rewind, and fast forward live TV broadcasts, giving you control over your viewing experience. However, not all smart TVs have the ability to record and save content for long-term storage.
If your TV has a built-in recording function, it typically works by connecting an external USB storage device, such as a flash drive or external hard drive, to the TV. This allows you to save the recorded content directly onto the storage device.
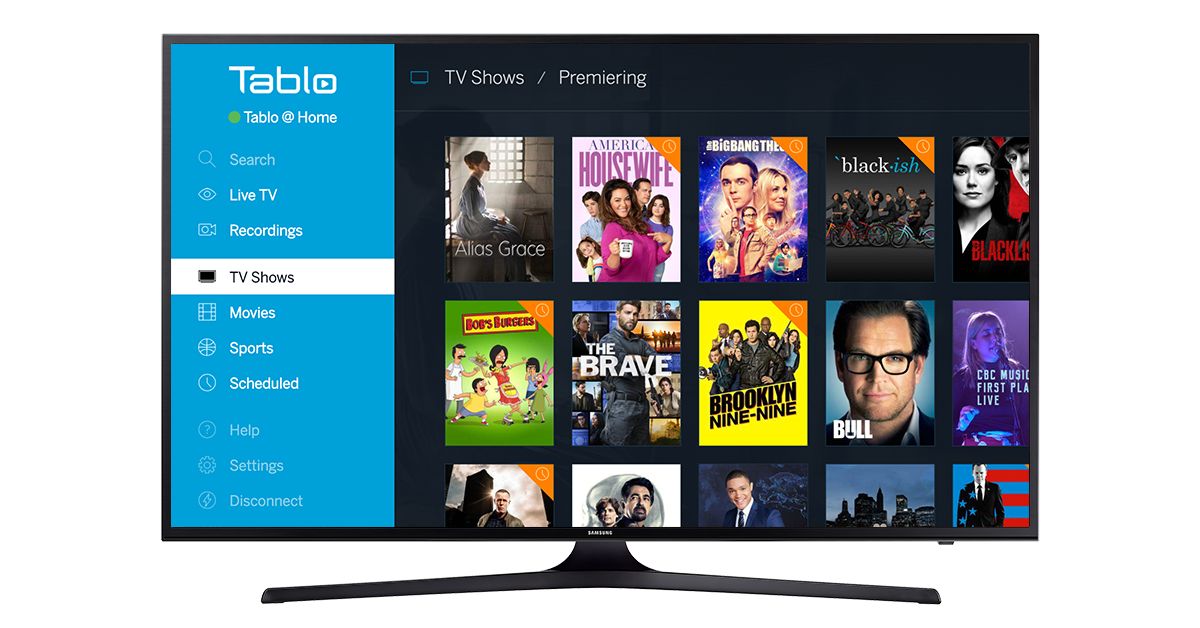
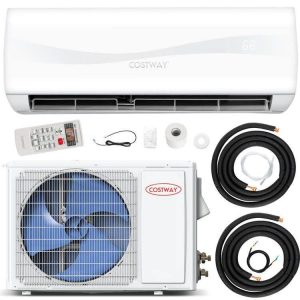
On the other hand, if your smart TV doesn’t have a built-in recording feature, you will need to explore alternative options. One common method is to connect an external recording device, such as a digital video recorder (DVR) or a set-top box with recording capabilities, to your TV. These external devices act as intermediaries, capturing and storing the content that your TV displays.
It’s worth noting that not all streaming platforms or content providers allow recording of their content due to copyright restrictions. Services like Netflix and Amazon Prime Video, for example, do not allow you to record their streaming content directly. However, some cable or satellite providers may offer DVR services that allow you to record their channels.
Now that we have a basic understanding of how recording on a smart TV works, let’s explore the different methods of recording your favorite shows and movies, starting with connecting external devices.
Connecting External Devices
If your smart TV doesn’t have a built-in recording feature, you can still record your favorite shows and movies by connecting external devices. Here are a few common options:
- Digital Video Recorder (DVR): A DVR is a device that can be connected to your smart TV via HDMI or other compatible connections. It allows you to record live TV broadcasts, pause, rewind, and schedule recordings. Some DVRs even have the capability to store content in the cloud, giving you access to your recordings from any device with an internet connection.
- Set-top Box with Recording Capabilities: Many cable or satellite providers offer set-top boxes that come with built-in recording capabilities. These boxes allow you to connect them to your smart TV, typically through an HDMI cable, and record the TV channels provided by your service provider. They often come with a user-friendly interface and easy-to-use remote control.
- External Hard Drive or USB Flash Drive: Some smart TVs have USB ports that allow you to connect an external storage device, such as a hard drive or a flash drive. By plugging in the USB device, you can record your favorite shows directly onto it. Make sure to check the compatibility requirements and format specifications of your TV to ensure proper functioning.
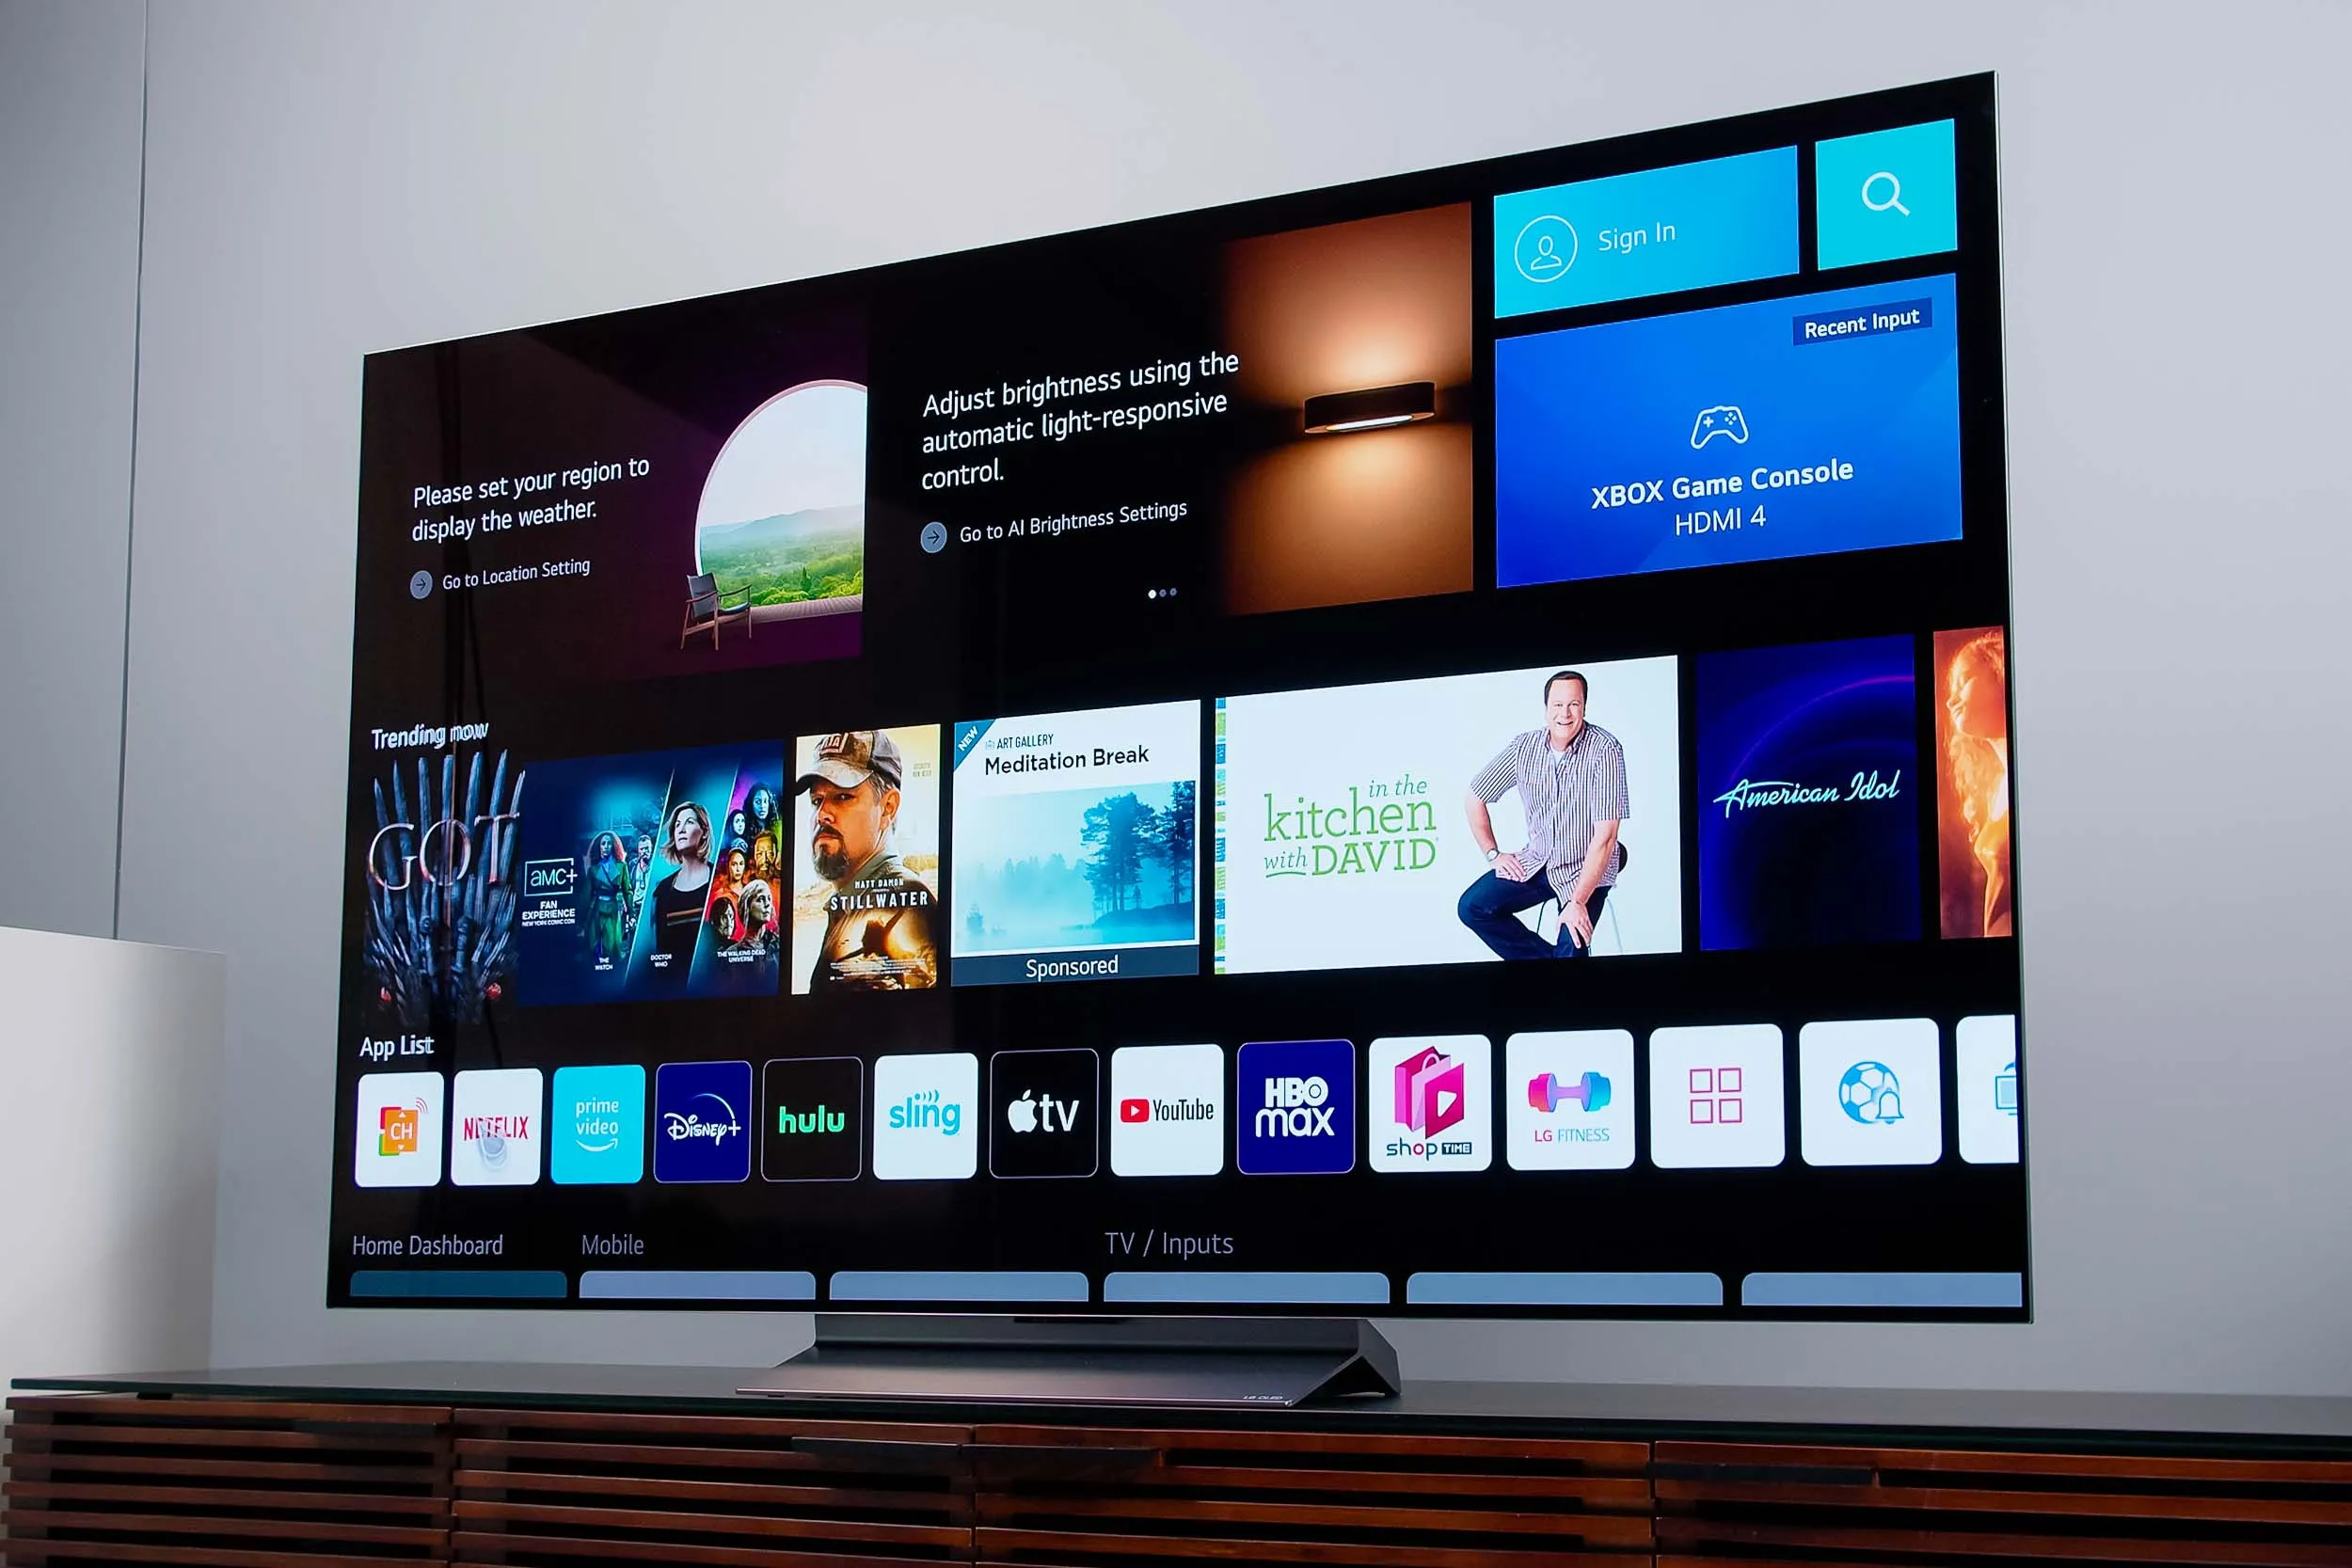
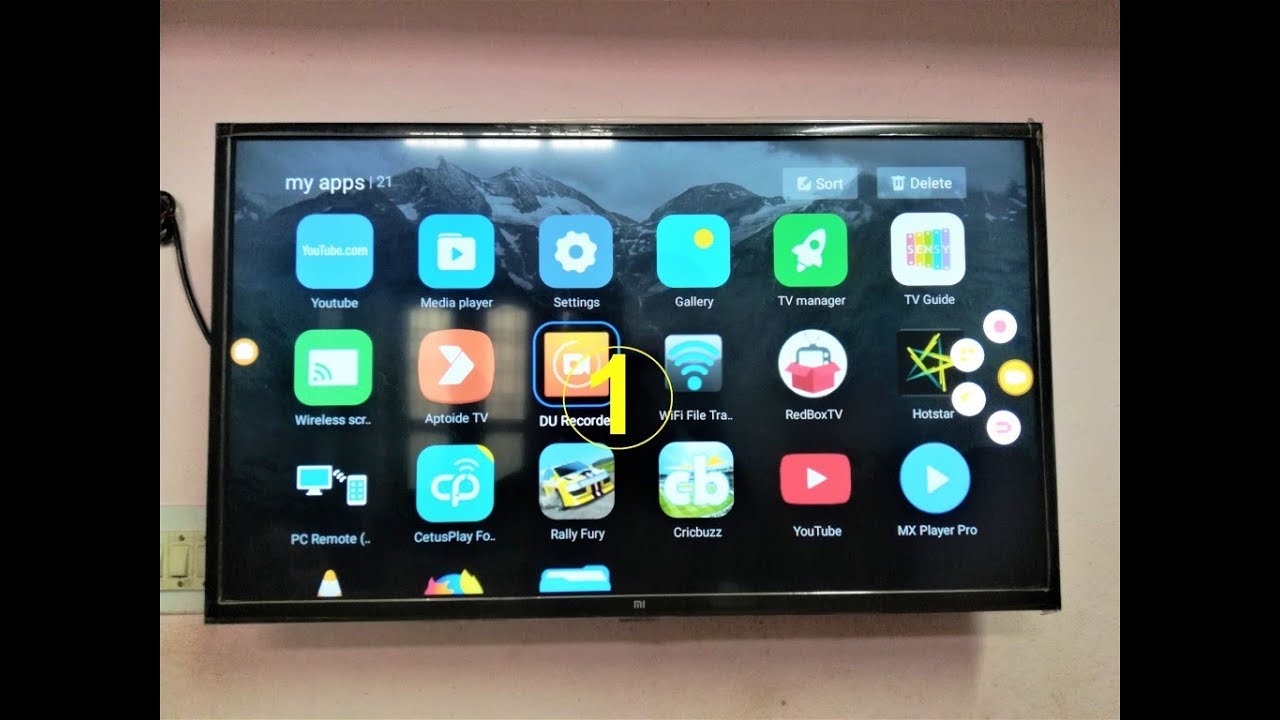
- Streaming Devices: Certain streaming devices, such as Roku, Amazon Fire TV, and Google Chromecast, offer recording capabilities through apps and channels that support recording. These devices connect to your smart TV through HDMI and provide additional functionalities, including the ability to record and save content for later viewing.
When connecting external devices, ensure that you follow the manufacturer’s instructions and use compatible cables and connections. The setup process may vary depending on the device you choose, so refer to the user manual or online resources for detailed guidance.
Remember that the availability and compatibility of external recording options may vary based on your smart TV model and the region you are in. It’s always a good idea to check the specifications and features of your TV and the external device before making a purchase.
Now that we’ve explored the options for connecting external devices to your smart TV for recording purposes, let’s move on to understanding how to use the built-in recording feature, if your TV has one.
Using the Built-in Recording Feature
If your smart TV has a built-in recording feature, using it to record your favorite shows and movies is relatively straightforward. Here’s a step-by-step guide on how to use the built-in recording feature:
- Connect a USB storage device: Start by connecting a compatible USB storage device, such as a flash drive or external hard drive, to the USB port on your smart TV. Make sure the storage device has enough free space to accommodate the recordings.
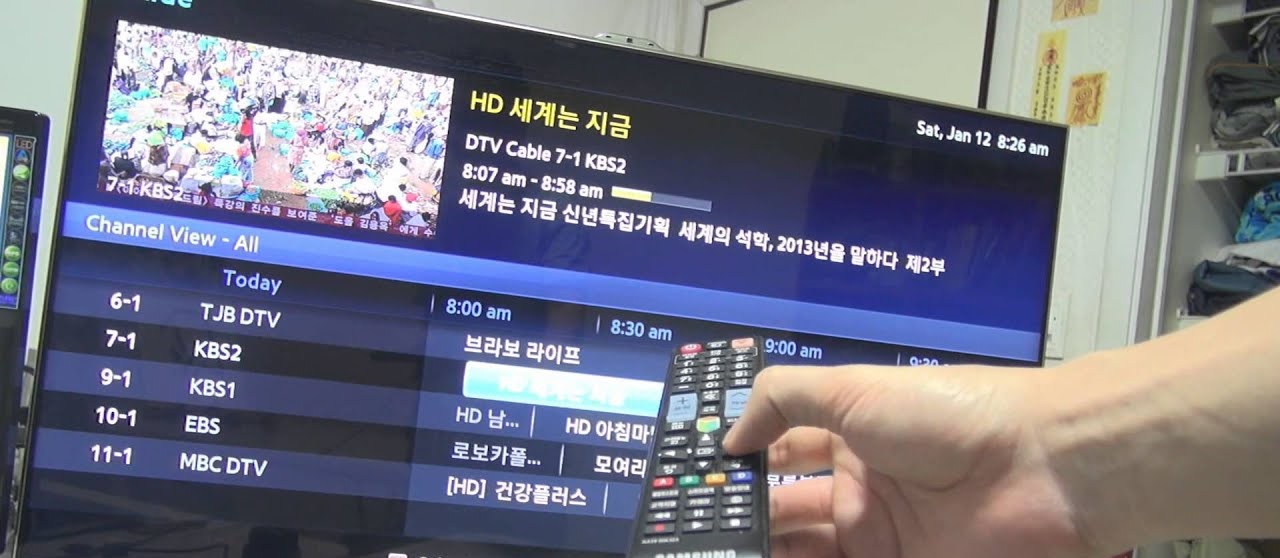
- Access the recording settings: Navigate to the TV’s settings menu using your TV’s remote control. Look for options related to recording, time shifting, or PVR (Personal Video Recorder) functionality. The location of this setting may vary depending on the TV’s brand and model.
- Select the storage device: Once in the recording settings menu, choose the connected USB storage device as the destination for your recordings. This step ensures that the TV saves the recorded content onto the external storage device instead of its internal memory.
- Configure recording settings: Customize the recording settings to suit your preferences. This may include options such as the recording quality, recording duration, and automatic scheduling of recordings. Refer to your TV’s user manual or online resources for detailed instructions on adjusting these settings.
- Select the content to record: Navigate to the TV guide or the channel you want to record. Use your TV’s remote control to highlight the specific show, movie, or program you wish to record.
- Initiate the recording: Once you have selected the desired content, look for a recording button or an option to start recording. This may be labeled as a red dot, a record button, or a dedicated recording function key on your remote control.
- Manage your recordings: After initiating a recording, you can typically access and manage your recordings in a designated section or menu on your smart TV. From there, you can play, delete, or organize your saved recordings.
It’s important to note that the specific steps and options may vary depending on your smart TV’s brand, model, and software version. Refer to the user manual or online support resources for your TV for detailed instructions that are specific to your device.
Now that you know how to use the built-in recording feature on your smart TV, let’s explore alternative methods of recording using external recording devices.
Using External Recording Devices
If your smart TV doesn’t have a built-in recording feature or you’re looking for more advanced recording capabilities, using external recording devices is a viable option. Here are a few popular external recording devices and how to use them:
- Digital Video Recorder (DVR): Connect a DVR to your smart TV using an HDMI cable or compatible connection. Follow the device’s instructions for initial setup, including connecting it to your cable or satellite service if applicable. Once connected, you can use the DVR’s user interface to record, pause, rewind, and manage your favorite shows and movies.
- Set-top Box with Recording Capabilities: If your cable or satellite provider offers a set-top box with recording capabilities, connect it to your smart TV using an HDMI cable. Depending on the model, follow the manufacturer’s instructions to set up the box and configure your recording preferences. You can then use the set-top box’s remote or user interface to schedule and manage your recordings.
- Streaming Devices with Recording Apps: Some streaming devices, such as Roku, Amazon Fire TV, and Google Chromecast, offer apps that allow you to record content from various streaming services. Install the recording app of your choice from the device’s app store and follow the app’s instructions for setup. Once configured, you can use the app to record your favorite shows and movies from supported streaming platforms.
- Computer/laptop with Capture Card: For more advanced recording needs, you can connect your smart TV to a computer or laptop using a capture card. Capture cards allow you to capture and save the video and audio output from your TV onto your computer’s hard drive. Install the capture card and its accompanying software, then configure the settings to specify the source (your smart TV) and desired recording format. This method provides flexibility and control over the recording process.
When using external recording devices, ensure that you have the necessary cables and connections. Follow the instructions provided by the device manufacturer for proper setup and operation.
It’s important to note that external recording options may have their own limitations and compatibility requirements. Some devices may be limited to recording specific channels or have certain restrictions when it comes to streaming platforms. Always consult the product documentation or manufacturer’s support for more detailed information.
Now that you’re familiar with using external recording devices, let’s address some common troubleshooting issues you may encounter while recording on your smart TV.
Troubleshooting Common Issues
While recording on your smart TV can be convenient and enjoyable, you might encounter some common issues along the way. Here are a few troubleshooting tips to help you overcome these challenges:
- Insufficient storage space: If you’re unable to record due to insufficient storage space, consider freeing up space on your connected USB storage device or external DVR. Delete any unnecessary recordings or transfer them to a computer or cloud storage. Alternatively, use a higher capacity storage device to accommodate more recordings.
- Incompatibility: Ensure that your external recording device is compatible with your smart TV. Check for any firmware updates for both the TV and the external device to ensure compatibility. If you’re using a capture card or DVR, check if it supports the necessary video and audio formats for your TV.
- Incomplete or corrupted recordings: If you’re experiencing issues with incomplete or corrupted recordings, there could be signal interference or problem with the device itself. Check the cables and connections, ensuring they are securely plugged in. Consider resetting the device or contacting technical support for further assistance.
- Restricted content: Some streaming services or channels may have restrictions on recording their content due to copyright or licensing agreements. If you’re unable to record certain shows or movies, check the terms and conditions of the streaming service or contact their customer support for clarification.
- Poor video or audio quality: If your recorded content has poor video or audio quality, ensure that your TV and external devices are set to the appropriate resolution and audio settings. Adjust any picture or sound settings on your TV or recording device to improve the quality. Additionally, check the cables and connections for any issues that may affect the signal quality.
- Playback issues: If you’re experiencing problems playing back recorded content, ensure that the files are in a compatible format for your smart TV. Some devices may require specific codecs or file types for playback. If needed, use video conversion software to convert the recording to a compatible format.
If you’re still experiencing issues after trying these troubleshooting tips, consider referring to the user manual or contacting technical support for your smart TV or external recording device. They can provide specific guidance and troubleshoot issues that are unique to your setup.
Now that we’ve addressed common troubleshooting issues, let’s wrap up by summarizing the key points and offering some final thoughts on recording on your smart TV.
Final Thoughts
Recording on your smart TV opens up a world of possibilities, allowing you to capture and enjoy your favorite shows and movies on your own schedule. Whether your smart TV has a built-in recording feature or you choose to use external recording devices, the options available to you are plentiful.
Understanding the basics of recording on a smart TV, including time shifting and the use of external storage devices or devices with recording capabilities, is essential. By following the instructions provided by your TV or external device, you can easily set up and start recording your desired content.
While recording on your smart TV can be a seamless experience, it’s important to be aware of potential issues that may arise. Troubleshooting common problems such as storage limitations, compatibility issues, incomplete recordings, or playback difficulties will help ensure a smooth recording experience.
Remember to always respect copyright and licensing agreements when recording content. Certain streaming services or channels may have restrictions on recording their content, so it’s crucial to familiarize yourself with the terms and conditions of the service you’re using.
Recording on your smart TV adds a new level of flexibility and convenience to your entertainment options. Whether you’re saving a live sports event, creating a library of your favorite shows, or capturing memorable moments, the ability to record on your smart TV puts you in control of your viewing experience.
Now that you have a better understanding of the various methods and considerations for recording on your smart TV, it’s time to start exploring and enjoying the benefits of this feature. So grab your remote, set up your recording preferences, and get ready to never miss a moment of your favorite content again!