Introduction
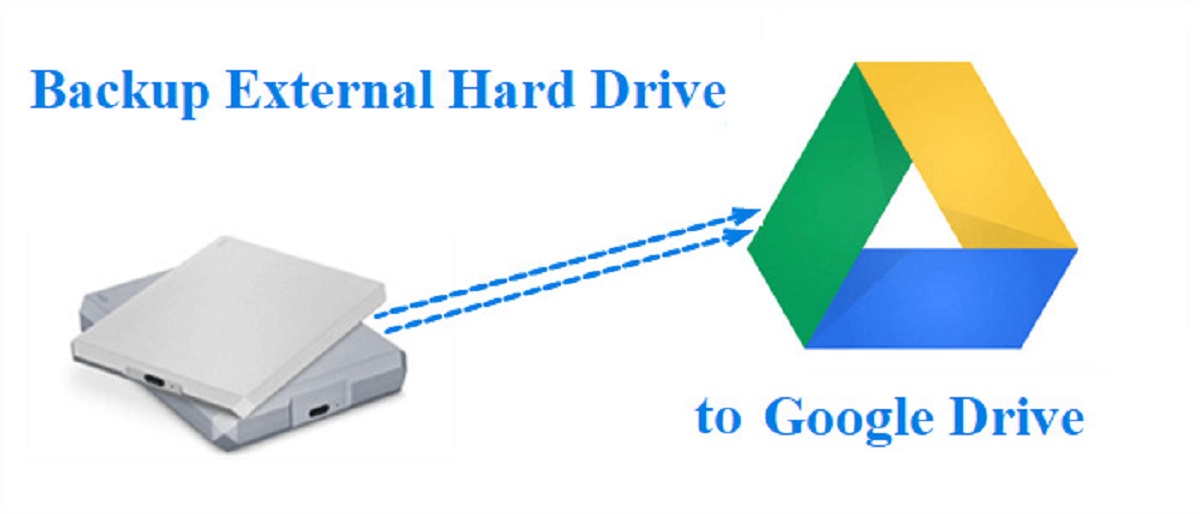
Backing up your important files and documents is essential to ensure their safety and prevent any potential loss. Google Drive offers a convenient and secure way to store and access your files online. However, for added peace of mind, it’s a good idea to have a backup of your Google Drive data on an external hard drive. This way, you’ll have an extra layer of protection in case of any unforeseen circumstances, such as data loss or a Google Drive outage.
In this guide, we will walk you through the process of backing up your Google Drive files to an external hard drive. Whether you are using a Windows PC, Mac, or even a Chromebook, these steps are applicable and easy to follow.
By creating a backup of your Google Drive files on an external hard drive, you can have offline access to your files and keep them safe in case of any data loss event. This backup solution is particularly useful if you have a large amount of data stored on Google Drive or if you want to have a physical copy of your files as an additional precautionary measure.
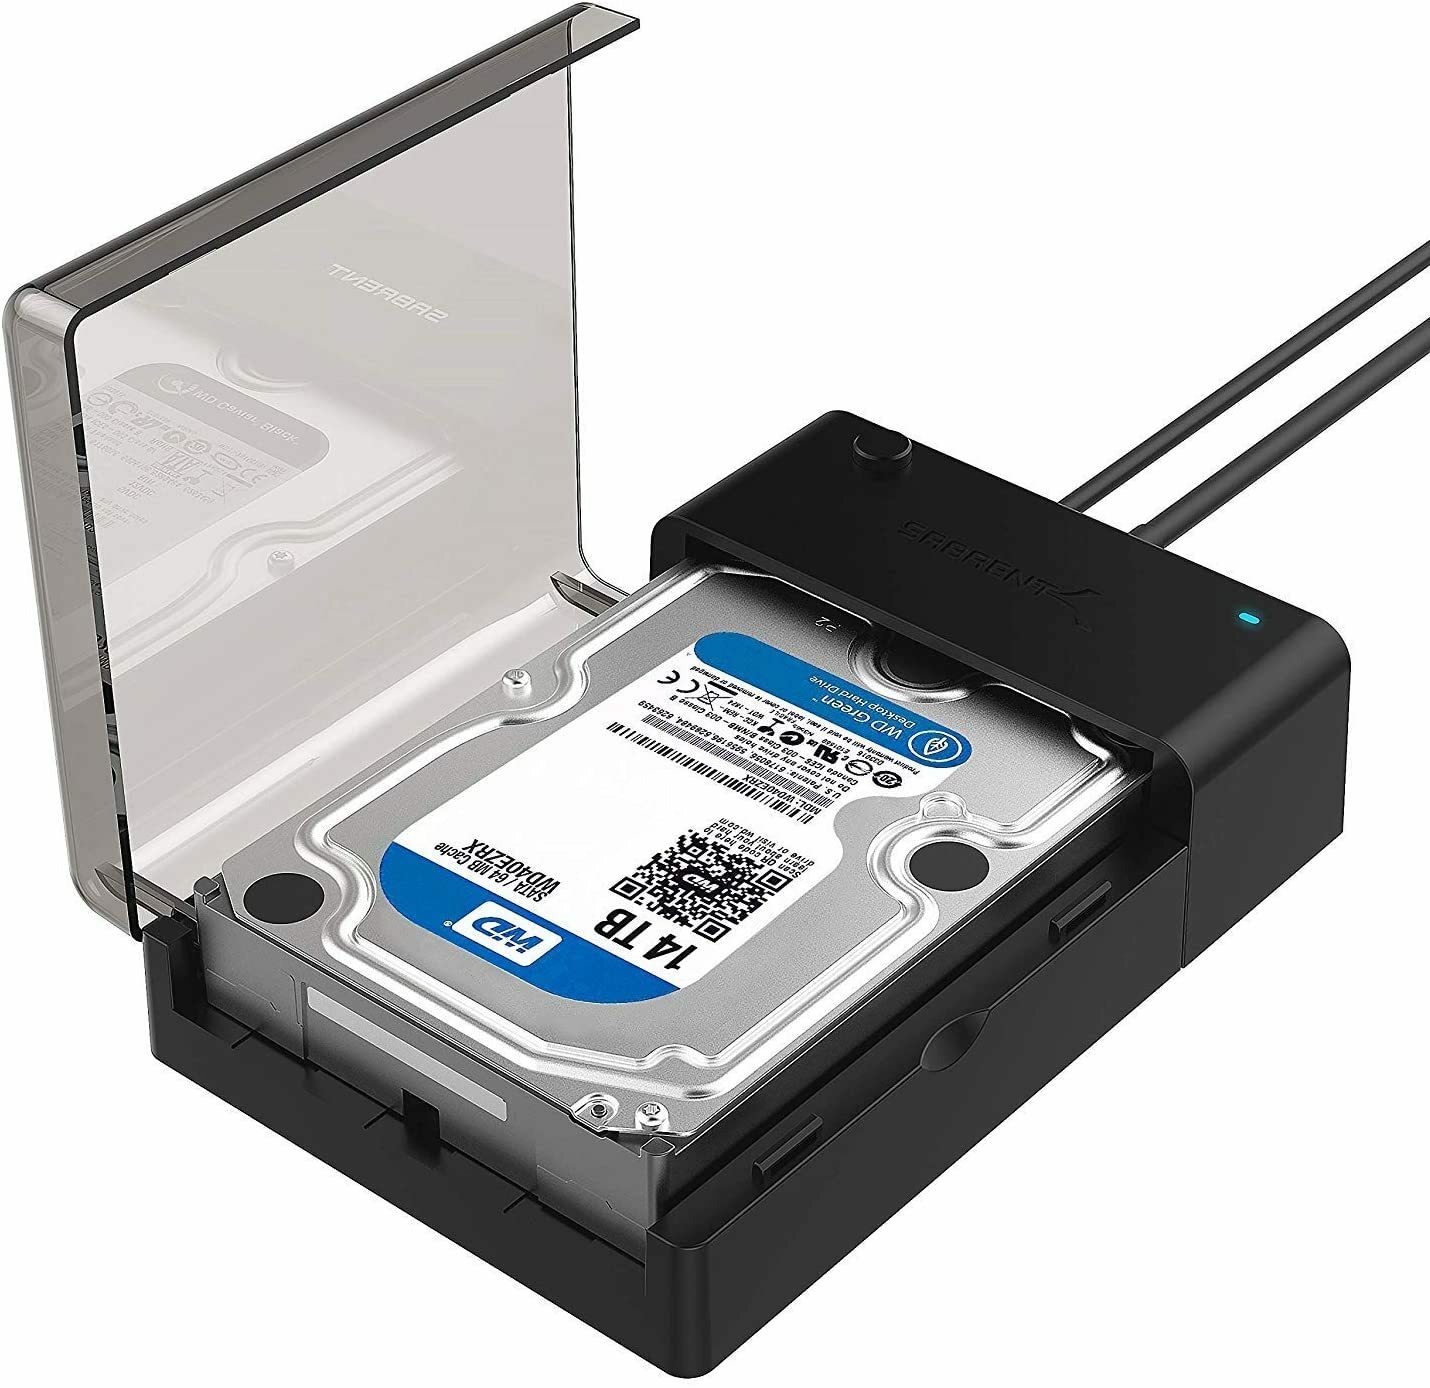
Before we begin, make sure you have an external hard drive with sufficient storage capacity to accommodate the backup files. Additionally, ensure that the external hard drive is compatible with your operating system and properly connected to your computer.
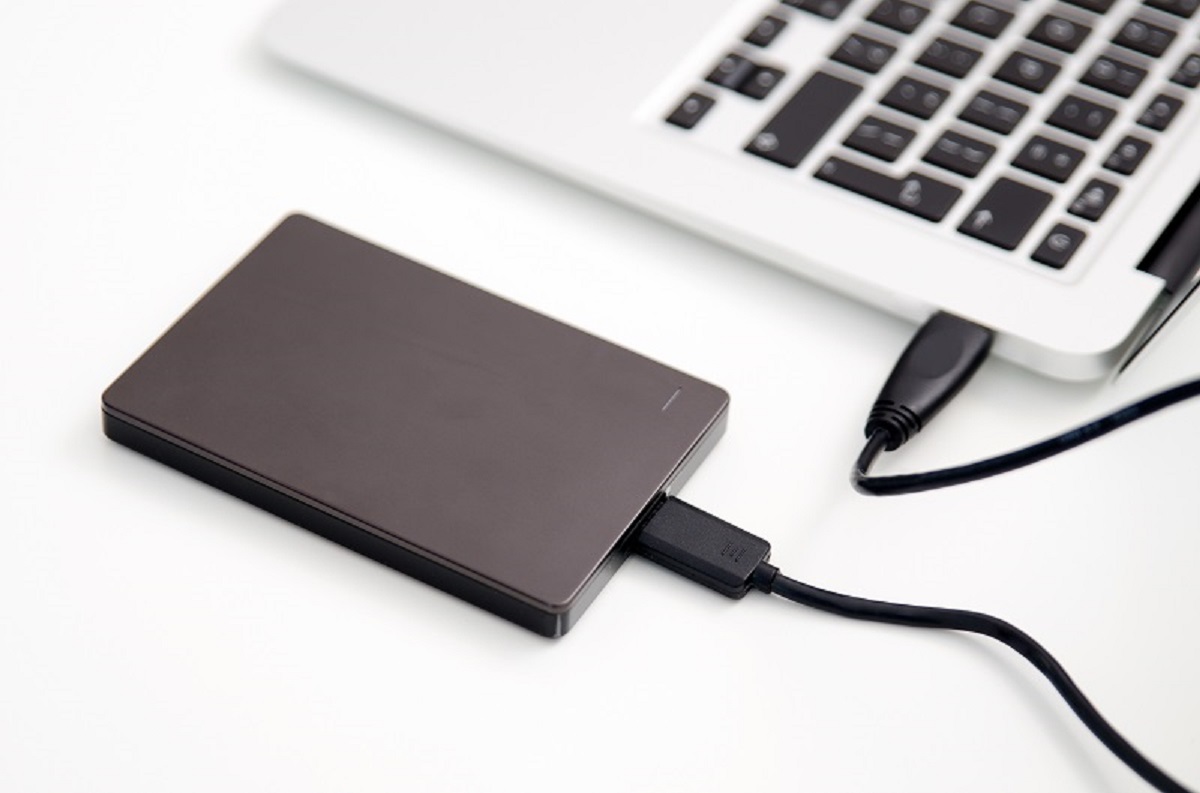
Step 1: Connecting Your External Hard Drive
The first step in backing up your Google Drive to an external hard drive is to connect the external hard drive to your computer. Follow these simple instructions based on your operating system:
If you are using a Windows PC:
- Locate an available USB port on your computer and plug in the USB cable of your external hard drive.
- Your computer will detect the external hard drive and automatically install any necessary drivers. Wait for the installation process to complete.
- You can check if the external hard drive is successfully connected by navigating to the “This PC” or “My Computer” section in the file explorer. The external hard drive should be listed as a separate drive.
If you are using a Mac:
- Find a USB or Thunderbolt port on your Mac and connect the USB or Thunderbolt cable of your external hard drive.
- Your Mac should detect the external hard drive and display it on the desktop or in the Finder sidebar.
- You can confirm the successful connection by opening the Finder and looking for the external hard drive under the “Devices” section.
If you are using a Chromebook:
- Connect your external hard drive to one of the available USB ports on your Chromebook.
- Your Chromebook should detect the external hard drive and display a notification confirming the connection.
- You can access the external hard drive by opening the Files app and navigating to the “External Storage” section.
Once you have successfully connected your external hard drive to your computer or Chromebook, you are ready to proceed to the next step of downloading your Google Drive files.
Step 2: Downloading Google Drive Files
After connecting your external hard drive, the next step is to download your Google Drive files onto your computer. This will allow you to transfer them to the external hard drive for backup. Follow these instructions to download your files:
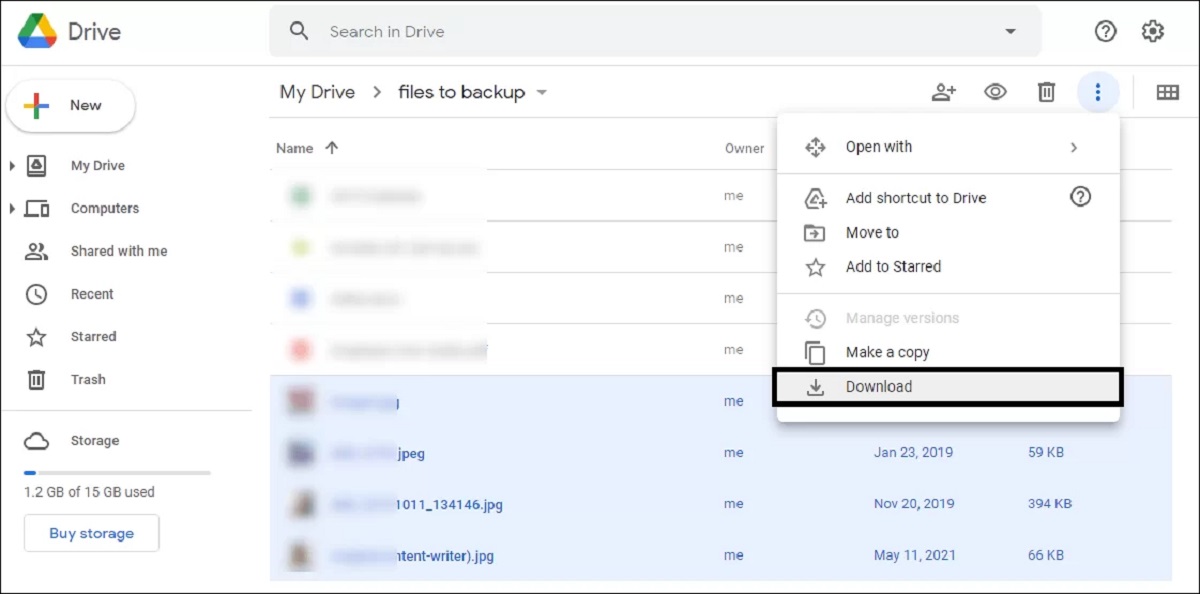
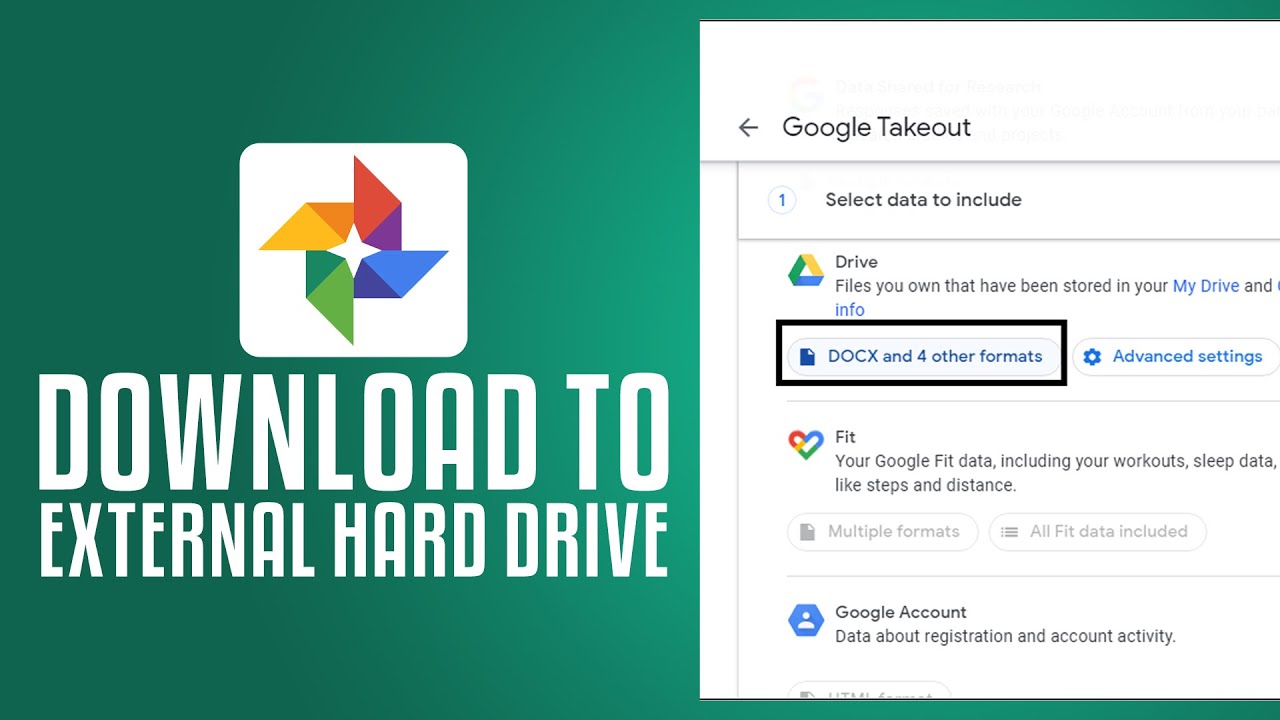
- Go to drive.google.com and sign in to your Google account if you’re not already signed in.
- Navigate to the files or folders that you want to download. You can select multiple files or folders by holding down the Ctrl (Windows) or Command (Mac) key while clicking on them.
- Once you have selected the desired files or folders, right-click on them and choose the “Download” option.
- Google Drive will begin preparing a ZIP archive of the selected files or folders. The time taken for this process depends on the size of the files and your internet connection speed.
- When the ZIP archive is ready, a download prompt will appear. Choose a location on your computer where you want to save the ZIP archive.
- Click “Save” to start the download. The ZIP archive will be saved to the specified location on your computer.
Once the download is complete, you will have a local copy of your Google Drive files on your computer. This allows you to proceed with transferring the files to your external hard drive for backup.
Note that if you have a large amount of data on your Google Drive, the download process may take a significant amount of time. It is recommended to have a stable internet connection and sufficient storage space on your computer to accommodate the downloaded files.
Step 3: Transferring Files to the External Hard Drive
Now that you have downloaded your Google Drive files onto your computer, it’s time to transfer them to your external hard drive for backup. Follow these steps to complete the transfer:
- Locate the downloaded ZIP archive on your computer. It is likely located in your computer’s default Downloads folder, unless you specified a different location during the download process.
- Extract the contents of the ZIP archive by double-clicking on it. This will create a folder with the same name as the ZIP archive, containing all the files and folders you downloaded.
- Open the folder that was created after extracting the ZIP archive. You should see all your downloaded Google Drive files and folders.
- Connect the external hard drive to your computer if it isn’t already connected.
- Open the file explorer or Finder and navigate to the location of the external hard drive.
- Create a new folder on the external hard drive to store your Google Drive backup files. This folder can be named anything you prefer.
- Copy the downloaded Google Drive files and folders from your computer (the folder created after extracting the ZIP archive) and paste them into the new folder on the external hard drive.
- The file transfer process will begin, and the time taken will depend on the size of the files and the speed of your external hard drive.
- Once the file transfer is complete, you will have successfully backed up your Google Drive files onto the external hard drive.
It’s important to verify that all the files have been successfully transferred to the external hard drive before proceeding further. Take a moment to browse through the folders and files on the external hard drive to ensure that everything is in place.
Remember to keep your external hard drive in a safe and secure location to protect your backup files from any potential damage or loss.
Step 4: Verifying the Backup
After transferring your Google Drive files to the external hard drive, it is crucial to verify that the backup was successful and all the files have been properly copied. Here are the steps to verify the backup:
- Disconnect any external drives or storage devices from your computer.
- Reconnect the external hard drive that contains the backup of your Google Drive files.
- Navigate to the backup folder on the external hard drive using the file explorer or Finder.
- Check the file hierarchy and ensure that all folders and files from your Google Drive backup are present.
- Open a few files randomly to confirm that they are accessible and have been copied correctly.
- Compare the file sizes and content between the original Google Drive files and their backup counterparts on the external hard drive to ensure data integrity.
- If you had any encrypted files on Google Drive, ensure they are properly decrypted and accessible on the external hard drive.
- If you have a large backup, consider spot-checking a sample of your files to ensure their accuracy and completeness.
By verifying the backup, you can have confidence that your Google Drive files have been successfully transferred to the external hard drive. It is essential to check the backup periodically to ensure the ongoing integrity of your backup files.
Remember, the external hard drive serves as an additional layer of protection for your important files, so it’s important to handle it with care and keep it in a safe place. Don’t rely solely on one backup method; consider having multiple backups in different locations for enhanced data redundancy and security.
Step 5: Safely Ejecting Your External Hard Drive
Once you have completed the backup process and verified that all your Google Drive files are successfully transferred to the external hard drive, it is important to properly eject or disconnect the external hard drive from your computer to prevent data loss or corruption. Follow these steps to safely eject your external hard drive:
- Make sure that all file transfer operations involving the external hard drive are completed.
- If you are on a Windows PC, locate the “Safely Remove Hardware and Eject Media” icon in the system tray on the taskbar. If you are on a Mac, open a Finder window and locate the external hard drive under the “Devices” section.
- Click on the “Safely Remove Hardware and Eject Media” icon or right-click on the external hard drive in the Finder window.
- A list of connected devices will appear. Select the external hard drive you want to eject.
- Wait for your computer to notify you that it is safe to disconnect the external hard drive.
- If you are on a Windows PC, a notification will appear stating “Safe to Remove Hardware.” If you are on a Mac, a message will indicate that it is safe to remove the external hard drive.
- Once you receive the confirmation, carefully disconnect the USB or Thunderbolt cable from your computer and disconnect the external hard drive.
It is important to follow these steps because simply unplugging the external hard drive without safely ejecting it can lead to data loss or corruption. Safely ejecting the device ensures that any ongoing read or write operations are completed before disconnecting it.
Remember to properly store your external hard drive in a safe and secure location to protect it from physical damage or theft.
With your Google Drive files successfully backed up to an external hard drive and safely ejected from your computer, you can rest assured knowing that you have an additional layer of protection for your valuable data.
Conclusion
Backing up your Google Drive files to an external hard drive is a smart and proactive approach to safeguard your valuable data. By following the steps outlined in this guide, you can create a reliable backup of your important files and documents, providing an extra layer of protection in case of data loss, accidental deletion, or other unforeseen events.
Remember, the first step is to connect your external hard drive to your computer, ensuring compatibility and a secure connection. Next, you need to download your Google Drive files to your computer, allowing you to transfer them to the external hard drive. Once the files are downloaded, you can proceed to transfer them to the external hard drive, creating a complete backup of your Google Drive data. Verify the backup by checking the files and folders on the external hard drive, ensuring their integrity and accessibility. Finally, safely eject the external hard drive from your computer to prevent any potential data loss.
Having an external hard drive backup of your Google Drive files provides added peace of mind, knowing that you have a physical copy of your files and documents. Remember to regularly update the backup as you add or modify files on your Google Drive, ensuring the most up-to-date version of your data is protected.
By taking the time to create a backup of your Google Drive files on an external hard drive, you are proactively protecting your valuable and irreplaceable digital assets. This backup solution serves as a safety net, giving you the confidence that your files are secure and accessible even in the face of unexpected circumstances.
Don’t wait until it’s too late. Start backing up your Google Drive to an external hard drive today and ensure the safety and longevity of your digital files.