Introduction
Welcome to the world of Xbox One gaming! Whether you’re a seasoned gamer or new to the Xbox family, downloading games on your Xbox One console is a convenient way to add new titles to your collection without leaving the comfort of your home. In this article, we will guide you through the step-by-step process of downloading games on your Xbox One.
Downloading games on Xbox One allows you to access a vast library of titles, from popular AAA games to indie gems, right at your fingertips. With the advancement in technology, game developers are delivering immersive and engaging experiences that will keep you hooked for hours.
Before we dive into the steps, it’s important to note that to download games on your Xbox One, you will need an active Xbox Live account. Xbox Live is Microsoft’s online gaming service that enables multiplayer gaming, provides access to the Xbox Store, and offers various other features and benefits.
Now that you have a brief introduction, let’s get started on the step-by-step process of downloading games on your Xbox One console. From setting up your console to launching and playing your favorite games, we will cover everything you need to know to make the most of your Xbox gaming experience. So, grab your controller and let’s begin!
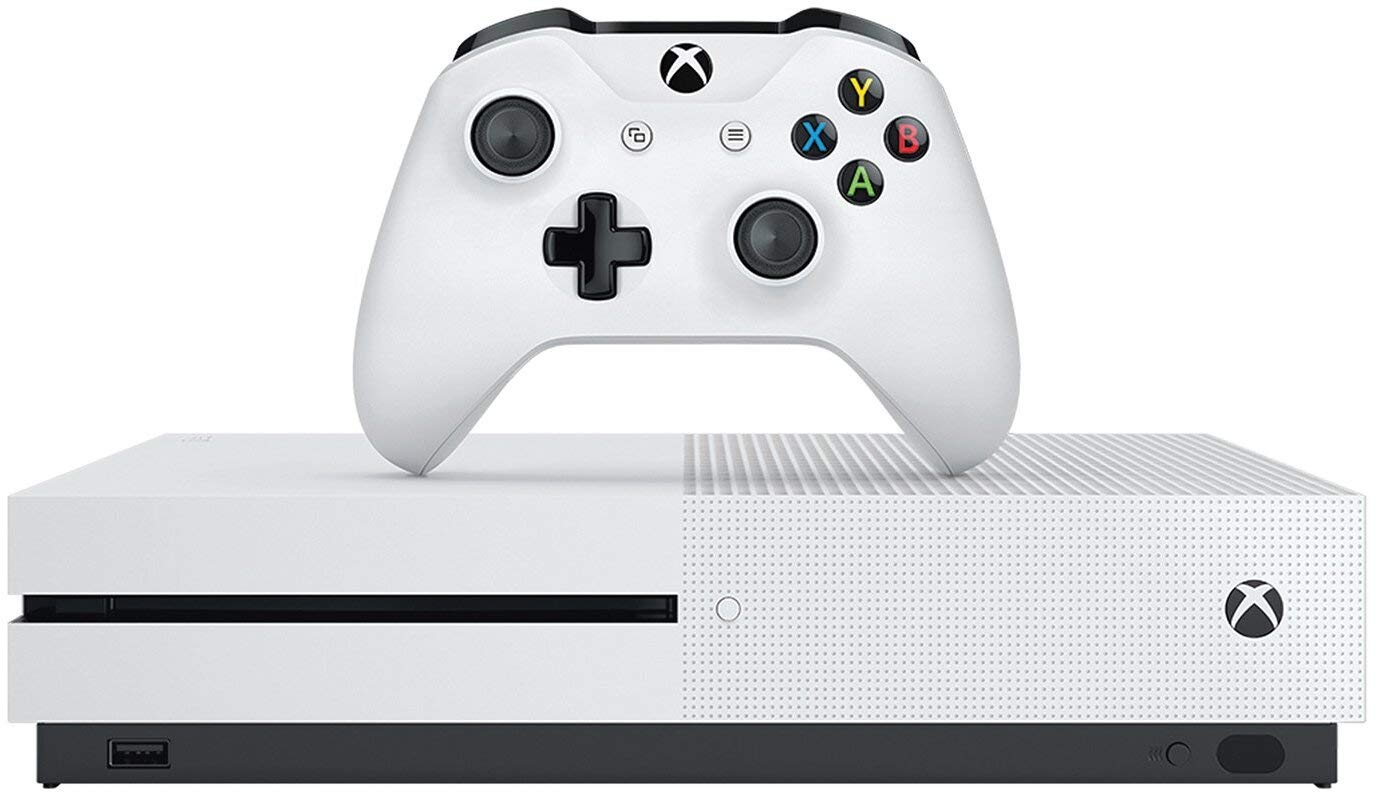
Step 1: Setting up your Xbox One console
Before you can download games on your Xbox One, you’ll need to set up your console. If you’ve just purchased a new Xbox One or haven’t set it up yet, follow these steps:
- Connect the power cable: Plug one end of the power cable into the back of your Xbox One console and the other end into a power outlet.
- Connect to your TV: Use the HDMI cable to connect your Xbox One to your TV. Insert one end of the cable into the HDMI port on the back of your console and the other end into an HDMI input on your TV.
- Pair the controller: Press and hold the Xbox button on the front of the controller to power it on. Then press the sync button on the console until the Xbox button starts flashing. Press the sync button on the controller until it connects to the console.
- Set up your internet connection: Connect your Xbox One to the internet either through a wired connection using an Ethernet cable or a wireless connection through your Wi-Fi network. Follow the on-screen prompts to connect to your home network.
- Configure system settings: Once connected to the internet, the Xbox One will guide you through the initial setup process. This includes selecting your language, time zone, and preferences, as well as signing in with your Microsoft account or creating a new one.
Once you have successfully set up your Xbox One console, you are ready to move on to the next step: setting up your Xbox Live account. Xbox Live is an essential component for downloading and accessing games on your Xbox One console. Don’t worry if you don’t have an Xbox Live account yet; we’ll guide you through the process in the next step.
Step 2: Setting up your Xbox Live account
In order to download games on your Xbox One, you’ll need to have an active Xbox Live account. If you already have an Xbox Live account, you can skip this step and proceed to the next one. If not, follow these simple steps to set up your Xbox Live account:
- Open the Xbox Guide: Press the Xbox button on your controller to open the Xbox Guide.
- Select Sign In/Create Profile: Navigate to the right and select the Sign In/Create Profile option.
- Select Create Profile: Choose the Create Profile option to create a new Xbox Live profile.
- Enter your account information: Follow the on-screen prompts to enter your email address, create a password, and provide any other required information.
- Agree to terms and conditions: Read through the Xbox Live terms and conditions and privacy policy, then accept them to continue.
- Verify your email address: Xbox Live will send a verification email to the email address you provided. Open the email and follow the instructions to verify your account.
- Choose a Gamertag: Select a Gamertag, which will serve as your unique online username on Xbox Live. You can choose a suggested Gamertag or create your own.
- Customize your profile: You can customize your Xbox Live profile by adding a profile picture, bio, and other details. This will help personalize your gaming experience.
Once you’ve completed these steps, your Xbox Live account will be set up and ready to use. Your account will provide access to the Xbox Store, where you can browse and download games for your Xbox One. In the next step, we’ll guide you through the process of browsing the Xbox Store to find the games you want to download.
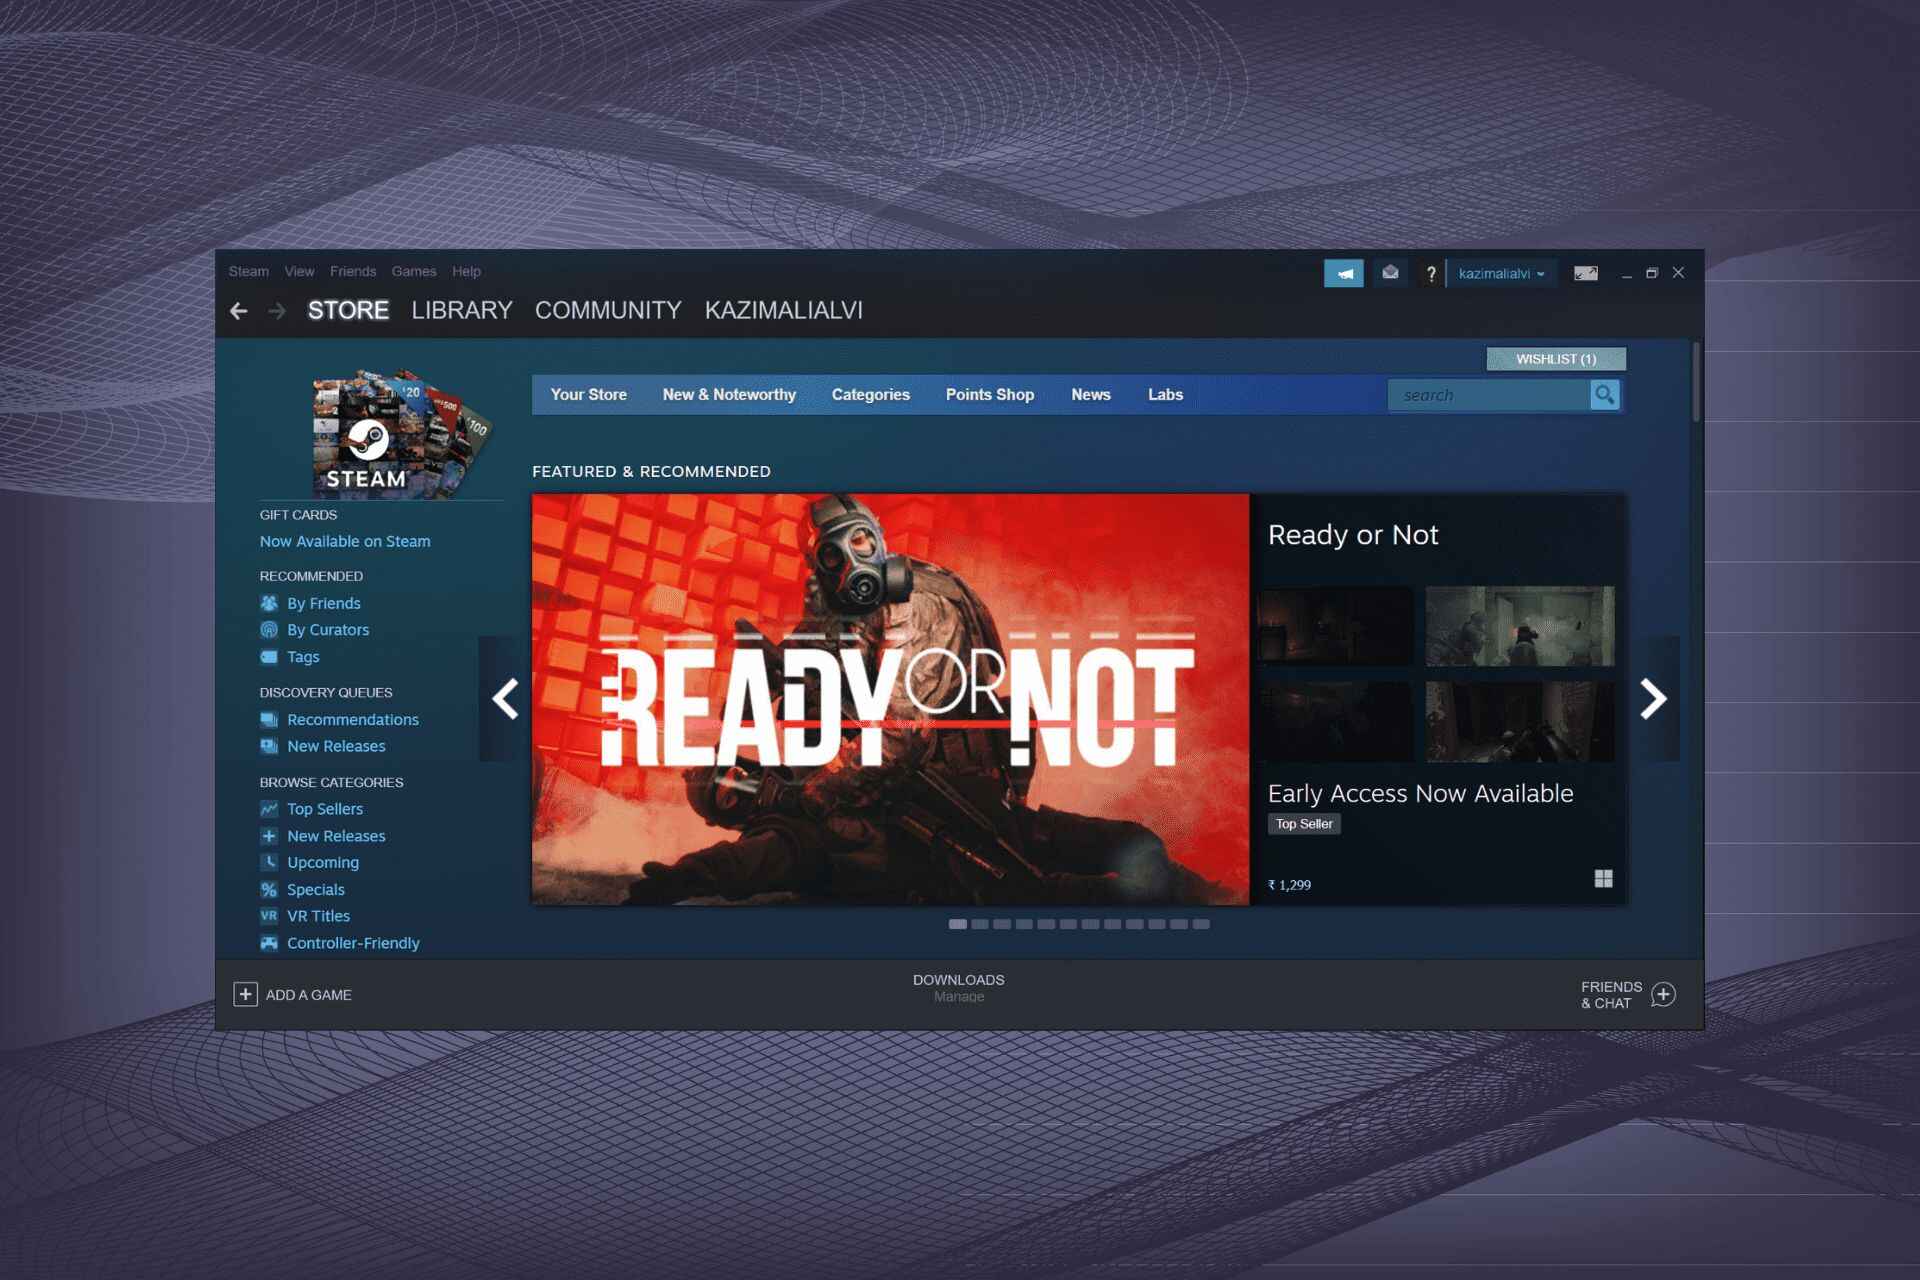
Step 3: Browsing the Xbox Store
Now that you have set up your Xbox One console and Xbox Live account, it’s time to explore the Xbox Store. The Xbox Store is where you can find a wide range of games, downloadable content, and other entertainment options for your Xbox console. Here’s how you can browse the Xbox Store:
- From the Xbox Home screen, navigate to the Store tab: Press the Xbox button on your controller to open the Guide, then navigate to the right and select the Store tab.
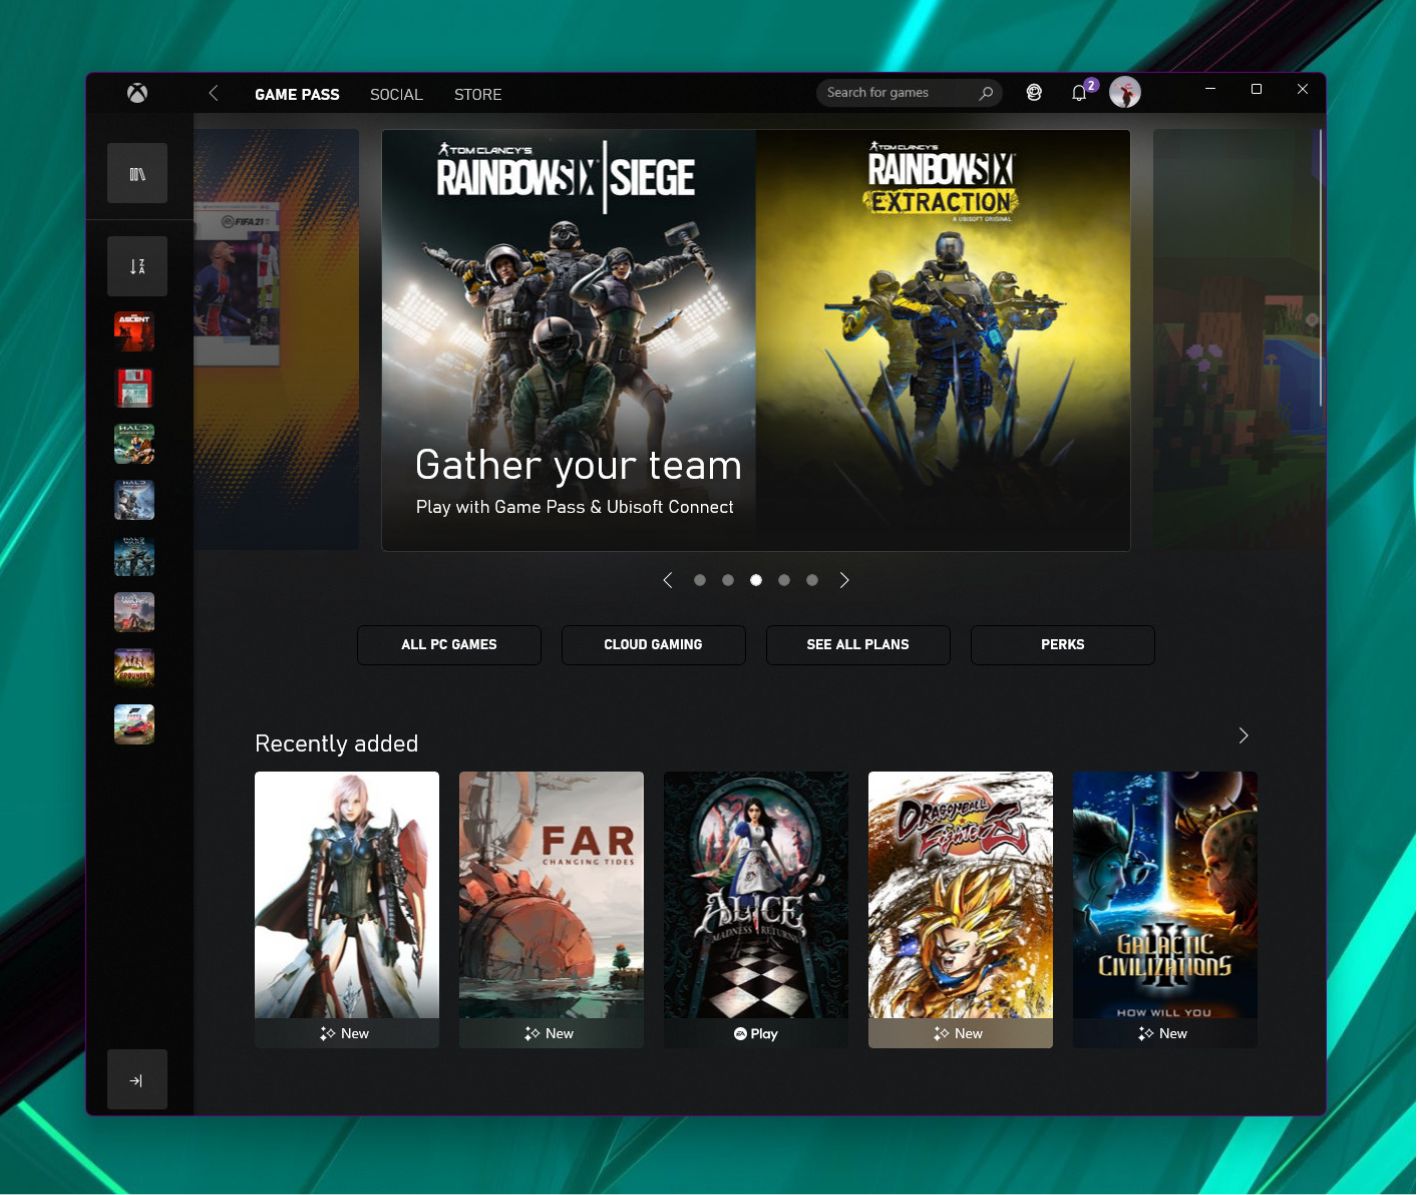
- Explore the featured content: The first thing you’ll see in the Xbox Store is a selection of featured content, including new releases, popular games, and special offers. Take a moment to browse the featured section and see if anything catches your eye.
- Navigate the categories: Use the menu on the left side of the screen to browse different categories, such as games, add-ons, movies & TV, and more. Select a category to see the available options within that category.
- Refine your search: If you already have a specific game in mind or are looking for something specific, you can use the search bar at the top of the screen to search by title, genre, or other keywords.
- Read game descriptions and reviews: When you find a game that interests you, select it to view more details. Read the game’s description, view screenshots or trailers, and check out user reviews to get a better idea of what to expect from the game.
- Check pricing and availability: On the game’s page, you’ll also find information about the game’s price and whether it’s available for purchase or download. Some games may be available for free if you have a subscription, such as Xbox Game Pass.
Browsing the Xbox Store allows you to discover new games, explore different genres, and find exciting content to download on your Xbox One. Once you find a game you want to download and play, the next step is purchasing it. We’ll walk you through the process of selecting and purchasing a game in the next step.
Step 4: Selecting and purchasing a game
After exploring the Xbox Store and finding a game you’re interested in, it’s time to select and purchase it. Here’s how you can do that:
- Select the game: On the game’s details page, click on the game’s title or cover art to access more information about the game.
- Choose the edition: Some games may have different editions available, such as a standard edition, deluxe edition, or special edition. Select the edition you prefer, taking note of any included bonus content or additional features.
- Add the game to your cart: To purchase the game, click on the “Add to Cart” button. If you want to continue shopping, you can add more games or items to your cart before proceeding to checkout.
- Review your cart: Click on the cart icon to review the items in your cart. Make sure you have selected the correct game and edition, and check that everything looks correct. Click on “Proceed to Checkout” when you’re ready.
- Confirm your purchase: On the checkout page, review your order summary and make sure all the details are accurate. Select your preferred payment method, such as a credit card or Xbox Gift Card, and follow the prompts to complete your purchase.
- Wait for the confirmation: After completing your purchase, you will receive a confirmation message on-screen, indicating that your transaction was successful. You will also receive an email receipt with the details of your purchase.
Congratulations! You have now successfully selected and purchased a game from the Xbox Store. The next step is to download the game onto your Xbox One console. We’ll guide you through the download process in the following step.
Step 5: Downloading the game
Once you’ve purchased a game from the Xbox Store, you need to download it to your Xbox One console before you can start playing. Follow these steps to download your game:
- From the Xbox Home screen, navigate to the My Games & Apps section: Press the Xbox button on your controller to open the Guide, then navigate to the right and select My Games & Apps.
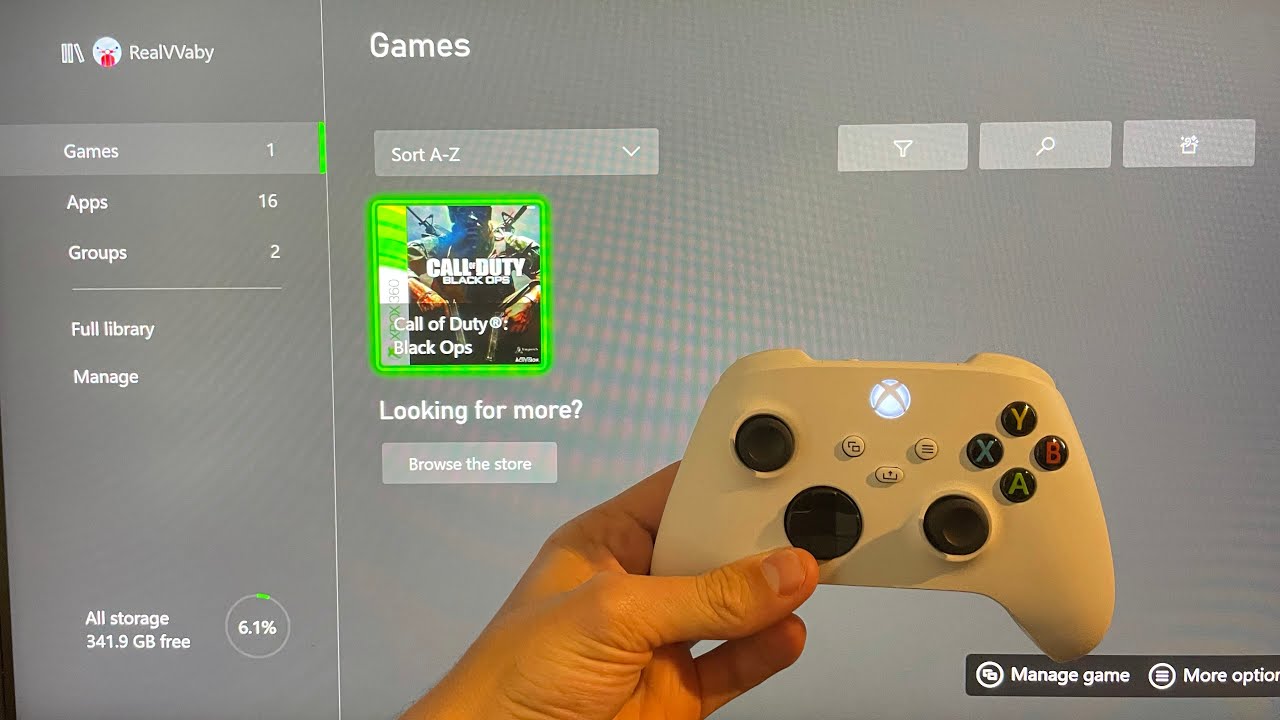
- Go to the Games tab: In the My Games & Apps section, select the Games tab to view all the games in your library.
- Locate your purchased game: Scroll through your library until you find the game you purchased from the Xbox Store. Alternatively, you can use the search bar to quickly find the game by name.
- Select Install: Once you’ve found the game, highlight it and press the Menu button on your controller (the one with three horizontal lines). From the context menu that appears, select Install.
- Choose your storage location: If you have multiple storage devices connected to your Xbox One, such as an external hard drive, you will be asked to choose the location where you want to install the game. Select the desired storage device and confirm your selection.
- Start the download: The game will now begin downloading to your chosen storage location. The download time will vary depending on the size of the game and the speed of your internet connection. You can monitor the download progress in the My Games & Apps section under the Queue tab.
It’s important to note that you need a stable internet connection and sufficient storage space on your Xbox One console or external storage device to download the game. If you encounter any issues during the download, make sure your internet connection is working properly and check if there’s enough storage space available.
Once the download is complete, you’re one step closer to diving into your new game! The next step is to install the game on your Xbox One, which we’ll cover in the following section.
Step 6: Monitoring the download progress
While your game is downloading on your Xbox One console, you can easily monitor the progress to see how much longer it will take. Here’s how you can keep track of the download progress:
- Access the My Games & Apps section: From the Xbox Home screen, press the Xbox button on your controller to open the Guide. Navigate to the right and select My Games & Apps.
- Go to the Queue tab: In the My Games & Apps section, select the Queue tab. This tab will display all the active downloads and installations on your Xbox One.
- Check the download status: On the Queue tab, you’ll see a list of the games and apps currently being downloaded. Each entry will show the progress of the download, indicating the percentage completed and the remaining time.
- Prioritize downloads: If you have multiple downloads happening simultaneously, you can rearrange the order to prioritize certain downloads. Simply highlight the download you want to prioritize, press the Menu button on your controller, and select Prioritize Download.
- Pause or cancel downloads: If you need to pause or cancel a download, highlight the entry in the Queue tab, press the Menu button on your controller, and select Pause or Cancel. Keep in mind that canceling a download will delete the partially downloaded content.
- Resume downloads: If you have paused a download, you can easily resume it by highlighting the entry in the Queue tab, pressing the Menu button on your controller, and selecting Resume Installation.
Monitoring the download progress allows you to estimate how much time is remaining until your game is fully downloaded and installed on your Xbox One console. Once the download is complete, you can move on to the next step: installing the game.
Note: Download times can vary depending on the size of the game and the speed of your internet connection. It’s recommended to have a stable and reliable internet connection for faster downloads.
Step 7: Installing the game
Now that your game has finished downloading, you’ll need to install it on your Xbox One console before you can start playing. Follow these steps to install your game:
- Access the My Games & Apps section: Press the Xbox button on your controller to open the Guide. Navigate to the right and select My Games & Apps.
- Go to the Games tab: In the My Games & Apps section, select the Games tab. This tab will display all the games in your library, including the newly downloaded one.
- Locate your downloaded game: Scroll through your library until you find the game you downloaded. It will have a “Ready to Install” status.
- Select Install: Highlight the game and press the A button on your controller to start the installation process.
- Wait for the installation: The installation process will begin, and you can track its progress on the screen. The time it takes to install can vary depending on the size of the game, so be patient.
- Access the game: Once the installation is complete, you can access the game from your library or the Home screen. Select the game and press the A button to launch it.
During the installation, you can choose to do other activities on your console, such as playing other games or watching movies, as the installation does not require your active involvement. However, note that the installation speed may be affected if you are using your console for other resource-intensive tasks.
It’s important to keep in mind that after the installation, you may still need to download and install any available updates or patches for the game. These updates can include bug fixes, new features, and additional content, so it’s recommended to check for updates before playing.
With the game successfully installed on your Xbox One console, you are now ready to launch and start playing it. We’ll guide you on how to launch and play the game in the next step.
Step 8: Launching and playing the game
Now that you have installed your game on your Xbox One console, it’s time to launch and dive into the exciting world of gaming. Follow these simple steps to start playing:
- From the Xbox Home screen, navigate to your My Games & Apps section: Press the Xbox button on your controller to open the Guide. Navigate to the right and select My Games & Apps.
- Go to the Games tab: In the My Games & Apps section, select the Games tab to access your game library.
- Find and select the game: Scroll through your library until you find the game you want to play. Highlight the game and press the A button on your controller to launch it.
- Wait for the game to load: Depending on the game’s complexity and size, it may take a few moments for it to load. Be patient while the game prepares to start.
- Follow on-screen instructions: Once the game has loaded, you may be prompted with any necessary on-screen instructions or setup options. Follow them accordingly to get started.
- Start playing: After any necessary setup, you can finally start playing the game! Grab your controller, immerse yourself in the gameplay, and enjoy the adventure.
Remember to familiarize yourself with the game’s controls, objectives, and any additional instructions provided by the game itself. Each game offers a unique experience, so take your time exploring and getting to know the mechanics and features.
Don’t forget to save your progress as you play through the game. Most games offer an autosave feature, but it’s always a good idea to save manually whenever you reach a significant milestone or completed a challenging section. This ensures that you can easily pick up where you left off in your next gaming session.
Now that you have successfully launched your game and are ready to embark on your gaming journey, enjoy the immersive experience and have fun exploring the vast worlds and exciting adventures that await you on your Xbox One!
Conclusion
Congratulations! You have successfully learned how to download games on your Xbox One console. We walked you through each step, from setting up your console and Xbox Live account to browsing the Xbox Store, selecting and purchasing a game, downloading and installing it, and finally launching and playing the game.
With an active Xbox Live account, you have access to an extensive library of games, allowing you to explore various genres, discover new titles, and enjoy immersive gaming experiences right from your living room. The Xbox Store provides a convenient and user-friendly platform to browse and download games, ensuring that you never run out of exciting adventures to embark on.
Remember to monitor the download progress, install any necessary updates, and save your progress as you play through the games. And don’t forget to have fun! Gaming is a fantastic way to unwind, connect with friends, and challenge yourself in virtual worlds.
Now that you’re equipped with the knowledge to download games on your Xbox One, it’s time to dive into the world of gaming and explore the limitless possibilities that await you. Get your controller ready, start downloading your favorite games, and embark on unforgettable gaming adventures!