Introduction
Welcome to the exciting world of Fortnite! Whether you’re a seasoned gamer or new to the world of battle royale games, Fortnite is a highly popular and immersive experience that has captivated millions of players worldwide. If you’re ready to join the Fortnite community and start battling it out against opponents, this guide will walk you through the process of downloading and installing Fortnite on Windows 10.
Fortnite is a free-to-play multiplayer game developed by Epic Games. It features a unique blend of action, strategy, and building elements, making it a must-play for gamers of all types. With its vibrant graphics, fast-paced gameplay, and constant updates, Fortnite has become a cultural phenomenon, attracting players from all walks of life.
Before we dive into the steps of downloading Fortnite on Windows 10, let’s make sure your system meets the necessary requirements. Fortnite is a demanding game, so it’s essential to have a computer that can handle its graphical and processing demands.
Now that you have a better understanding of what Fortnite is and the excitement it offers, let’s move on to the system requirements for playing Fortnite on Windows 10.
System Requirements for Fortnite
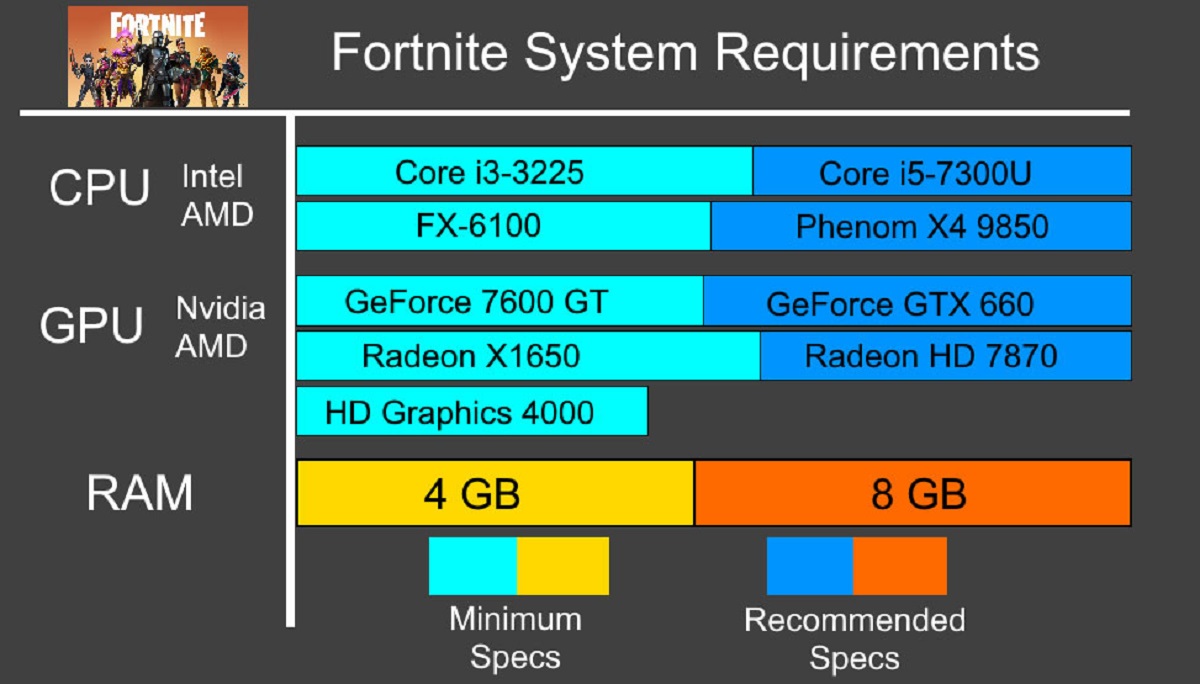
Before you start downloading Fortnite on your Windows 10 computer, it’s important to ensure that your system meets the minimum requirements. Here are the system specifications recommended by Epic Games:
- Operating System: Windows 10 64-bit
- Processor: Intel Core i5 or AMD Ryzen 5 with 2.8 GHz or faster
- Memory: 8GB RAM
- Graphics: NVIDIA GTX 660 or AMD Radeon HD 7870 equivalent DX11 GPU
- DirectX: Version 11
- Storage: 30GB available space
These specifications are recommended for optimal performance, but Fortnite also offers lower settings for players with less powerful systems. However, keep in mind that the gaming experience may be impacted if your hardware does not meet the minimum requirements.
Additionally, it’s important to ensure that your graphics drivers are up to date. Outdated drivers can cause compatibility issues and impact the game’s performance. Visit the official website of your graphics card manufacturer to download and install the latest drivers for your specific model.
Now that you know the system requirements for Fortnite, it’s time to move on to the step-by-step process of downloading and installing Fortnite on your Windows 10 computer. Let’s dive into it!
Step 1: Create an Epic Games Account
The first step in downloading Fortnite on Windows 10 is to create an Epic Games account. The Epic Games account will not only grant you access to Fortnite but also to other popular games developed by Epic Games.
To create an Epic Games account, follow these steps:
- Open a web browser and navigate to the Epic Games website.
- Click on the “Sign In” button located at the top right corner of the page.
- On the login page, click on the “Sign Up” option below the login form.
- Fill out the required information, including your display name, email address, and desired password.
- Read and accept the terms of service and privacy policy by checking the respective boxes.
- Click on the “Sign Up” button to create your Epic Games account.
Once you have successfully created your Epic Games account, you will be able to access various features and games on the Epic Games platform. Now, let’s move on to the next step: downloading the Epic Games launcher.
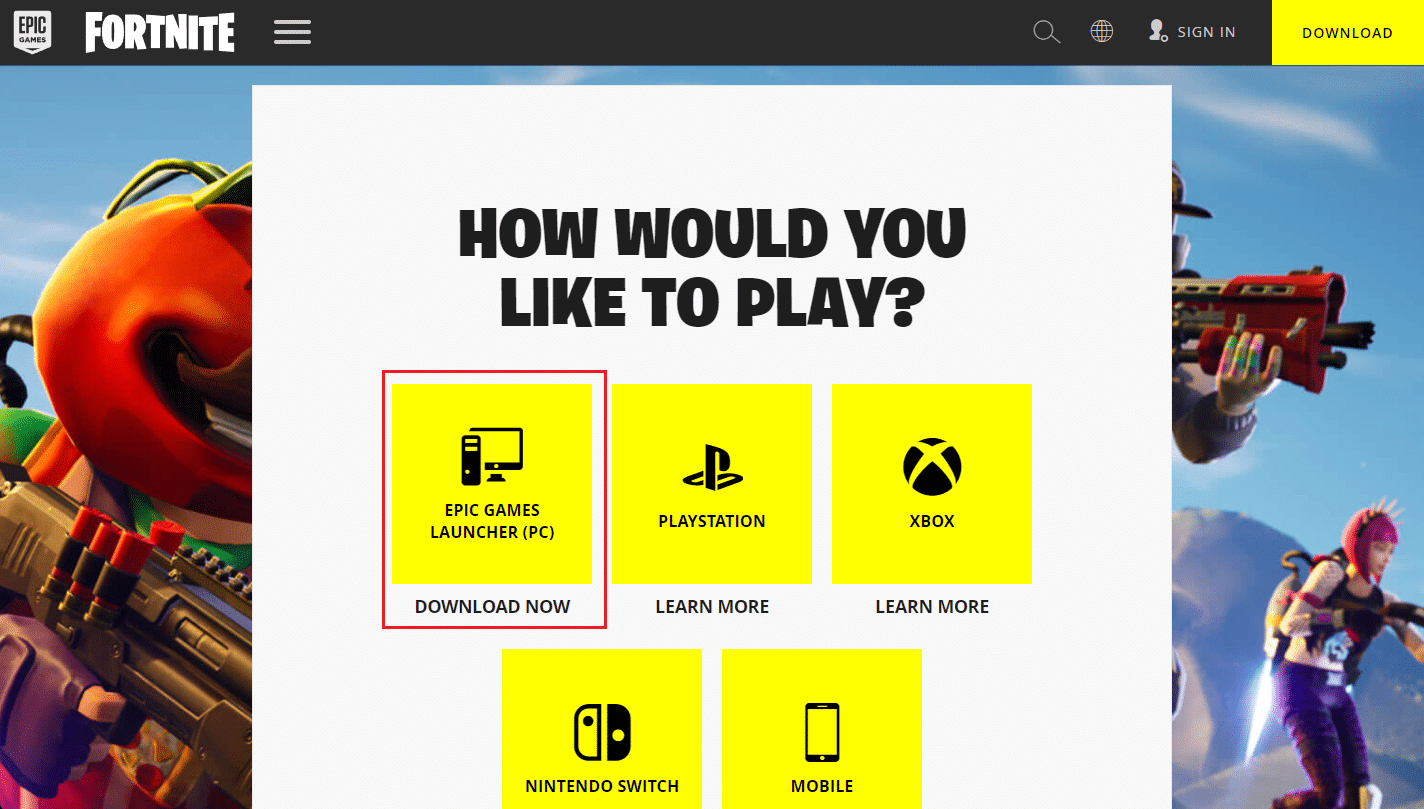
Step 2: Download the Epic Games Launcher
After creating your Epic Games account, you will need to download the Epic Games launcher to access and download Fortnite on your Windows 10 computer. The Epic Games launcher serves as a platform that allows you to manage and launch games developed by Epic Games.
Follow the steps below to download the Epic Games launcher:
- Go to the Epic Games website and sign in to your account using the credentials you created in Step 1.
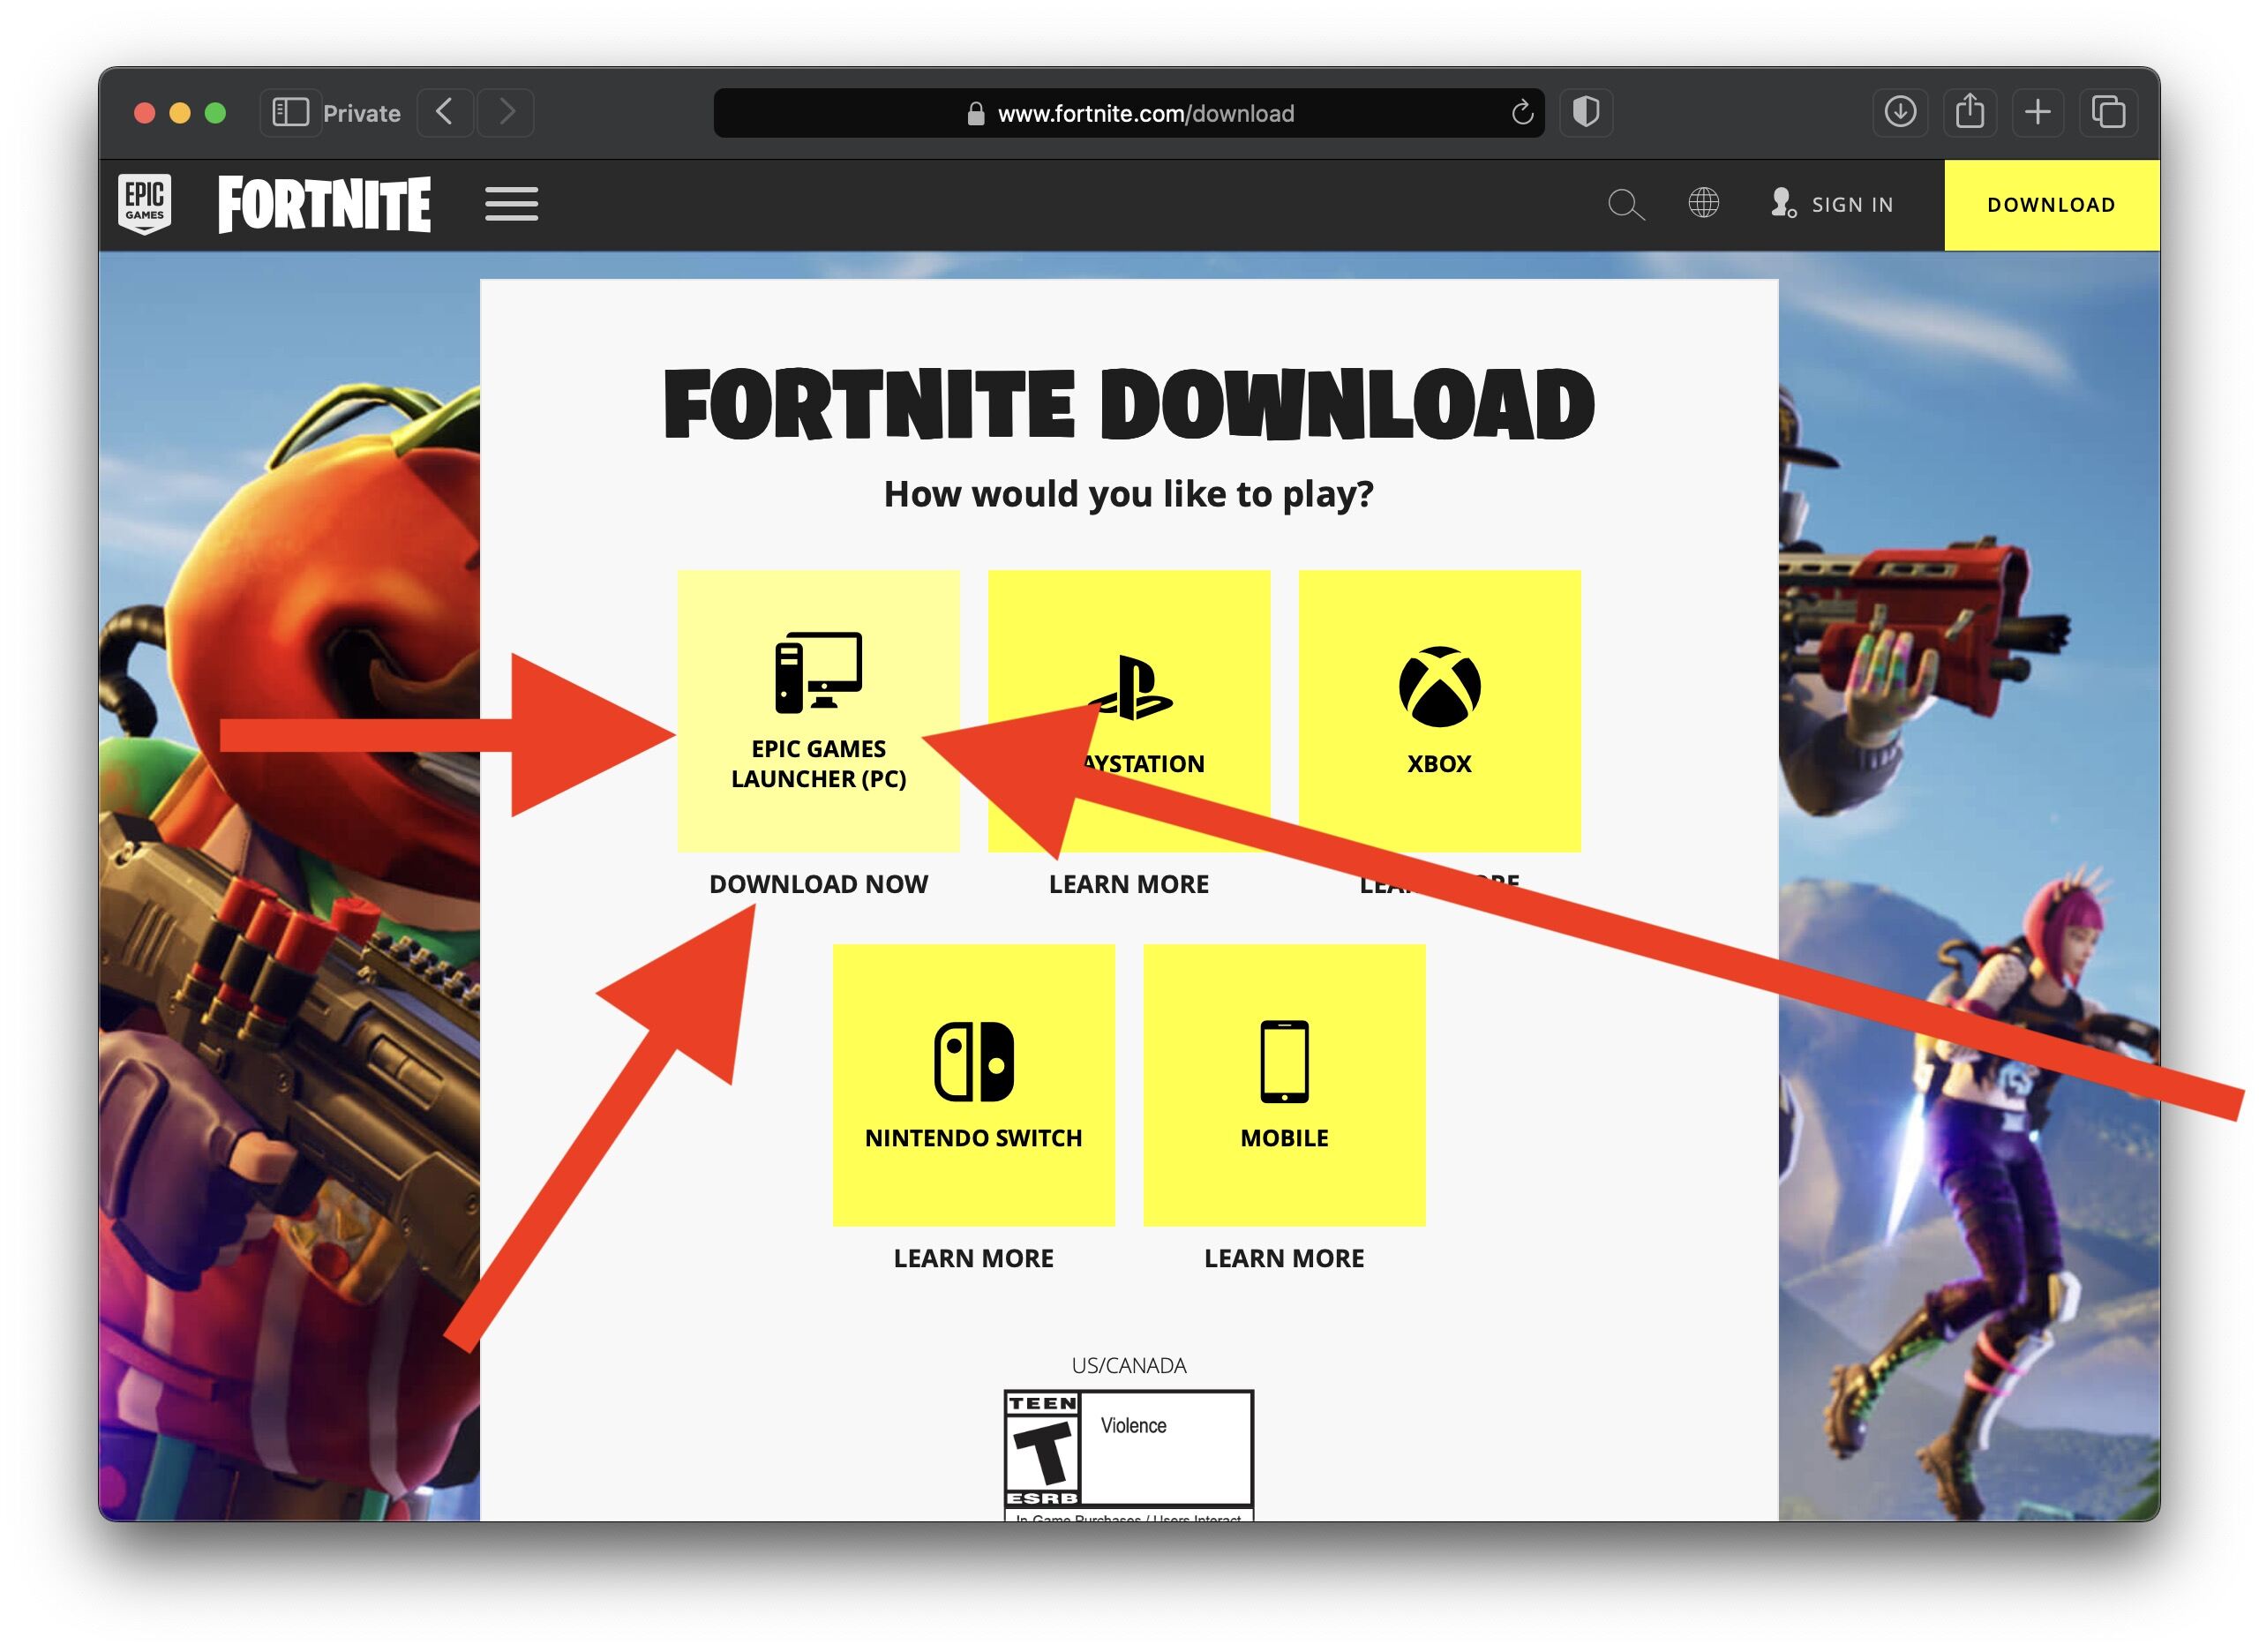
- Once signed in, navigate to the “Store” section.
- On the left side of the screen, click on the “Download Epic Games Launcher” button.
- A download prompt will appear. Click on the “Download” button to initiate the download of the launcher installer.
- Once the download is complete, locate the installer file in your Downloads folder.
- Double-click on the installer file to run it.
- Follow the on-screen instructions to install the Epic Games launcher on your Windows 10 computer.
Once the installation is complete, you will have the Epic Games launcher installed on your system. This launcher will serve as your gateway to downloading and playing Fortnite. In the next step, we will guide you through the process of signing in to the Epic Games launcher.
Step 3: Install the Epic Games Launcher
Now that you have successfully downloaded the Epic Games launcher, it’s time to install it on your Windows 10 computer. The Epic Games launcher will serve as the hub for downloading and managing Fortnite as well as other games developed by Epic Games.
Follow the steps below to install the Epic Games launcher:
- Locate the installer file that you downloaded in the previous step.
- Double-click on the installer file to start the installation process.
- Review and accept the End User License Agreement (EULA) and any other prompts that may appear during the installation process.
- Choose the installation location for the Epic Games launcher or leave the default location.
- Click on the “Install” button to begin the installation process. The launcher will start installing on your Windows 10 computer.
- Wait for the installation process to complete. This may take a few minutes depending on your computer’s speed and internet connection.
- Once the installation is finished, you will see a confirmation message indicating that the Epic Games launcher has been successfully installed.
With the Epic Games launcher now installed on your Windows 10 computer, you’re one step closer to experiencing the excitement of Fortnite. In the next step, we will guide you through the process of signing in to the Epic Games launcher using your newly created account.
Step 4: Sign in to the Epic Games Launcher
Now that you have installed the Epic Games launcher, it’s time to sign in to your Epic Games account. By signing in, you will gain access to download and play Fortnite on your Windows 10 computer.
Follow the steps below to sign in to the Epic Games launcher:
- Launch the Epic Games launcher, either from your desktop or by searching for it in the Start menu.
- Once the launcher is open, you’ll be presented with a login screen.
- Enter the email address and password associated with your Epic Games account.
- Click the “Sign In” button to proceed.
- If you have enabled two-factor authentication for your account, you may be prompted to enter a verification code sent to your email or authenticator app.
- After successful authentication, you will be logged in to the Epic Games launcher.
Now that you are signed in to the Epic Games launcher, you will have access to the Fortnite section and can begin the process of downloading the game. In the next step, we will guide you through finding the Fortnite section in the launcher.
Step 5: Navigate to the Fortnite Section
After signing in to the Epic Games launcher, it’s time to navigate to the Fortnite section, where you can initiate the download process for the game.
Follow the steps below to access the Fortnite section in the Epic Games launcher:
- In the Epic Games launcher, look for the sidebar on the left-hand side of the window.
- Locate and click on the “Library” tab. This will open your game library.
- Scroll through the list of games until you find “Fortnite” or use the search bar to easily locate it.
- Click on the Fortnite icon to open the Fortnite page within the Epic Games launcher.
Once you are on the Fortnite page in the Epic Games launcher, you are ready to initiate the download process. In the next step, we will guide you through starting the Fortnite download on your Windows 10 computer.
Step 6: Start the Fortnite Download
Now that you have reached the Fortnite page within the Epic Games launcher, it’s time to start the download process for Fortnite on your Windows 10 computer. The Epic Games launcher will handle the downloading and installation of the game for you.
Follow the steps below to initiate the Fortnite download:
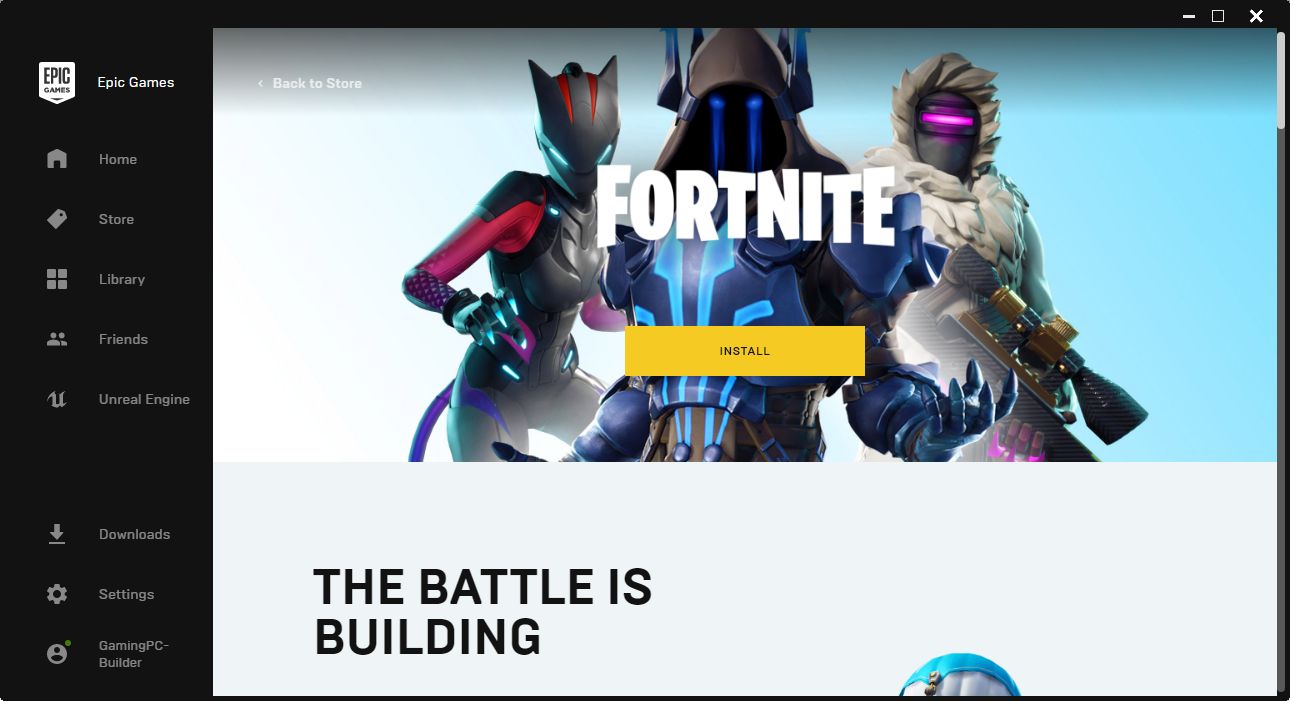
- On the Fortnite page in the Epic Games launcher, locate and click on the “Get” or “Install” button.
- A confirmation prompt will appear, asking you to confirm the download of Fortnite. Click on the “Confirm” or “Install” button to proceed.
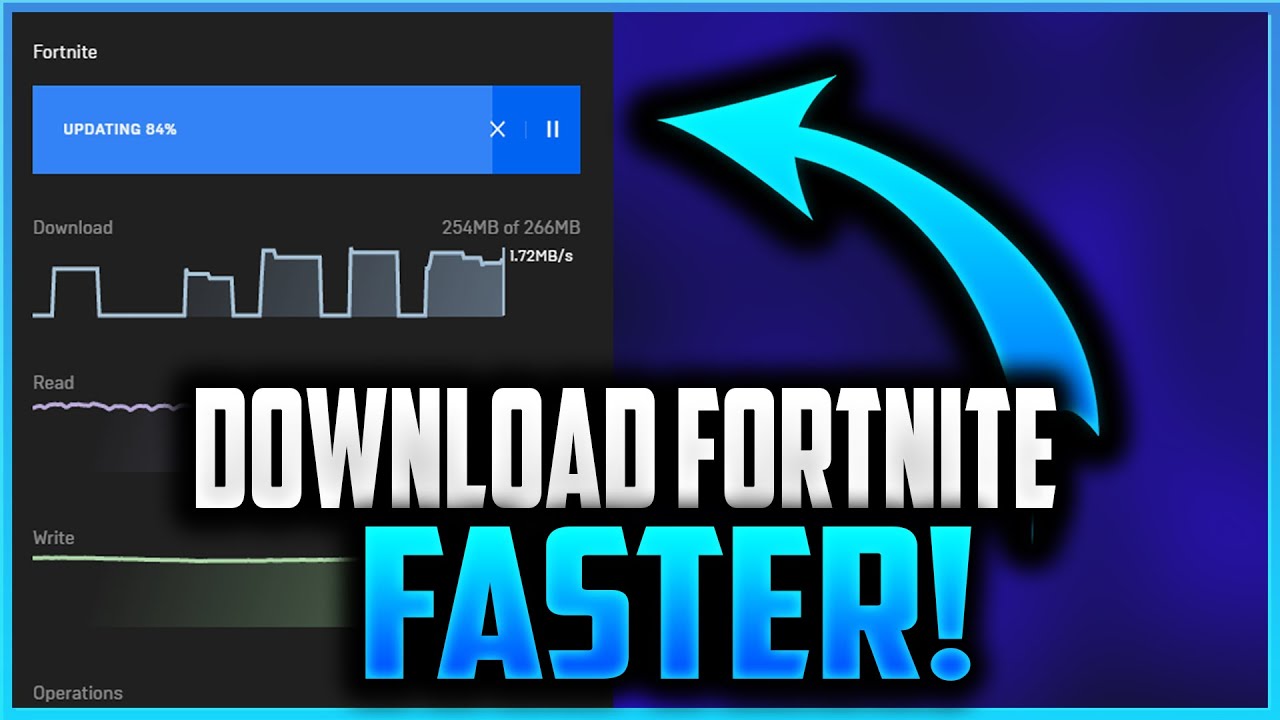
- The Epic Games launcher will now begin downloading Fortnite on your computer. The download progress will be displayed, and you can view the estimated time remaining.
- Make sure you have a stable internet connection as the download size of Fortnite may be large, and a reliable connection will ensure a smooth and uninterrupted download.
- Once the download is complete, the Epic Games launcher will automatically move on to the installation process. This may take some time, so be patient.
After the installation process is finished, you’ll be ready to launch Fortnite and start playing. In the next step, we’ll guide you through the process of installing Fortnite on your Windows 10 computer.
Step 7: Install Fortnite on Windows 10
With the download of Fortnite completed, it’s time to install the game on your Windows 10 computer. The installation process will be handled automatically by the Epic Games launcher.
Follow the steps below to install Fortnite on Windows 10:
- Once the download is complete, the Epic Games launcher will automatically start the installation process.
- During the installation, you may be asked to choose the installation location for Fortnite. If prompted, select a suitable location or leave it at the default setting.
- The installation progress will be displayed, showing how far along the installation process is.
- Ensure that you have enough free disk space to install Fortnite on your Windows 10 computer.
- After the installation is complete, you’ll see a notification indicating that Fortnite has been successfully installed.
Now that Fortnite is installed on your Windows 10 computer, you’re just one step away from embarking on your exciting gaming journey. In the next step, we’ll guide you through launching Fortnite and signing in to the game using your Epic Games account.
Step 8: Launch Fortnite and Sign In
Now that you have successfully installed Fortnite on your Windows 10 computer, it’s time to launch the game and sign in using your Epic Games account. Once you’re signed in, you’ll be able to dive into the action-packed world of Fortnite.
Follow the steps below to launch Fortnite and sign in:
- Locate the Epic Games launcher either on your desktop or by searching for it in the Start menu.
- Launch the Epic Games launcher by double-clicking on its icon.
- On the launcher’s homepage, click on the “Library” tab located on the left-hand side.
- Scroll through your game library or use the search bar to find the Fortnite icon.
- Click on the Fortnite icon, and the game’s details will appear on the right-hand side of the screen.
- Click on the “Launch” button to start Fortnite.
- Once Fortnite launches, you’ll be prompted to sign in using your Epic Games account. Enter the email address and password associated with your account, and click on the “Sign In” button.
- If you have enabled two-factor authentication for your Epic Games account, you may need to enter a verification code sent to your email or authenticator app.
- After successfully signing in, you’re all set to explore the Fortnite world and start playing.
Congratulations! You have now successfully launched Fortnite and signed in with your Epic Games account. Get ready to experience the thrill and excitement of Fortnite on your Windows 10 computer. Enjoy the game!
Conclusion
Congratulations on successfully downloading, installing, and launching Fortnite on your Windows 10 computer! You are now ready to embark on thrilling battle royale matches and build your way to victory. Fortnite offers a unique gaming experience filled with intense action, strategic gameplay, and endless fun.
In this guide, we covered the step-by-step process of getting Fortnite up and running on your Windows 10 computer. We started by creating an Epic Games account, downloading and installing the Epic Games launcher, and navigating to the Fortnite section. Then, we walked you through starting the Fortnite download, installing the game, and finally, launching Fortnite and signing in using your Epic Games account.
Remember, staying connected to a stable internet connection is important for a smooth gaming experience in Fortnite. Additionally, make sure to keep your graphics drivers up to date to optimize performance.
Now that you’re ready to play Fortnite, immerse yourself in the world of battle royale, team up with friends, and explore the ever-changing landscape. Happy gaming, and may victory be yours in every match you play!