Getting into the realm of PC gaming is incredibly exciting, especially when you first build a rig. However, assembling the hardware of your gaming PC is only the first step. There are lots more you need to think about to take full advantage of your awesome new hardware. That includes learning how to overclock GPU performance to ensure you get the best gaming experience. Not sure how to do it? Here’s what you need to know.
What Is a Graphics Processing Unit (GPU)?
If you’re new to the world of PCs, chances are you might be unfamiliar with the terms. Sure, you might hear the words GPU and CPU thrown around, but you’re not sure what they are. What does GPU stand for? What does it do?
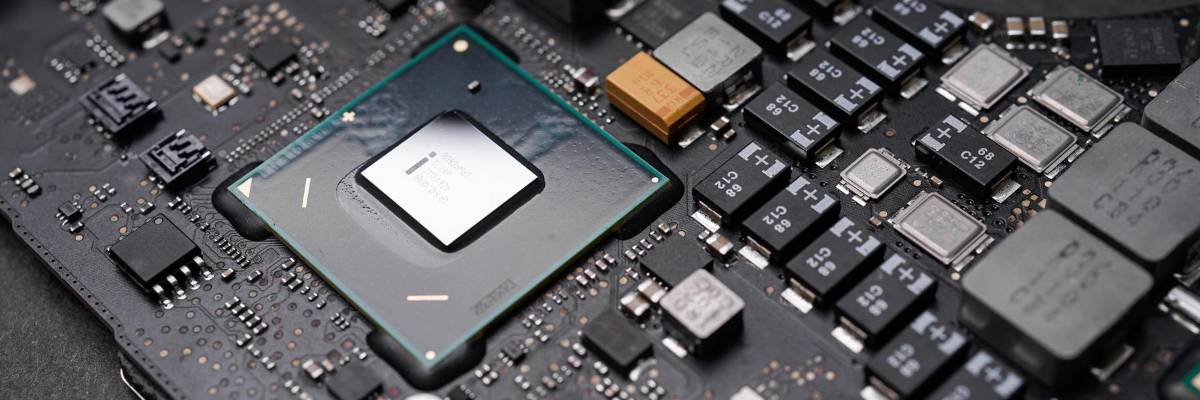
If you’re not sure about what a GPU is and how it works with your CPU, no worries. Simply put, GPU stands for “graphics processing unit” and it essentially handles all the graphics-heavy workloads. This includes tasks that involve rendering videos or 3D models, both in creative production and gaming.
On the other hand, this isn’t all GPUs are good at doing. As technology advanced, so did GPUs and their real-life applications. Nowadays, you can also use high-end GPUs to aid high-performance computing (HPC), artificial intelligence programming, deep learning, and more. However, regular PC gamers are probably most interested in its more basic applications for games and high-end graphics rendering.
Apart from these, the GPU also acts as a complement to the central processing unit (CPU) in overall computing. While both are silicon-based microprocessors that handle data, they have different functions. CPUs generally handle a wide variety of workloads while GPUs are your computer’s “special brain” dedicated to graphics. Both the CPU and GPU work together to give your computer the processing power it needs to handle various workloads.
GPU vs Graphics Card
Building a PC can be tremendously satisfying and rewarding if you know what you’re doing. However, for the newbies out there, it can also be equally intimidating if you don’t know the proper terminology. For example, you can easily confuse the graphics card with the GPU if you didn’t know any better.
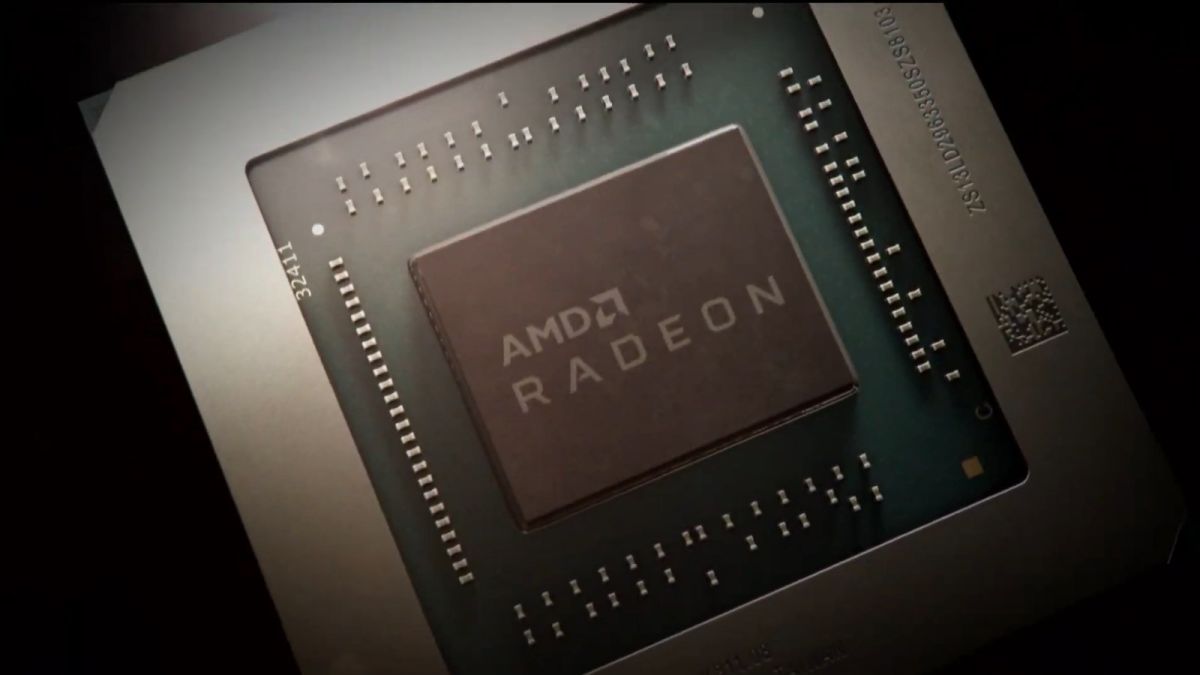
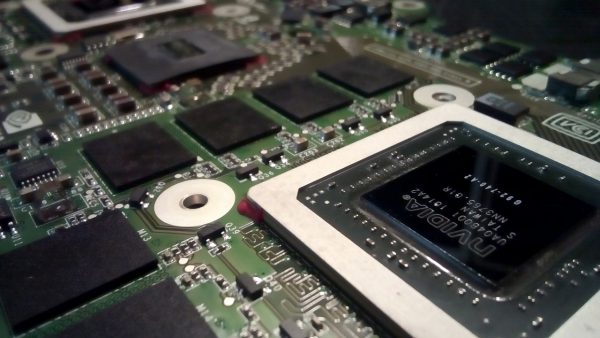
The difference between these two is simple. Your computer’s GPU is the physical processor that’s designed to handle graphics processing tasks. They’re the chips that AMD and NVIDIA make that shoulder the graphical workloads your PC has to process.
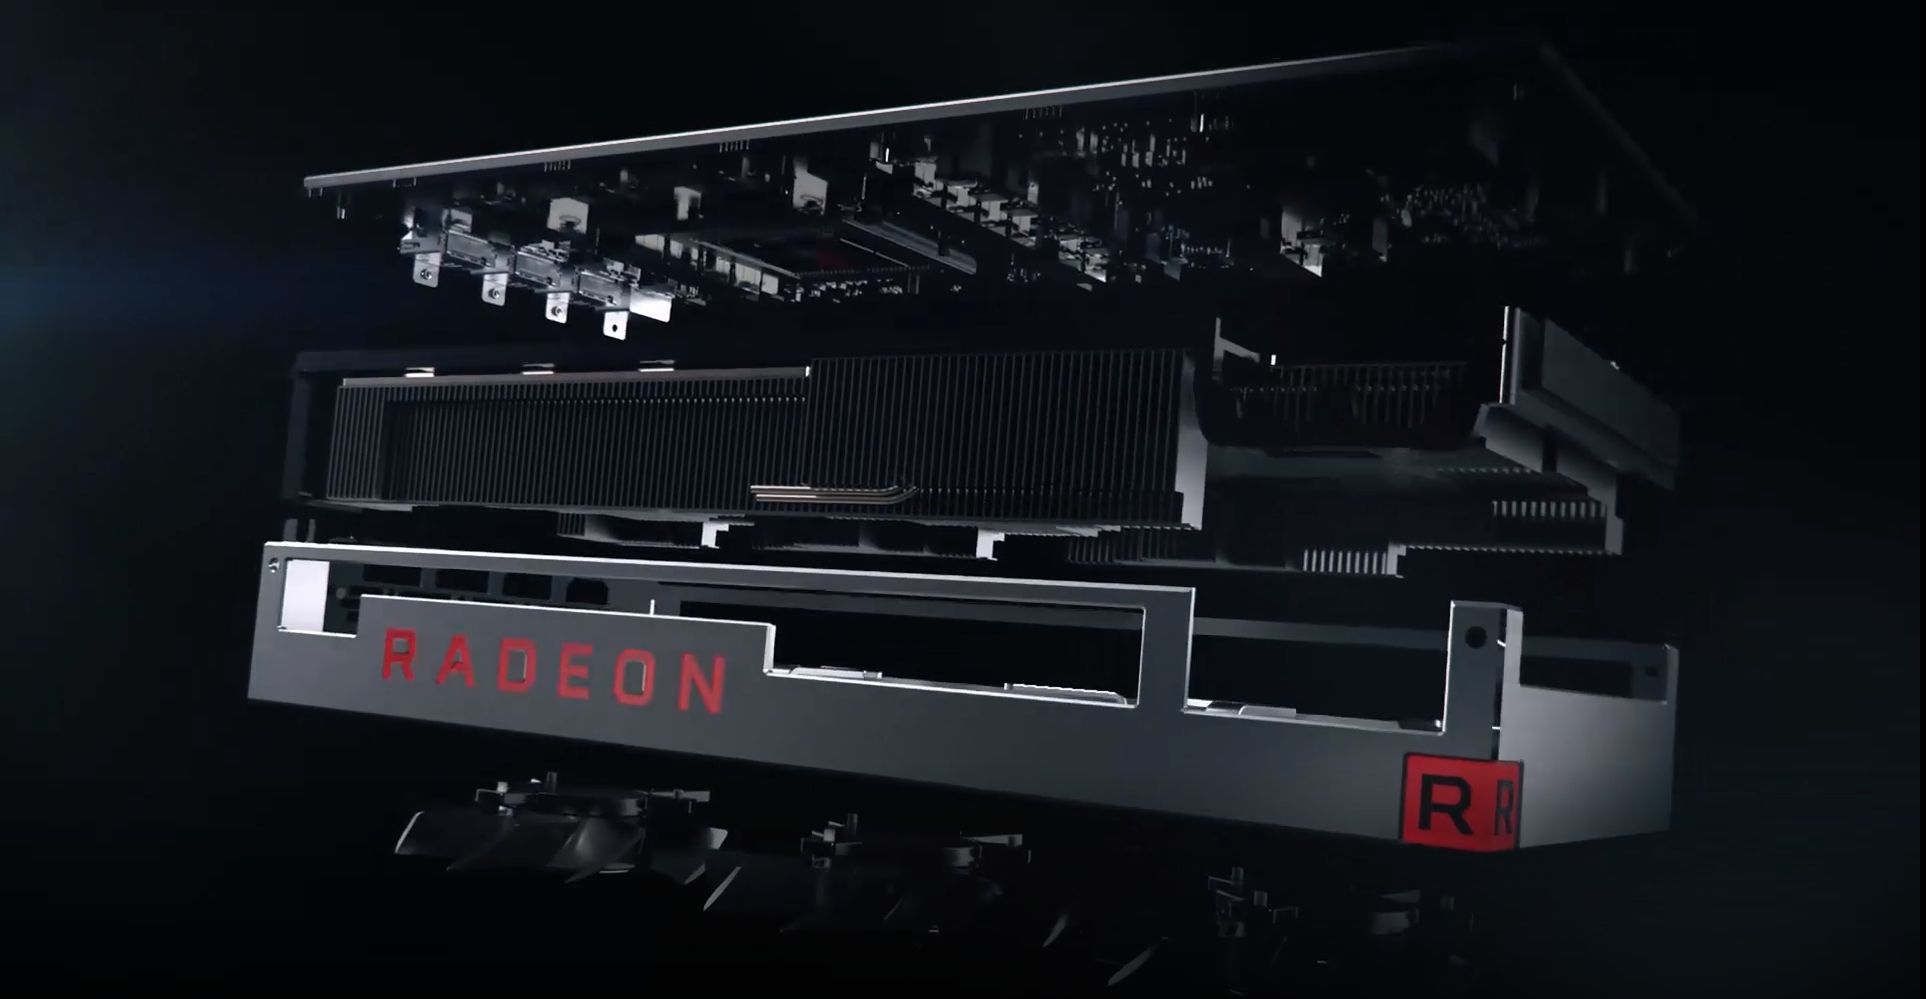
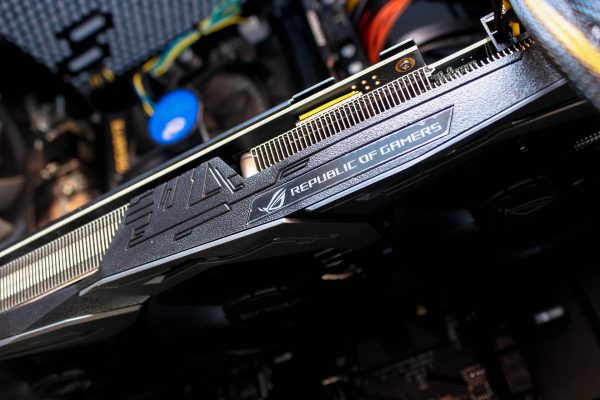
On the other hand, the graphics card (sometimes called a video card) is the unit that contains the GPU. However, it doesn’t just house your GPU but also many other important components. These include the PCB, connectors, video memory, and the cooler.
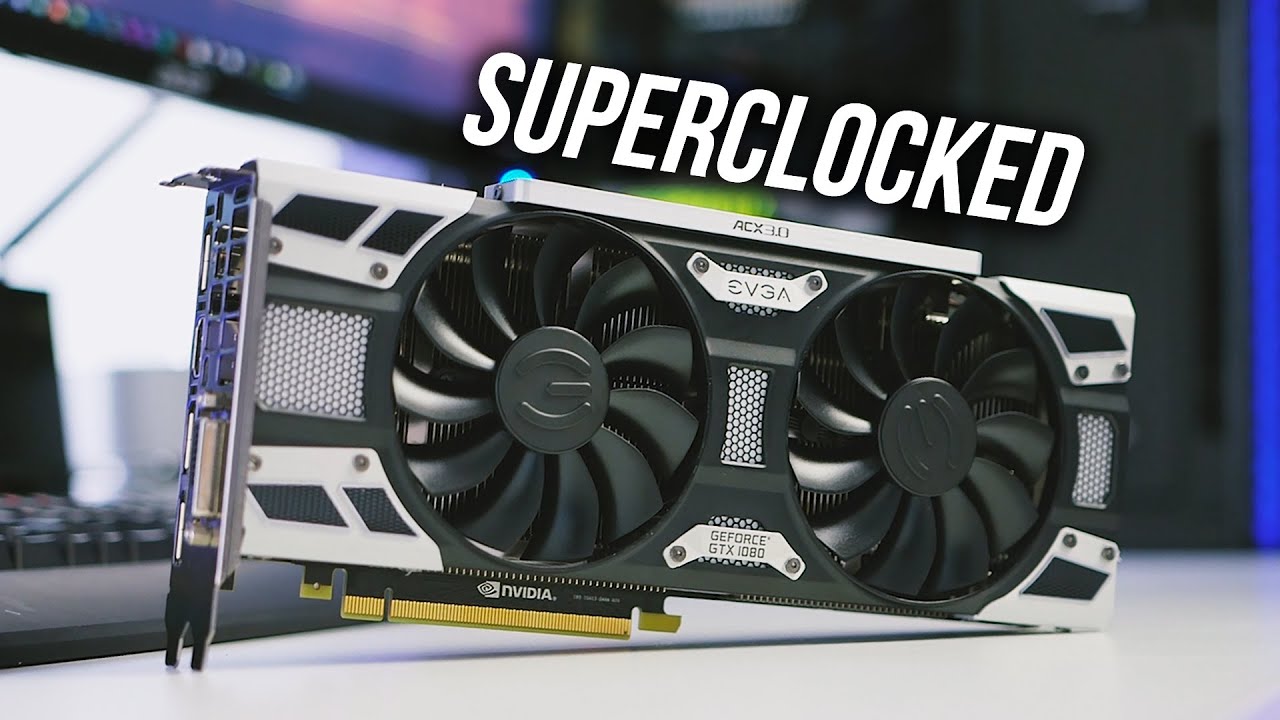
Housing all of these components in one unit makes the graphics card responsible for overall graphics processing and video output. They’re what you purchase from third-party retailers like Asus, Gigabyte, EVGA, MSI, and more.
What Is Overclocking?
Before you learn how to overclock GPU performance, it’s important to understand what overclocking is. To put it simply, both your GPU and CPU ship with factory settings that limit its maximum speed. This lets the processor run at a safe pace with ample cooling so that it doesn’t overheat while running.
However, while these factory settings are good, they can also limit your CPU or GPU’s performance. If you want to utilize their full potential, then overclocking your graphics card or overclocking the CPU is the solution. When you have the GPU or CPU overclock, your computer will get a performance boost and run faster.
Unfortunately, learning how to overclock GPU and CPU performance — and implementing it — comes at a cost. That’s because these overclocked processors usually emit more heat, making them more prone to damage. Of course, you can solve this problem by installing more cooling solutions to your rig. However, there could also be other side effects, including instability and overall performance issues.
Before Overclocking Your GPU: Risks You Should Know
There is real merit to learning how to overclock GPU performance. That’s especially true if you value crisp and smooth graphics while playing your favorite game. However, you do have to keep a few risks in mind before you do anything with your GPU.
The first is the potential for overheating. If you make the wrong choice in GPU overclocking, then it’s possible to cause serious damage to your rig. That’s something you certainly wouldn’t want, especially given how expensive new GPUs have been nowadays. However, if you do it correctly, there’s a pretty low chance that you’ll overclock your GPU to death through heat.
Secondly, getting the right balance is a tricky undertaking when it comes to learning how to overclock GPU performance. You have to optimize every process involving the GPU core, voltages, heat, and memory speeds. Otherwise, you’ll have to deal with thermal throttling that cancels out any benefit you’ll get from overclocking. Moreover, you could also get tons of crashes from your PC, which are always a headache.
Should You Overclock Your GPU?
With all that said, is overclocking bad? Not necessarily. Tons of gamers do it without a hitch and even GPU manufacturers don’t take issue with it. Some manufacturers even acknowledge the fact that GPU overclocking is commonplace and don’t void your warranty because of it. Of course, that is only if you refrain from damaging its basic input/output system (BIOS).
In the end, if the question you’re asking is whether you should overclock your GPU, then the answer is yes. Even factory-overclocked GPUs can yield results if you overclock them the right way. However, it’s generally a good idea to take precautionary measures, like monitoring your GPU’s temperature limit and installing good cooling.
On the other hand, we can’t recommend overclocking if you’re considering it on a laptop GPU. This is because installing proper cooling on a laptop isn’t as easy or practical. Moreover, it can lead to overheating and thermal throttling that could potentially affect your laptop’s performance overall. In addition, overclocking a laptop GPU usually only boosts performance by very little. Hence, unlike on a desktop, it’s not something worth trying.
How to Overclock GPU for Superior Gaming Performance

So, you have your sweet GTX 1080 Ti on hand and know the risks associated with overclocking. You’ve decided to dive in and learn how to overclock GPU performance on your rig regardless. That’s great! Thankfully, it’s not that hard to do, either. Most of the necessary tools are easily accessible because of how common GPU overclocking has become. Moreover, the process is pretty systematic so you shouldn’t feel too confused. With all of that said, let’s begin.
Step 0: Opening the Case (Optional)
You might think that opening the case is a crucial step in learning how to overclock GPU settings. After all, tinkering with a GPU probably needs some physical work, right? However, that’s not true nowadays because of how simplified the process can be. Hence, you can skip right ahead to the next section if you feel that this part is unnecessary.
Nonetheless, we still recommend you do this step just to make sure the cables inside don’t move around. Moreover, it’s a great precautionary measure to ensure your graphics card has enough air as your fans will run harder.
Step 1: Things You Need
Before learning how to overclock GPU settings, it’s important to have all the necessary tools on hand. These include benchmarking tools and overclocking tools that will aid you in the whole process.
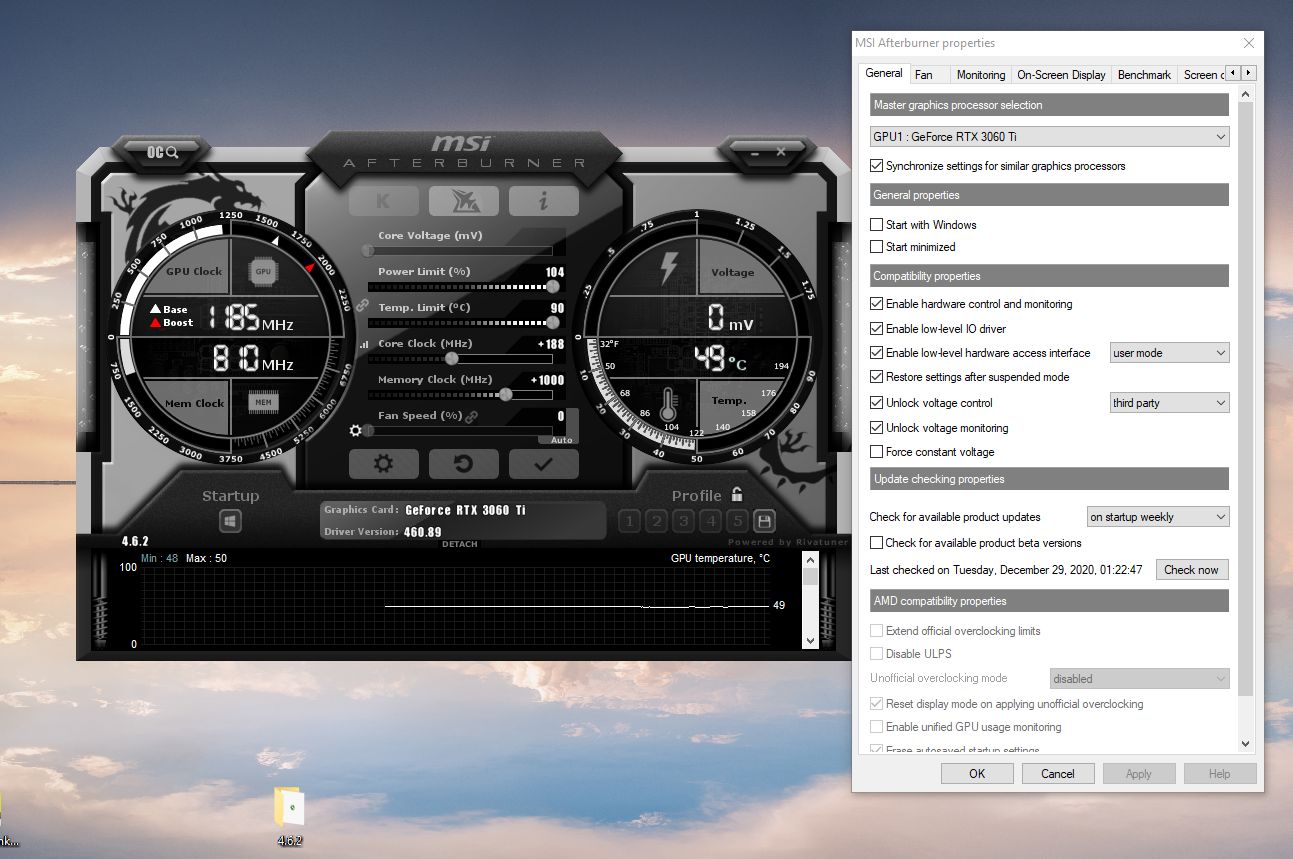
For this, you can simply use MSI Afterburner for both overclocking and benchmarking. That’s because MSI Afterburner has all the tools you need to get both jobs done. Moreover, unlike what its name may imply, it isn’t reserved solely for MSI graphics cards.
On the other hand, you can also use other benchmarking software like 3DMark or Unigine Heaven. We recommend that you get both of these in addition to MSI Afterburner for a more holistic perspective.
Step 2: Benchmarking Your Settings
Finally, it’s time to get to the nitty-gritty of how to overclock GPU performance on your PC. To do this, the first step you have to do is run a benchmark. This should simply give you a picture of how well your GPU can perform at your regular settings.
You can do this with the benchmarking software we previously mentioned or others that you already have on hand. Write down the test results on a separate piece of paper or take screenshots that you can refer to later.
Ideally, you should also run a stress test using the benchmarking tools available in your game of choice. However, we understand that this isn’t possible with all games because not every game has this feature. Hence, if you’re only playing indie games or smaller titles, then you might have to skip this part.
On the other hand, if you have triple-A titles installed, you should be able to find this feature built-in. A few examples of triple-A games with this feature include Horizon Zero Dawn, Borderlands 3, and Assassin’s Creed Valhalla. Likewise, once you’ve run their in-game benchmarks, note them down on paper or take a screenshot.
Step 3: Overclocking the Chip
After getting your baseline benchmark scores, it’s time to learn how to overclock GPU settings through overclocking software. The first thing you’ll want to do is boost the core clock of your GPU. Try doing a 5-10% increase on your overclocking software to start.
If you’re doing MSI overclocking with Afterburner, this can be a little tricky because it doesn’t boost scores via percentages. As a result, you’ll have to manually calculate what that 5-10% increase’s value is based on your base clock scores. Alternatively, you can simply boost the core clock in 10MHz increments. Once you’ve done your first increase, check for system stability and repeat the process.
Apart from the core clock, you should also increase your card memory clock. Unfortunately, unlike the CPU, you can’t find noticeable performance improvements on your GPU simply by boosting the core clock. You’ll have to turn up the memory clock as well to make this process worth your while.
This is because the memory clock is integral to the speed of your data storage and recovery from the memory. If it’s sped up, you’ll see better performance outputs from your graphics card. You speed it up the same way you do your core clock — in small increments (e.g. 5% or 10MHz).
Of course, a 5-10% increase usually doesn’t mean much when you’re overclocking your GPU. Therefore, it’s important to do this step repeatedly until you hit a percentage when your GPU runs at its limit. Naturally, this requires a bit of trial and error on your end and should take a bit of time. Nonetheless, it’s an important part of learning how to overclock GPU performance, so keep at it!
Step 4: Fine-Tuning
Afterward, it’s time to calibrate, refine, and check the limits of your graphics card. You can do this by running a looping benchmark as you tinker with the overclock settings. Doing this should show you how much your GPU’s performance is improving and should log its maximum limit. Moreover, you can use this trick while you’re boosting the core clock as well.
Once you find stray pixels or glitches as you’re testing, then you’ll know that your GPU’s reaching its limit. Of course, you can also push it further until your Windows OS freezes or reboots automatically. However, while this isn’t harmful to your computer, it’s also not the best method. Regardless, if your computer does reboot or freeze, then you’ll know the GPU is at its maximum capacity.
If this happens, simply open your overclocking software and lower the setting you were adjusting previously. For example, lowering the core clock to 20Mhz when it was at 25Mhz when your PC froze should do it.
Step 5: Increase the Power Capacity (Optional)
Afterward, it’s time to enhance the performance in other ways: by boosting the power capacity. This should give your graphics card a boost of energy to help it break the barriers of its previous limits. Hence, it’s good to do if you play graphically intensive games or hear your fans frequently run loud.
However, do note that this step comes with its caveats and can easily destabilize your PC if done incorrectly. Nonetheless, if you’re willing to give it a go, then you should raise the power capacity in small increments, too. Try going for 10mV boosts at a time to stay safe.
Step 6: Fine-Tuning (Part 2)
So, you’ve already fine-tuned your GPU’s performance through the previous two steps and are satisfied. If that’s so, then you can skip this step entirely. However, if you’re looking to exhaust your GPU’s maximum potential, step 6 is a must.
That’s because, after increasing the power limit, you get a chance to fine-tune the overclocking a second time. Of course, there won’t be much of an improvement between the results of this fine-tuning to your last. Moreover, you can’t boost your core and memory clocks too much the way you did before.
Nonetheless, it’s great for truly maximizing your GPU’s performance and getting every last penny’s worth out of it. However, take note that this process might test your patience and will be quite intimidating if it’s your first time. Proceed with care.
Step 7: Testing for Stability
Learning how to overclock GPU settings doesn’t simply stop at fine-tuning. That’s because testing for crashes a few times won’t always guarantee stability in the long term. Thus, it’s important to test for stability for longer periods.
You can do this through free-to-download software with stress tests, like Unigine Heaven. Running and looping this program for hours will truly stretch your PC and make it work for longer hours. While it’s running, you can leave your PC for a while and come back to it later.
If you come back to a crashed PC or stress test software, then you’ve probably overclocked your GPU too much. Try to go back to your overclocking software and lower some of the settings. You could tinker with any of the three settings: core clock, memory clock, or power limit.
Step 8: Final Benchmarking
Now that you’ve done almost everything you could, it’s time to run the final benchmarks. Doing this will give you an image of how much your GPU’s performance has improved since the first benchmark. Hopefully, you’ll have kept your notes or screenshots on the original benchmark scores even now.
Of course, you should do this step by using the same benchmarking software from step 2. This will give you clear and accurate results to compare with. Moreover, you should run these benchmarks multiple times just to be sure.
Lastly, you should also test for stability by playing a real game. Try running something graphically intensive and use a game’s built-in benchmarking tools to do this. Hopefully, you’ll find that the GPU’s been overclocked well enough and that your PC’s performing much better than before. With that, congratulations, you’ve successfully learned how to overclock GPU settings!
Recommended Overclocking Software
If you’re at a loss about which overclocking software is best to use, don’t fret. There are tons of options you can use that are free and feature-rich. Here are just some of the recommendations you might want to try (in alphabetical order).
1. ASUS GPU Tweak
Now that you know how to overclock GPU settings, you might want to experiment with different overclock software. If so, then we recommend trying out the ASUS GPU Tweak. It’s a great software to use if you’re already familiar with MSI Afterburner because of the similar UI. Moreover, it can control a lot of settings including the memory, voltage, and fan speeds.
2. EVGA Precision X
Another great option is the EVGA Precision X from EVGA. Like most overclock software, EVGA Precision X is free and has tons of easy controls for adjusting your settings. With it, you can tinker with your memory, voltage, fan, and even view your performance graph curves. Moreover, it has tons of other advanced features that you won’t find in other software. These include automatic tuning capabilities, convenient hotkeys, and custom profiles.
3. MSI Afterburner
Of course, MSI Afterburner is arguably the best overclocking software for most people. It’s incredibly popular and highly recommended by tons of other overclockers everywhere. We can understand why. After all, it’s not only compatible with non-MSI graphics cards but is also free with tons of features.
With it, you can adjust tons of settings on both your GPU and CPU without having to download supplementary software. Moreover, it also has tons of other handy features like the ability to show you real-time reports as you work.
4. NVIDIA Inspector
One of the best overclock software you can install is undoubtedly NVIDIA Inspector. It’s got everything you need to check all the overclock settings including the temp limit, fan speed, voltage, etc. Moreover, it’s simple to use and is free so you don’t have to worry about purchasing anything. However, it only works with NVIDIA GPUs, so keep that in mind.
5. RivaTuner
RivaTuner is another popular GPU overclocking app with tons to offer. Through the app, you can adjust your system’s RAM management, performance, and fan speeds. Moreover, it’s incredibly powerful, reliable, and even supports both 30-bit and 64-bit Windows versions. However, the only downside is that it’s not compatible with every GPU you find, especially if you’re using AMD.
Overclock Your GPU Today
Learning how to overclock GPU settings is almost a must for modern-day gamers. After all, GPUs are expensive and hard to get when there’s a shortage. Most people only want the best gaming experience and want to get the most out of their purchase.
Thankfully, learning how to overclock GPU settings is pretty easy nowadays with tons of free software to choose from. Even beginners won’t have to worry too much about making a mistake as the process is pretty straightforward, albeit tedious. Afterward, you can finally share a tweet and brag to all your friends about your buttery smooth graphics!